Introduction
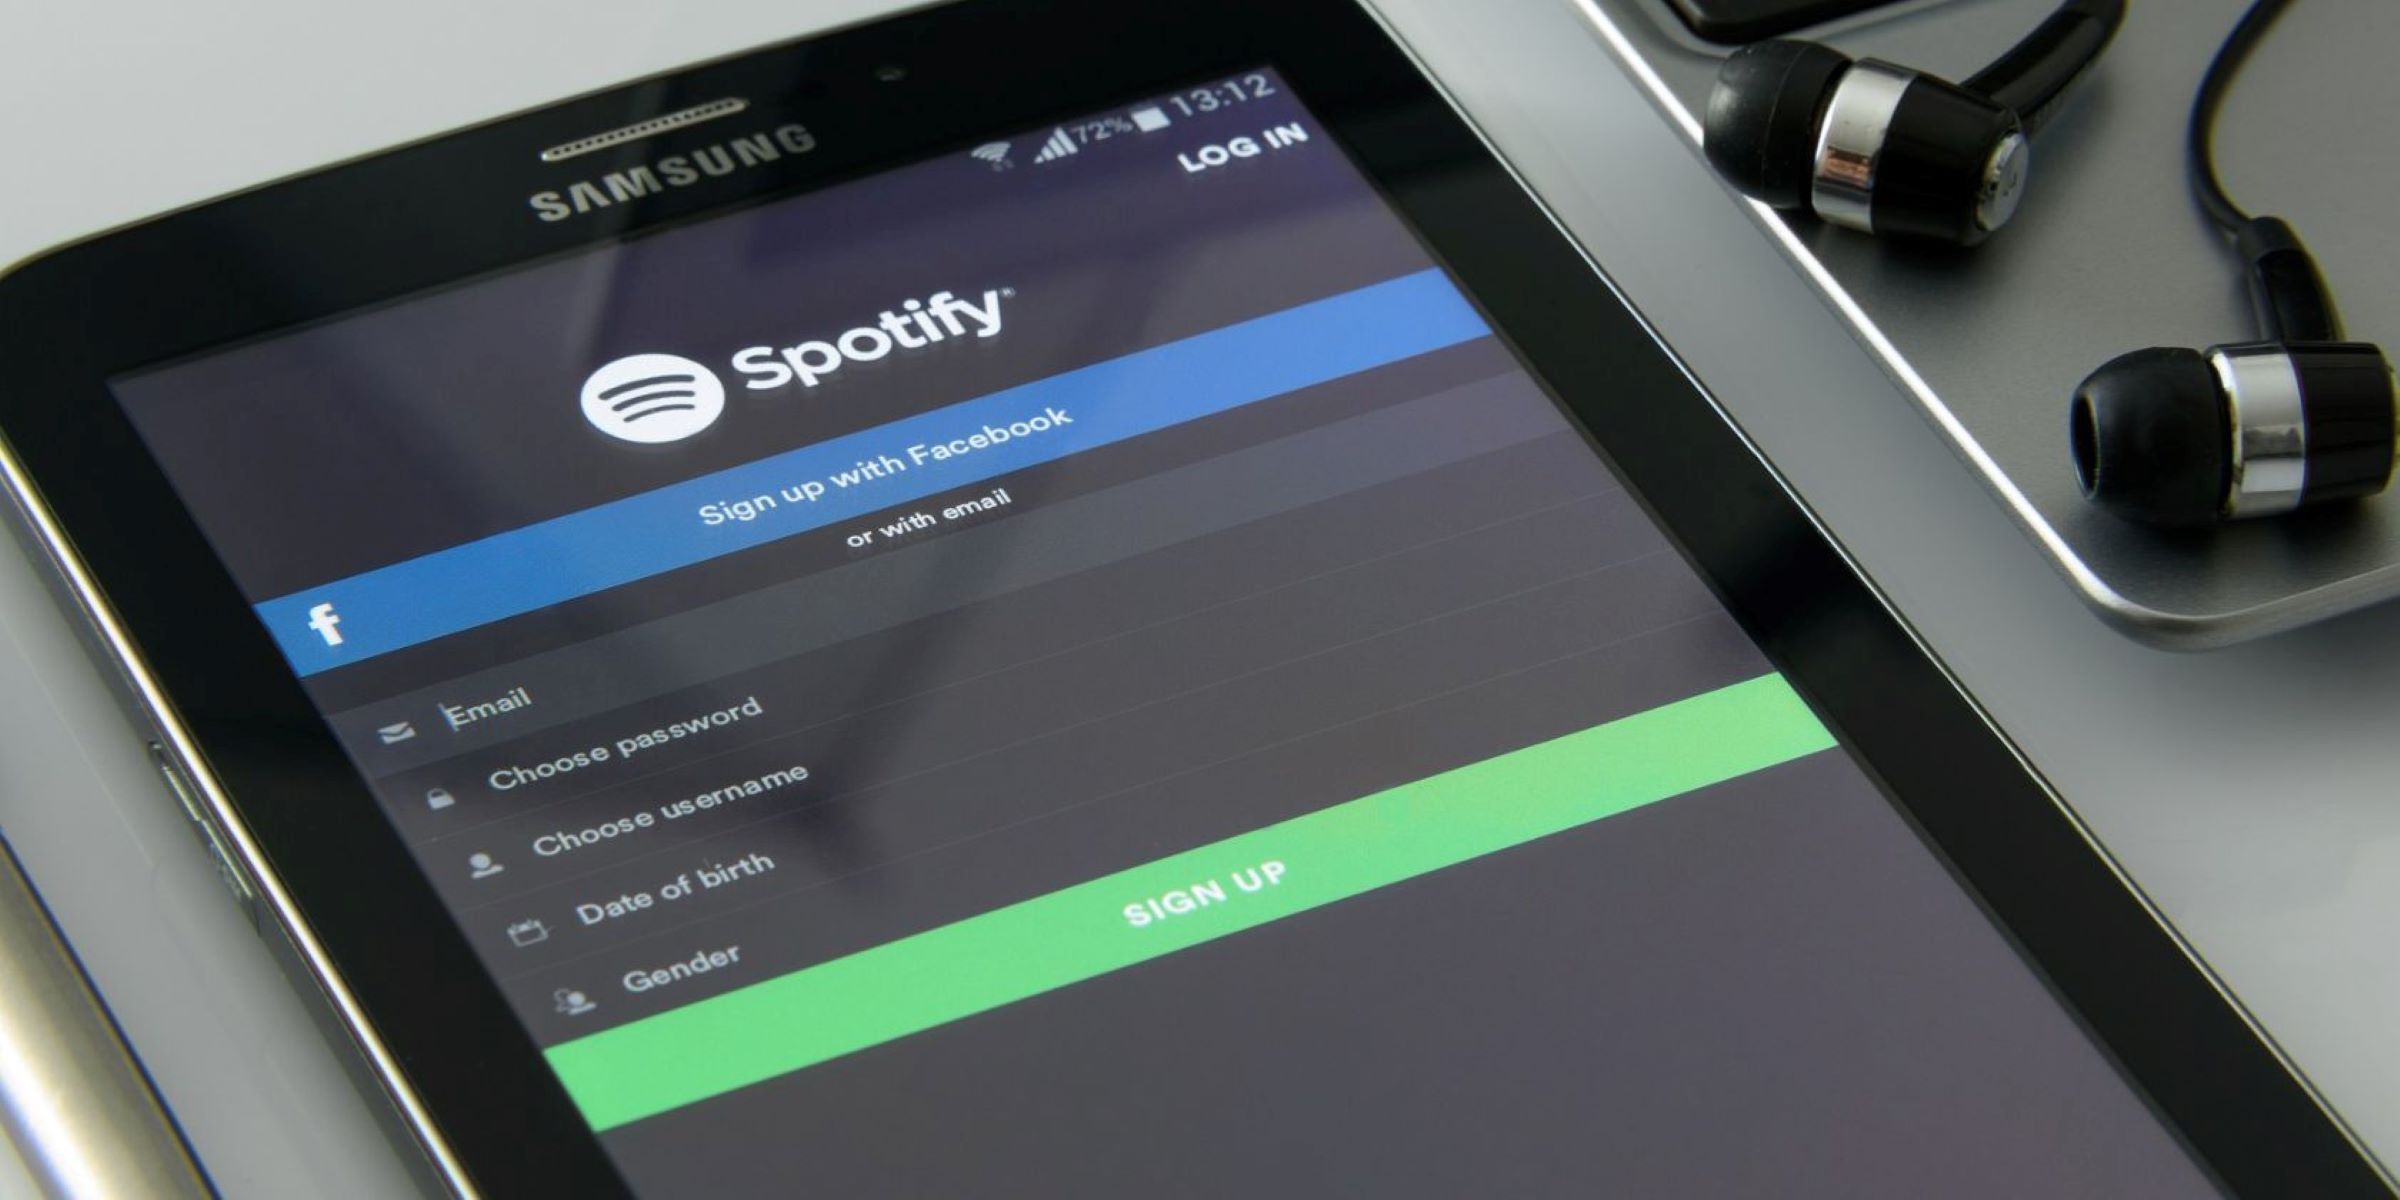
Do you love listening to music on Spotify, but don’t want your listening habits broadcasted to your Facebook friends? The good news is that you can easily stop Spotify from posting on Facebook. By disconnecting your Spotify account from Facebook and revoking the necessary permissions, you can regain control over your music-sharing preferences.
With the rise of social media, it’s not uncommon for apps and platforms to have integrations with Facebook. While some users enjoy the convenience of automatically sharing their Spotify activities on Facebook, others prefer to keep their music habits private. If you fall into the latter category, keep reading as we guide you through the steps to prevent Spotify from posting on Facebook.
In this article, we’ll show you how to stop Spotify from sharing your listening history on Facebook, protecting your privacy and maintaining control over your social media presence. Whether you’re bothered by oversharing or simply want to keep your musical tastes separate from your online persona, these steps will help you achieve just that.
Before we dive into the process, it’s important to note that the instructions provided here are specifically for the Spotify mobile app. However, the steps may differ slightly if you’re using the desktop version of Spotify.
Now, let’s get started and take control of your Spotify-Facebook integration!
Step 1: Open the Spotify app
The first step to stopping Spotify from posting on Facebook is to open the Spotify app on your mobile device. Whether you’re using an Android or iOS device, you’ll find the Spotify app on your home screen or in the app drawer. Locate the Spotify icon, which resembles a green circle with three curved black lines inside it, and tap on it to launch the app.
If you don’t already have the Spotify app installed on your device, you can download it for free from the Google Play Store for Android or the App Store for iOS devices. Simply search for “Spotify” in the respective app store, select the official Spotify app, and tap on the “Install” or “Get” button to download and install the app.
Once you’ve successfully opened the Spotify app on your device, you’ll be greeted with the Spotify home screen. This is where you can access all the music, playlists, and settings within the app.
As we delve into the subsequent steps, remember to follow along on your own Spotify app to ensure a seamless experience. With that said, let’s move on to the next step and begin the process of disconnecting Spotify from Facebook.
Step 2: Go to the settings
Once you have the Spotify app open on your mobile device, the next step is to access the settings. The settings menu is where you can make various changes and configurations to customize your Spotify experience.
To access the settings menu, look for the gear icon or three-dot menu icon located in the top-right or bottom-right corner of the Spotify app. This icon represents the settings option and is usually found on the home screen or in the navigation bar. Tap on the gear icon or three-dot menu icon to open the settings menu.
Upon opening the settings menu, you’ll be presented with a list of different options and preferences that you can modify. The settings menu in Spotify is designed to give you control over various aspects of the app, ranging from playback settings to social media integrations, like Facebook.
Scroll through the list of options and look for the section labeled “Social” or “Social Media.” This is where you’ll find the settings related to Spotify’s integration with Facebook. Once you locate the “Social” section, tap on it to access the social media settings.
Within the social settings, you’ll come across options such as “Connect to Facebook,” “Disconnect from Facebook,” or “Facebook Sharing.” These options control the connection between Spotify and Facebook, allowing you to control whether Spotify shares your activities on Facebook or not.
Now that you’ve found the settings menu in Spotify and accessed the social settings, let’s move on to the next step and disconnect Spotify from Facebook.
Step 3: Disconnect Facebook from Spotify
After accessing the social settings in the Spotify app, it’s time to disconnect Spotify from Facebook. By disconnecting the two platforms, you can stop Spotify from posting on your Facebook profile.
To disconnect Facebook from Spotify, look for the option that says “Disconnect from Facebook” or a similar variation. This option is usually located within the social settings menu under the Facebook integration section.
Tap on the “Disconnect from Facebook” option to initiate the disconnection process. Spotify will prompt you with a confirmation message asking if you’re sure you want to disconnect from Facebook. Confirm your choice by selecting “Disconnect” or “Yes” when prompted.
Once you’ve successfully disconnected Spotify from Facebook, the integration between the two platforms will be severed. This means that your Spotify activities, such as the songs you’re listening to and your public playlists, will no longer be shared on your Facebook profile.
Disconnecting Spotify from Facebook is a straightforward process that takes only a few seconds. However, it’s important to note that this step only disables the sharing feature and does not revoke any permissions granted to Spotify on Facebook.
Now that you’ve disconnected Spotify from Facebook, let’s proceed to the next step and learn how to revoke Spotify’s Facebook permissions.
Step 4: Revoke Spotify’s Facebook permissions
Disconnecting Spotify from Facebook is a great first step, but to ensure complete control over your privacy, it’s important to revoke Spotify’s permissions on Facebook as well. This step will prevent Spotify from accessing your Facebook data and ensures the full separation between the two platforms.
To begin revoking Spotify’s Facebook permissions, open a web browser on your device and log in to your Facebook account. Once logged in, navigate to the Facebook settings page by clicking on the down arrow in the top-right corner and selecting “Settings” from the drop-down menu.
On the Facebook settings page, you’ll find a list of different options and preferences. Look for the section labeled “Apps and Websites” or “Apps” within the settings menu. This section contains a list of all the apps and websites connected to your Facebook account.
Click on the “Apps and Websites” or “Apps” section to view the list of connected apps. Here, you’ll find Spotify listed along with other apps that you have allowed access to your Facebook account.
Scroll through the list and locate the Spotify app. Once you find it, click on the “Remove” or “X” icon next to Spotify to revoke the app’s permissions. Facebook will then prompt you with a confirmation message, asking if you’re sure you want to remove the app. Confirm your decision by selecting “Remove” or “Yes” when prompted.
By revoking Spotify’s permissions on Facebook, you are ensuring that Spotify no longer has access to your personal information on the social media platform. This further guarantees that Spotify won’t be able to post anything on your Facebook profile, ensuring your privacy.
Once you’ve successfully revoked Spotify’s Facebook permissions, you have completed the process of fully disconnecting Spotify from Facebook.
Now, let’s move on to the final step and confirm the changes you’ve made.
Step 5: Confirm the changes
After disconnecting Spotify from Facebook and revoking Spotify’s permissions on Facebook, it’s important to confirm that the changes have been successfully implemented. This step ensures that Spotify will no longer post on your Facebook profile and your privacy settings have been updated accordingly.
To confirm the changes, open the Spotify app on your mobile device and navigate to the settings once again. In the social settings section, verify that the option to connect to Facebook is no longer available. This confirms that Spotify is no longer linked to your Facebook account.
Next, open your Facebook app or visit the Facebook website on your device. Ensure that Spotify is no longer listed as a connected app under the “Apps and Websites” section in the Facebook settings. If Spotify is no longer present in the list, it signifies that the permissions have been successfully revoked.
Additionally, you can test whether Spotify is still posting on your Facebook profile by playing a song or adding a song to a playlist within the Spotify app. Check your Facebook profile to see if the activity is being shared. If there are no new posts or updates from Spotify on your profile, it confirms that the changes have taken effect.
By following these steps and ensuring that the changes have been confirmed, you can be certain that Spotify will no longer post on your Facebook profile. You have successfully regained control over what information is shared and have protected your privacy on social media.
Congratulations! You have successfully stopped Spotify from posting on Facebook and have taken control of your music-sharing preferences.
Remember, if you ever decide to re-enable the Spotify-Facebook integration, you can do so by following the steps in reverse. Simply reconnect Spotify to your Facebook account and grant the necessary permissions.
Enjoy your private listening experience on Spotify without worrying about unwanted posts on Facebook!
Conclusion
In this article, we have explored the steps to stop Spotify from posting on Facebook. By disconnecting Spotify from Facebook and revoking Spotify’s permissions on the social media platform, you can regain control over your music-sharing preferences and protect your privacy.
Starting with the first step of opening the Spotify app, we walked you through accessing the settings menu and navigating to the social settings section. From there, we discussed how to disconnect Spotify from Facebook within the Spotify app itself.
However, we didn’t stop there. We also guided you on revoking Spotify’s permissions on Facebook to ensure the complete separation between the two platforms. By accessing the Facebook settings page, locating the Spotify app, and removing its permissions, you took a crucial step towards safeguarding your privacy.
Finally, we emphasized the importance of confirming the changes. By double-checking the Spotify app settings and verifying the removal of Spotify from the list of connected apps on Facebook, you can ensure that Spotify will no longer post on your Facebook profile.
By following these steps and confirming the changes, you have successfully stopped Spotify from posting on Facebook. You have taken back control over your music-sharing preferences and protected your privacy on social media.
Remember, you can always choose to re-enable the Spotify-Facebook integration if you wish. Simply reverse the steps by reconnecting Spotify to your Facebook account and granting the necessary permissions.
Enjoy your private listening experience on Spotify without any unwanted posts on Facebook. Take pride in knowing that you have the power to customize your music-sharing preferences and manage your online presence according to your preferences.
Thank you for reading, and we hope this guide has been helpful in achieving your desired privacy settings on Spotify and Facebook.