Introduction
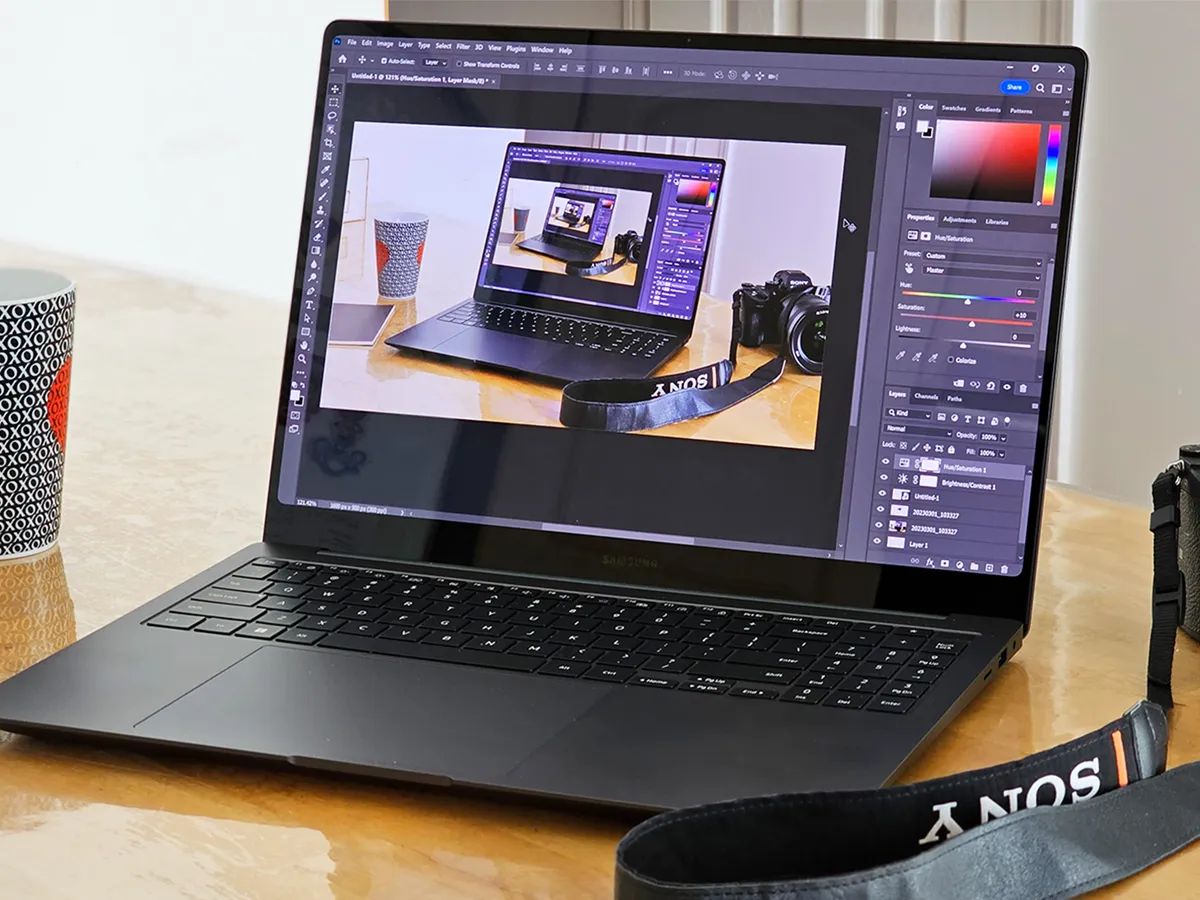
Webcams have become an essential tool for communication in today’s digital age. Whether you need to attend online meetings, make video calls with loved ones, or even pursue a career in content creation, setting up a webcam on your laptop is crucial. With a webcam, you can capture high-quality video and participate in face-to-face interactions from the comfort of your own home.
In this guide, we will walk you through the process of setting up a webcam on your laptop, from checking if your laptop has a built-in camera to troubleshooting common issues. By following these steps, you’ll be able to harness the power of your webcam and make the most out of your online experiences.
Additionally, we will provide tips on adjusting webcam settings to ensure the best possible video quality, as well as suggest software options for video calls and recording. Whether you’re a novice or a tech-savvy individual, this guide will help you navigate the webcam setup process with ease.
Before diving into the technicalities, it’s important to note that privacy is paramount. We will cover how to adjust your laptop’s privacy settings to protect your privacy and ensure that your webcam is only accessible to trusted applications and individuals.
Are you ready to transform your laptop into a powerful communication tool? Let’s get started with the first step: checking if your laptop has a built-in webcam.
Step 1: Check if your laptop has a built-in webcam
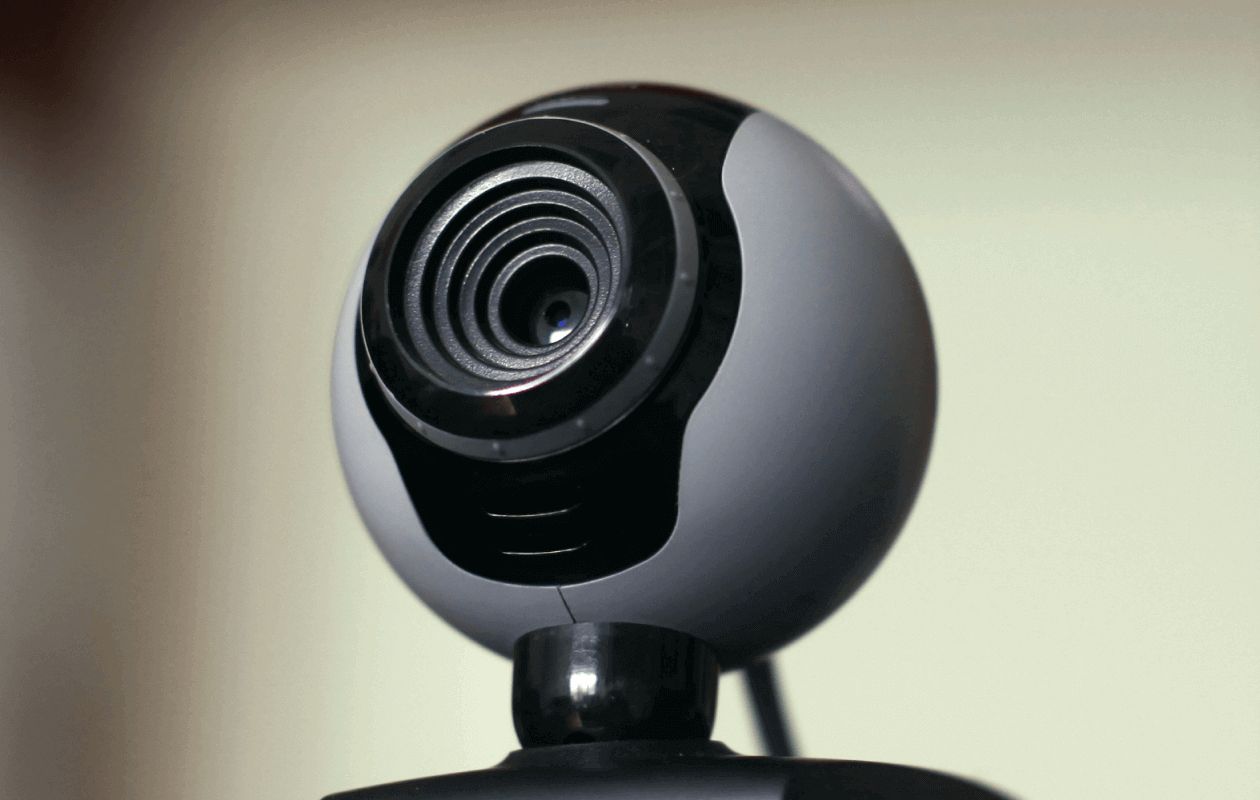
Before purchasing an external webcam, it’s important to determine if your laptop already has a built-in webcam. Most modern laptops come equipped with a webcam, but it’s always good to double-check.
To check if your laptop has a built-in webcam, follow these steps:
- Look for a camera icon: Examine your laptop’s bezel or outer frame for a small camera icon. This icon usually indicates the presence of a built-in webcam.
- Check your device specifications: Go to your laptop’s settings or system information and look for the device specifications. Look for terms like “webcam,” “camera,” or “imaging device.” If you find any of these terms, it means your laptop has a built-in webcam.
- Consult the manufacturer’s website: If you’re unsure about your laptop’s specifications or finding the camera icon, visit the manufacturer’s website. Enter your laptop’s model number or search through its support page to find information on whether your laptop has a built-in webcam.
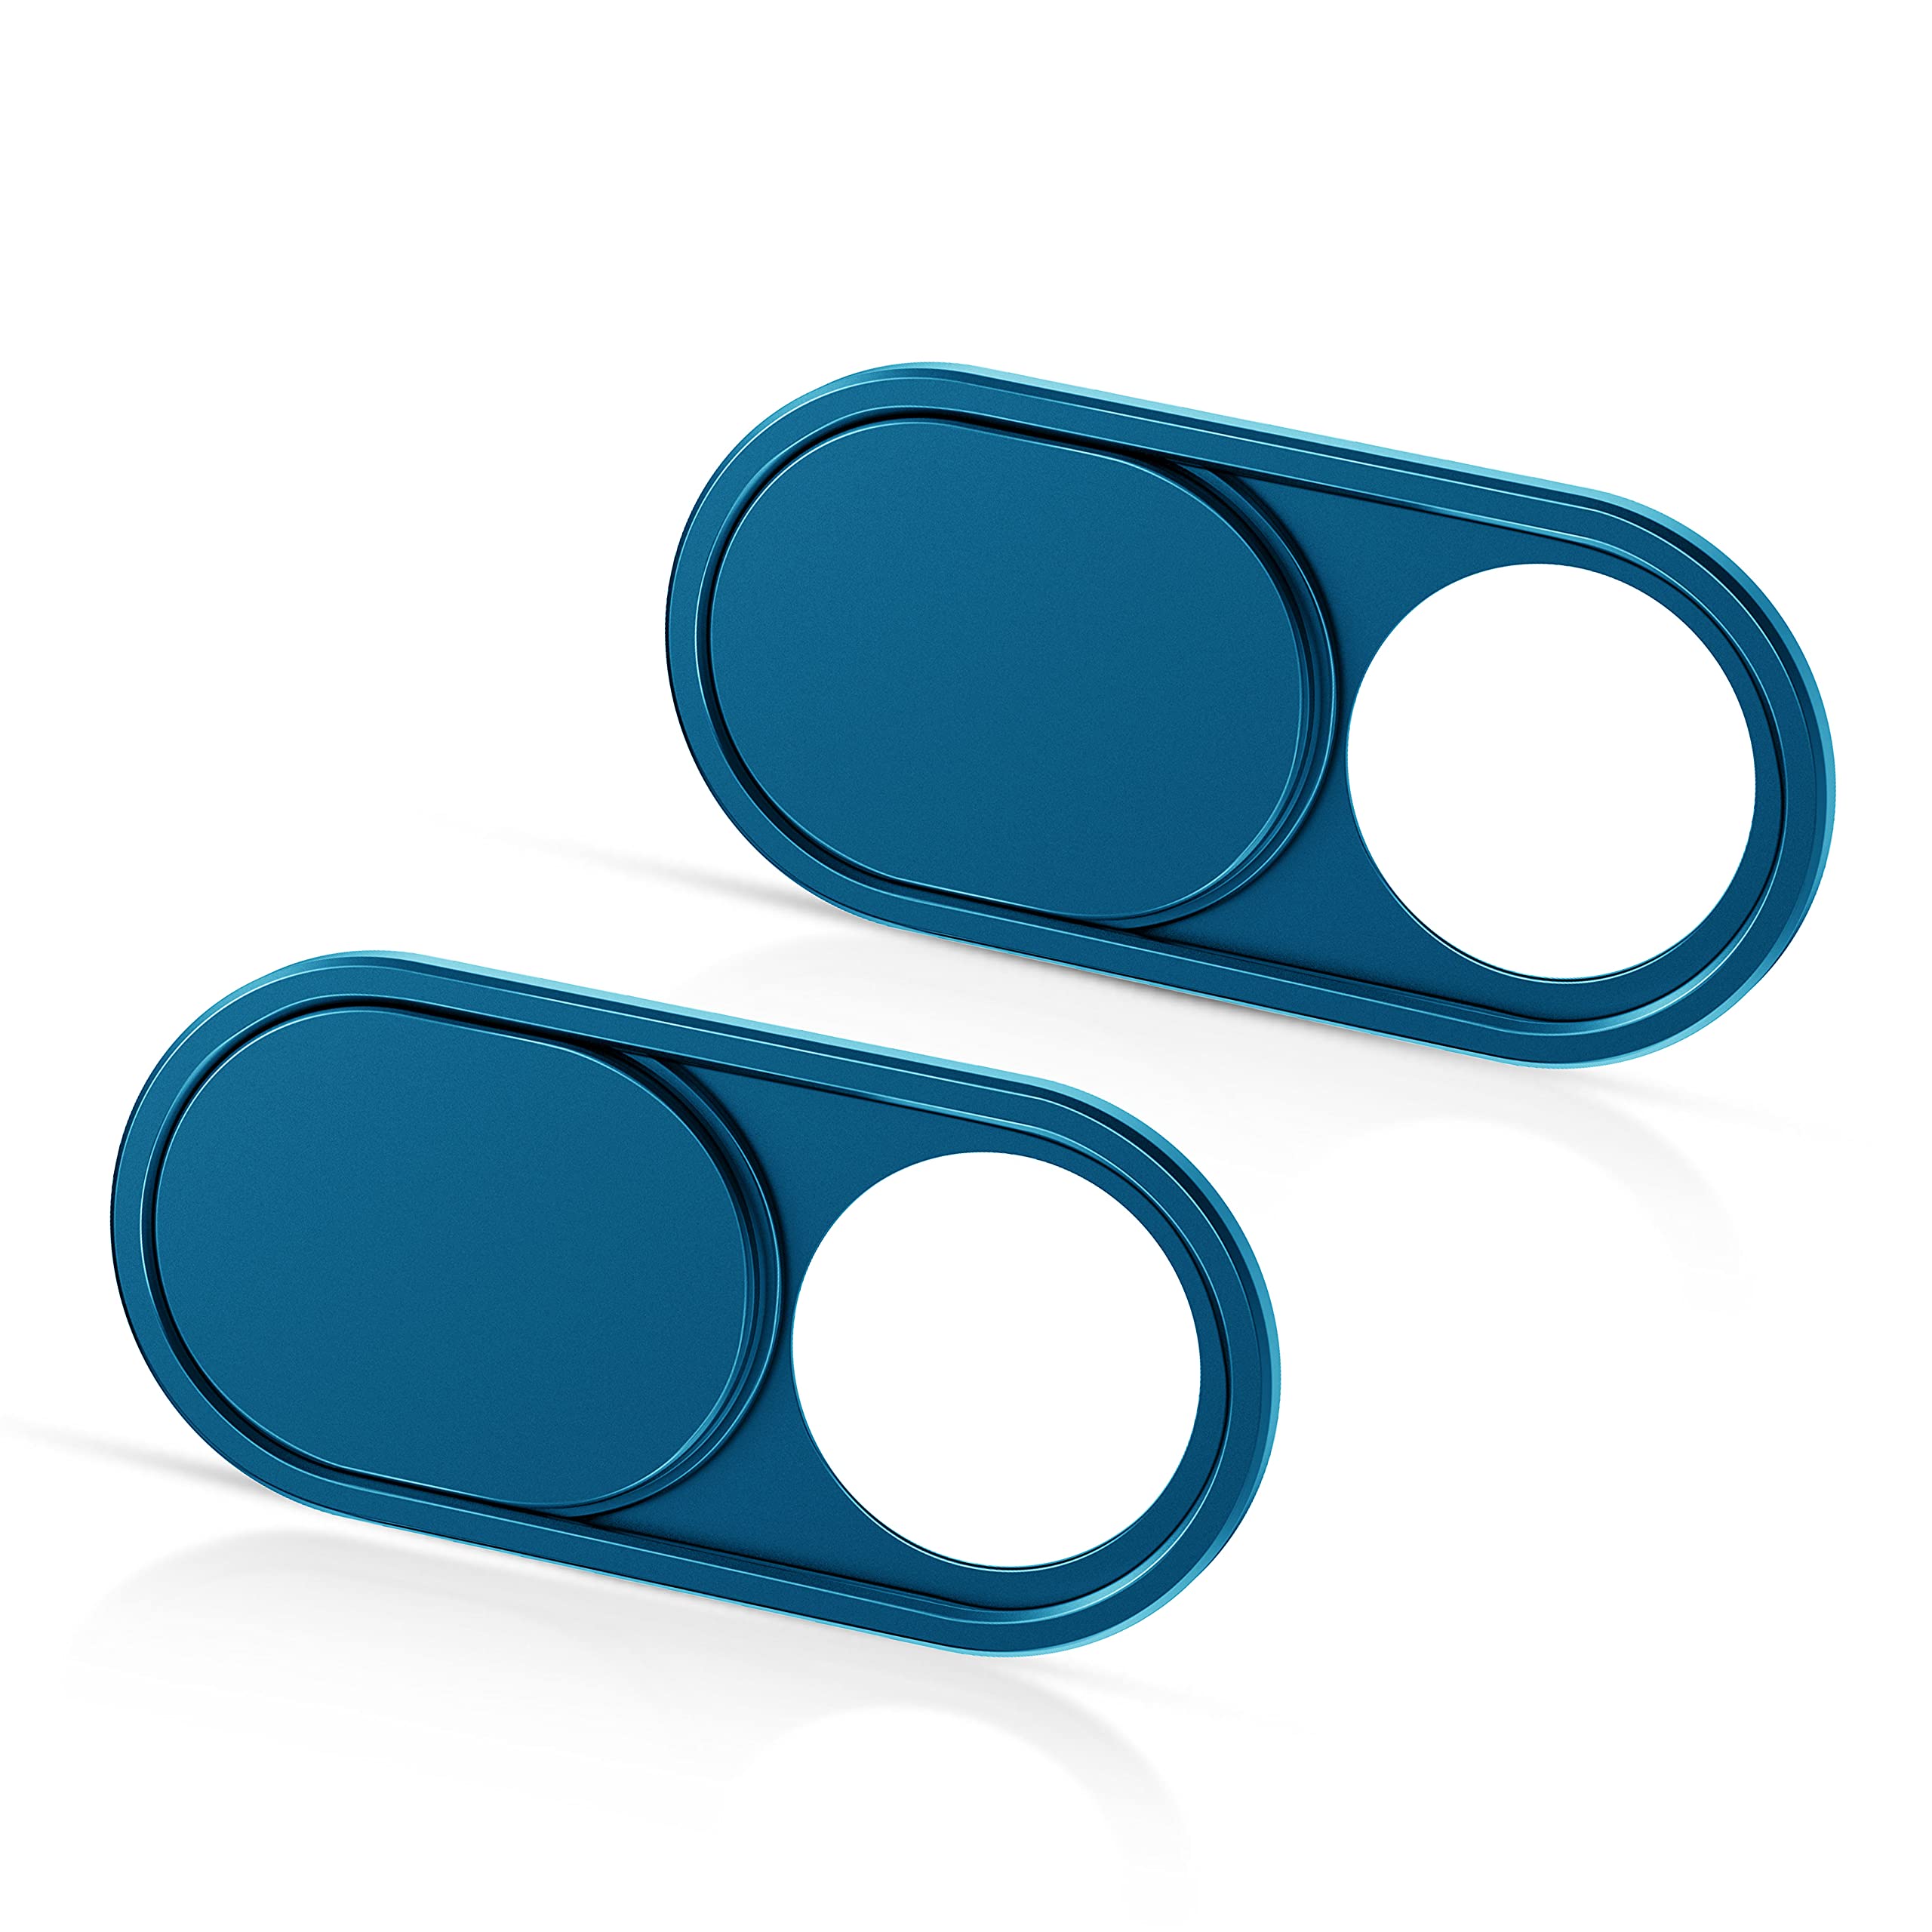
You might also want to check if your laptop has a physical privacy shutter or cover for the webcam. Some laptops come with a cover that you can slide open or closed to block the webcam when it’s not in use. This provides an extra layer of privacy and security.
Once you’ve confirmed that your laptop has a built-in webcam, you’re ready to move on to the next step: adjusting privacy settings to protect your privacy and control webcam access.
Step 2: Adjust privacy settings
Protecting your privacy is of utmost importance when it comes to using your laptop’s webcam. Adjusting the privacy settings ensures that your webcam is only accessible to trusted applications and individuals. Here’s how you can adjust the privacy settings:
- Open the webcam settings: Go to your laptop’s settings or control panel and search for the webcam settings. This may vary depending on your laptop’s operating system, but you can usually find it under “Privacy,” “Camera,” or “Webcam.”
- Enable or disable camera access: In the privacy settings, you’ll see an option to allow or block camera access for specific applications. Review the list of applications and toggle the switch next to each app accordingly. Enable camera access for trusted applications like video call or recording software, and disable access for any unfamiliar or unauthorized applications.
- Configure camera permissions: Some operating systems allow you to customize camera permissions for individual applications. Look for options to control camera access, such as allowing or denying permission to use the camera, microphone, or other peripherals. Adjust these settings based on your preferences.
- Consider physical privacy measures: If your laptop doesn’t have a built-in privacy cover, you can invest in a webcam cover or simply use a piece of opaque tape to cover the webcam when it’s not in use. This provides an extra layer of protection against unauthorized access.
By adjusting the privacy settings, you can have peace of mind knowing that your webcam is only accessible to trusted applications and individuals. Once you’ve taken these steps to protect your privacy, you can proceed to the next step: installing webcam drivers.
Step 3: Install webcam drivers
In order for your laptop’s webcam to function properly, you may need to install specific webcam drivers. Webcam drivers are software programs that enable communication between your operating system and the webcam hardware.
Follow these steps to install webcam drivers:
- Check for automatic driver updates: In some cases, your operating system may automatically detect and install the necessary drivers for your webcam. Connect your laptop to the internet and check for any available driver updates. You can usually do this through the device manager or system settings.
- Visit the manufacturer’s website: If your operating system doesn’t automatically install the webcam drivers, or if you’re experiencing issues with your webcam, visit the manufacturer’s website. Look for the “Support” or “Downloads” section and search for the drivers specific to your laptop model and operating system.
- Download and install the drivers: Once you’ve located the appropriate webcam drivers, download them from the manufacturer’s website. Follow the on-screen instructions to install the drivers on your laptop. It’s important to choose the correct drivers compatible with your laptop model and operating system.
- Restart your laptop: After the installation is complete, restart your laptop to ensure that the drivers are properly initialized. This can help resolve any conflicts or issues that may have occurred during the installation process.
Installing the correct webcam drivers is crucial to ensure optimal performance and functionality. By following these steps, you’ll be able to enjoy a seamless webcam experience. Once you have successfully installed the webcam drivers, it’s time to move on to the next step: testing your webcam.
Step 4: Test your webcam
After installing the webcam drivers, it’s important to test your webcam to ensure that it’s functioning correctly. By conducting a test, you can verify the video and audio quality of your webcam and make any necessary adjustments.
Follow these steps to test your webcam:
- Open a webcam testing website or application: There are several online platforms and applications available that allow you to test your webcam. Search for “webcam test” or “webcam checker” in your preferred search engine and choose a reliable website or application.
- Grant camera access: When prompted by the testing website or application, grant access to your camera. This is usually a one-time permission request.
- Check video and audio quality: The webcam testing website or application will display a live feed from your webcam. Check if the video quality is clear and if the audio is working properly. You can also use this opportunity to check your lighting conditions and make any necessary adjustments.
- Test additional features: Depending on the testing website or application, you may have the option to test additional features such as video recording, snapshot capture, and webcam effects. Explore these features to ensure that they are working as expected.
If your webcam test is successful and the video and audio quality meet your expectations, congratulations! Your webcam is now ready to be used for video calls, online meetings, or content creation. If there are any issues or the test results are unsatisfactory, you may need to troubleshoot common webcam issues or make further adjustments to your webcam settings.
Testing your webcam is an essential step to verify its functionality and ensure a smooth webcam experience. Once you’re satisfied with the webcam test results, you can move on to the next step: adjusting the webcam settings for optimal performance.
Step 5: Adjust webcam settings
To get the most out of your webcam and ensure optimal video quality, it’s important to adjust the webcam settings. These settings allow you to customize various aspects of your webcam, such as brightness, contrast, resolution, and more.
Follow these steps to adjust the webcam settings:
- Open the webcam settings: Depending on your laptop and operating system, the webcam settings can usually be accessed through the camera app or the control panel. Look for the webcam settings icon or search for “camera settings” in your laptop’s search bar.
- Explore the available options: Once you’ve opened the webcam settings, you’ll find a range of adjustable options. These may include brightness, contrast, saturation, sharpness, white balance, exposure, and more. Take the time to familiarize yourself with these options.
- Make adjustments: Experiment with the different settings to find the combination that works best for you. For example, if your video appears too dark, increase the brightness level. If the colors seem washed out, adjust the saturation. Don’t be afraid to play around with the settings until you achieve the desired video quality.
- Save your settings: Once you’re satisfied with the adjustments, save your settings. This will ensure that your preferred settings are applied every time you use your webcam.
It’s important to note that not all laptops or webcam software will have the same settings or options. The available settings may vary depending on your laptop model and the webcam software installed. However, the basic adjustments mentioned above are common in most webcam settings.
By adjusting the webcam settings, you can enhance the quality of your video and create a more professional and engaging webcam experience. Once you have fine-tuned your webcam settings, you’re ready to choose the right software for video calls or recording, which we will cover in the next step.
Step 6: Choose the right software for video calls or recording
Now that you have set up and adjusted your webcam, it’s time to select the right software for video calls or recording. The software you choose will depend on your specific needs and preferences, whether it’s for personal use, professional meetings, or content creation.
Consider the following factors when choosing the right software:
- Compatibility: Ensure that the software you choose is compatible with your laptop’s operating system. It should support the webcam drivers you have installed.
- Features: Evaluate the features offered by the software. Look for options such as HD video calling, screen sharing, virtual backgrounds, recording capabilities, and integration with other applications or platforms.
- User-friendliness: Choose software that is intuitive and user-friendly. It should have a simple interface and easy-to-use controls, making it accessible to both beginners and advanced users.
- Security and privacy: Prioritize software that offers robust security features, such as end-to-end encryption, password protection, and privacy controls. Ensure that it meets your privacy requirements and protects your data.
- Reviews and ratings: Read reviews and check the ratings of the software you are considering. This will give you insights into the experiences of other users and help you make an informed decision.
Popular software options for video calls and recording include Skype, Zoom, Google Meet, Microsoft Teams, and OBS Studio. Research and compare the features and functionalities of these software options to determine which one aligns best with your needs.
Remember, the software you choose can greatly impact your webcam experience. Take the time to explore different options and select the software that offers the right blend of features, ease of use, and security.
Once you have chosen and installed the software, you can start enjoying seamless video calls or recording sessions with your newly set up webcam. However, in case you encounter any issues or technical difficulties, it’s essential to be prepared with some troubleshooting tips, which we’ll cover in the next step.
Step 7: Troubleshooting common webcam issues
While setting up and using a webcam on your laptop, you may encounter some common issues that can hinder its functionality. Understanding how to troubleshoot these issues can help you resolve them quickly and get your webcam back up and running smoothly.
Here are some common webcam issues and their troubleshooting steps:
- No webcam detected: If your laptop is not detecting the webcam, ensure that the webcam drivers are installed correctly. Try disconnecting and reconnecting the webcam, restarting your laptop, and checking the device manager for any hardware conflicts or driver issues.
- Poor video quality: If the video quality is grainy or pixelated, adjust the webcam settings such as brightness, contrast, and sharpness. Make sure there is sufficient lighting in the room and remove any obstructions blocking the camera lens. If the issue persists, try updating the webcam drivers or using a different software application.
- No audio or poor audio quality: If you’re experiencing issues with the audio, check the microphone settings in the webcam software or operating system. Ensure that the microphone is not muted and is selected as the default recording device. Test the microphone using the audio settings or a voice recording application. If necessary, update the audio drivers.
- Compatibility issues: If you’re experiencing compatibility issues with certain software applications, ensure that the software is up to date and compatible with your laptop’s operating system. Check for any available updates or patches for the software. Consider using alternative software that is known to work well with your webcam.
- Unstable or disconnected video calls: If you’re facing issues with video calls such as freezing, lagging, or dropped connections, check your internet connection stability. Ensure that you have a strong and stable internet connection. Close any bandwidth-consuming applications running in the background. If the issue persists, contact your internet service provider for assistance.
If you encounter any other specific issues or error messages, refer to the documentation or support resources provided by your webcam manufacturer or software developer. They may have troubleshooting guides or forums where you can find solutions to specific problems.
By troubleshooting common webcam issues, you can overcome obstacles and ensure a smooth experience with your webcam. With your webcam now successfully set up and any issues resolved, you can confidently utilize it for your video calls, online meetings, content creation, and other requirements.
Conclusion
Setting up a webcam on your laptop is a straightforward process that can greatly enhance your communication and productivity. By following the steps outlined in this guide, you can transform your laptop into a powerful tool for video calls, online meetings, content creation, and more.
Throughout the process, we covered various important steps, including checking if your laptop has a built-in webcam, adjusting privacy settings, installing webcam drivers, testing your webcam, adjusting webcam settings, choosing the right software for video calls or recording, and troubleshooting common webcam issues.
Remember to prioritize your privacy by adjusting the privacy settings and taking necessary measures to protect yourself from unauthorized access. Regularly update your webcam drivers and explore the available settings to ensure optimal video and audio quality. Additionally, choose the software that best suits your needs based on compatibility, features, user-friendliness, and security.
If you encounter any issues during the setup process or while using your webcam, refer back to this guide for troubleshooting tips. Additionally, reach out to the manufacturer’s support resources or online forums for further assistance.
Now that you’re equipped with the knowledge to set up and optimize your webcam, it’s time to unleash its potential and enjoy seamless video calls, productive meetings, and captivating content creation. Make the most out of your webcam and let it open doors to new opportunities and connections in the digital world.