Introduction
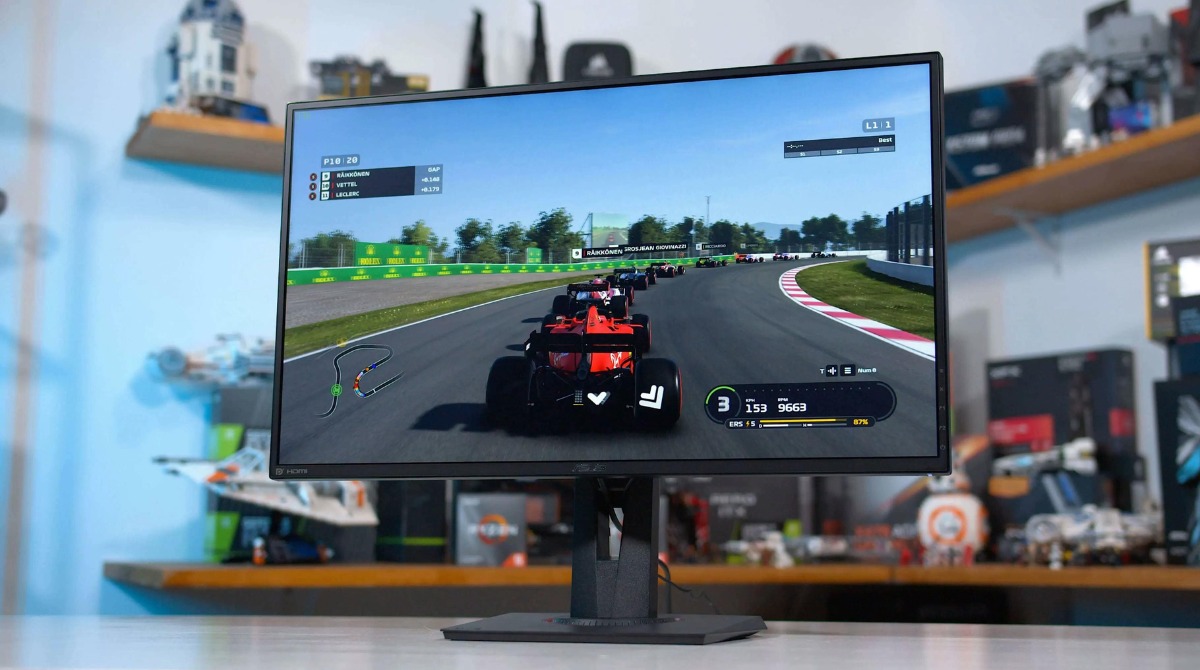
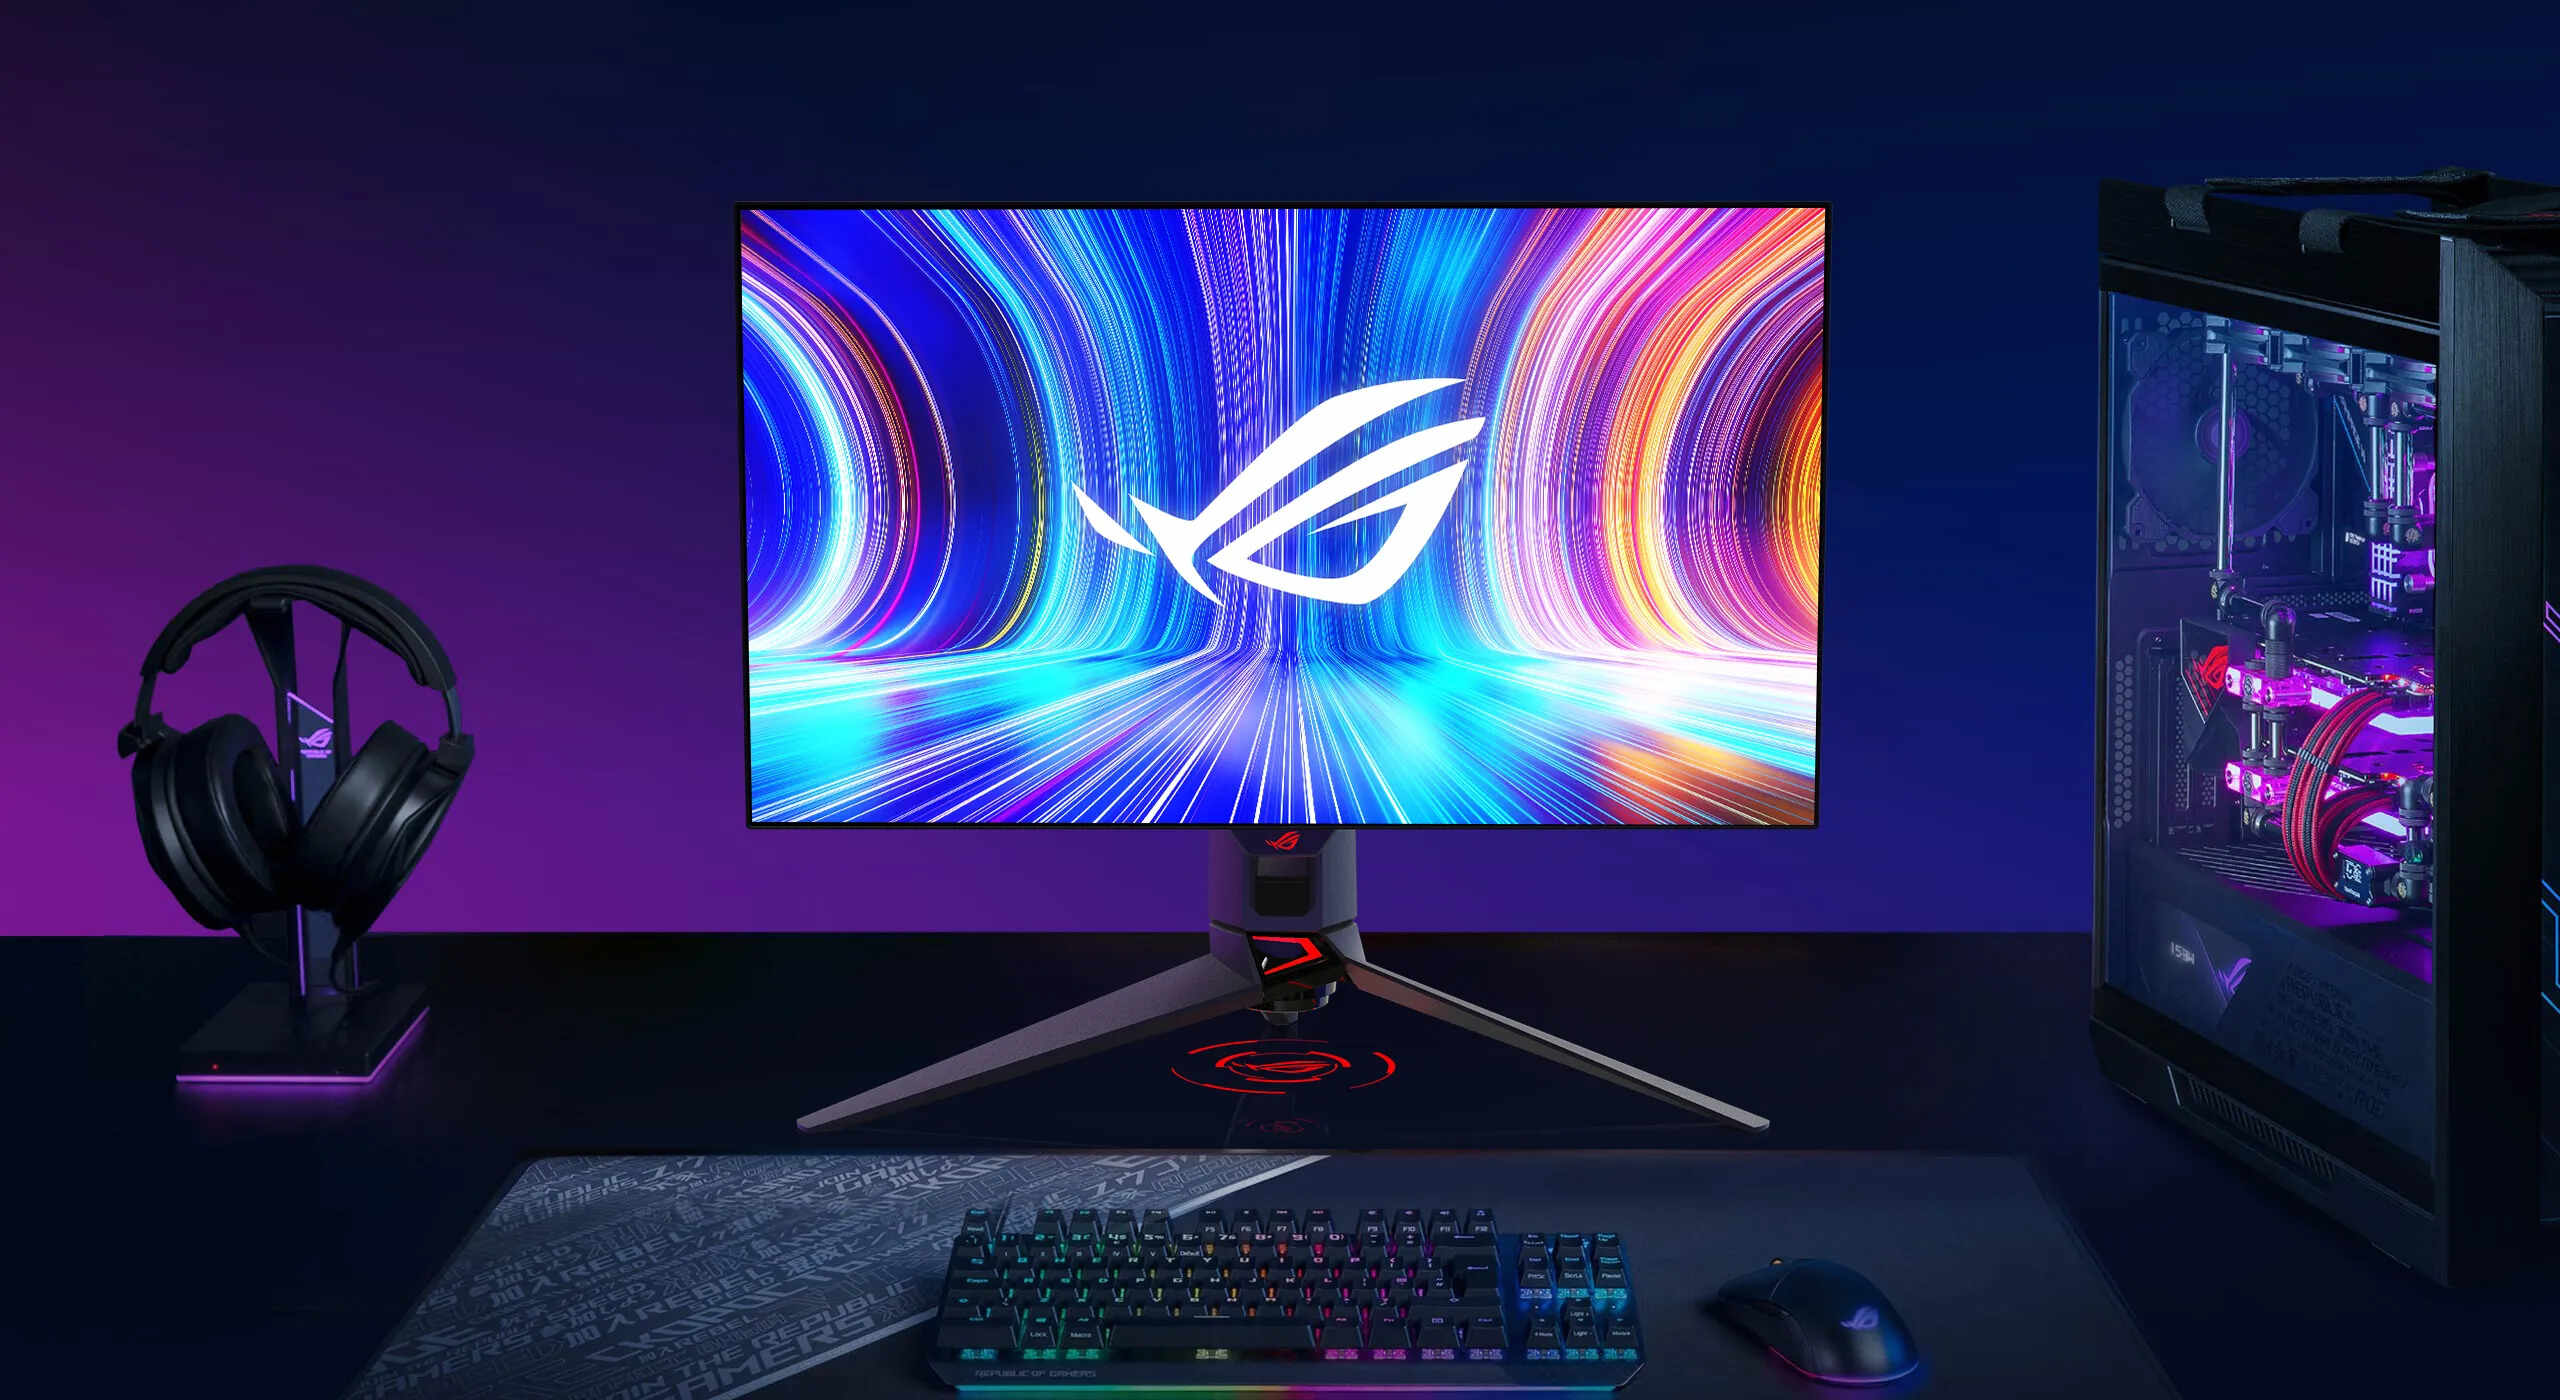
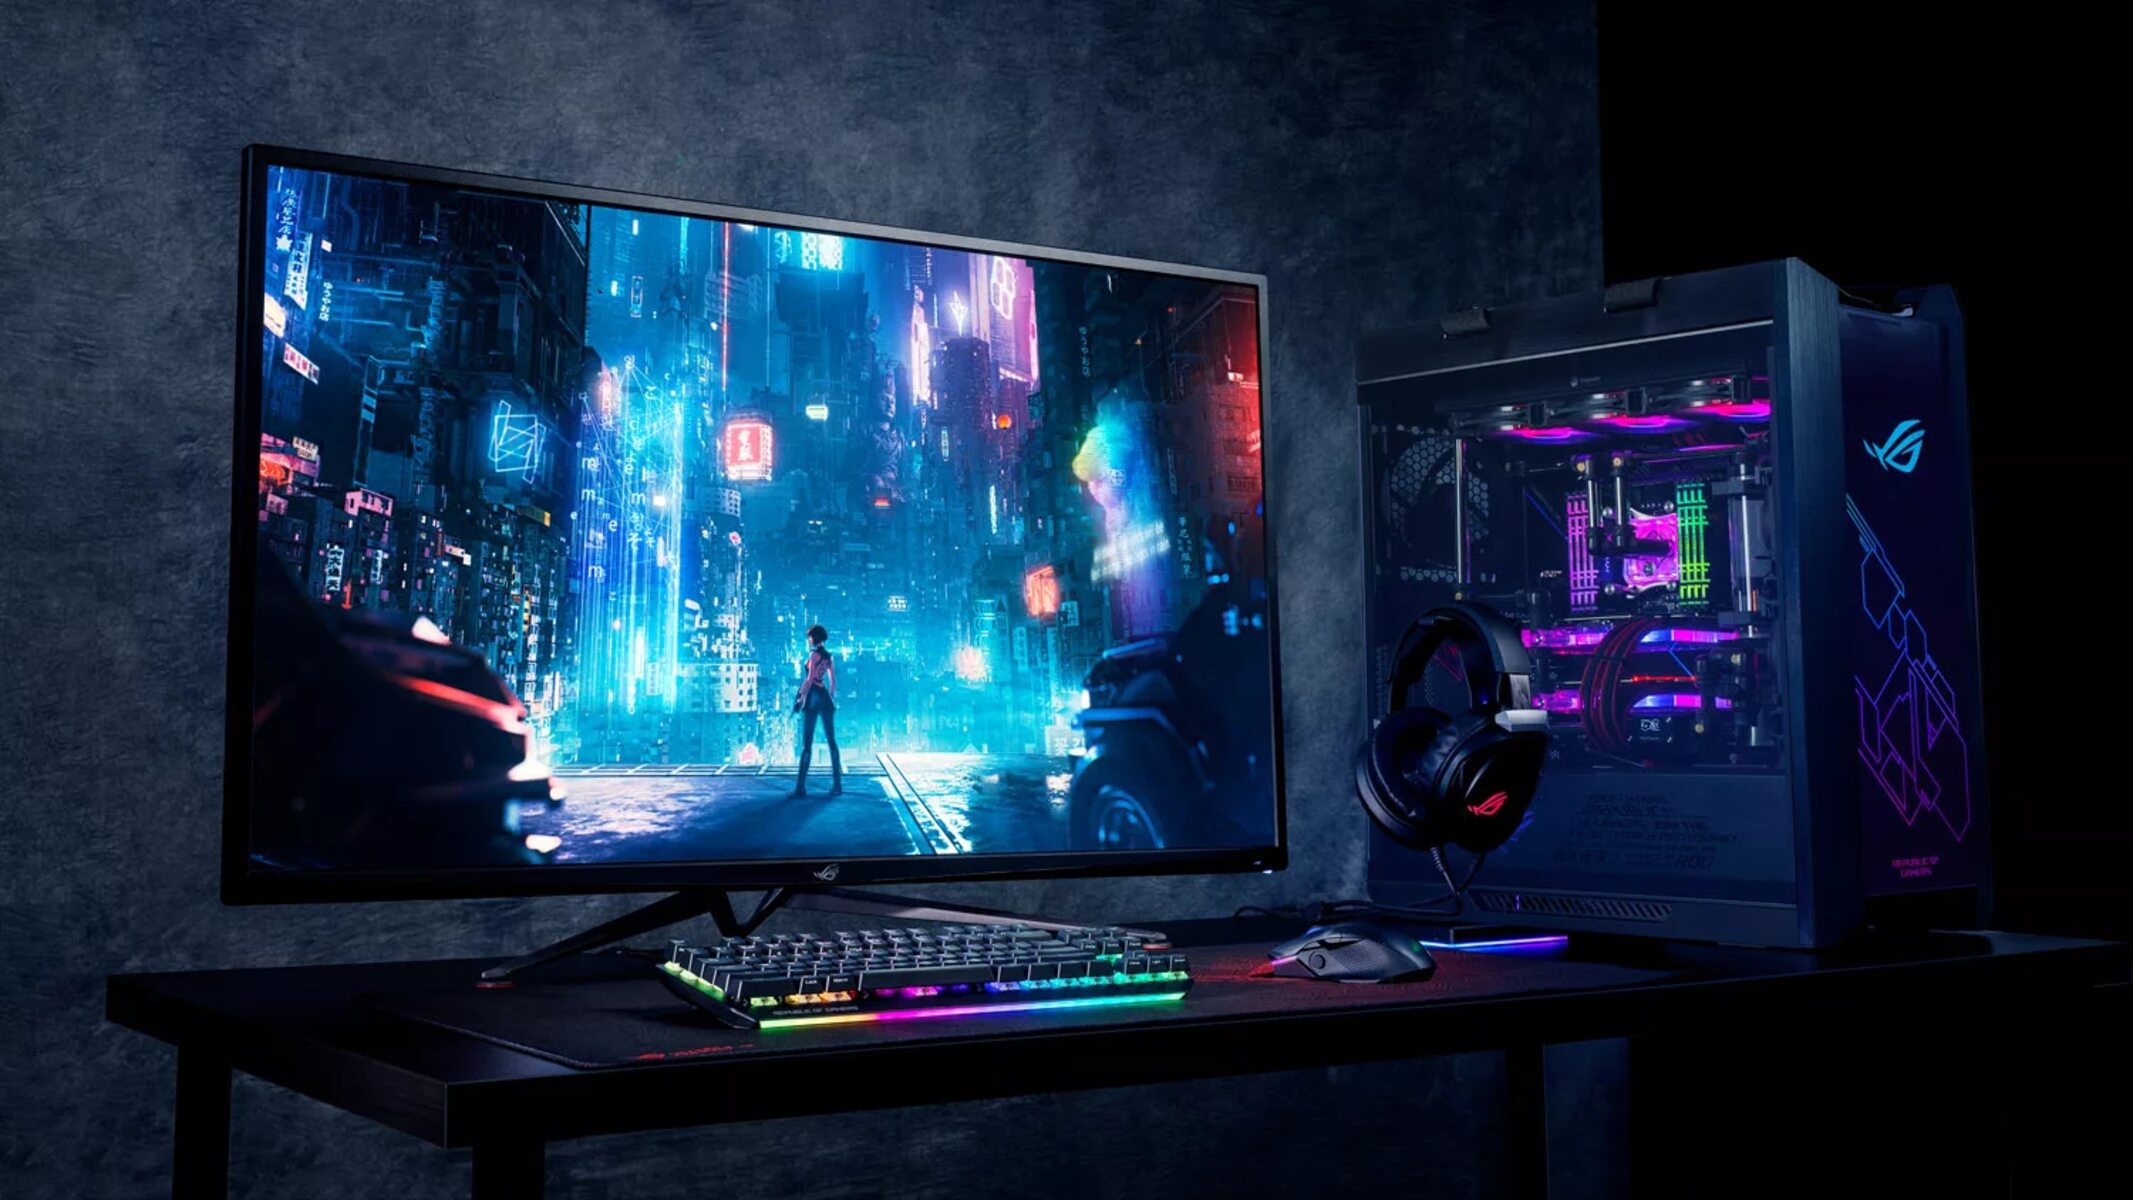
Welcome to the world of gaming with your new ASUS gaming monitor. Whether you’re a casual gamer or a professional esports player, the ASUS gaming monitor is designed to take your gaming experience to the next level. With its impressive display and innovative features, this monitor is sure to immerse you in a world of vibrant colors and smooth gameplay.
Before we delve into the specifics of setting up your ASUS gaming monitor, it’s essential to mention that prioritizing your safety is crucial. Always refer to the safety precautions mentioned in the user manual provided by ASUS. It will guide you on how to handle, install, and maintain your gaming monitor safely.
Now that we’ve covered the importance of safety, let’s move on to the exciting part – unboxing and setting up your ASUS gaming monitor.
Unboxing and Checking the Contents
When you receive your ASUS gaming monitor, it is essential to unbox it carefully. Remove the packaging material gently, ensuring not to damage any parts of the monitor. Once you’ve unboxed the monitor, take a moment to inspect the contents. Typically, the package will include the monitor itself, a power cable, an HDMI cable, a DisplayPort cable, a quick start guide, and any additional accessories depending on the model you’ve purchased.
Mounting Options
Now that you have checked the contents, it’s time to decide how you want to set up your monitor. There are various mounting options available for ASUS gaming monitors, including a stand and VESA mount compatibility. If you prefer using the stand that comes with the monitor, simply attach it according to the instructions in the user manual. If you want to mount your monitor, make sure it is VESA compatible and follow the VESA installation guidelines.
Connecting Cables
With the mounting option sorted, it’s time to connect the necessary cables to your monitor. The ASUS gaming monitor provides multiple connectivity options, including HDMI and DisplayPort. Choose the appropriate cable based on your requirements and connect one end to the appropriate port on the monitor and the other end to your computer’s graphics card. Make sure the connections are secure to avoid any signal issues during gameplay.
Safety Precautions
When setting up and using your ASUS gaming monitor, it’s important to prioritize safety. Following these precautions will not only ensure the longevity of your monitor but also safeguard you from any potential accidents or damage.
1. Read the User Manual: Before you begin setting up your ASUS gaming monitor, thoroughly read the user manual provided by ASUS. It will provide specific instructions on handling, installation, and maintenance, tailored to your monitor model. Pay close attention to any safety warnings and guidelines mentioned in the manual.
2. Power Supply: Ensure that the power outlet you use for the monitor is properly grounded and meets the required voltage specifications mentioned in the user manual. Avoid using multiple power strips or extension cords, as they may overload the electrical circuit and pose a fire hazard.
3. Handling: When handling the monitor, use caution to prevent dropping or mishandling it. Always lift the monitor with two hands to distribute the weight evenly and avoid straining your back. Avoid placing heavy objects on top of the monitor or applying excessive pressure on the screen, as it may lead to permanent damage.
4. Cleaning: To clean the monitor, follow the cleaning instructions mentioned in the user manual. Use a soft, lint-free cloth to gently wipe the screen and avoid using harsh chemicals or abrasive materials that could potentially damage the screen’s coating. Disconnect the monitor from the power source before cleaning to prevent any electrical accidents.
5. Ventilation: Ensure that the monitor has proper ventilation and is not obstructed by objects such as curtains, papers, or other electronic devices. Good ventilation helps to prevent overheating of the monitor components and maintains optimal performance.
6. Heat and Humidity: Avoid exposing the monitor to extreme temperatures or high humidity levels. Keep the monitor in a well-ventilated room with a controlled temperature range to prevent any damage caused by overheating or condensation.
7. Power Off: When not in use, make sure to switch off the monitor and unplug it from the power source. This will not only conserve energy but also prevent any potential electrical hazards.
8. Repairs: Do not attempt to repair the monitor yourself if it requires professional assistance. Opening the monitor or tampering with its internal components may void the warranty and cause further damage. If you encounter any issues, contact ASUS customer support for guidance and assistance.
By adhering to these safety precautions, you can enjoy your gaming sessions on the ASUS gaming monitor with peace of mind, knowing that you are taking the necessary steps to protect yourself and your investment.
Unboxing and Checking the Contents
When you receive your ASUS gaming monitor, it’s an exciting moment as you get one step closer to enhancing your gaming experience. Unboxing the monitor properly and checking its contents ensures that you have everything you need for a smooth setup process. Here’s a step-by-step guide to help you unbox and check the contents of your ASUS gaming monitor:
1. Remove Packaging: Carefully remove the packaging material from your ASUS gaming monitor, making sure not to damage any parts or accessories. Take your time and handle the monitor with care.
2. Inspect the Monitor: Once you’ve unboxed the monitor, take a moment to inspect it. Look for any visible signs of damage, such as cracks or dents. If you notice any issues, contact your retailer or ASUS customer support for assistance.
3. Check for Accessories: Your ASUS gaming monitor package should include a variety of accessories to enhance your gaming experience. These may include a power cable, an HDMI cable, a DisplayPort cable, a quick start guide, and any additional accessories specific to the monitor model you’ve purchased. Ensure that all the accessories are present and undamaged.
4. Quick Start Guide: Review the quick start guide included in the package. This guide provides essential information on how to set up your monitor quickly and efficiently. It will guide you through the initial steps required to get your monitor operational.
5. Additional Accessories: In some cases, certain ASUS gaming monitor models may come with additional accessories such as a calibration tool, a remote control, or a headphone hanger. Take a moment to verify if any such additional accessories are included in your package and check their condition.
6. Documentation: Along with the quick start guide, you may also find other documentation such as warranty information or safety guidelines. It is recommended to read through this documentation to familiarize yourself with the terms and conditions of your purchase, as well as any other important information provided by ASUS.
By taking the time to carefully unbox and check the contents of your ASUS gaming monitor, you can ensure that everything is in order and ready for the setup process. If you notice any missing or damaged items, contact ASUS customer support or your retailer immediately to rectify the situation. Now that you have inspected the contents, it’s time to move on to the next step—mounting your ASUS gaming monitor.
Mounting Options
When setting up your ASUS gaming monitor, you have the flexibility to choose from various mounting options, depending on your preferences and available space. Whether you want to use the monitor stand that comes with it or opt for a VESA mount, here are the mounting options to consider:
1. Stand Mounting: The monitor package includes a stand that allows you to place the monitor on a desk or tabletop. To mount the monitor on the stand, follow the instructions provided in the user manual. Make sure to secure the monitor to the stand firmly and ensure it is balanced and stable.
2. VESA Mounting: If you prefer a different mounting setup or want to save desk space, ASUS gaming monitors often come with VESA mount compatibility. VESA mounts use a standardized hole pattern on the back of the monitor to attach it to a wall mount or an adjustable monitor arm. Check the user manual or specifications of your monitor to confirm the VESA mount compatibility and the required VESA pattern.
When opting for a VESA mount, ensure that you have the necessary wall mount or monitor arm that supports the weight and size of your ASUS gaming monitor. Follow the manufacturer’s instructions to securely attach the monitor to the VESA mount, making sure it is properly aligned and tightened.
3. Ergonomic Considerations: When choosing your mounting option, consider the ergonomics of your setup. Find a comfortable viewing position that reduces strain on your neck and eyes. Adjust the height, tilt, and swivel options available in both the stand and VESA mount to align the monitor with your eye level and maintain proper posture during extended gaming sessions.
Remember to leave sufficient space behind the monitor for cables, especially if you opt for a wall-mounted setup. Proper cable management can help maintain a clean and organized gaming space.
Ultimately, whether you choose the monitor stand or a VESA mount, ensure that the mounting option you select provides stability, ergonomic comfort, and suits your gaming setup requirements.
Now that you have decided on the mounting option that works best for you, it’s time to move on to the next step—connecting the necessary cables to your ASUS gaming monitor.
Connecting Cables
Now that you have set up the mounting option for your ASUS gaming monitor, it’s time to connect the necessary cables to ensure proper functionality and an immersive gaming experience. Here’s a step-by-step guide to help you connect the cables:
1. Identify the Ports: Take a close look at the back of your monitor to identify the available ports. Common ports found on ASUS gaming monitors include HDMI, DisplayPort, DVI, and VGA. These ports allow you to connect your monitor to your computer or gaming console.
2. Select the Cable: Based on the available ports on your monitor and the ports on your computer or gaming console, choose the appropriate cable for the connection. HDMI and DisplayPort cables are the most common options for modern monitors, as they offer high-definition video and audio transmission. Ensure that the cable supports the resolution and refresh rate you desire for optimal gaming performance.
3. Connect the Cable: Plug one end of the cable into the corresponding port on the back of your ASUS gaming monitor. Make sure the connection is secure by aligning the plug with the port and gently pushing it in until it clicks into place. Take care not to force the connection, as this may damage the ports or the cable.
4. Connect to Your Device: Once the cable is securely connected to the monitor, locate the appropriate port on your computer or gaming console. Plug the other end of the cable into the port, ensuring a secure connection. Again, be gentle and avoid applying excessive force.
5. Power Connection: Locate the power input port on the back of your ASUS gaming monitor and connect the included power cable. Plug the other end of the power cable into a power outlet or surge protector. Verify that the power connection is secure and stable.
6. Additional Connections: If you have any other peripherals to connect, such as speakers, a microphone, or a USB hub, refer to the user manual for your monitor to locate the relevant ports and make the necessary connections. Take care to connect each peripheral’s cables securely to avoid any signal or power issues.
7. Cable Management: Once all the cables are connected, take a moment to organize and manage the cables. Use cable ties, clips, or cable management accessories to secure and bundle the cables together. This will help maintain a tidy and clutter-free gaming setup.
By following these steps, you have successfully connected the necessary cables to your ASUS gaming monitor. Ensure that all connections are secure and double-check the cable compatibility for optimal performance. Now that your monitor is connected, it’s time to adjust the display settings according to your preferences.
Adjusting Display Settings
After connecting your ASUS gaming monitor and powering it on, it’s important to adjust the display settings to optimize your visual experience and ensure accurate colors and smooth gameplay. Here’s a step-by-step guide on how to adjust the display settings:
1. Access the On-Screen Display (OSD): Most ASUS gaming monitors have an on-screen display menu that allows you to customize and adjust various settings. Locate the buttons or joystick on the back or underside of your monitor that correspond to menu navigation and access the OSD.
2. Brightness and Contrast: Start by adjusting the brightness and contrast settings to suit your preferences and the lighting conditions in your gaming area. Use the OSD to navigate to the brightness and contrast controls and make adjustments until you achieve the desired level of brightness and contrast.
3. Color Calibration: To ensure accurate and vibrant colors, navigate to the color calibration settings in the OSD menu. Adjust the color temperature, gamma, and saturation levels to achieve the desired color reproduction. Some ASUS gaming monitors offer preset color modes, such as sRGB or Vivid, which you can choose based on your preference and the type of content you are viewing.
4. Response Time and Overdrive: If your ASUS gaming monitor offers response time and overdrive settings, adjust them to reduce motion blur and ghosting during fast-paced gaming. Find the response time and overdrive options in the OSD menu and experiment with different settings to find the optimal balance between refresh rate, response time, and visual clarity.
5. Refresh Rate and Adaptive Sync: ASUS gaming monitors often feature high refresh rates, such as 144Hz or even 240Hz, for smooth and fluid gameplay. Ensure that your monitor is set to the desired refresh rate in the OSD menu. If your monitor supports adaptive sync technologies like AMD FreeSync or NVIDIA G-SYNC, enable them to reduce screen tearing and enhance overall gaming performance.
6. Aspect Ratio and Resolution: Adjust the aspect ratio and resolution settings to match your desired display size and content. ASUS gaming monitors typically offer a range of aspect ratios, such as 16:9 or 21:9, and various resolution options, such as Full HD (1920×1080), WQHD (2560×1440), or even 4K UHD (3840×2160). Choose the appropriate aspect ratio and resolution for your gaming needs and hardware capabilities.
7. OSD Settings: The OSD menu may have additional settings to customize features such as blue light filter, crosshair overlays, and picture-in-picture or picture-by-picture modes. Explore these settings and adjust them according to your preferences and gaming requirements.
Once you have adjusted the display settings to your liking, take a moment to review and save your changes in the OSD menu. This ensures that your preferred settings are applied each time you power on your monitor.
Now that you have optimized the display settings, let’s explore the GameVisual settings available on many ASUS gaming monitors, which further enhance your gaming experience.
Customizing GameVisual Settings
ASUS gaming monitors come equipped with a feature called GameVisual, which offers various preconfigured display modes tailored for different types of games and content. Customizing these GameVisual settings allows you to enhance the visual experience based on your specific gaming preferences. Here’s a guide on how to customize the GameVisual settings:
1. Accessing GameVisual: To access the GameVisual settings, open the on-screen display (OSD) menu by using the buttons or joystick on your monitor. Navigate to the GameVisual section to explore the available options.
2. Game-specific Modes: GameVisual provides preset modes designed for specific game genres, such as FPS (First-Person Shooter), RTS/RPG (Real-Time Strategy/RPG), Racing, and Cinema. Select the mode that matches the type of game you’re playing to optimize the visual settings accordingly. Each preset mode adjusts settings like brightness, contrast, color saturation, and sharpness to complement the specific game genre.
3. Color Vibrance: Some ASUS gaming monitors offer a Color Vibrance setting within the GameVisual menu. This allows you to boost the overall color saturation and vibrancy of the display, making the visuals appear more vibrant and lively. Adjust the Color Vibrance setting to your liking to enhance the colors in your games.
4. Blue Light Filter: Extended gaming sessions can strain your eyes, especially in low-light environments. ASUS gaming monitors often come equipped with a Blue Light Filter setting. Enabling this feature reduces the amount of blue light emitted by the monitor, helping to reduce eye fatigue and improve viewing comfort. Adjust the intensity of the Blue Light Filter based on your comfort level and ambient lighting conditions.
5. GamePlus Features: In addition to GameVisual, ASUS gaming monitors also offer GamePlus features. These features include functions like crosshair overlays, timers, FPS counters, and alignment guides to enhance your gaming performance. Explore the GamePlus settings in the OSD menu and customize them according to your preferences and gaming requirements.
6. User-defined Mode: Some ASUS gaming monitors allow you to create a custom GameVisual mode. This mode enables you to fine-tune the display settings to your specific liking by adjusting parameters such as brightness, contrast, color temperature, and individual RGB color channels. Experiment with these settings to create a personalized visual profile that suits your gaming style.
7. Save and Switch Profiles: Once you have customized the GameVisual settings to your preference, save the changes in the OSD menu. This allows you to quickly switch between different gaming profiles depending on the type of game or content you’re experiencing.
Customizing the GameVisual settings on your ASUS gaming monitor lets you tailor the visual presentation to match your preferences and optimize your gaming experience. By fine-tuning the display modes and leveraging additional features like Blue Light Filter and GamePlus functions, you can immerse yourself further into the world of gaming on your ASUS monitor.
Next, let’s explore how to calibrate the colors on your ASUS gaming monitor for accurate and lifelike visuals.
Using GamePlus Features
ASUS gaming monitors come equipped with a range of innovative features under the GamePlus menu. These features are designed to enhance your gaming experience by providing additional tools and functionalities. Here’s a guide on how to use the GamePlus features available on your ASUS gaming monitor:
1. Crosshair Overlay: The Crosshair Overlay feature provides a customizable crosshair on your screen, making it easier to aim and track targets in games. Navigate to the GamePlus menu in the on-screen display (OSD) and enable the Crosshair Overlay. You can choose from different types of crosshairs and adjust the size and position to suit your preference.
2. Timer: The Timer feature is useful for timing game sessions or monitoring cooldowns. You can set a countdown timer in the GamePlus menu, which will be displayed on the screen during gameplay. This helps you track the time spent in a game or manage your in-game abilities more effectively.
3. FPS Counter: The FPS (Frames Per Second) Counter displays the current frame rate of your game on-screen. Enabling this feature allows you to keep track of the game’s performance and make adjustments as needed. To activate the FPS Counter, navigate to the GamePlus menu and enable the FPS Counter option.
4. Display Alignment: Display Alignment provides alignment grids that help you verify and adjust the positioning of multiple monitors when using a multi-monitor setup. This feature ensures that the borders of your screens are aligned correctly, creating a seamless gaming experience across all monitors.
5. Customizable Shortcuts: Some ASUS gaming monitors offer customizable shortcuts within the GamePlus menu. These shortcuts allow you to access commonly used functions or settings with ease. You can assign specific actions or menu options to the available shortcuts, granting quick access to those features during gameplay.
6. Blue Light Filter Timer: If your ASUS gaming monitor has a Blue Light Filter feature, you can set a timer to automatically enable or disable the filter at certain times. This is beneficial for maintaining eye comfort, especially during late-night gaming sessions or in low-light environments. Navigate to the GamePlus menu and configure the timer settings for the Blue Light Filter.
Remember to explore and experiment with the various GamePlus features available on your ASUS gaming monitor. Each feature is designed to enhance specific aspects of your gaming experience, providing additional tools and functionalities that can give you a competitive edge or improve your immersion in games.
Now that you’re familiar with the GamePlus features, let’s move on to the next section and discover how to calibrate the colors on your ASUS gaming monitor for accurate and vibrant visuals.
Calibrating Colors
Calibrating the colors on your ASUS gaming monitor allows you to achieve accurate and vibrant visuals, enhancing your gaming experience. Although ASUS monitors come pre-calibrated, adjusting the color settings can help fine-tune the colors to your preference or ensure color accuracy for tasks such as photo editing. Here’s a step-by-step guide on how to calibrate the colors on your ASUS gaming monitor:
1. Contrast and Brightness: Start by adjusting the contrast and brightness settings. Use the on-screen display (OSD) menu to access these settings and make adjustments. Aim for a balanced contrast that brings out the details in dark areas without washing out brighter areas, and adjust the brightness to achieve a comfortable viewing level in your gaming environment.
2. Color Temperature: The color temperature setting determines the overall warmth or coolness of the display. The most common presets are cool, normal, and warm. Choose a color temperature that appeals to you or aligns with your specific needs (e.g., warmer tones for a more relaxed viewing experience or cooler tones for a crisper display).
3. RGB Levels: Adjusting the RGB levels allows you to fine-tune the individual red, green, and blue color channels to achieve accurate color reproduction. Access the RGB settings in the OSD menu and make subtle adjustments to find the optimal balance for vibrant and natural-looking colors.
4. Gamma Correction: Gamma correction helps adjust luminance levels and improve the overall contrast of the display. Use the gamma correction settings in the OSD menu to tweak the gamma curve according to your preference. Experiment with different gamma settings to find the right balance between bright and dark areas in your games.
5. Color Saturation: Color saturation refers to the intensity of colors displayed on the monitor. Use the color saturation settings in the OSD menu to increase or decrease the saturation level based on your preference. Achieve a balance that enhances the vibrancy of colors without oversaturating or distorting them.
6. Color Accuracy and Calibration Tools: For advanced users or those engaged in professional tasks like photo editing, consider using external color calibration tools. These devices help ensure accurate color reproduction by measuring and calibrating the monitor’s color accuracy. Consult the user manual or ASUS support for compatibility with third-party calibration tools.
Remember to take breaks during the calibration process to allow your eyes to rest and readjust. Additionally, it’s helpful to view test images or reference materials to guide your color adjustments, ensuring that you achieve the desired color accuracy and vibrancy.
By calibrating the colors on your ASUS gaming monitor, you can enjoy a visually stunning and accurate gaming experience, with colors that truly pop off the screen. Experiment with the settings and take some time to find the perfect balance that suits your preference and gaming needs.
In the next section, we’ll explore some common issues you may encounter while using your ASUS gaming monitor and provide troubleshooting tips.
Troubleshooting Common Issues
While ASUS gaming monitors are known for their quality and performance, it’s possible to encounter some common issues during usage. Here are some troubleshooting tips to help you resolve these issues and get back to enjoying your gaming experience:
1. No Display or Blank Screen: If you’re not getting any display on your monitor, ensure that all cables are properly connected and securely plugged into the correct ports. Check that your computer or gaming console is powered on and functioning correctly. If the issue persists, try connecting your monitor to a different device to determine if the problem lies with the monitor or the device.
2. Flickering or Distorted Image: If you notice screen flickering or a distorted image, first check the HDMI or DisplayPort cable connections. Make sure they are fully plugged in and not loose. If the issue persists, try using a different cable to eliminate the possibility of a faulty cable. Additionally, verify that your graphics card drivers are up to date, as outdated drivers can sometimes cause display issues.
3. Stuck or Dead Pixels: Stuck or dead pixels can be a frustrating issue. Run a pixel test to identify any stuck or dead pixels on your monitor. There are various online pixel test tools available that display different colors to help locate these issues. If you find any stuck or dead pixels, check your warranty and contact ASUS customer support for further assistance or potential repairs.
4. Image Ghosting or Motion Blur: Ghosting or motion blur can occur during fast-paced gaming. Adjust the response time and overdrive settings in the monitor’s OSD menu to reduce these effects. Experiment with different settings to find the right balance between reducing motion blur and maintaining visual clarity.
5. Backlight Bleeding: Backlight bleeding refers to the uneven distribution of backlighting on the screen, resulting in areas that appear brighter or have a visible light bleed effect. Adjusting the brightness and contrast settings can help minimize backlight bleeding. If the issue persists and is significantly affecting your gaming experience, consider contacting ASUS customer support for further assistance.
6. Oversaturated or Washed-out Colors: If you find that the colors on your monitor appear oversaturated or washed out, access the color settings in the OSD menu and adjust the color saturation, contrast, and brightness levels. Ensure that the color temperature setting is also correctly calibrated for accurate color reproduction.
7. Screen Tearing: Screen tearing occurs when the monitor’s refresh rate is out of sync with the graphics card’s output. Enabling adaptive sync technologies like AMD FreeSync or NVIDIA G-SYNC can minimize screen tearing. Make sure both your monitor and graphics card support the same adaptive sync technology.
8. Power Issues: If your monitor isn’t powering on or isn’t receiving any power, check the power cable connection and ensure that it is securely plugged into both the monitor and the power outlet. Verify that the power outlet is functioning properly by testing it with another device. If the issue persists, consider trying a different power cable or contacting ASUS customer support for further assistance.
If you encounter any other issues not listed here, consult the user manual provided with your ASUS gaming monitor or visit the ASUS support website for troubleshooting guides specific to your model. Remember to check for firmware updates and ensure that your drivers are up to date, as these can also resolve certain issues.
By following these troubleshooting tips, you can address common issues and enjoy a smooth and uninterrupted gaming experience on your ASUS gaming monitor.
Conclusion
Congratulations! You’ve successfully set up your ASUS gaming monitor and optimized its settings for an enhanced gaming experience. By following the steps outlined in this guide, you’ve learned how to unbox and check the contents of the monitor, explore mounting options, connect cables, adjust display settings, customize GameVisual features, calibrate colors, and troubleshoot common issues.
Remember, safety is paramount when setting up and using your ASUS gaming monitor. Always refer to the safety precautions mentioned in the user manual and prioritize the well-being of yourself and your monitor.
As you enjoy your gaming sessions, don’t be afraid to further personalize your experience by experimenting with different GameVisual modes, tweaking color settings, and utilizing the handy GamePlus features available to you. These additional features are designed to enhance your gaming performance and enjoyment.
If you encounter any challenges or experience issues with your monitor, refer to the troubleshooting tips provided in this guide or consult the user manual for further assistance. ASUS customer support is also available to address any concerns you may have.
Now that you have set up your ASUS gaming monitor, calibrated the colors, and adjusted the settings to your liking, it’s time to immerse yourself in the exciting world of gaming. Enjoy the vivid visuals, smooth gameplay, and immersive experience that your ASUS gaming monitor provides.
Remember, gaming is about having fun and enjoying the thrilling adventures that await you. Embrace the power of your ASUS gaming monitor, sharpen your gaming skills, and embark on countless gaming journeys.
Game on!