Introduction
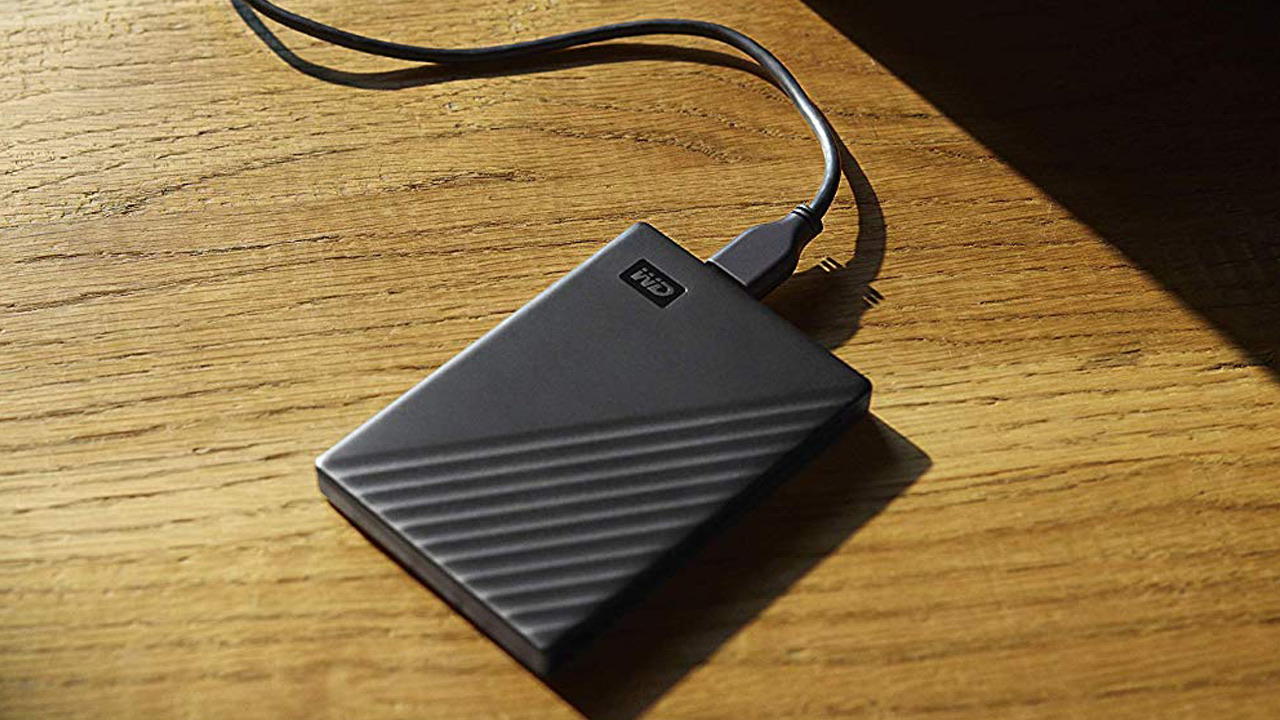
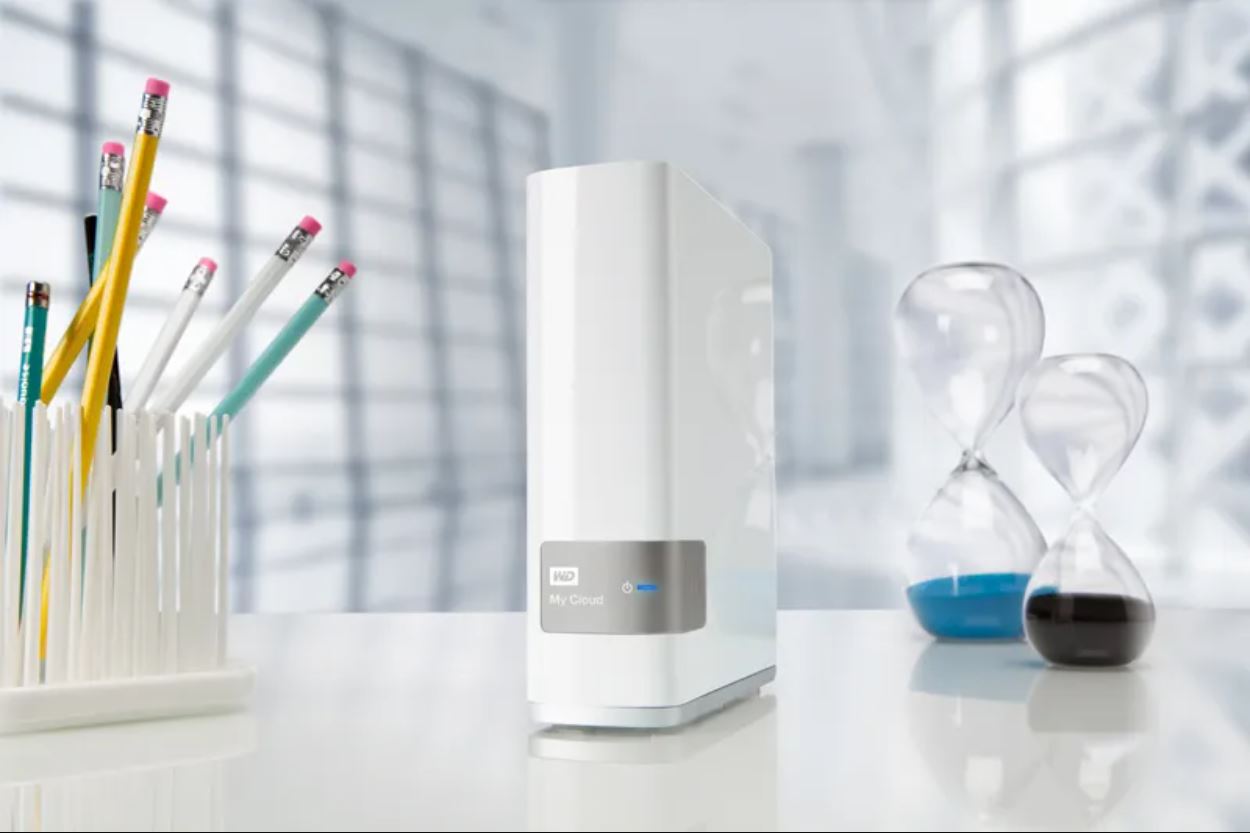
Welcome to our guide on how to reset a WD external hard drive. WD (Western Digital) external hard drives are popular storage devices used to store and back up data. However, there may be times when you encounter issues with the hard drive and need to perform a reset to resolve them. Resetting the WD external hard drive can help solve a variety of problems, including slow performance, unrecognized drive, or corrupted files.
Resetting a WD external hard drive involves restoring it to its default settings, effectively erasing any data or configurations. It is important to note that resetting should be done as a last resort, after exploring other troubleshooting options, as it will delete all your data. Therefore, it is crucial to back up your data before proceeding with any type of reset.
In this guide, we will walk you through different methods to reset a WD external hard drive. We will provide step-by-step instructions for a soft reset, hard reset, and factory reset. Additionally, we will address common issues that may arise during the resetting process and offer troubleshooting tips.
Before we delve into the different reset methods, it is imperative to stress the importance of backing up your data. Resetting a WD external hard drive will erase all the data stored on it. Therefore, it is crucial to create a backup to prevent any loss of important files or documents.
Now that we’ve covered the basics, let’s move on to the next section, where we will discuss why resetting a WD external hard drive may be necessary.
Why Resetting a WD External Hard Drive is Necessary
There are various reasons why resetting a WD external hard drive may become necessary. Over time, these devices can encounter issues that affect their performance and usability. Here are a few common scenarios where resetting can help:
- Corrupted Files: If you notice that some of your files become inaccessible or corrupt, resetting the WD external hard drive can potentially fix the issue. Resetting it will erase any corrupted files or configurations and allow you to start fresh.
- Unrecognized Drive: Sometimes, your computer may fail to recognize the WD external hard drive, preventing you from accessing your data. Resetting the drive can help in reestablishing the connection and resolving any compatibility issues with your system.
- Slow Performance: As you use your external hard drive, it can gradually become slower in transferring files or loading data. A reset can help speed up the drive by clearing temporary files and optimizing its performance.
- Error Messages: If you frequently encounter error messages when using the WD external hard drive, performing a reset can often eliminate these errors. Resetting can correct any configuration issues or software conflicts that may be causing the errors to occur.
- Forgotten Password: In the case of WD external hard drives that have encryption features, resetting may be necessary if you have forgotten the password. However, keep in mind that a reset will also erase all encrypted data, so only proceed with this method if you no longer need the encrypted files.
By resettings a WD external hard drive, you essentially restore it to its default settings, clearing any software or configuration issues that may have caused the problems. It is important to note that resetting should be done as a last resort, after trying alternative troubleshooting methods. Additionally, make sure to back up your data before resetting to avoid losing critical files.
Now that we understand the importance of resetting a WD external hard drive, let’s move on to the next section, where we will discuss the steps for backing up your data before performing a reset.
Backup Your Data Before Resetting
Before you proceed with resetting your WD external hard drive, it is crucial to back up all your important data. Resetting will erase all the files and configurations stored on the drive, so backing up ensures that you don’t lose any critical information. Here are some steps to safely back up your data:
- Identify Important Data: Take some time to go through the contents of your WD external hard drive and identify the files and folders that are important to you. This can include documents, photos, videos, music, or any other data that you don’t want to lose.
- Choose Backup Location: Decide where you want to store your backup. You can use an external hard drive, another WD external hard drive, a cloud storage service, or a combination of these options. Select a reliable and secure method that suits your needs.
- Transfer Your Data: Copy or transfer all the important files from your WD external hard drive to the chosen backup location. You can use file explorer or backup software to simplify the process. Make sure to organize your data appropriately to maintain its structure.
- Verify Backup Integrity: After transferring the data, double-check to ensure that all the files have been successfully backed up. Open a few files from the backup location to confirm that they can be accessed and are intact. This step will give you peace of mind that your data is properly secured before proceeding with the reset.
By completing these steps, you will have successfully created a backup of your important data from the WD external hard drive. It is crucial to emphasize the importance of backing up your data as a precautionary measure; once you perform the reset, there will be no way to recover the erased files.
Now that you have successfully backed up your data, you are ready to move on to the next section, where we will discuss different methods for resetting a WD external hard drive.
Method 1: Soft Resetting the WD External Hard Drive
If you are experiencing minor issues with your WD external hard drive, such as slow performance or unresponsive behavior, a soft reset might be all you need to resolve the problem. A soft reset involves restarting the device without erasing any data. Here is how you can perform a soft reset:
- Disconnect the WD External Hard Drive: Safely remove the WD external hard drive from your computer by right-clicking on its icon in the system tray or using the “Eject” option in Windows/File Explorer. Ensure that there is no active data transfer or operations involving the drive.
- Power Off the WD External Hard Drive: Locate the power button or switch on the WD external hard drive and turn it off. Wait for a few seconds to ensure that the device is completely powered down.
- Disconnect Power Source: If your WD external hard drive is powered through an external power adapter, unplug the power cord from the adapter or disconnect it from the power outlet. If the drive is powered directly through the USB port, skip this step.
- Reconnect the Power: Plug the power cord back into the adapter or reconnect it to the power outlet (depending on how your drive is powered). Ensure that the drive receives power again.
- Power On the WD External Hard Drive: Press the power button or switch to turn on the WD external hard drive. Wait for the drive to fully initialize and establish a connection with your computer.
- Reconnect to Your Computer: Once the WD external hard drive is powered on, reconnect it to your computer using the USB cable. Ensure that the connection is secure.
- Check for Proper Functioning: After reconnecting the drive, check if the issues you were experiencing have been resolved. Test the drive’s performance and verify that it is functioning properly.
A soft reset is a quick and straightforward method that can often solve minor problems with your WD external hard drive. If this method does not resolve the issues, you may need to consider performing a hard reset or a factory reset, which we will explain in the following sections.
Now that you know how to perform a soft reset, let’s move on to the next section, where we will discuss the steps for hard resetting the WD external hard drive.
Method 2: Hard Resetting the WD External Hard Drive
If you are experiencing persistent issues with your WD external hard drive that a soft reset did not resolve, a hard reset might be necessary. A hard reset involves restoring the drive to its default settings, effectively erasing all the data on the drive. Here is a step-by-step guide on how to perform a hard reset:
- Disconnect the WD External Hard Drive: Safely remove the WD external hard drive from your computer by right-clicking on its icon in the system tray or using the “Eject” option in Windows/File Explorer. Ensure that there is no active data transfer or operations involving the drive.
- Power Off the WD External Hard Drive: Locate the power button or switch on the WD external hard drive and turn it off. Wait for a few seconds to ensure that the device is completely powered down.
- Locate the Reset Button: Depending on the model of your WD external hard drive, there might be a reset button on the device. Look for a small hole or a button labeled “Reset” on the drive.
- Insert a Paperclip or Pin: Straighten a paperclip or find a pin that can fit into the reset button hole. Gently insert it into the hole until you feel slight resistance.
- Press and Hold the Reset Button: While inserting the paperclip or pin, press and hold the reset button for about 10-15 seconds. This action will trigger the hard reset process.
- Release the Reset Button: After holding the reset button for the designated time, release it and wait for the WD external hard drive to restart. This may take a few moments.
- Reconnect to Your Computer: Once the WD external hard drive has restarted, reconnect it to your computer using the USB cable. Ensure that the connection is secure.
- Reconfigure the Drive: After reconnecting the drive, it will be restored to its default settings. You will need to reconfigure it by following the manufacturer’s instructions or using any utility software that came with the drive.
Keep in mind that a hard reset will erase all the data on your WD external hard drive. If you have not backed up your important files, this is a crucial step to avoid data loss. However, if you have successfully performed a backup, a hard reset can help address persistent issues that the soft reset did not resolve.
If the hard reset does not resolve the issues with your WD external hard drive, you may need to consider performing a factory reset, which we will explain in the next section.
Now that you know how to perform a hard reset, let’s move on to the next section, where we will discuss the steps for factory resetting the WD external hard drive.
Method 3: Factory Resetting the WD External Hard Drive
If you are still facing persistent issues with your WD external hard drive after trying the soft reset and hard reset methods, a factory reset may be required. A factory reset restores the drive to its original factory settings, erasing all data and configurations. Here is a step-by-step guide on how to perform a factory reset:
- Disconnect the WD External Hard Drive: Safely remove the WD external hard drive from your computer by right-clicking on its icon in the system tray or using the “Eject” option in Windows/File Explorer. Ensure that there is no active data transfer or operations involving the drive.
- Power Off the WD External Hard Drive: Locate the power button or switch on the WD external hard drive and turn it off. Wait for a few seconds to ensure that the device is completely powered down.
- Prepare for Factory Reset: Each WD external hard drive model may have different methods for initiating a factory reset. Refer to the user manual or visit the official WD website for specific instructions on how to perform a factory reset for your particular model.
- Initiate the Factory Reset: Once you have identified the correct method for your model, follow the instructions provided. This usually involves pressing a combination of buttons or using specific utilities to initiate the factory reset process.
- Follow the On-screen Prompts: During the factory reset process, you may be prompted with on-screen instructions or warnings. Follow them carefully to ensure that you understand the consequences of the reset and proceed accordingly.
- Wait for the Reset to Complete: After initiating the factory reset, the WD external hard drive will begin the process of restoring its original factory settings. This may take some time, so be patient and allow the process to complete uninterrupted.
- Reconnect to Your Computer: Once the factory reset is complete, reconnect the WD external hard drive to your computer using the USB cable. Ensure that the connection is secure.
- Reconfigure the Drive: After reconnecting the drive, you will need to go through the initial setup process, just like when you first purchased the WD external hard drive. Follow the on-screen instructions or refer to the user manual to set up the drive and configure it according to your preferences.
Performing a factory reset should only be done as a last resort, as it erases all data and configurations. Make sure to back up your important files before proceeding. Factory resetting the WD external hard drive can help resolve persistent and complex issues that other methods could not fix.
If you are still experiencing problems with your WD external hard drive after a factory reset, it is advisable to contact WD customer support for further assistance or consider professional data recovery services if you have valuable data that needs to be recovered.
Now that you know how to perform a factory reset, let’s move on to the next section, where we will address common issues and provide troubleshooting tips.
Common Issues and Troubleshooting
While resetting your WD external hard drive can often resolve many issues, it is helpful to be aware of common problems that might occur and know how to troubleshoot them. Here are some common issues you may encounter and some troubleshooting steps to try:
- Device Not Recognized: If your computer does not recognize the WD external hard drive, try connecting it to a different USB port or using a different USB cable. Also, ensure that the drive is powered on and properly connected. If the issue persists, check if the drive appears in the Disk Management tool (Windows) or Disk Utility (Mac) and troubleshoot from there.
- Slow Performance: If the drive is noticeably slow in transferring files, check if there are multiple processes running in the background that might be consuming system resources. Close unnecessary applications and running processes to free up resources and improve performance. You can also try defragmenting the drive or running disk cleanup tools to optimize its performance.
- Error Messages: If you receive error messages while using the WD external hard drive, note down the exact message and search for it online. Often, error messages have specific solutions or suggested troubleshooting steps that can help resolve the issue. You can also try updating the device driver or firmware to ensure compatibility and stability.
- Data Corruption: If you encounter corrupted files or errors while accessing data on the WD external hard drive, try running a disk repair or diagnostic tool provided by WD. These tools can help identify and fix potential issues with the drive’s file system. Additionally, ensure that you are safely ejecting the drive from your computer to avoid data corruption in the future.
- Password Issues: If you have encrypted your WD external hard drive and have forgotten the password, there may not be a way to recover the encrypted data. However, you can try using any password recovery tools provided by WD or contact their customer support for assistance. Remember to keep a backup of your passwords in a secure location to avoid such issues in the future.
If none of the troubleshooting steps above resolve the issue you are facing with your WD external hard drive, it is recommended to contact WD customer support for further assistance. They will have access to specialized knowledge and resources to help you troubleshoot and resolve the specific problems you are encountering.
Now that we have covered common issues and troubleshooting steps, let’s conclude our guide on resetting a WD external hard drive.
Conclusion
We hope this guide has provided you with the necessary information and steps to reset your WD external hard drive. Resetting can be an effective solution to resolve various issues such as slow performance, unrecognized drives, corrupted files, and more.
Remember that before performing any type of reset, it is crucial to back up your data to avoid permanent loss. Take the time to identify important files and choose a reliable backup method such as an external hard drive or cloud storage service.
We covered three different methods to reset your WD external hard drive. The soft reset is useful for minor issues and involves restarting the device without erasing any data. If the issues persist, a hard reset can be performed, which restores the drive to its default settings. Finally, a factory reset should be used as a last resort, as it erases all data and configurations, returning the drive to its original state.
Although resetting can often resolve common issues, it is important to remember that some problems may require additional assistance. If you continue to experience difficulties with your WD external hard drive, reach out to WD customer support or consider professional data recovery services.
By following the steps and troubleshooting tips provided in this guide, you can efficiently reset your WD external hard drive and restore its functionality. Remember to always protect your data through regular backups and safe usage practices.
Thank you for reading our guide, and we hope your WD external hard drive performs flawlessly after the reset!


