Introduction
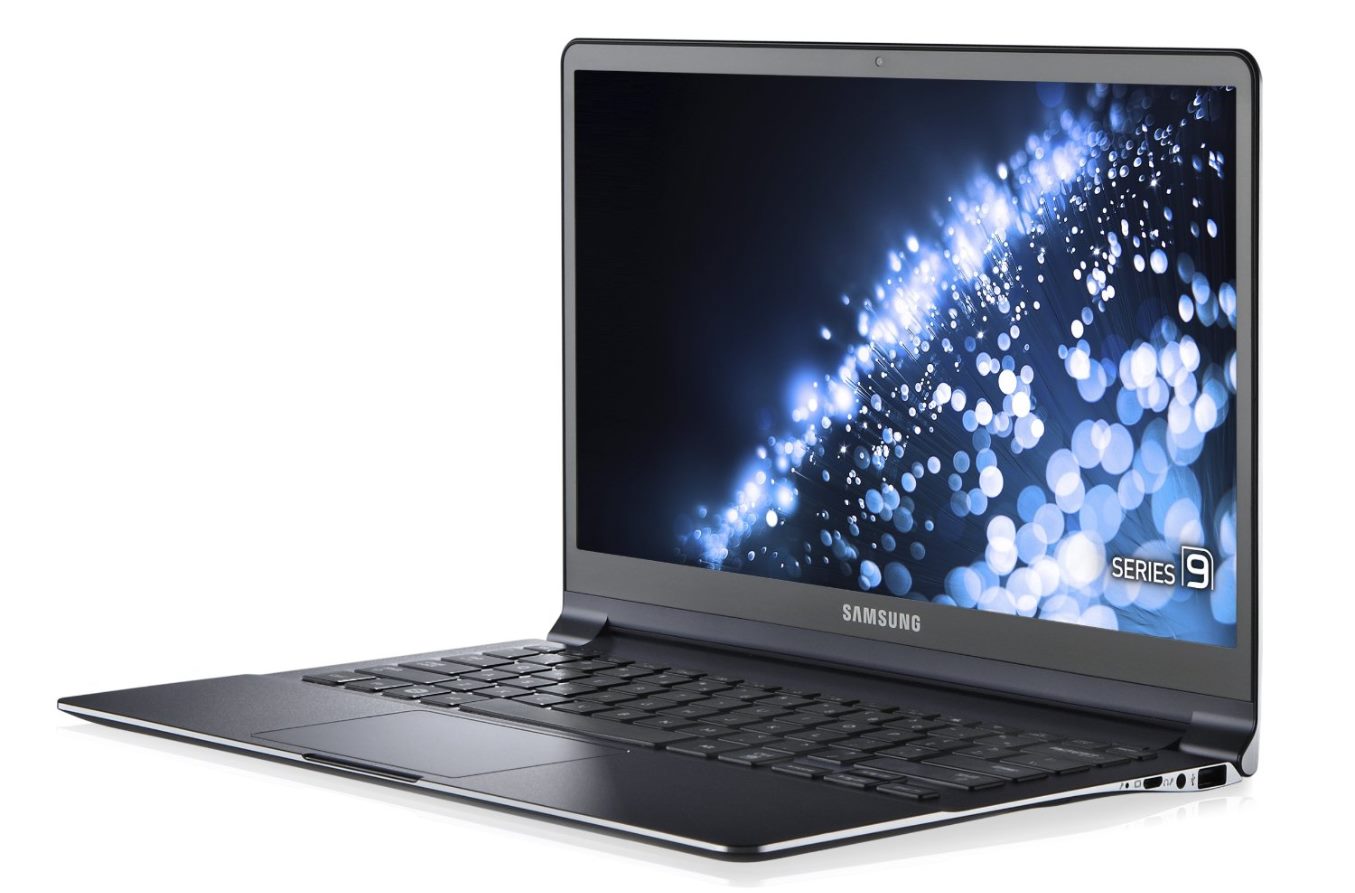
Welcome to our step-by-step guide on how to replace the screen on a Samsung Ativ Ultrabook. The screen on your Ultrabook is a vital component, allowing you to view and interact with your device. Accidents can happen, and if your screen has been damaged or cracked, it is important to replace it to restore the functionality and aesthetics of your device.
In this guide, we will walk you through the process of replacing the screen on your Samsung Ativ Ultrabook. We will provide you with detailed instructions and tips to ensure a successful screen replacement. Whether you are a tech-savvy enthusiast or a beginner, this guide is designed to help you complete the task with confidence.
Before we begin, it is essential to note that replacing the screen on your Ultrabook requires some technical knowledge and skills. If you are unsure or uncomfortable with the process, we highly recommend seeking professional assistance to avoid any further damage to your device.
To replace the screen on your Samsung Ativ Ultrabook, you will need a few tools and materials. These include a small Phillips screwdriver, a plastic pry tool or guitar pick, a replacement screen specifically designed for your model, and some patience and carefulness.
Keep in mind that different Ultrabook models may have slight variations in the disassembly process, so it’s important to consult your device’s user manual or online resources specific to your model for additional guidance.
Now that we’ve covered the basics, let’s move on to the first step: gathering the necessary tools and materials.
Step 1: Gather Tools and Materials
Before you begin the screen replacement process, it’s important to gather all the necessary tools and materials. Making sure you have everything you need at the start will help streamline the process and prevent any unnecessary interruptions. Here’s a list of what you’ll need:
- Small Phillips screwdriver: This will be used to remove the screws holding the Ultrabook’s casing together.
- Plastic pry tool or guitar pick: These non-metal tools are essential for safely prying apart delicate components without causing damage.
- Replacement screen: Make sure to purchase a screen specifically designed for your Samsung Ativ Ultrabook model. Verify compatibility and quality before making your purchase.
- Patience and carefulness: Repairing electronic devices requires a steady hand and focused attention. Take your time and be extra cautious throughout the process to avoid any accidental damage.
Additionally, it’s worth having a clean and well-lit workspace. A clutter-free area will help prevent any small parts or screws from getting lost, and good lighting will ensure clear visibility during the repair process.
Once you have gathered all the necessary tools and materials, you’re ready to move on to the next step: preparing the Ultrabook for disassembly.
Step 2: Prepare the Ultrabook
Before you begin disassembling your Samsung Ativ Ultrabook, it’s crucial to ensure that you are working in a safe and controlled environment. Here are the steps to prepare your Ultrabook for screen replacement:
- Power off and unplug: Start by powering off your Ultrabook and disconnecting it from any power source. This will prevent any electrical accidents and protect both you and your device during the repair process.
- Ground yourself: Static electricity can damage sensitive electronic components. Before handling any internal parts, discharge any static electricity by touching a grounded metal surface or using an antistatic wristband.
- Find a clean and spacious work area: Choose a flat and well-lit surface to work on. Make sure the area is free of dust, liquids, and other potential hazards that could cause damage to your Ultrabook or its components.
- Gather a soft cloth or mat: Place a soft cloth or mat on your workspace to protect the Ultrabook’s exterior from scratches or other damage during the disassembly process.
- Arrange small containers: Use small containers or trays to organize and keep track of the screws and small parts you will be removing. Label each container to indicate which step or component the items belong to, helping you stay organized throughout the repair.
Taking the time to properly prepare your workspace and equipment before beginning the disassembly process will help ensure a smoother and safer screen replacement procedure. With everything in place, you’re now ready to move on to the next step: removing the broken screen from your Samsung Ativ Ultrabook.
Step 3: Remove the Broken Screen
Now that you have prepared your workspace and gathered the necessary tools, it’s time to remove the broken screen from your Samsung Ativ Ultrabook. Follow these steps carefully:
- Remove the casing screws: Using the small Phillips screwdriver, carefully remove the screws securing the Ultrabook’s casing. Keep track of the screws and place them in a container labeled for this specific step.
- Separate the casing: Once the screws are removed, gently pry apart the Ultrabook’s casing using the plastic pry tool or guitar pick. Start at one corner and slowly work your way around the edges, releasing the clips that hold the casing in place. Take your time and be gentle to avoid damaging the clips or the casing itself.
- Disconnect the screen cables: Locate the cables connecting the broken screen to the Ultrabook’s motherboard. Carefully detach the cables by gently pulling on the connectors, being cautious not to apply excessive force.
- Remove the broken screen: With the cables disconnected, gently lift the broken screen from the Ultrabook’s frame. Be careful not to damage any attached cables or components during this process. Place the broken screen in a safe location.
- Clean the frame: Before installing the new screen, take a moment to clean the frame where the old screen was mounted. Use a soft cloth or an electronics-safe cleaning solution to remove any dust or debris that may have accumulated.
With the broken screen successfully removed and the frame cleaned, you are now ready to move on to the next step: installing the new screen onto your Samsung Ativ Ultrabook.
Step 4: Install the New Screen
With the broken screen removed, you can now proceed to install the new screen onto your Samsung Ativ Ultrabook. Follow these steps carefully:
- Position the new screen: Place the new screen into the Ultrabook’s frame, aligning it with the screw holes and ensuring that the cables are accessible and not twisted or tangled.
- Connect the screen cables: Carefully reconnect the cables to their respective connectors on the new screen. Ensure that they are securely attached and properly aligned. Take your time to avoid damaging the connectors or cables.
- Secure the new screen: Once the cables are connected, gently lower the new screen into the frame. Make sure it sits flush and evenly within the frame. If there are any adhesive strips or brackets included with the replacement screen, follow the manufacturer’s instructions to securely attach the screen to the frame.
- Reassemble the Ultrabook: Begin reassembling the Ultrabook by carefully placing the casing back together. Start at one corner and work your way around, ensuring that all clips are securely fastened. Use firm but gentle pressure to avoid applying excessive force.
- Replace the casing screws: Retrieve the screws you removed earlier and carefully insert them back into their respective holes. Tighten them just enough to secure the casing, but be careful not to overtighten and damage the threads.
Once the new screen is properly installed and the Ultrabook is reassembled, you are ready to move on to the next step: testing the functionality of the new screen.
Step 5: Reassemble the Ultrabook
Now that you have successfully installed the new screen, it’s time to reassemble your Samsung Ativ Ultrabook. Follow these steps carefully:
- Align the casing: Ensure that all the edges of the Ultrabook’s casing are properly aligned. Take care to match up the seams and ensure that there are no gaps or misalignments.
- Fasten the casing: Begin by gently pressing the edges of the casing together. Start from one corner and work your way around, applying even pressure to snap the clips back into place.
- Secure the casing screws: Retrieve the screws you removed earlier and carefully insert them into their respective holes. Use the small Phillips screwdriver to tighten the screws until they are snug but be cautious not to overtighten, as this may damage the casing or the internal components.
- Check for any loose parts: Give the Ultrabook a gentle shake and listen for any rattling sounds. If you hear anything, carefully open the casing again and investigate the source. It could be a loose screw or a forgotten component that needs to be properly secured.
- Inspect the Ultrabook’s exterior: Once the casing is securely fastened, check the exterior of the Ultrabook for any smudges or fingerprints. Use a soft cloth to wipe away any marks or residue, leaving the device looking clean and polished.
After completing this step, your Samsung Ativ Ultrabook should be fully reassembled and ready for use. However, before you power it on, there is one more important step to ensure that the new screen is functioning correctly and aligned properly. Let’s move on to the next step: testing the new screen.
Step 6: Test the New Screen
Before considering the screen replacement process complete, it is important to test the functionality of the new screen on your Samsung Ativ Ultrabook. Follow these steps to ensure a successful installation:
- Power on the Ultrabook: Plug in your Ultrabook and power it on. Wait for the device to boot up and check if the screen displays the startup sequence properly. Look for any abnormalities in colors, lines, or flickering.
- Verify touch response (if applicable): If your Ultrabook has a touch screen, test its functionality by tapping and swiping on different parts of the screen. Check whether the touches are accurately registered and if there are any dead zones.
- Adjust screen brightness: Use the appropriate keyboard shortcut or settings menu to adjust the screen brightness to different levels. Verify that the screen responds accordingly and that there are no issues with brightness adjustment.
- Check viewing angles: Tilt the screen at different angles and observe the image quality. Ensure that the screen maintains good visibility and color accuracy from various viewing positions.
- Test screen rotation (if applicable): If your Ultrabook supports screen rotation, try rotating the device to verify that the screen orientation changes correctly and that the content adjusts accordingly.
- Run a full-screen test: Open a program or application that utilizes the full screen, such as a video or image viewer. Check for any anomalies like pixelation, artifacting, or screen tearing.
If the new screen passes all these tests without any issues, congrats! You have successfully replaced the screen on your Samsung Ativ Ultrabook. Enjoy your device with its restored functionality and vibrant display!
However, if you encounter any problems during the testing phase, it is recommended to double-check the screen connections and ensure they are properly seated. If issues persist, consult the troubleshooting section of your user manual or seek professional assistance to address the problem.
Conclusion
Congratulations on successfully replacing the screen on your Samsung Ativ Ultrabook! By following the step-by-step guide provided, you have taken a significant step towards restoring the functionality and visual appeal of your device. Now, you can enjoy using your Ultrabook with a brand new screen that enhances your overall user experience.
Remember, the process of screen replacement requires carefulness, patience, and attention to detail. It is essential to gather the necessary tools, prepare the Ultrabook, remove the broken screen, install the new screen, reassemble the device, and finally, test the functioning of the new screen.
If at any point during the process you encounter difficulties or feel unsure, it is highly recommended to seek professional assistance. DIY repairs can come with risks, and it’s crucial to prioritize your safety and the integrity of your Ultrabook.
We hope this guide has provided you with the knowledge and confidence to successfully replace the screen on your Samsung Ativ Ultrabook. Remember to consult the user manual or refer to official support resources specific to your model for additional guidance if needed.
With your newly replaced screen, you can now enjoy the full potential of your Samsung Ativ Ultrabook, whether it’s for work, entertainment, or staying connected with friends and family.
Thank you for choosing our guide, and we wish you many hours of enjoyment using your Samsung Ativ Ultrabook with its new screen!