Introduction
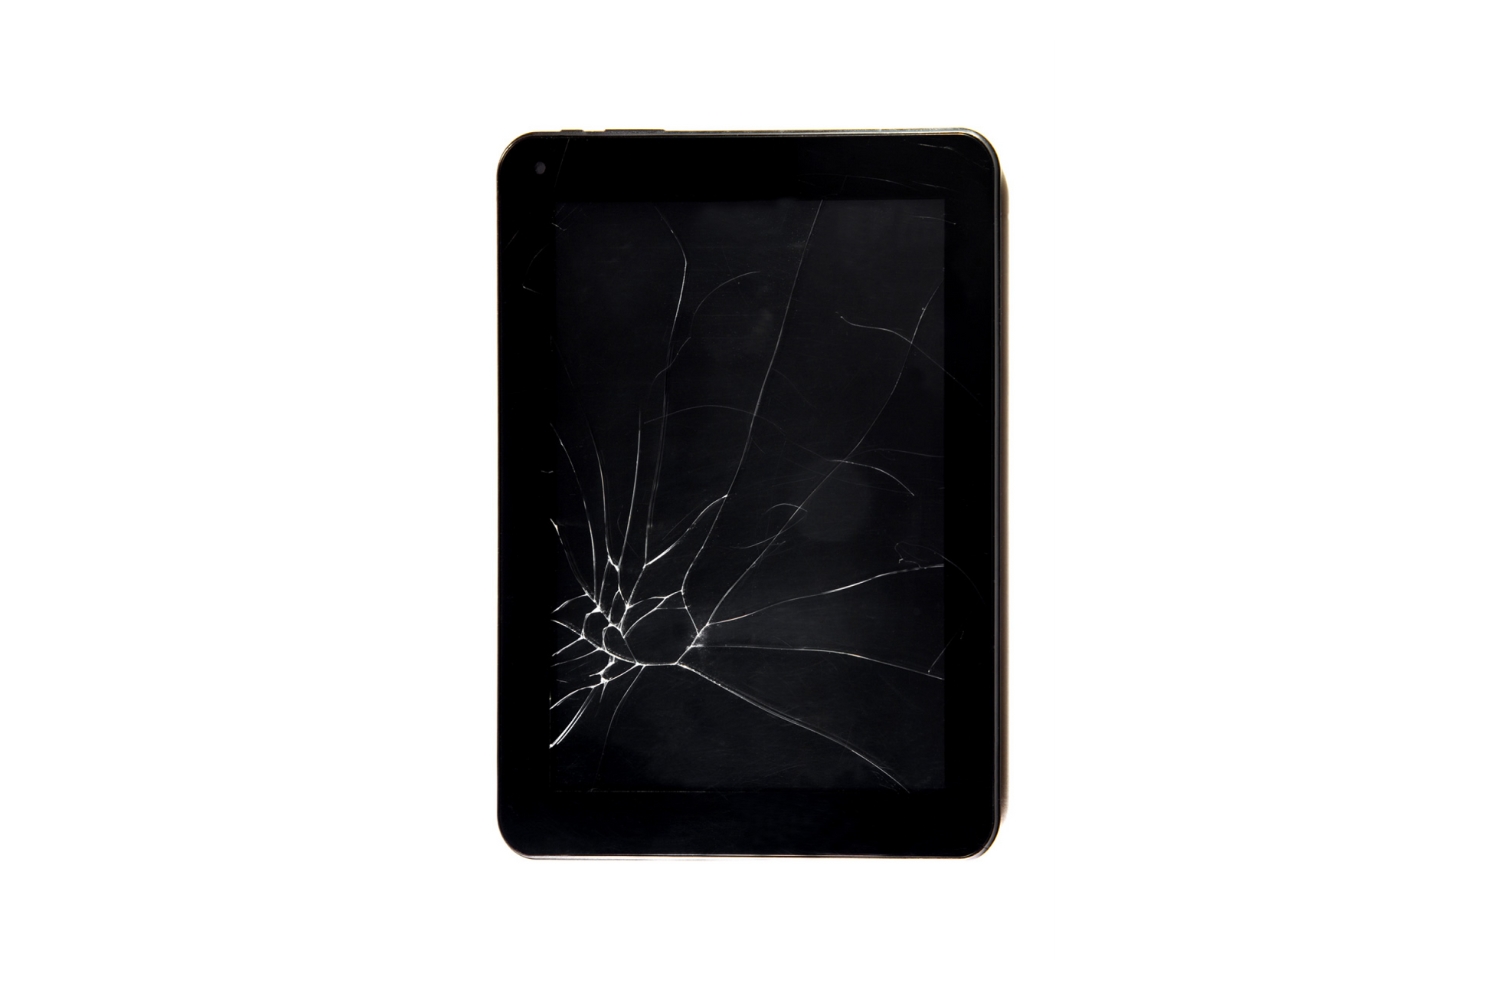
Replacing a cracked or damaged screen on an RCA tablet may seem like a daunting task, but with the right tools and a step-by-step guide, it can be a relatively straightforward process. Tablets have become essential devices for work, communication, and entertainment, making a functional screen crucial for everyday use.
In this guide, we will walk you through the process of replacing the screen on an RCA tablet. Whether you accidentally dropped your tablet or encountered a mishap that led to a damaged screen, by following the steps outlined below, you will be able to restore your tablet’s functionality and enjoy a clear display once again.
Before diving into the replacement process, it’s important to note that some tablets may have different screen removal methods or specific models, so it’s essential to consult the user manual or search for specific instructions for your RCA tablet model. Additionally, be aware that repairing the screen yourself may void any existing warranty, so proceed at your own discretion.
To successfully replace the screen, you will need a set of tools and materials specifically designed for this purpose. These tools will help you safely remove the broken screen and install the new one, ensuring a seamless and secure fit. We will cover the required tools and materials in the next section to ensure you have everything on hand before starting the replacement process.
Tools and Materials Needed
Before embarking on the screen replacement process, it is essential to gather the necessary tools and materials to ensure a smooth and successful repair. Here are the items you will need:
- Screwdriver (specific to your RCA tablet model)
- Plastic opening tools or a spudger
- Tweezers
- Clean cloth or microfiber cloth
- Replacement screen (compatible with your RCA tablet model)
- Adhesive tape or adhesive strips
- Patience and attention to detail
The screwdriver will be used to remove the screws that secure the tablet’s back cover or bezel. It is crucial to have the correct screwdriver size to prevent damage to the screws or the tablet itself. Plastic opening tools or a spudger will help you carefully pry open the tablet’s casing without scratching or causing further damage.
Tweezers will come in handy for handling small components or cables during the replacement process. A clean cloth or microfiber cloth is essential for wiping away any dust or debris that may have accumulated on the tablet’s screen or interior.
Of course, the most important item is the replacement screen itself. Ensure that you purchase a screen specifically designed for your RCA tablet model to ensure compatibility and a proper fit. Additionally, you will need adhesive tape or adhesive strips to secure the new screen in place.
Lastly, patience and attention to detail are crucial throughout the entire process. Take your time and be cautious to avoid any unnecessary mishaps or damage to the tablet.
With these tools and materials on hand, you are ready to proceed with replacing the screen on your RCA tablet. The following steps will guide you through the process, ensuring a successful repair and a fully functional tablet once again.
Step 1: Remove the Protective Cover
Before starting the screen replacement process, it’s important to remove any protective covers or cases that may be on your RCA tablet. This will allow you to access the screen and perform the necessary steps without any hindrance.
Carefully inspect your tablet for any protective covers or cases. If you find one, gently remove it by peeling it off or unfastening any clips or straps. Take your time to ensure that you don’t accidentally damage the cover or the tablet itself during the removal process.
Once the protective cover is removed, set it aside in a safe place. It’s a good idea to keep it nearby so that you can easily replace it after completing the screen replacement.
Removing the protective cover will expose the screen and reveal the underlying components that need to be accessed in the following steps. It’s important to handle the tablet with care, avoiding any excessive force or pressure that could potentially cause further damage.
By removing the protective cover at the beginning of the process, you create a clear path to the screen, allowing for a more efficient and safer screen replacement. Remember to stay patient and focus on each step to ensure a successful repair.
Now that the protective cover is removed, you’re ready to proceed to the next step, which involves removing the broken screen from your RCA tablet.
Step 2: Remove the Broken Screen
With the protective cover removed, you can now proceed to remove the broken screen from your RCA tablet. This step requires careful handling to avoid any further damage to the device.
First, locate the screws or clips that secure the broken screen to the tablet’s frame. Gently loosen and remove any screws using the appropriate screwdriver for your RCA tablet model. If your tablet has clips, carefully unfasten them using a plastic opening tool or a spudger.
Once the screws or clips are removed, use the plastic opening tool or spudger to pry the broken screen away from the tablet’s frame. Start at one corner and carefully work your way around, applying even pressure to gradually separate the screen from the adhesive or clips holding it in place.
Be cautious and gentle while detaching the broken screen to avoid damaging any cables or components connected to it. If you encounter any resistance, do not force the screen off. Instead, double-check for any remaining screws or clips that may still be attached.
Once the broken screen is completely detached, set it aside in a safe place. Take a moment to inspect the underlying components, ensuring that no cables or connectors are damaged or disconnected during the removal process.
By successfully removing the broken screen, you have completed a crucial step in the replacement process. Make sure to handle the broken screen with care and place it in a secure location away from any potential damage.
Now that the broken screen is removed, you’re ready to move on to the next step, which involves disconnecting the cable connectors from the tablet’s internal components.
Step 3: Disconnect the Cable Connectors
Now that the broken screen is removed, the next step in replacing the screen on your RCA tablet is to disconnect the cable connectors. These connectors link the screen to the tablet’s internal components and need to be disconnected before installing the new screen.
Gently locate the cable connectors that are attached to the broken screen. These connectors are thin and delicate, so it’s essential to handle them with care to avoid any damage.
Using your fingers or a pair of tweezers, carefully lift the connectors’ tabs or flaps upwards to unlock them. Take your time and be gentle to prevent any accidental breakage or bending of the connectors. Once unlocked, carefully pull the connectors away from the socket to disconnect them fully.
Depending on your tablet model, there may be multiple cable connectors. Ensure that you disconnect each one by following the same procedure. Be vigilant in keeping track of each connector’s location and orientation, as improper reconnection can cause display issues or other malfunctions.
After disconnecting all the cable connectors, take a moment to inspect the connectors and the sockets for any signs of damage, such as bent pins or debris. If any issues are detected, carefully address them before moving forward with the screen replacement process.
By disconnecting the cable connectors, you have successfully separated the broken screen from the tablet’s internal components, allowing for a seamless transition to the installation of the new screen. Now, you’re ready to proceed to the next step, which is installing the new screen onto your RCA tablet.
Step 4: Install the New Screen
With the broken screen removed and the cable connectors disconnected, it’s time to install the new screen onto your RCA tablet. This step requires precision and careful handling to ensure a proper and secure fit.
Carefully align the new screen with the tablet’s frame, ensuring that all the necessary connectors and screw holes line up correctly. Take note of any adhesive tape or adhesive strips that may be included with the new screen. These will help secure the screen in place.
Begin by gently pressing the new screen onto the tablet’s frame, starting at one corner and gradually working your way around. Apply even pressure to ensure proper adhesion to the adhesive tape or strips. Be careful not to press too firmly, as it may cause damage to the screen or other components.
If the new screen came with adhesive tape or strips, use them to secure the screen in place. Follow the manufacturer’s instructions on where to apply the adhesive. Take your time and ensure that the adhesive is evenly and securely attached.
Once the screen is in place, check that all connectors are aligned properly with the corresponding sockets. Gently push each connector back into its respective socket, making sure they are fully inserted. Use your fingers or tweezers to secure the connectors by pushing down the tabs or flaps until they lock into place.
With the new screen properly installed and the cable connectors securely connected, take a moment to ensure that everything is aligned and in the correct position. Verify that there are no loose cables or connectors that may interfere with the functionality of the screen.
By successfully installing the new screen, you have taken a significant step towards restoring the functionality of your RCA tablet. Now, you’re ready to move on to the next step, which involves reconnecting the cable connectors to their respective components.
Step 5: Reconnect the Cable Connectors
Now that the new screen is securely installed, the next step in replacing the screen on your RCA tablet is to reconnect the cable connectors. These connectors link the screen to the tablet’s internal components and are essential for proper functionality.
Locate the cable connectors on the tablet’s internal components. Take note of the correct orientation and position of each connector before reconnecting them. Ensuring the correct alignment will prevent any potential display issues or malfunctions.
Using your fingers or a pair of tweezers, carefully insert each cable connector into its corresponding socket. Align the pins or connectors with the socket and gently push until they are fully inserted. Double-check that the connectors are securely in place and fully seated in their sockets.
Take your time during this step to ensure that each cable connector is properly connected. Avoid applying excessive force or pressure that could damage the connectors or their sockets. Be meticulous and attentive to detail, ensuring a secure and reliable connection.
Once all the cable connectors are reconnected, take a moment to inspect the connections, making sure there are no loose or misaligned cables. Secure any cable management clips or adhesive tabs provided with the tablet if necessary to ensure a tidy and organized interior.
With the cable connectors successfully reconnected, you have completed an essential step in the screen replacement process. Take a moment to appreciate your progress and prepare for the final steps of securing the new screen and testing its functionality.
Now that the cable connectors are reunited with their respective components, you’re ready to move on to the next step, which involves securing the new screen to the tablet’s frame.
Step 6: Secure the New Screen
With the cable connectors reconnected, it’s now time to secure the new screen to the tablet’s frame. This step ensures that the screen remains in place and prevents any potential movement or shifting during normal use.
If your new screen came with adhesive tape or adhesive strips, carefully peel off the backing to expose the adhesive. Align the screen properly with the tablet’s frame and gently press it down to secure it in place. Apply even pressure across the entire surface of the screen, ensuring that it adheres uniformly.
If adhesive tape or strips were not included or are not necessary for your specific tablet model, check if there are any screws or clips that need to be tightened or fastened to secure the screen. Use the appropriate screwdriver or tool to tighten any screws, ensuring they are secure but not overly tight. If your tablet uses clips, snap them back into place carefully.
Take a moment to inspect the edges and corners of the screen to ensure a flush and seamless fit. If you notice any areas where the screen is not aligned or properly seated, gently adjust it to achieve proper alignment. Remember to be cautious to avoid causing any damage to the screen or internal components.
By securely fastening the new screen, you are ensuring its stability and longevity. This step is crucial for maintaining the usability and functionality of your RCA tablet. After securing the screen, take a moment to appreciate your progress, as you are almost done with the replacement process.
Now that the new screen is securely in place, you’re ready to move on to the final step – testing the functionality of the screen and your tablet as a whole.
Step 7: Test the New Screen
Congratulations on reaching the final step of replacing the screen on your RCA tablet! It’s now time to test the functionality of the new screen and ensure that everything is working as expected.
Power on your tablet and observe the display. Look for any abnormalities such as flickering, distorted colors, or unresponsive touch. Test the touch sensitivity by navigating through different areas of the screen, ensuring that it registers your touch accurately.
Next, play a video or open an application that requires screen interaction. Pay attention to the clarity, brightness, and overall visual quality of the screen. Check for any dead pixels or areas of the screen that may appear darker or brighter than others.
If you notice any issues during the initial test, power off your tablet and check all the cable connections again. Ensure that they are properly seated and securely connected. If the problem persists, double-check the compatibility of the new screen with your tablet model and consult the manufacturer or a professional technician for further assistance.
Assuming that the new screen is functioning as expected, proceed to give it a thorough test. Open various applications, browse the web, and interact with the tablet’s features to ensure smooth operation and responsiveness.
Lastly, examine the edges and corners of the screen once more for any signs of lifting or detachment. If you notice any issues, consider reapplying adhesive tape or consulting a professional for further assistance.
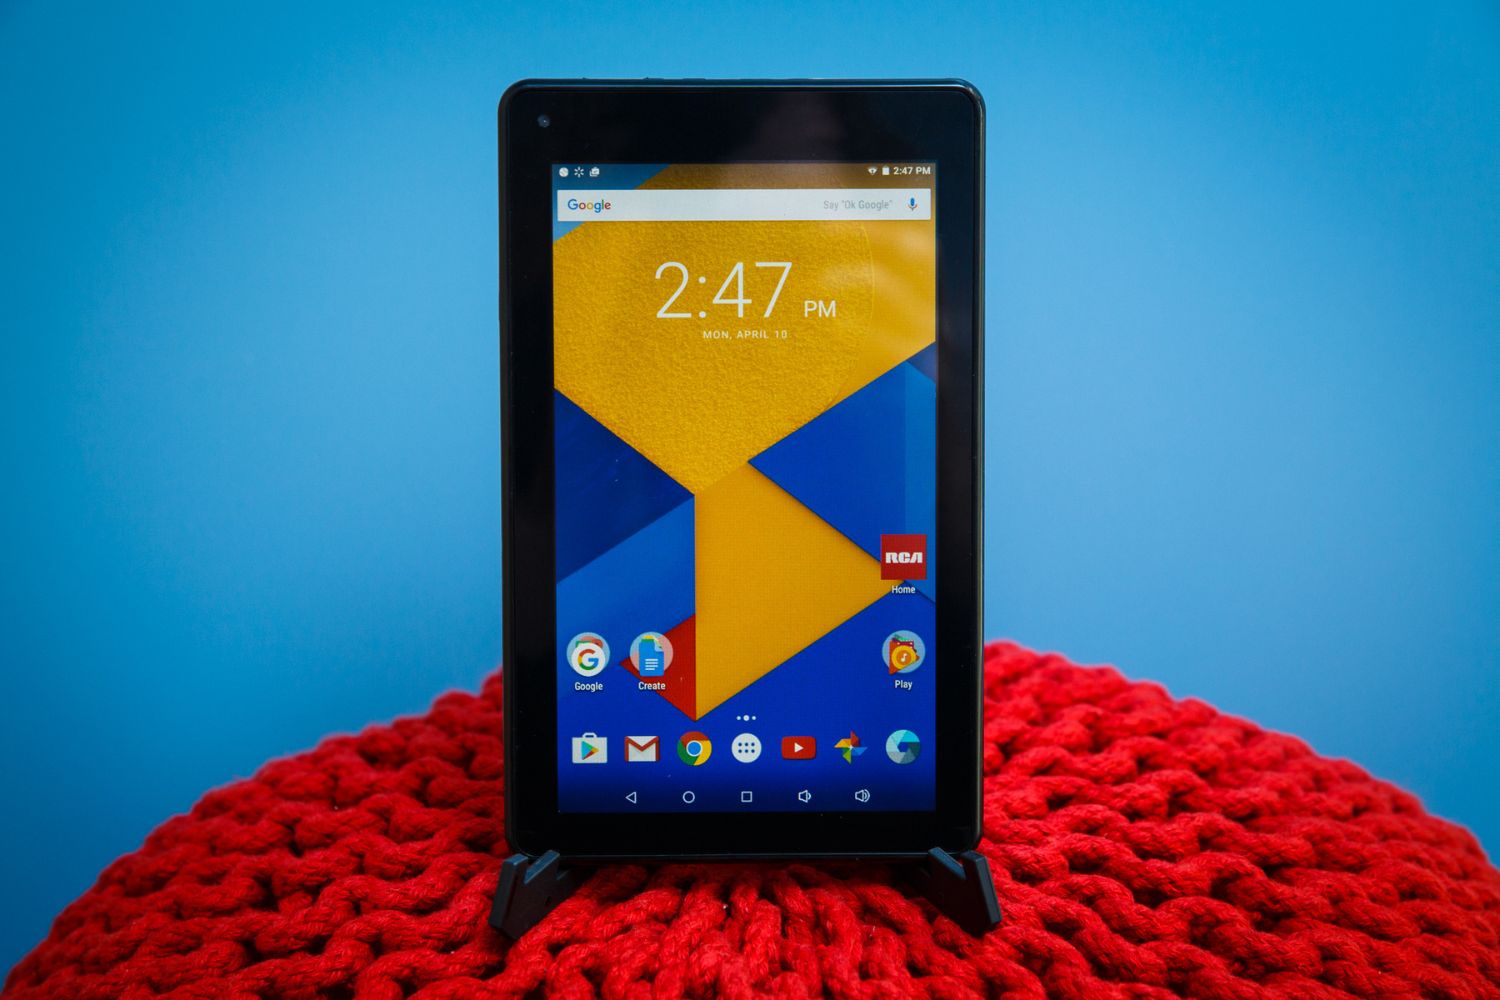
By thoroughly testing the new screen, you can confidently confirm that the replacement process was successful. You can now enjoy your RCA tablet with its fully functional and clear display, ready for your everyday use, work, communication, and entertainment needs.
With the new screen tested and functioning as expected, you are officially done with the screen replacement process. Congratulate yourself on a job well done!
Conclusion
Replacing the screen on your RCA tablet may initially seem intimidating, but with the right tools, materials, and step-by-step instructions, it is a manageable task that can save you the expense of buying a new tablet. By following the outlined steps, you can restore your tablet’s functionality and enjoy a clear and vibrant display once again.
Throughout the process, it is crucial to exercise caution and pay attention to detail. Handle your tablet and the components with care to avoid causing further damage. Take your time during each step, ensuring that you understand and follow the instructions accurately.
Remember to consult your tablet’s user manual or search for specific instructions for your RCA tablet model, as different models may have variations in screen removal methods. Additionally, be aware that attempting to repair the screen yourself may void any existing warranty, so weigh the risks and proceed accordingly.
With the right tools and materials, you can successfully remove the protective cover, detach the broken screen, disconnect and reconnect the cable connectors, install the new screen, secure it to the tablet’s frame, and test its functionality.
If at any point you feel uncertain or encounter difficulties, do not hesitate to seek professional help. A qualified technician or repair service can offer support and guidance to ensure a successful screen replacement.
By following this guide and replacing your RCA tablet’s screen, you have shown yourself to be capable of undertaking a repair task that may have initially seemed daunting. Enjoy your newly restored tablet and its clear, vibrant screen, and take pride in your accomplishment.