Introduction
Welcome to this guide on how to reformat your Sandisk Extreme Portable SSD. Reformatting is a necessary process in certain situations, such as when you need to change the file system, resolve formatting errors, or prepare the SSD for use with a different operating system. By following the steps outlined in this article, you’ll be able to reformat your Sandisk Extreme Portable SSD quickly and easily.
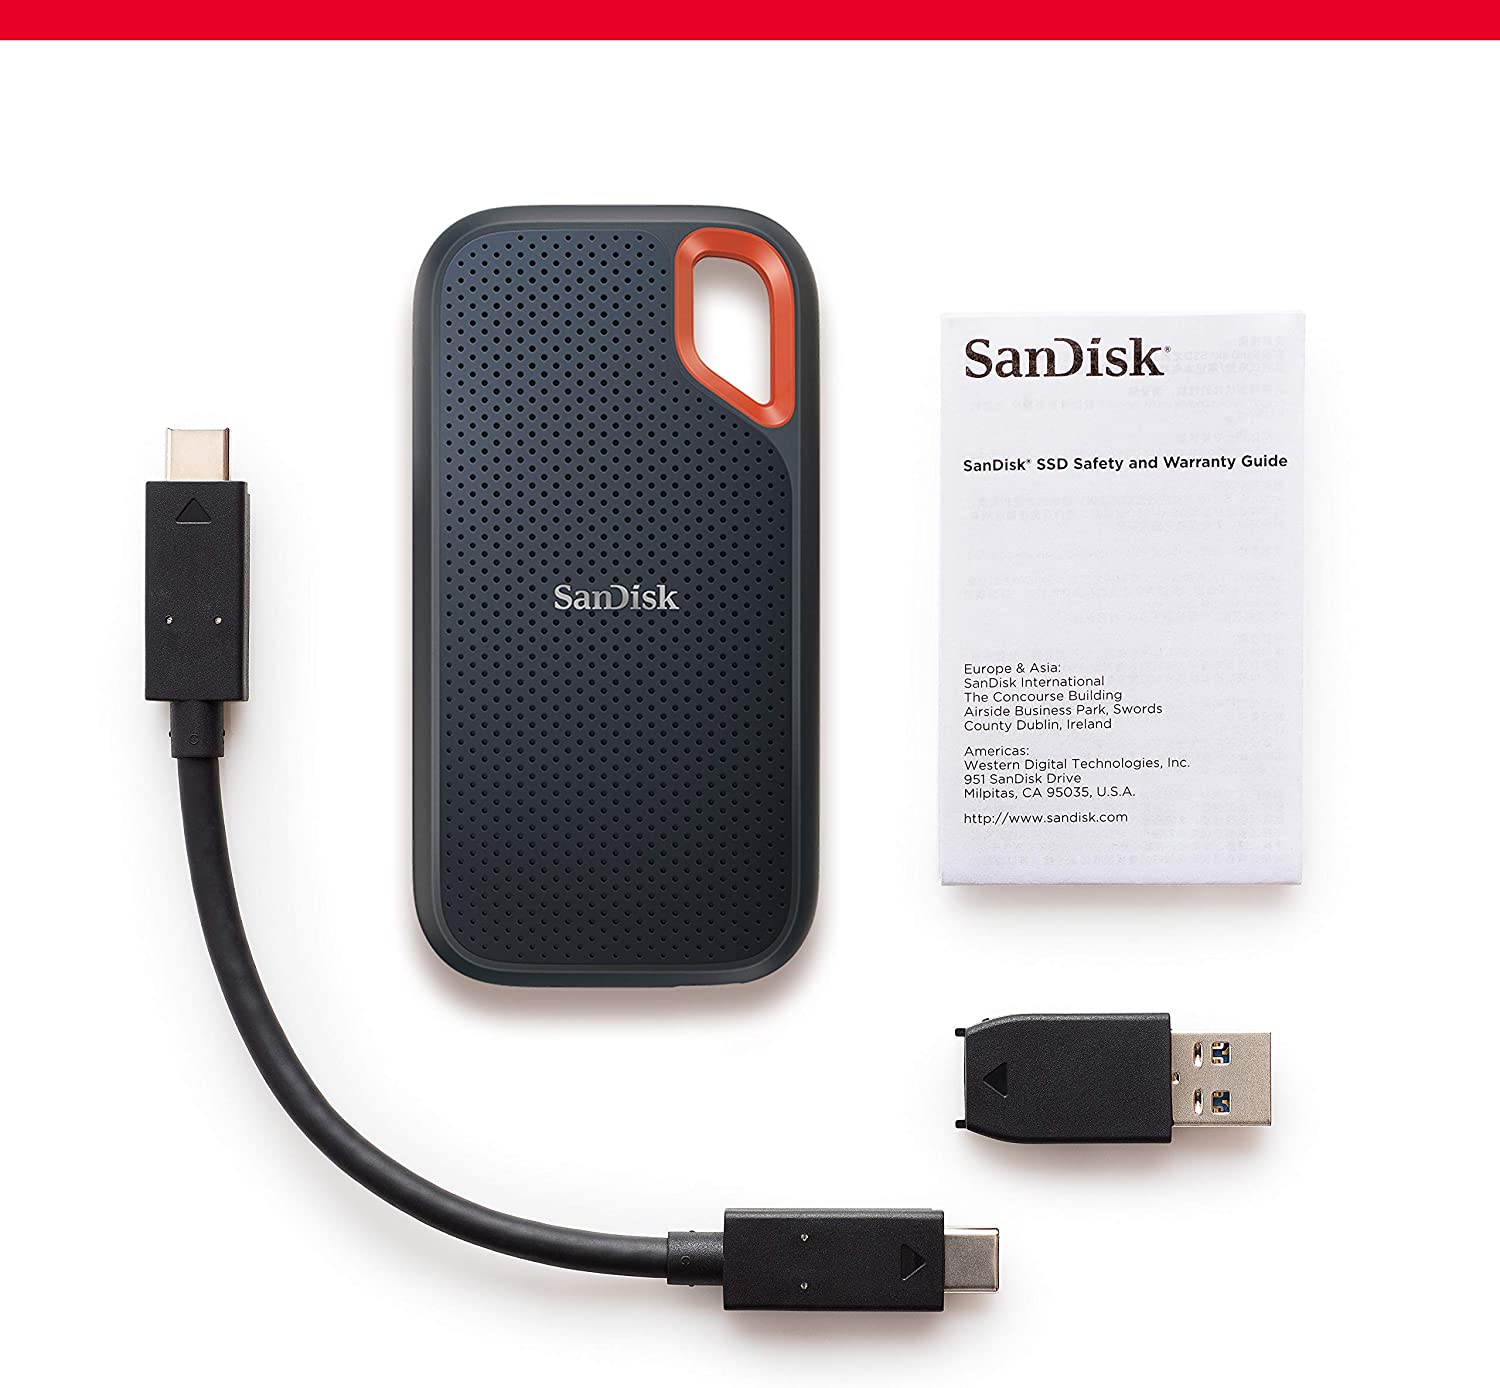
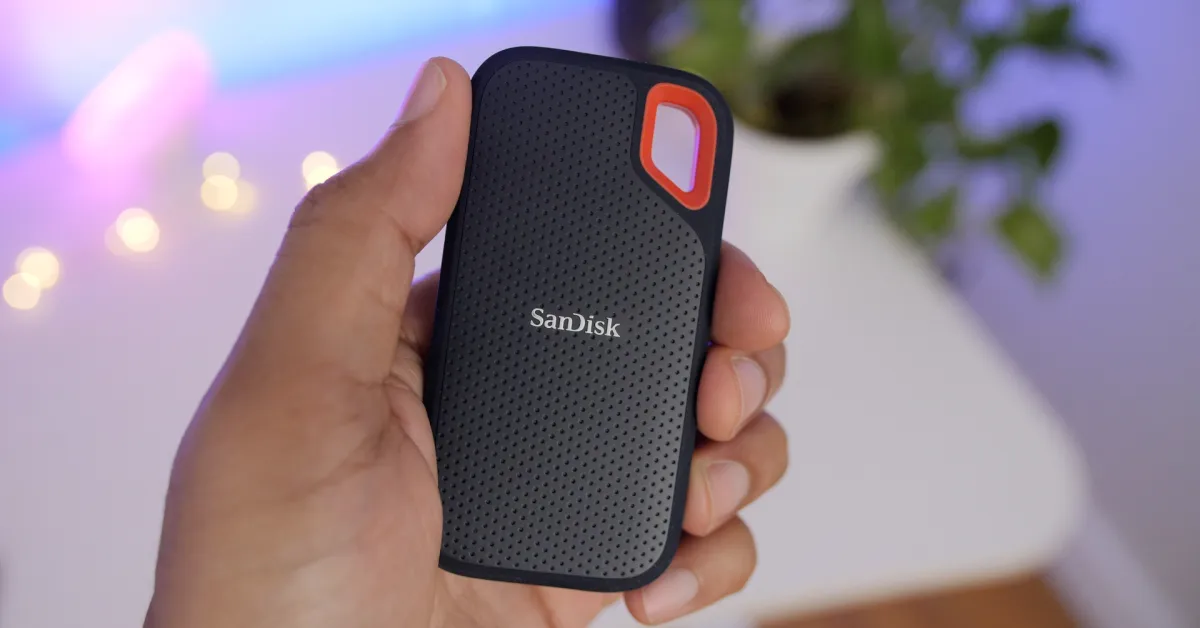
The Sandisk Extreme Portable SSD is a reliable and high-performance storage device that offers fast data transfer speeds and durable construction. Whether you’re a professional working with large files or an individual who needs extra storage for multimedia content, the Sandisk Extreme Portable SSD is an excellent choice.
Before you proceed with the reformatting process, it’s important to note that reformatting will erase all the data on your SSD. Therefore, it’s crucial to back up any important files that you want to keep before starting the process. Once you’ve backed up your data, you can proceed with the reformatting process confidently, knowing that your files are safely stored elsewhere.
Throughout this guide, we’ll walk you through the steps required to reformat your Sandisk Extreme Portable SSD. We’ll provide detailed instructions and tips to ensure a smooth and successful reformatting experience. So, let’s get started with step one – understanding the need to reformat.
Step 1: Understand the Need to Reformat
Before you dive into the reformatting process, it’s essential to understand why you might need to reformat your Sandisk Extreme Portable SSD. There are a few common reasons why reformatting becomes necessary:
- Changing the File System: If you want to switch from one file system to another, such as from exFAT to NTFS or vice versa, you’ll need to reformat your SSD. Different file systems have varying compatibility and features, so choosing the right file system for your needs is crucial.
- Resolving Formatting Errors: If you encounter formatting errors or corruption on your SSD, reformatting can help resolve the issue. Formatting errors can occur due to improper ejection, system crashes, or malware infections. By reformatting the SSD, you start with a clean slate and eliminate any underlying format-related problems.
- Preparing for a Different Operating System: If you plan to use the Sandisk Extreme Portable SSD on a different operating system, such as switching from Windows to macOS, you’ll likely need to reformat the SSD. Different operating systems use different file systems, so formatting the SSD to be compatible with the new OS is necessary.
Understanding the specific reasons for reformatting your SSD will help you make informed decisions throughout the process. It’s important to note that reformatting will erase all data on the SSD, so if you have any important files, make sure to back them up before proceeding.
Once you’re fully aware of why you need to reformat your Sandisk Extreme Portable SSD, you can move on to the next step: backing up your data. This crucial step ensures that your important files and documents are safeguarded during the reformatting process. Let’s explore how to back up your data before proceeding with the reformatting process.
Step 2: Back Up Your Data
Before you proceed with reformatting your Sandisk Extreme Portable SSD, it’s crucial to back up any important data that you want to keep. Reformatting will erase all the data on your SSD, so taking the time to back up your files is essential for preserving your valuable information. Here’s how you can back up your data:
- Identify the Files to Back Up: Determine which files and folders are essential and need to be backed up. This might include documents, photos, videos, and any other files that you don’t want to lose during the reformatting process.
- Choose a Backup Method: There are several ways to back up your data, depending on your preferences and available resources. You can use an external hard drive or another storage device to create a manual backup. Alternatively, you can utilize cloud storage services like Google Drive, Dropbox, or iCloud to store your files securely in the cloud.
- Transfer Your Files: Once you’ve chosen a backup method, begin transferring your files to the designated backup location. If you’re using an external hard drive, connect it to your computer and copy the files over. For cloud storage, simply upload your files to the respective service using their provided tools or applications.
- Verify Your Backup: After transferring your files, verify that your backup was successful. Double-check that all the important files are safely stored in the backup location and ensure that you can access them whenever needed.
By following these steps, you can ensure that your important data is backed up and secure before proceeding with the reformatting process. Taking the time to back up your files provides peace of mind and eliminates the risk of losing valuable information during the SSD reformatting.
With your data safely backed up, you’re now ready to move on to the next step: disconnecting the Sandisk Extreme Portable SSD. This step ensures a smooth transition to the reformatting process without any interference. Let’s explore how to properly disconnect the SSD in the next step.
Step 3: Disconnect the Sandisk Extreme Portable SSD
Before you can proceed with reformatting your Sandisk Extreme Portable SSD, it’s important to disconnect it properly from your computer. Disconnecting the SSD ensures that there are no active connections or read/write operations that could interfere with the reformatting process. Follow these steps to disconnect the SSD:
- Safely Eject the SSD: Locate the Sandisk Extreme Portable SSD icon on your computer’s taskbar or system tray. Right-click on the icon and select the “Safely Remove Hardware and Eject Media” option. This will initiate the ejection process and notify you when it’s safe to disconnect the SSD.
- Wait for the Confirmation: After selecting the ejection option, wait for a confirmation message that indicates it’s safe to disconnect the SSD. This message may vary depending on your operating system, but it will typically indicate that the device can be safely removed.
- Disconnect the SSD: Once you receive the confirmation message, carefully unplug the Sandisk Extreme Portable SSD from your computer. Gently remove the USB connection or detach the Thunderbolt cable if applicable. Take care not to pull on the cable or apply excessive force to avoid any damage to the SSD or USB port.
- Store the SSD Safely: After disconnecting the SSD, it’s important to store it in a safe place. Keep it in a protective case or pouch to prevent any physical damage. Storing the SSD properly ensures that it remains in optimal condition until you’re ready to reconnect it after the reformatting process.
By following these steps, you can safely disconnect your Sandisk Extreme Portable SSD from your computer. This step sets the stage for the next step, where we’ll guide you through connecting the SSD to your computer in preparation for the reformatting process. Let’s move on to Step 4: Connect the SSD to your computer.
Step 4: Connect the SSD to Your Computer
Now that you have safely disconnected your Sandisk Extreme Portable SSD, it’s time to move on to the next step: connecting the SSD to your computer. By connecting the SSD, you’ll be able to access it and proceed with the reformatting process. Follow these steps to connect the SSD to your computer:
- Find an Available USB Port or Thunderbolt Port: Locate an available USB port or Thunderbolt port on your computer. For the Sandisk Extreme Portable SSD, you’ll typically use a USB 3.0 or USB-C connection, or a Thunderbolt port if it’s available on your computer.
- Insert the SSD Connector: Take the USB cable that came with your Sandisk Extreme Portable SSD and insert it into the USB port or Thunderbolt port on your computer. Make sure the connection is secure but avoid using excessive force.
- Wait for the SSD to Be Recognized: Once the SSD is connected, your computer should recognize it and assign it a drive letter. The SSD may appear as a new drive or volume in your file explorer or disk management tool.
- Check the SSD’s Status: After the connection is established, check the SSD’s status to ensure it’s functioning correctly. You can do this by accessing the disk management tool on your computer and verifying that the SSD is listed and detected.
Once you’ve successfully connected the Sandisk Extreme Portable SSD to your computer and confirmed its recognition, you’re ready to move on to the next step: opening the disk management tool. This tool will enable you to access and manage the SSD’s partitions, including the reformatting process. Let’s proceed to Step 5: Open the Disk Management Tool.
Step 5: Open the Disk Management Tool
To reformat your Sandisk Extreme Portable SSD, you’ll need to access the disk management tool on your computer. The disk management tool allows you to view and manage all the storage devices connected to your computer, including the Sandisk SSD. Follow these steps to open the disk management tool:
- Right-click on the Start Menu: Begin by right-clicking on the Start button on your Windows computer. This will open a context menu with various options.
- Choose Disk Management: From the context menu, select the “Disk Management” option. This will open the disk management tool.
- Wait for the Tool to Load: After selecting the disk management option, wait for the tool to load and display all the connected storage devices. It may take a few seconds for the tool to gather the necessary information.
- View the Sandisk Extreme Portable SSD: Once the disk management tool has loaded, you’ll see a list of all the connected storage devices. Look for the Sandisk Extreme Portable SSD in the list. It will typically be labeled as “Disk X” or “External Disk.”
By following these steps, you can open the disk management tool on your Windows computer and locate the Sandisk Extreme Portable SSD. Mac users can use the “Disk Utility” tool to achieve a similar result.
Now that you have accessed the disk management tool and identified the Sandisk Extreme Portable SSD, you’re ready to proceed to the next step: locating the SSD within the tool. In Step 6, we’ll guide you through finding the SSD in the disk management tool for further actions. Let’s move on!
Step 6: Locate the Sandisk Extreme Portable SSD
Now that you have opened the disk management tool, the next step is to locate the Sandisk Extreme Portable SSD within the tool. This will allow you to access the SSD’s partitions and perform the necessary actions for reformatting. Follow these steps to locate the SSD:
- Scan the List of Disks: In the disk management tool, you will see a list of all the storage devices connected to your computer. Take a moment to scan through the list and locate the Sandisk Extreme Portable SSD.
- Identify the Sandisk SSD: The Sandisk Extreme Portable SSD will typically be labeled as “Disk X,” where X represents a number. Alternatively, it might be labeled as “External Disk.” The size of the disk can also help you identify it if there are multiple disks listed.
- Pay Attention to Disk Information: When you select the Sandisk SSD, the disk management tool will provide information about the SSD, such as its file system, capacity, and partition layout. This information can help you ensure that you have selected the correct disk.
- Make a Note of the Disk Number: It’s a good idea to make a note of the disk number assigned to the Sandisk SSD. This will be useful in the next steps when you perform actions specifically on the Sandisk SSD.
By following these steps, you can locate the Sandisk Extreme Portable SSD within the disk management tool. Once you have identified the SSD, you’re ready to proceed to the next step: formatting the SSD. In Step 7, we’ll guide you through the process of formatting the Sandisk SSD to prepare it for use. Let’s move forward!
Step 7: Format the SSD
After locating the Sandisk Extreme Portable SSD in the disk management tool, the next step is to format the SSD. Formatting will erase all data on the drive and prepare it for use with a new file system. Follow these steps to format the SSD:
- Right-click on the Sandisk SSD: In the disk management tool, right-click on the Sandisk Extreme Portable SSD that you located in the previous step. This will open a context menu with several options.
- Select Format: From the context menu, select the “Format” option. This will open the format dialog box.
- Choose File System and Allocation Unit Size: In the format dialog box, you can choose the file system for the SSD. Depending on your preferences and requirements, you can select options such as exFAT (for compatibility with both Windows and macOS), NTFS (mainly for Windows), or FAT32 (for maximum compatibility with different devices). Additionally, you can choose the allocation unit size, which determines how the SSD allocates storage.
- Label the SSD: Optionally, you can provide a name or label for the SSD. This label will be displayed when the SSD is connected to your computer, making it easier to identify.
- Start the Formatting Process: After selecting the appropriate file system, allocation unit size, and providing a label (if desired), click on the “Start” or “Format” button to begin the formatting process.
- Wait for the Formatting to Complete: The formatting process may take some time, depending on the size of the SSD and your computer’s performance. During this time, it’s essential to avoid disconnecting the SSD or interrupting the process.
Once the formatting process is complete, you will have successfully formatted your Sandisk Extreme Portable SSD. The SSD is now ready to be used with the new file system and can be connected to your computer to transfer files or store data.
In the next step, Step 8, we’ll guide you through the process of choosing the appropriate file system and allocation unit size for your SSD. Let’s move forward!
Step 8: Choose the File System and Allocation Unit Size
When formatting your Sandisk Extreme Portable SSD, it’s important to choose the appropriate file system and allocation unit size. The file system determines how the SSD organizes and stores files, while the allocation unit size determines how the SSD allocates storage space for individual files. Follow these steps to make the right choices for your SSD:
- Select the File System: Choose the file system that best suits your needs. Here are some commonly used file systems:
- exFAT: This file system offers compatibility with both Windows and macOS, making it a versatile choice if you frequently switch between different operating systems or use the SSD with various devices.
- NTFS: NTFS is the native file system for Windows, offering features like file permissions, encryption, and journaling. This file system is suitable if you primarily use the SSD with Windows-based systems.
- FAT32: FAT32 is an older file system that offers maximum compatibility with different devices and operating systems. However, it has limitations on maximum file size and volume capacity.
- Determine the Allocation Unit Size: The allocation unit size, also known as the cluster size, determines the smallest unit of storage that the SSD allocates to a file. The optimal allocation unit size depends on the type of files you regularly work with. Generally, a smaller allocation unit size is ideal for smaller files, while a larger allocation unit size is more suitable for larger files.
- Considerations for File System and Allocation Unit Size: When making your choices, consider the compatibility with your operating system and devices, the types of files you work with, and any specific requirements of the software or applications you use. It’s also important to note that changing the file system and allocation unit size will result in the loss of all data on the SSD, so make sure to backup important files before proceeding.
By carefully considering the factors mentioned, you can choose the appropriate file system and allocation unit size for your Sandisk Extreme Portable SSD. Once you have made your choices, you can proceed to Step 9, where we will guide you through starting the formatting process. Let’s continue!
Step 9: Start the Formatting Process
Now that you have chosen the appropriate file system and allocation unit size for your Sandisk Extreme Portable SSD, it’s time to initiate the formatting process. Follow these steps to start formatting your SSD:
- Review Your Formatting Choices: Double-check the selected file system and allocation unit size to ensure they meet your requirements. Verify that you have backed up any important data, as the formatting process will erase all existing data on the SSD.
- Click on the Format Button: In the format dialog box that appears, click on the “Start” or “Format” button to begin the formatting process. Depending on your operating system, you may be presented with a confirmation prompt before proceeding.
- Wait for the Formatting to Complete: The formatting process will take some time to complete, depending on the size of the SSD and your computer’s performance. It’s important to be patient and refrain from disconnecting the SSD during this time to avoid any potential data loss or damage to the drive.
- Monitor the Progress: While the SSD is being formatted, you may see a progress bar or status indication in the formatting window. This will give you an idea of how much time is remaining for the process to complete.
- Formatting Completion: Once the formatting process finishes, you’ll receive a notification indicating that the process was successful. The Sandisk Extreme Portable SSD is now formatted and ready for use.
With the formatting process completed, your Sandisk Extreme Portable SSD is now prepared to store and organize your files according to the selected file system and allocation unit size. In the next step, Step 10, we’ll cover the final steps to complete the formatting process and provide some concluding thoughts. Let’s continue!
Step 10: Complete the Formatting Process
After the formatting process for your Sandisk Extreme Portable SSD is finished, there are a few final steps you should take to ensure the completion of the process and the proper functionality of the SSD. Follow these steps to complete the formatting process:
- Verify the Formatting: Take a moment to verify that the formatting process was successful. You can do this by checking the disk management tool or navigating to the SSD in your file explorer. Ensure that the Sandisk Extreme Portable SSD is displayed with the correct file system and is recognized by your computer as a usable storage device.
- Reconnect the SSD: If you disconnected the SSD during the formatting process, connect it back to your computer using the appropriate USB or Thunderbolt connection.
- Test the SSD: To ensure that the SSD is functioning correctly after formatting, copy a few files onto it and access them to verify that data can be read and written without any issues.
- Label the SSD: Consider labeling the Sandisk Extreme Portable SSD with a meaningful name to make it easier to identify, especially if you have multiple storage devices.
- Securely Store the SSD: When you’re not using the SSD, store it in a safe and dry place to protect it from physical damage. Consider using a protective case or pouch to prevent scratches and other potential hazards.
By completing these final steps, you ensure the successful completion of the formatting process for your Sandisk Extreme Portable SSD. The SSD is now ready to be used for storing and accessing your files according to the chosen file system and allocation unit size.
Congratulations! You have successfully reformatted your Sandisk Extreme Portable SSD. Enjoy the enhanced performance and storage capabilities it offers for all your data needs. Remember to regularly back up your important files to ensure their safety and preserve your data integrity.
Conclusion
Reformatting your Sandisk Extreme Portable SSD is a straightforward process that allows you to change the file system, resolve formatting errors, or prepare the SSD for use with a different operating system. With the step-by-step instructions provided in this guide, you can easily navigate through each stage of the reformatting process and achieve the desired outcome.
Remember to prioritize backing up your data before proceeding with the reformatting. This ensures that you don’t lose any important files or documents during the process. Once your data is backed up, you can safely disconnect the SSD, connect it to your computer, and open the disk management tool to locate and format the SSD.
When choosing the file system and allocation unit size, consider factors such as compatibility with your operating system and devices, the types of files you work with, and any specific software requirements. After making your choices, start the formatting process and patiently wait for it to complete. Verify the formatting, test the SSD’s functionality, and take the necessary steps to store and protect it when not in use.
By following these instructions, you can successfully reformat your Sandisk Extreme Portable SSD and enjoy its enhanced performance and storage capabilities. Remember to regularly back up your data and maintain your SSD to ensure optimal functioning and longevity.
Thank you for following this guide, and we hope it has been helpful to you. If you have any further questions or need additional assistance, don’t hesitate to reach out. Happy reformatting!