Why Put Games on an SSD?
When it comes to gaming, the performance and speed of your storage device can significantly impact your overall gaming experience. Traditional hard disk drives (HDDs) have been the go-to choice for game installations for years, but the emergence of solid-state drives (SSDs) has revolutionized the gaming industry. So, why should you consider putting your games on an SSD? Let’s explore the advantages.
One of the primary benefits of using an SSD for gaming is the significant improvement in loading times. With an SSD, games can launch and load levels in a matter of seconds, compared to the longer load times experienced with an HDD. This means you can jump right into the action without any frustrating delays, enhancing your immersion in the game.
In addition to faster loading times, SSDs offer faster data transfer rates, resulting in smoother gameplay. Games that rely on streaming large amounts of data, such as open-world titles or games with detailed environments, can benefit greatly from the increased bandwidth provided by SSDs. This means reduced stutters, faster asset streaming, and an overall more seamless gaming experience.
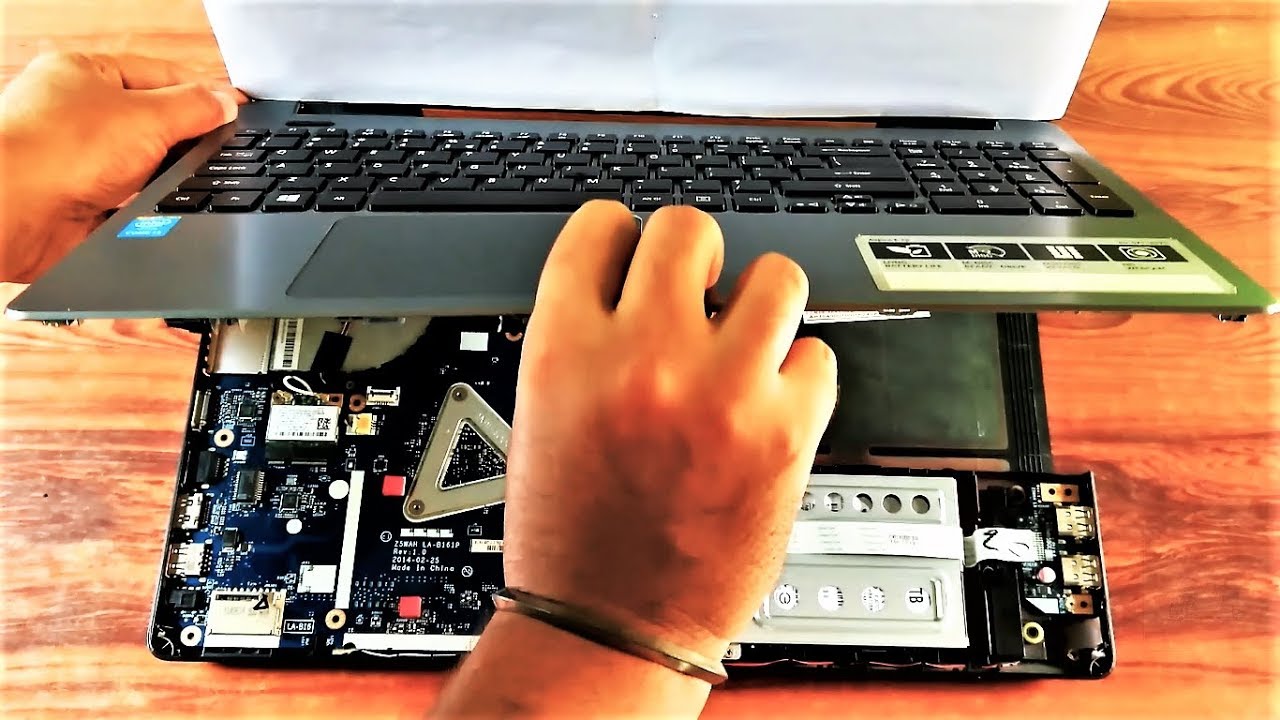
Furthermore, SSDs have no moving parts, unlike HDDs, which rely on spinning disks and mechanical read/write heads. This translates to enhanced durability and reliability. SSDs are less prone to physical damage from accidental drops or vibrations, making them ideal for gamers who frequently transport their gaming rigs or laptops.
Another advantage of using SSDs is the reduced access time. With an SSD, game files are accessed almost instantaneously, allowing for faster installation and patching processes. This can be particularly beneficial for gamers who frequently switch between multiple games or need to install updates regularly.
Lastly, SSDs offer quieter operation compared to HDDs. The absence of moving parts means no mechanical noise, resulting in a more peaceful gaming environment. This is especially important for gamers who prefer immersive experiences or stream their gameplay, as background noise can be distracting to viewers.
Overall, putting games on an SSD can bring numerous benefits, including faster loading times, smoother gameplay, increased durability, quicker installation and patching, and a quieter gaming experience. While SSDs may come at a higher cost per storage capacity compared to HDDs, the performance enhancements they offer make them an excellent investment for any serious gamer.
Choosing the Right SSD
Now that you understand the advantages of using an SSD for gaming, it’s important to choose the right one that meets your needs and budget. With a wide variety of SSD options on the market, it can be overwhelming to make the right choice. Here are a few factors to consider when selecting an SSD for your gaming setup.
Storage Capacity: The first thing to consider is how much storage space you need. Games nowadays can be quite large, so it’s crucial to opt for an SSD with sufficient capacity to accommodate your game library. Aim for at least 500GB or higher to ensure you have enough space for your favorite games.
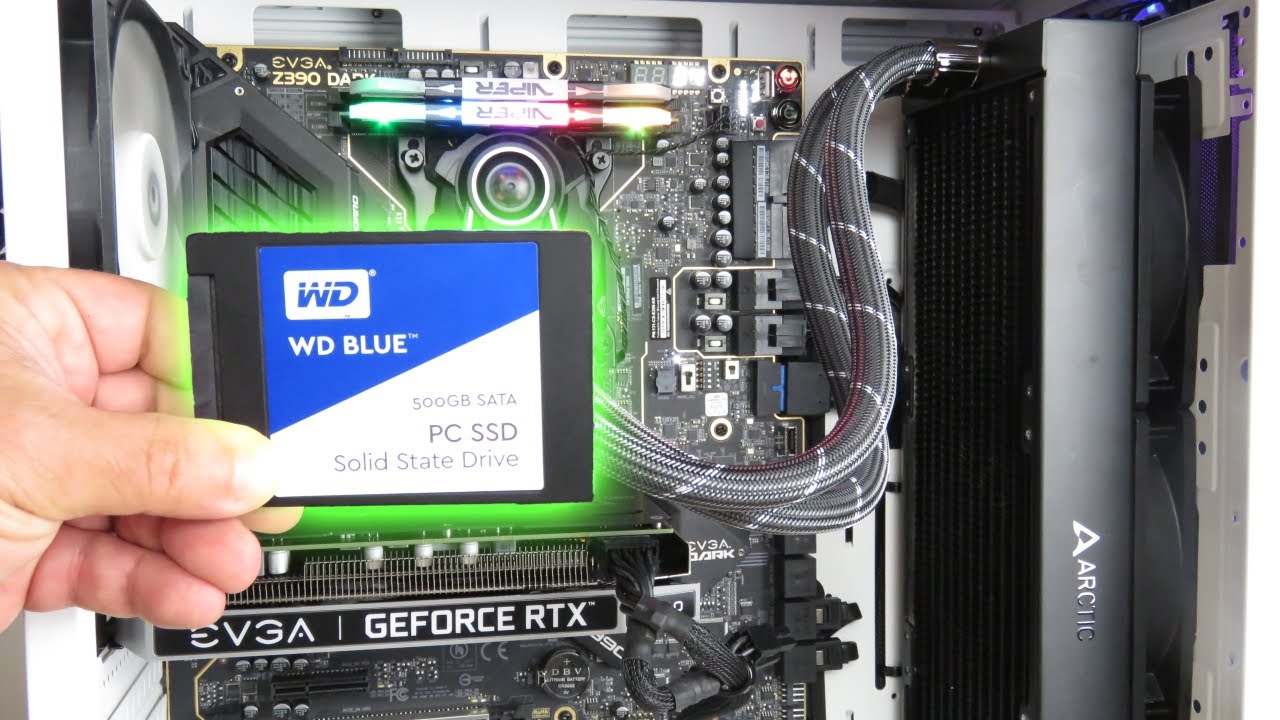
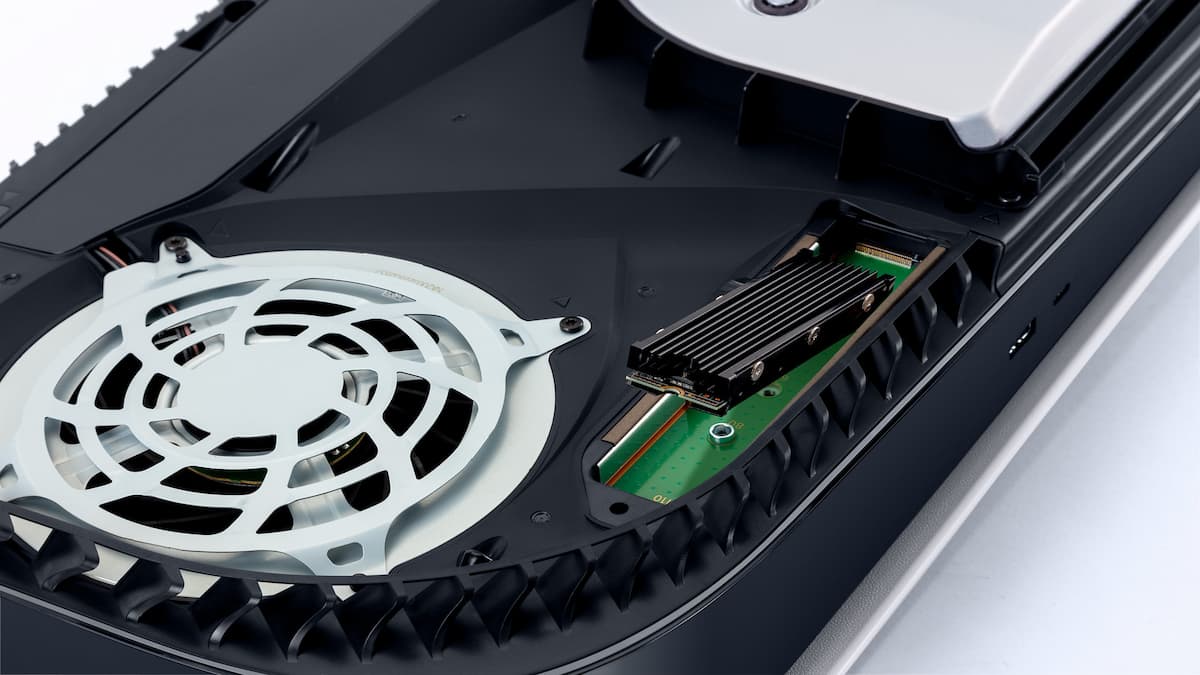
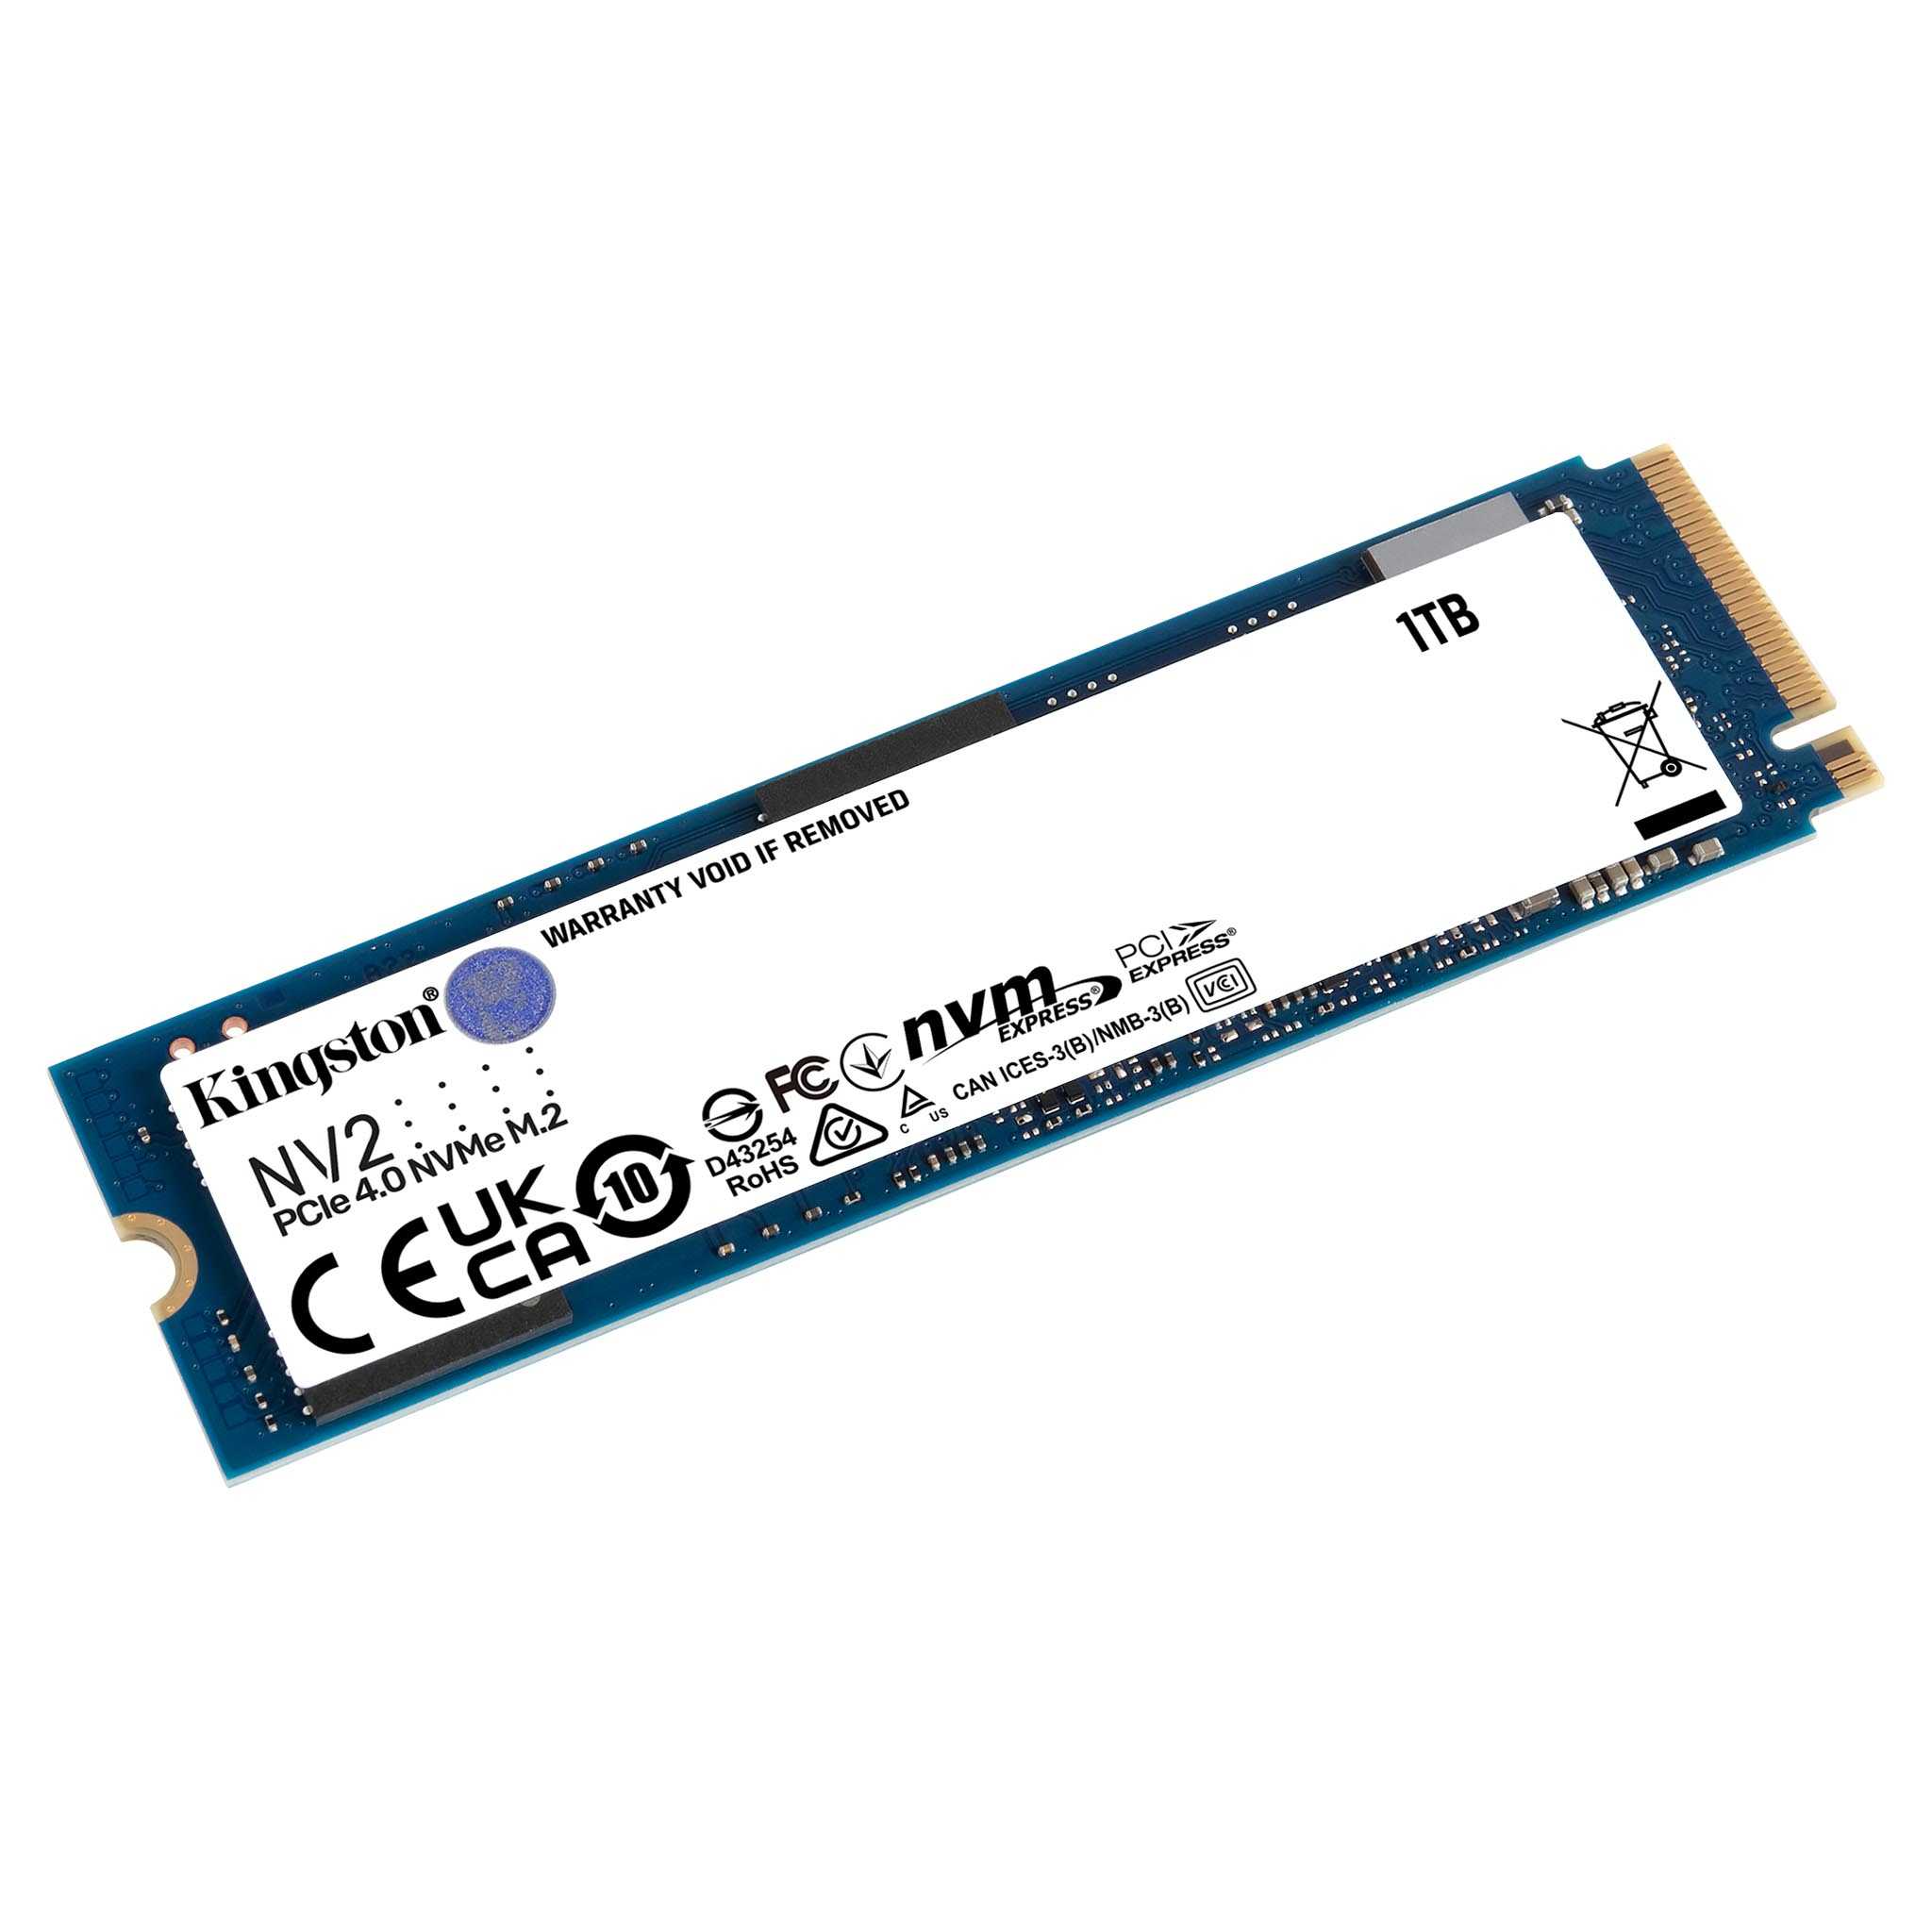
Interface: SSDs come with different interface types, such as SATA, PCIe, and NVMe. SATA SSDs are the most common and provide solid performance for gaming. However, if you want the fastest speeds possible, consider an NVMe SSD that connects directly to the PCIe slots on your motherboard, offering lightning-fast transfer rates.
Speed: The speed of an SSD is an important factor for gaming performance. Look for SSDs with higher read and write speeds as they will contribute to faster game load times and improved overall responsiveness. However, keep in mind that the real-world performance may also depend on other factors, such as your CPU, RAM, and graphics card.
Endurance: Gaming involves regular read and write operations, which can wear out storage devices over time. Therefore, it’s wise to choose an SSD with higher endurance and longevity. Check the SSD’s Terabytes Written (TBW) rating, which indicates the total amount of data that can be written to the drive before it starts degrading.
Price: Lastly, consider your budget. SSD prices have become more affordable in recent years, but they still tend to be more expensive than traditional HDDs. Determine how much you can reasonably spend and compare the prices and specifications of different SSD models to find one that strikes the right balance between performance and cost.
By taking into account factors like storage capacity, interface, speed, endurance, and price, you can select an SSD that effectively enhances your gaming experience. Remember, investing in a high-quality SSD is a long-term investment in your gaming setup, providing faster load times, improved gameplay, and an overall smoother gaming experience.
Preparing Your SSD
Once you’ve chosen the right SSD for your gaming needs, it’s important to properly prepare it before transferring your games. Follow these steps to ensure a smooth transition and optimal performance:
1. Backup Important Data: Before setting up your SSD, make sure to back up any important data from your current storage device. This will help prevent any data loss during the migration process.
2. Check Compatibility: Ensure that your motherboard and operating system support the SSD you’ve chosen. Check the specifications and requirements of both to avoid any compatibility issues.
3. Securely Connect the SSD: Power off your computer and open the case. Locate the appropriate slot for the SSD (usually a SATA port or an M.2 slot) and securely connect it to the motherboard. Follow the manufacturer’s instructions for installation.
4. Format the SSD: Once the SSD is connected, you may need to format it before use. This will prepare the drive for storing data. Consult the user manual or manufacturer’s website for instructions specific to your SSD model.
5. Install Operating System (Optional): If you want to benefit from faster boot times and overall system performance, consider installing your operating system on the SSD. This can be done by reinstalling the OS or cloning it from your existing drive. Refer to the SSD manufacturer’s guidelines or seek online tutorials for assistance.
6. Enable AHCI Mode: Advanced Host Controller Interface (AHCI) mode allows your SSD to utilize its full potential. To enable AHCI, access your computer’s BIOS settings and look for the SATA Configuration or Storage Configuration option. Change the setting to AHCI and save the changes.
7. Update Firmware: Check the SSD manufacturer’s website for firmware updates. Updating the firmware ensures that your SSD operates with the latest features, performance improvements, and bug fixes. Follow the provided instructions carefully to install the firmware update.
8. Optimize SSD Settings (Windows Only): On Windows operating systems, you can optimize your SSD settings to maximize performance and longevity. This includes disabling disk defragmentation, enabling TRIM support, and adjusting power settings. Search for online guides or consult the SSD manufacturer’s website for specific instructions.
By following these steps, you can ensure that your SSD is properly prepared for game installations and provides optimal performance. Taking the time to prepare and set up your SSD correctly will result in smoother gameplay, faster load times, and an overall improved gaming experience.
Transferring Games to the SSD
Now that your SSD is prepared, it’s time to transfer your games from your old storage device to the SSD. Follow these steps to make the transition seamless and ensure all your games are safely moved:
1. Identify Game Locations: Determine where your games are currently installed. They may be in the default installation directory or spread across multiple folders. Note down the locations to easily locate and transfer them.
2. Choose a Transfer Method: There are a few different methods you can use to transfer your games to the SSD. One option is to reinstall them from the original game installation files or discs. Alternatively, you can use migration software or backup tools provided by your SSD manufacturer to clone or move the games.
3. Reinstall from Original Files: If you still have the original game installation files or discs, you can simply reinstall the games directly onto the SSD. This ensures a clean installation and can help reduce clutter on your old storage device. Be sure to select the SSD as the destination during installation.
4. Clone or Move Games: Some SSD manufacturers provide software tools for migrating data from one drive to another. These tools can clone the games from the old storage device to the SSD, preserving all game files and settings. Follow the instructions provided by your SSD manufacturer to clone or move your games.
5. Update Game Launchers: If you use game launchers like Steam, Epic Games Store, or Origin, you may need to update their settings to recognize the new location of the games on the SSD. This can usually be done within the launcher’s settings or by manually adding the new game directory.
6. Test and Verify: Before deleting the games from your old storage device, test the transferred games on the SSD to ensure they are running properly. Open the games, check for any errors or missing files, and verify that they are loading faster on the SSD.
7. Clean Up Old Storage: Once you have confirmed that your games are successfully transferred to the SSD, you can safely delete them from your old storage device to free up space. Be cautious and double-check that all necessary files have been transferred before deleting anything.
8. Enjoy the Speed: With your games now on the SSD, you can enjoy faster load times, smoother gameplay, and an overall improved gaming experience. Say goodbye to long loading screens and hello to instant immersion.
By following these steps, you can efficiently transfer your games to the SSD without losing any progress or game settings. Take the time to choose the best transfer method for your needs and ensure that your games are running smoothly on the new SSD for the ultimate gaming performance.
Updating Game Settings
After transferring your games to the SSD, it’s important to update the game settings to fully leverage the benefits of the faster storage. By tweaking a few in-game settings, you can further optimize your gaming experience on the SSD. Here are some key areas to focus on:
1. Graphics Settings: Take advantage of the increased loading speed and reduced data streaming times by adjusting your graphics settings. Increase the resolution, enable anti-aliasing, and turn on other visual enhancements to enjoy a more immersive and visually stunning gaming experience.
2. Texture Quality: Set the texture quality to a higher setting. SSDs can quickly load high-resolution textures, resulting in sharper and more detailed in-game visuals. This can significantly enhance the overall graphical fidelity of your games.
3. Shadows and Lighting: Enable more advanced shadow and lighting effects for a more realistic and visually appealing experience. Balanced storage performance provided by the SSD allows for faster rendering of these effects, resulting in smoother and more dynamic gameplay.
4. Level of Detail (LOD): Increase the LOD setting to ensure that objects and textures maintain their quality even when viewed from a distance. This can prevent pop-in effects and maintain a consistent level of detail, enhancing immersion and gameplay aesthetics.
5. View Distance: Expand the view distance settings to enjoy larger draw distances and see more of the environment. With the faster data access speeds and reduced streaming times of the SSD, you can explore vast game worlds without experiencing significant pop-in or frame rate drops.
6. Load Times and Quick Saving: Take advantage of the SSD’s faster loading speed by enabling quick saving or autosaving features. This allows you to save your progress more frequently without interrupting gameplay, ensuring that you never lose progress due to long loading times.
7. Game Caching: Some games offer options to allocate a portion of system memory as a game cache. Enabling this feature can further optimize game performance by allowing frequently accessed data to be stored in RAM, reducing the need for constant SSD access.
8. Game-specific Optimizations: Certain games have specific settings or configuration files that can be tweaked for improved performance. Look for community guides, forums, or developer recommendations to optimize your games for the SSD specifically.
By updating the game settings to take advantage of the faster access and loading times provided by the SSD, you can enhance your gaming experience and enjoy smoother gameplay, improved visuals, and reduced load times. Experiment with different settings to find the right balance between performance and aesthetics, ensuring that your games run seamlessly on your SSD.
Managing Multiple SSDs
As the demand for larger game libraries and faster storage grows, many gamers opt for multiple SSDs to accommodate their needs. Managing multiple SSDs efficiently can help you organize your games and maximize their performance. Here are some tips to help you effectively manage multiple SSDs:
1. Separate Game Genres: Consider dedicating specific SSDs for different game genres. For example, you can install open-world RPGs on one SSD and first-person shooters on another. This segregation can help streamline game installations, updates, and backups, making it easier to locate and access specific games.
2. Use Drive Labels: Assign unique and descriptive names to each SSD. This will make it easier to identify and differentiate the drives when managing your game library. By giving your SSDs meaningful labels, you can quickly identify the drive where specific games are installed.
3. Create Folders: Within each SSD, create folders to organize your games further. You can group games based on developers, publishers, or even release dates. This hierarchical structure will help you navigate and locate games more efficiently, especially when dealing with a large number of titles.
4. Backup and Restore: Regularly back up your game saves, settings, and configuration files. This ensures that even in the event of hardware failure or data loss, you can quickly restore your games to a new SSD. Backup solutions like cloud storage or external hard drives are great options to safeguard your game data.
5. Use Steam Library Manager: If you use Steam as your gaming platform, take advantage of the built-in Steam Library Manager feature. It allows you to easily move and manage your game installations across multiple SSDs. With a few clicks, you can transfer games between SSDs without the need to manually copy files.
6. Manage Game Updates: Keep track of game updates and patches to ensure that they are applied to the correct SSD. Some games may have settings to specify the installation directory for updates. Double-check these settings to ensure that updates are applied to the appropriate SSD.
7. Monitor Drive Health: Regularly check the health and performance of your multiple SSDs. Many SSD manufacturers provide software tools that allow you to monitor drive temperature, usage, and health status. Keeping an eye on this information can help you identify any potential issues and take appropriate action before they impact your gaming experience.
8. Optimize Game Placement: Consider placing your most frequently played games on the SSD with the highest performance or the one connected via the fastest interface. This will ensure that the games you play most often benefit from the maximum speed and responsiveness offered by the SSD.
By effectively managing multiple SSDs, you can enhance your gaming experience, ensure efficient storage utilization, and enjoy hassle-free access to your game library. Implement these strategies to maintain an organized and high-performance gaming setup that caters to your gaming preferences.
Tips for Optimizing Game Performance on an SSD
While SSDs already provide significant performance benefits for gaming, there are a few additional steps you can take to optimize game performance and further enhance your gaming experience. Consider the following tips:
1. Keep Your Drivers Up to Date: Ensure that your graphics card drivers, chipset drivers, and other essential hardware drivers are regularly updated. Having the latest drivers installed can help improve compatibility, performance, and stability, leading to smoother gameplay on your SSD.
2. Close Unnecessary Background Processes: Before launching a game, close any unnecessary background processes and applications. This can free up system resources, allowing your game and SSD to fully utilize the available hardware for optimal performance.
3. Disable Unnecessary Services: Disable unnecessary services and startup programs that might run in the background. This can be done through the Task Manager or the System Configuration utility. By reducing the number of services running, you can allocate more resources to your game and SSD, enhancing performance.
4. Enable Game Mode or Performance Modes: Many modern operating systems have a Game Mode or Performance Mode feature built-in. Enabling this mode prioritizes system resources for gaming, minimizing background processes and maximizing the SSD’s capabilities for an enhanced gaming experience.
5. Defragment Your SSD (if necessary): Unlike HDDs, SSDs do not require defragmentation for performance improvement. However, if your SSD’s performance is noticeably degraded over time, you may want to consider using an SSD-specific optimization software to perform a trim function. This ensures that data is organized efficiently on the drive, maintaining optimal performance.
6. Avoid Overfilling the SSD: To maintain optimal performance on your SSD, avoid overfilling it. Aim to have at least 10-20% of free space on the SSD. This allows for efficient wear-leveling and ensures that the drive has room to perform background tasks, such as garbage collection and wear leveling algorithms.
7. Regularly Update Game Patches: Game developers often release patches and updates that fix bugs, improve performance, and enhance gameplay. Stay up to date with the latest game patches and update your games regularly. These updates can optimize the game’s performance, making it more compatible with the SSD’s fast read and write speeds.
8. Keep Your SSD Firmware Updated: Manufacturers occasionally release firmware updates for SSDs to improve performance, fix bugs, and add features. Check the manufacturer’s website regularly to ensure that you have the latest firmware version installed on your SSD. Updating the firmware can help maintain optimal performance and compatibility with your games.
By implementing these tips and optimizations, you can maximize the performance of your games on your SSD. Enjoy faster load times, reduced latency, and smoother gameplay, resulting in a more immersive and enjoyable gaming experience.
Troubleshooting SSD Issues
While SSDs are generally reliable and deliver excellent performance, occasional issues may arise. Understanding how to troubleshoot common SSD problems will help you resolve any issues quickly and ensure your gaming experience remains uninterrupted. Here are some common SSD problems and troubleshooting steps:
1. SSD Not Detected: If your SSD is not being detected by your system, first check the connections to ensure they are secure. Try connecting the SSD to a different SATA port or using a different cable. If the issue persists, access the BIOS/UEFI settings and ensure the drive is enabled and set as the boot drive.
2. Slow Performance: If you notice a significant decrease in SSD performance, ensure that it’s not experiencing high temperatures. Overheating can lead to throttling and reduced performance. Consider improving airflow and check for any dust accumulation on the SSD or cooling components. Additionally, check for firmware updates from the SSD manufacturer and update if necessary.
3. Blue Screen of Death (BSOD) Errors: Random system crashes with BSOD errors can be a sign of SSD-related issues. Check for any recently installed hardware devices or drivers that may be causing conflicts. Update drivers or roll back to a previous version if necessary. Running a disk check utility can also help identify and repair any file system errors.
4. Unexpected Drive Disconnections: If your SSD is randomly disconnecting or disappearing from the system, try replacing the SATA cable or using a different SATA port. Ensure that the power connections are secure as well. If the problem persists, it may indicate a faulty SSD, and it is advised to contact the manufacturer for further assistance.
5. Data Corruption or Loss: In the event of data corruption or loss, disconnect the SSD and avoid writing any new data to it. Use data recovery software designed for SSDs to attempt to recover lost files. There are several reputable software options available that can help recover data from SSDs.
6. File System Errors: If you encounter file system errors or receive error messages related to file corruption, run an error-checking utility in your operating system. For example, on Windows, you can use the built-in CHKDSK command to scan and repair file system errors on the SSD.
7. Incompatibility Issues: Some older systems may have compatibility issues with certain SSD models. Check the SSD manufacturer’s website for any firmware updates specifically addressing compatibility issues with your system. Updating the SSD firmware may resolve compatibility-related problems.
8. Seek Professional Help: If you have tried troubleshooting on your own and are still experiencing persistent issues with your SSD, it may be necessary to seek professional assistance. Reach out to the SSD manufacturer’s support team or consult a knowledgeable technician who can further diagnose and resolve the problem.
By following these troubleshooting steps, you can address common SSD issues and resolve them effectively. Remember to regularly update firmware and drivers, keep the SSD cool, and regularly back up your important data to ensure a smooth and trouble-free gaming experience with your SSD.