Introduction
Welcome to our guide on how to open the Vivo PC case. If you’re looking to upgrade or troubleshoot your Vivo PC, accessing the internal components is a crucial first step. Opening the PC case might seem like a daunting task, but with the right tools and a little know-how, you’ll be able to do it with ease. In this guide, we will take you through the step-by-step process of opening the Vivo PC case, allowing you to gain access to the internal components for maintenance, upgrades, or repairs.
Before we begin, it’s important to note that opening the Vivo PC case may void the warranty, so make sure to check your warranty policies before proceeding. Additionally, ensure that you are working in a well-lit, static-free environment to avoid any damage to the sensitive electronic components.
So, whether you want to swap out a hard drive, add more RAM, or clean the internals of your Vivo PC, let’s get started with our detailed guide on how to open the Vivo PC case.
Step 1: Gather the necessary tools
Before you begin opening the Vivo PC case, it’s essential to gather the tools you’ll need. Having the right tools on hand will make the process much smoother and more efficient. Here are the tools you’ll need:
- Screwdriver: Depending on the specific model of your Vivo PC, you may need either a Phillips or flathead screwdriver. Check the screws on the case to determine the type needed.
- Anti-static wrist strap: This strap is crucial to prevent any electrostatic discharge that could damage the delicate electronic components inside the PC.
- Work surface or grounding mat: To further protect against static electricity, work on a surface that is grounded or use an anti-static mat.
- Compressed air: This will come in handy for removing any dust or debris from the PC during the process.
Make sure you have these tools readily available before proceeding with the next steps. It’s always better to be prepared and have all the necessary tools within reach.
Now that you have all the tools required, let’s move on to the next step: shutting down the Vivo PC properly.
Step 2: Shut down the Vivo PC properly
Before you begin working on your Vivo PC, it’s crucial to shut it down properly to avoid any potential damage to the internal components. Follow these steps to shut down your Vivo PC:
- Save your work: Close any open applications and save your work to prevent data loss.
- Click on the Start menu: Locate the Windows Start button on the bottom-left corner of the screen and click on it.
- Choose “Power”: From the Start menu, select the “Power” option. A new menu will appear.
- Select “Shut down”: In the Power menu, click on the “Shut down” option. This will initiate the proper shutdown process for your Vivo PC.
Wait for your Vivo PC to completely shut down before moving on to the next step. This ensures that all processes have ceased, making it safer to proceed with opening the PC case.
Remember to handle your Vivo PC with care throughout the process and avoid applying excessive force when working with the components. By shutting down the Vivo PC properly, you reduce the risk of accidental damage and make the subsequent steps more manageable.
Now that you have shut down your Vivo PC correctly, it’s time to move on to the next step: disconnecting all cables from the Vivo PC.
Step 3: Disconnect all cables from the Vivo PC
Before you can open the Vivo PC case, it’s essential to disconnect all cables connected to the PC. This step ensures that there are no power or data connections that could cause damage during the process. Follow these steps to disconnect all cables from your Vivo PC:
- Power off the PC: Ensure that the Vivo PC is completely powered off before proceeding. Refer to Step 2 for instructions on properly shutting down the PC.
- Unplug the power cable: Locate the power cable connected to the back of the Vivo PC. Gently unplug the power cable from the power supply unit (PSU) or the wall socket.
- Disconnect peripheral cables: If you have any peripheral devices such as a keyboard, mouse, monitor, or speakers connected to the Vivo PC, unplug their respective cables from the appropriate ports on the PC.
- Remove the Ethernet cable: If your Vivo PC is connected to the internet via an Ethernet cable, unplug it from the Ethernet port on the PC.
- Disconnect any other cables: Check for any additional cables connected to the Vivo PC, such as audio cables or USB cables, and disconnect them as well.
Take care when disconnecting the cables to avoid pulling or twisting them forcefully, as this can cause damage to the ports or cables themselves. Remember to keep track of the cable connections for easy reassembly later.
Once you have successfully disconnected all the cables from your Vivo PC, you are ready to proceed to the next step: removing the screws securing the case.
Step 4: Remove the screws securing the case
With the cables disconnected, it’s time to remove the screws that secure the Vivo PC case. Removing these screws will allow you to slide off the case and gain access to the internal components. Follow these steps to remove the screws:
- Locate the screws: Examine the back or side of your Vivo PC case to identify the screws holding the case together. Most cases have four to six screws, but the number may vary depending on your specific model.
- Use the appropriate screwdriver: Choose the suitable screwdriver, either Phillips or flathead, based on the type of screws used on your Vivo PC case.
- Remove the screws: Gently unscrew each screw counterclockwise, ensuring not to apply excessive force or overtighten. Place the screws in a safe place where they won’t get lost.
As you remove the screws, take note of any different screw sizes or locations, as they may require special attention during reassembly.
It’s important to handle the screws with care to avoid damaging them or the screw holes on the case. If you encounter any resistance while removing the screws, double-check that you have loosened all of them before proceeding.
Now that the screws securing the Vivo PC case have been removed, it’s time to move on to the next step: sliding off the Vivo PC case.
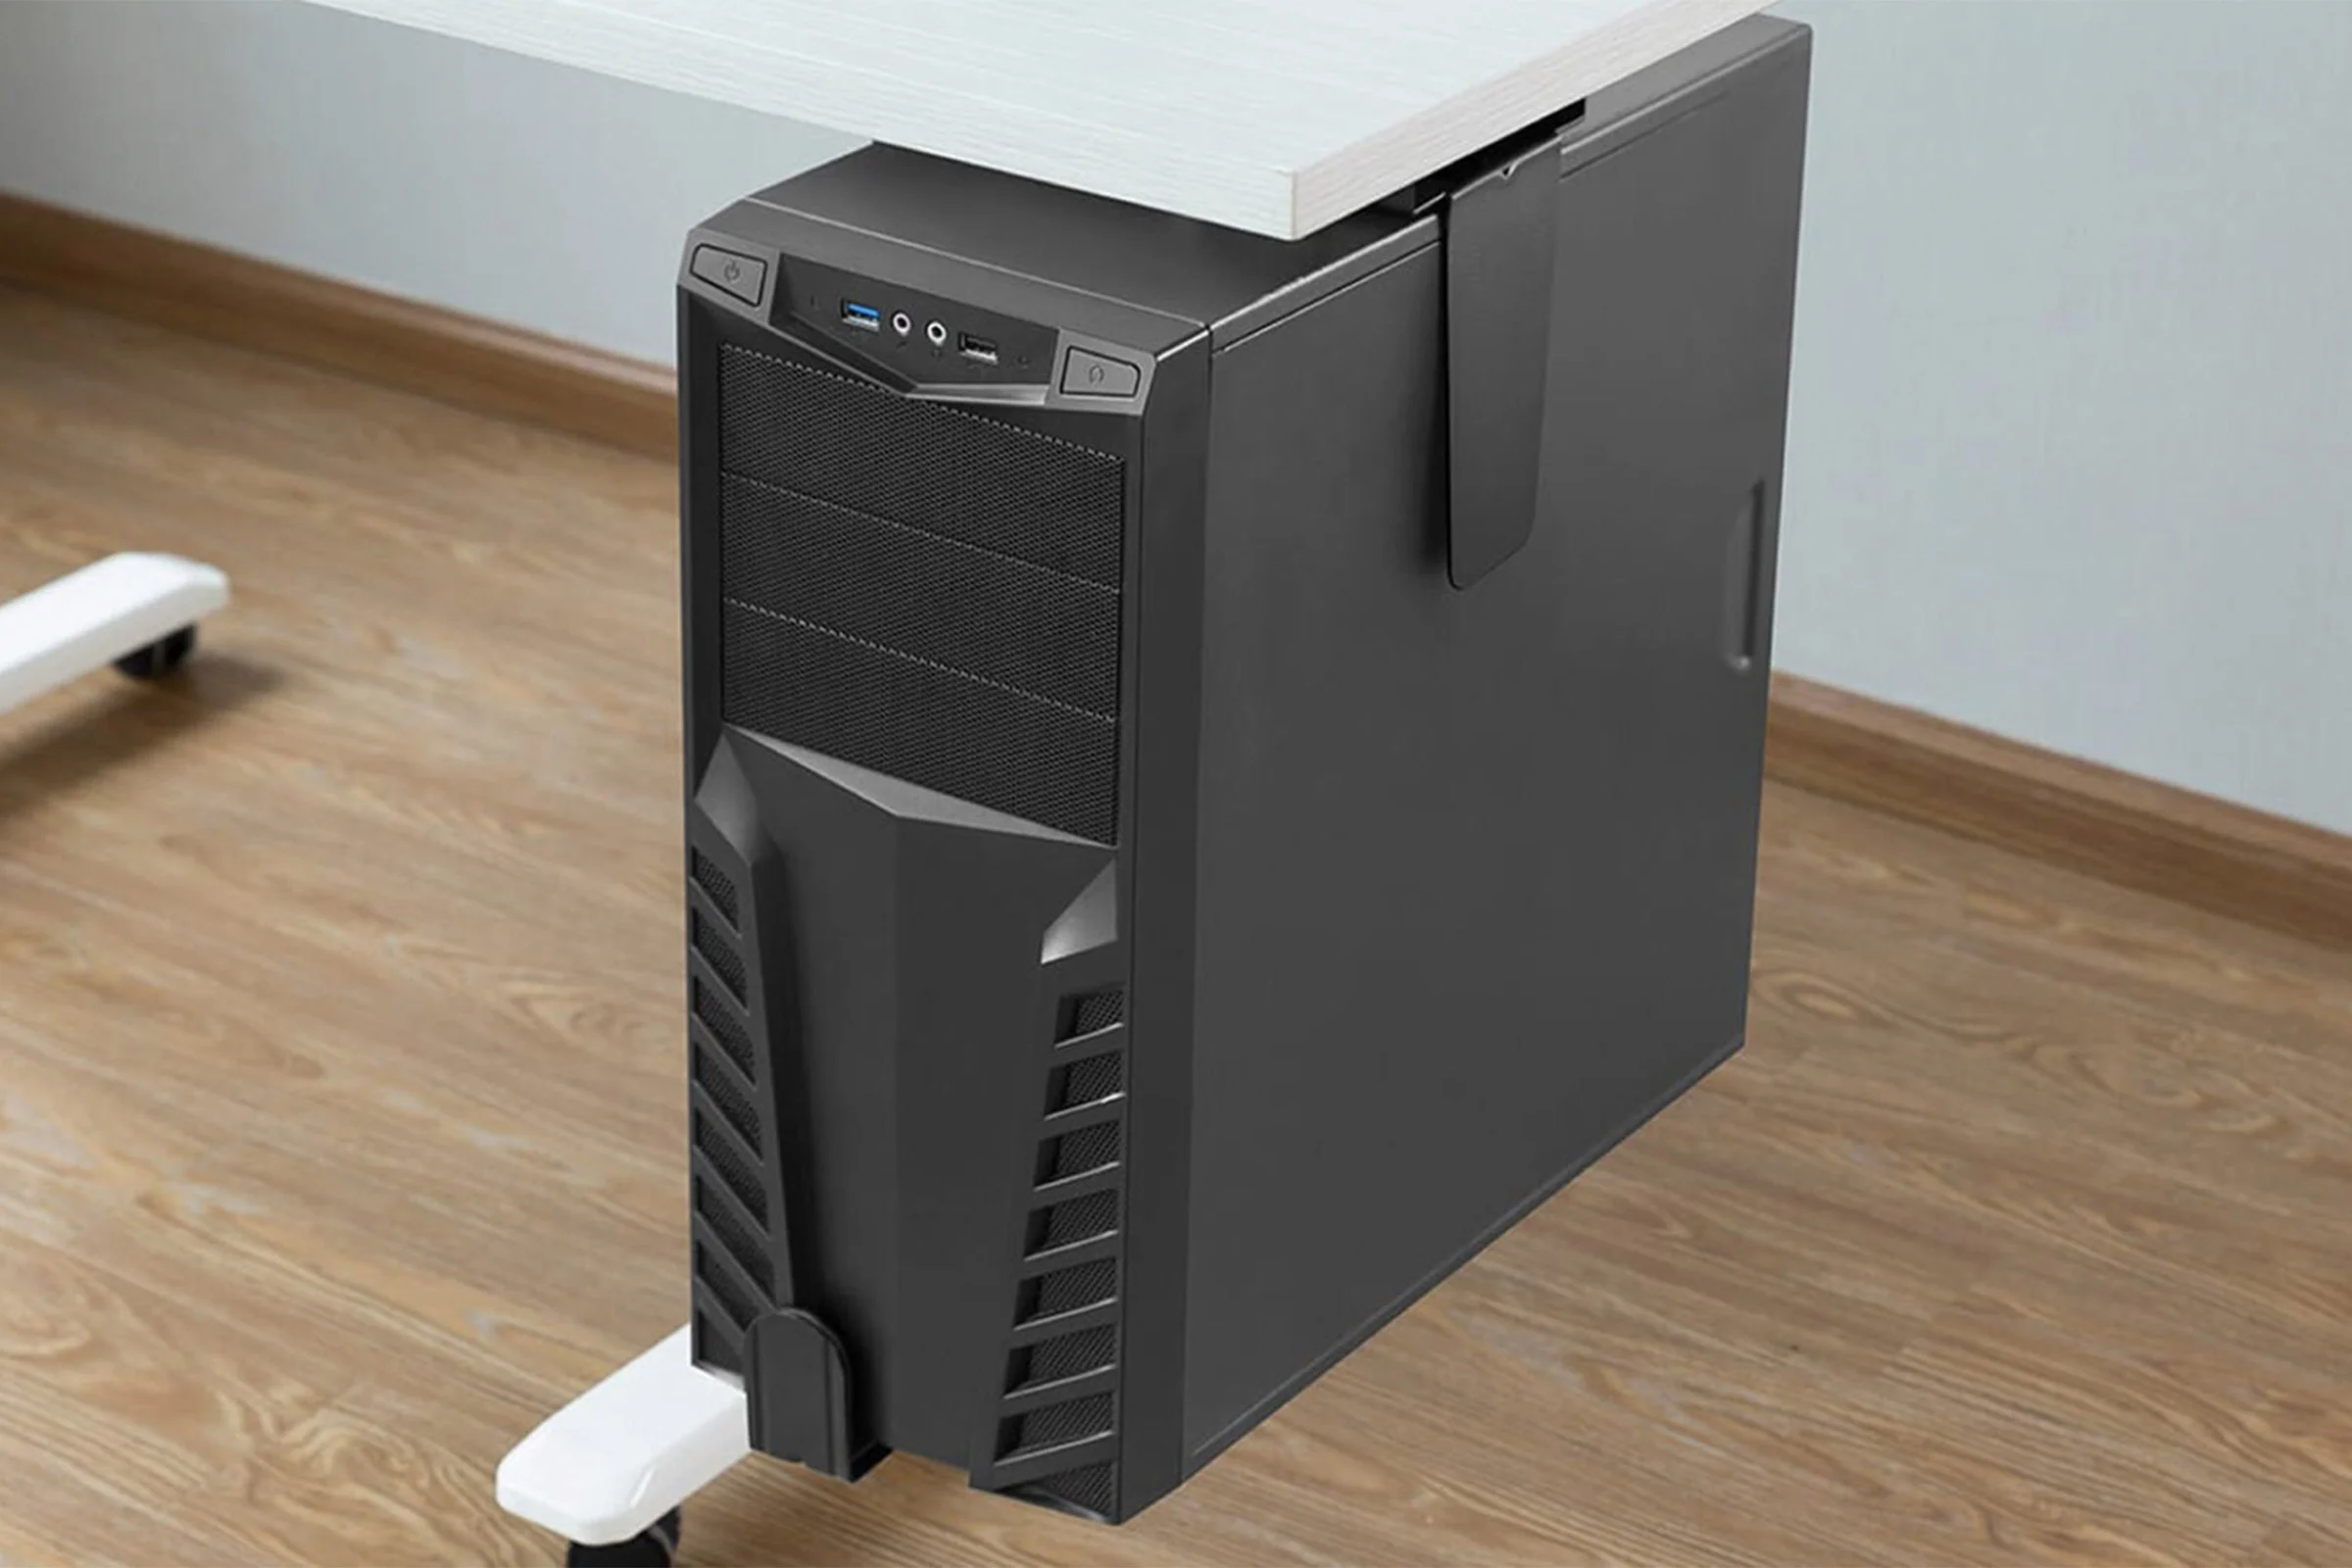
Step 5: Slide off the Vivo PC case
With the screws removed, you’re now ready to slide off the Vivo PC case and gain access to the internal components. Follow these steps to safely slide off the case:
- Locate the release mechanism: Depending on your Vivo PC model, there may be a latch, a lever, or a sliding mechanism that secures the case in place. Take a moment to locate and familiarize yourself with the release mechanism.
- Engage the release mechanism: Using your fingers or a tool, such as a small screwdriver, engage the release mechanism to unlock the case. Refer to the manufacturer’s instructions or consult the PC’s documentation if you’re unsure how to engage the mechanism.
- Slide off the case: Once the release mechanism is engaged, gently slide the Vivo PC case in the designated direction. Most cases slide towards the back or side of the PC.
Be cautious while sliding off the case to avoid any sudden movements that could damage the internal components or cables. Take your time and ensure that the case is fully detached before proceeding to the next step.
It’s important to note that some Vivo PC models may have additional latches or screws inside the case that secure certain components. If you encounter any resistance while sliding off the case, double-check for any hidden latches or screws that may need to be removed.
Now that the Vivo PC case has been successfully slid off, let’s move on to the next step: accessing the internal components of the Vivo PC.
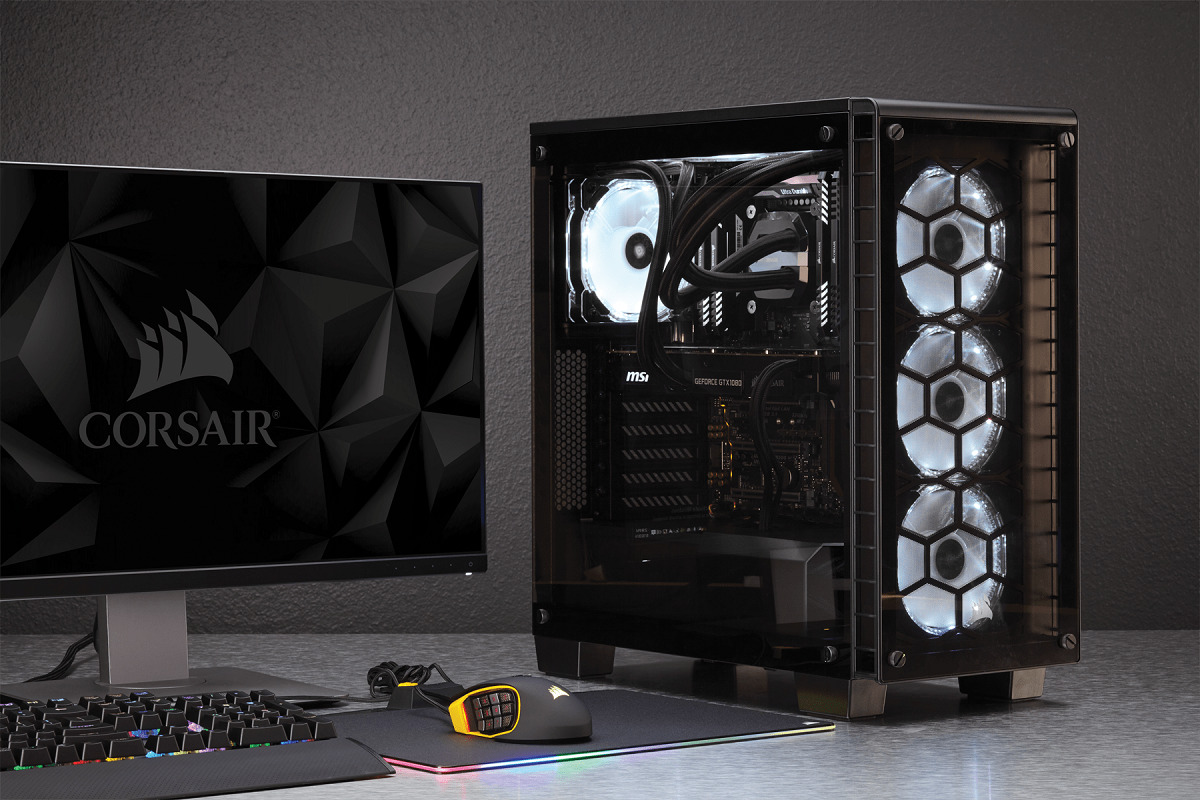
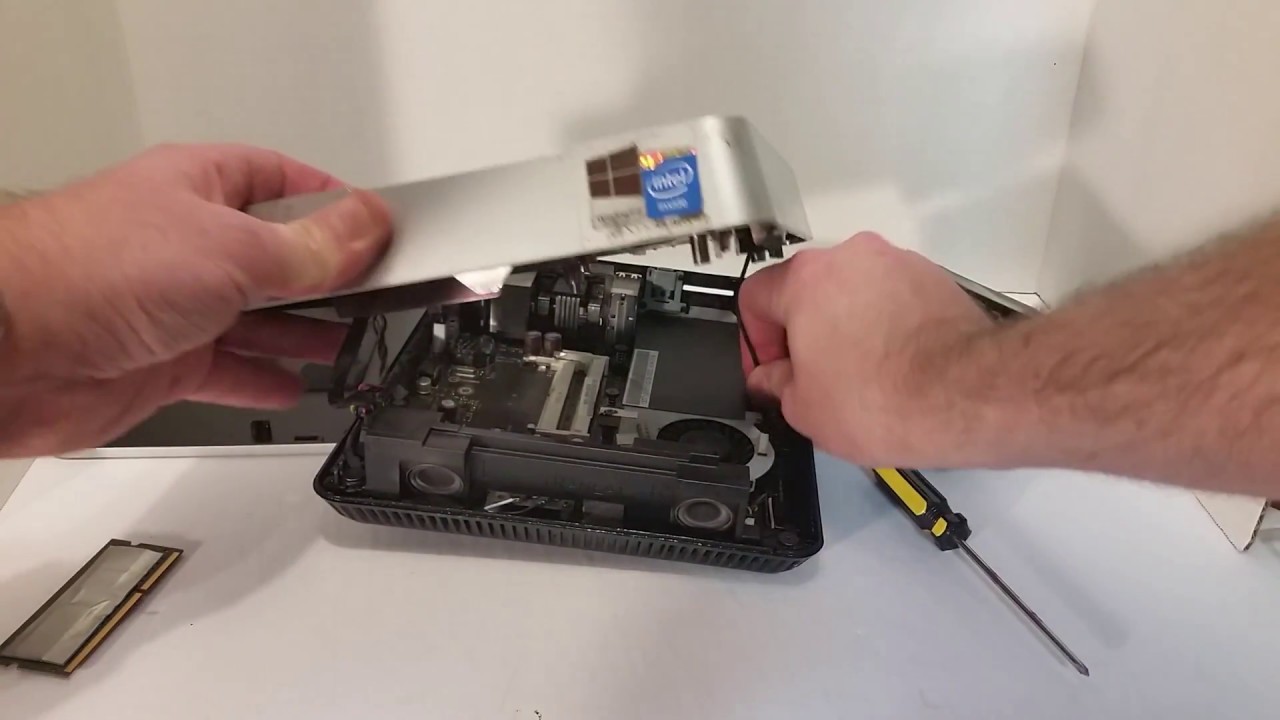
Step 6: Access the internal components
With the Vivo PC case slid off, you now have access to the internal components of the PC. This step allows you to perform maintenance tasks, upgrades, or repairs. Here’s what you need to do:
- Observe the internal layout: Take a moment to familiarize yourself with the internal layout of the Vivo PC. Identify the various components such as the motherboard, CPU, RAM, storage drives, and expansion slots.
- Handle components with care: When working inside the PC, it’s crucial to handle the components with care. Avoid touching any sensitive contact points or circuitry and use an anti-static wrist strap if available.
- Perform maintenance or upgrades: Depending on your specific needs, you can now proceed with tasks such as cleaning out dust, replacing or upgrading components, or installing additional hardware.
- Follow proper procedures: Ensure that you follow the manufacturer’s instructions or consult reliable resources when performing any maintenance, upgrades, or repairs. This will help you avoid any potential damage to the PC or its components.
Take your time when accessing the internal components, ensuring that you have a clear understanding of the task at hand. If you’re unsure about any specific procedures, it’s always recommended to seek professional assistance or guidance.
Remember to keep track of any screws you remove and note the placement of each component to facilitate reassembly later. Take photographs or make diagrams if necessary to aid in the reassembly process.
Now that you have accessed the internal components of the Vivo PC, you can proceed with your desired maintenance, upgrades, or repairs. After completing these tasks, it’s time to move on to the next step: reassembling the Vivo PC case.
Step 7: Reassemble the Vivo PC case
After completing the necessary maintenance, upgrades, or repairs inside the Vivo PC, it’s time to reassemble the PC case. Properly reassembling the case ensures that all components are securely in place and the PC functions correctly. Follow these steps to reassemble the Vivo PC case:
- Place the case cover: Take the Vivo PC case cover and align it with the base of the PC. Ensure that all edges match up properly.
- Slide the case back: Gently slide the case back into position, making sure to engage any release mechanisms or latches to secure the case in place. It should slide smoothly and fit snugly.
- Reinsert the screws: Using the appropriate screwdriver, reinsert and tighten the screws that secure the case. Start with one corner, then move diagonally to the opposite corner to ensure an even and secure fit.
Take care not to overtighten the screws, as this can cause damage to the screw holes or the case. Tighten them just enough to hold the case securely in place.
Ensure that all cables are properly routed and connected to their respective ports. Double-check that no cables are pinched or obstructing any components inside the case.
Once you have reassembled the Vivo PC case, take a moment to power on the PC and ensure that it boots up properly. Monitor the startup process and check for any error messages or unusual behavior.
Congratulations! You have successfully reassembled the Vivo PC case, and your PC is ready for use. Whether you performed maintenance, upgrades, or repairs, taking the time to properly reassemble the case ensures the longevity and stability of your Vivo PC.
Now that you have completed the reassembly, you can continue enjoying the benefits of your upgraded or repaired Vivo PC.
Conclusion
Opening the Vivo PC case may seem like a daunting task, but with the step-by-step guide we’ve provided, you can confidently access the internal components for maintenance, upgrades, or repairs. By gathering the necessary tools and shutting down the PC properly, you can ensure a smooth and safe process.
Disconnecting all cables, removing the screws securing the case, and sliding off the Vivo PC case allow you to access the internal components with ease. Handle the components with care, following proper procedures and guidelines, to avoid any damage or mishaps.
After completing your desired maintenance tasks, upgrades, or repairs, it’s important to reassemble the Vivo PC case correctly. This ensures that all components are securely in place, allowing the PC to function properly. Double-check all connections and tighten the screws appropriately to avoid any issues.
By following these steps, you can successfully open and reassemble the Vivo PC case, empowering you to take control of your PC’s maintenance and customization. Remember to consult the manufacturer’s instructions and seek professional assistance whenever needed.
Now that you have the knowledge and confidence to open the Vivo PC case, you can venture into exploring the world of PC customization and troubleshooting. Enjoy the benefits of a well-maintained and upgraded Vivo PC!