Introduction
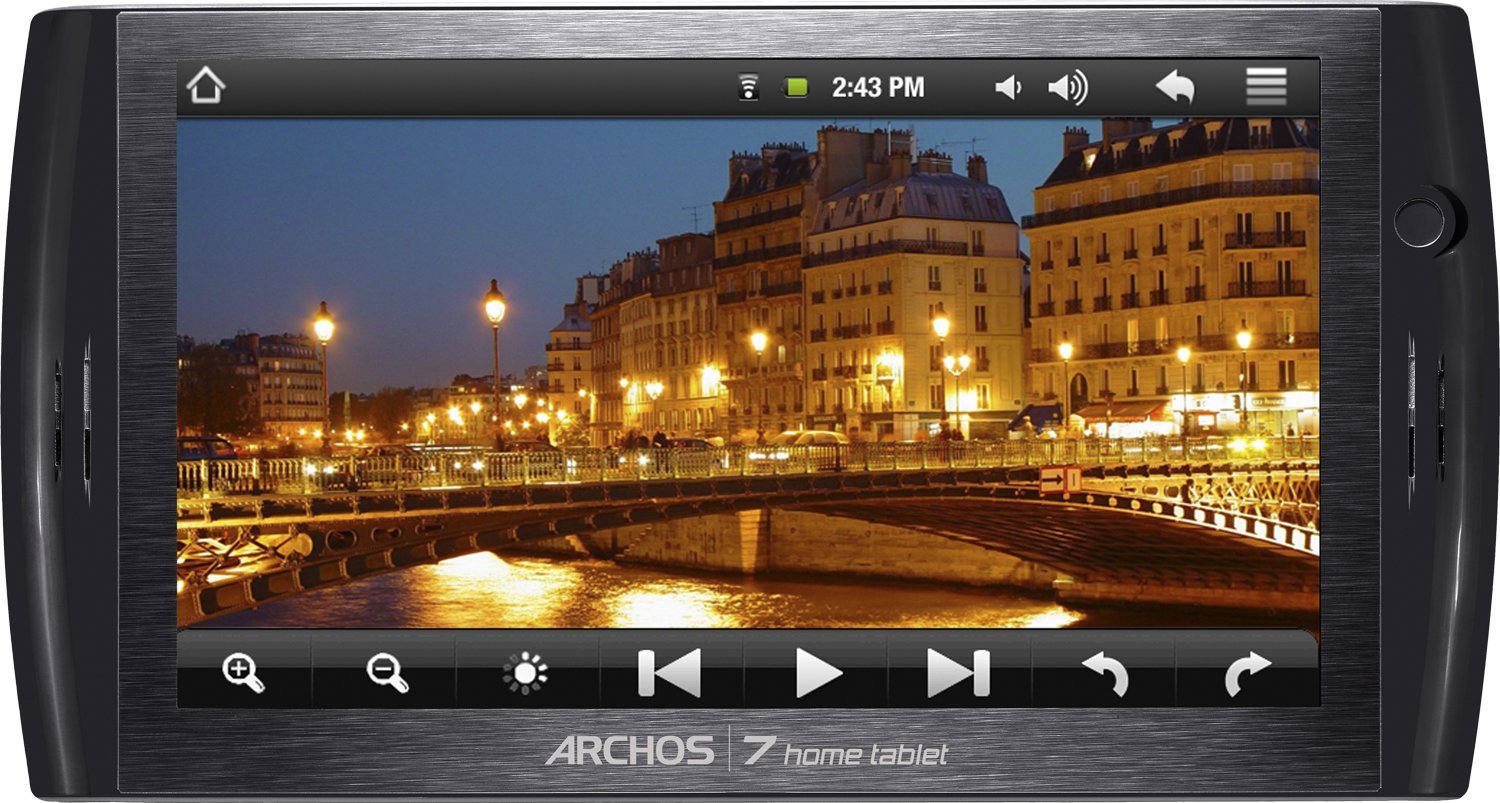
Welcome to our guide on how to open the Archos 7 Home Tablet. If you’ve encountered issues with your tablet’s screen or need to replace a faulty component, this step-by-step tutorial will walk you through the process of safely disassembling your device. Before we proceed, it’s important to note that opening your tablet may void any warranty you have, so proceed with caution.
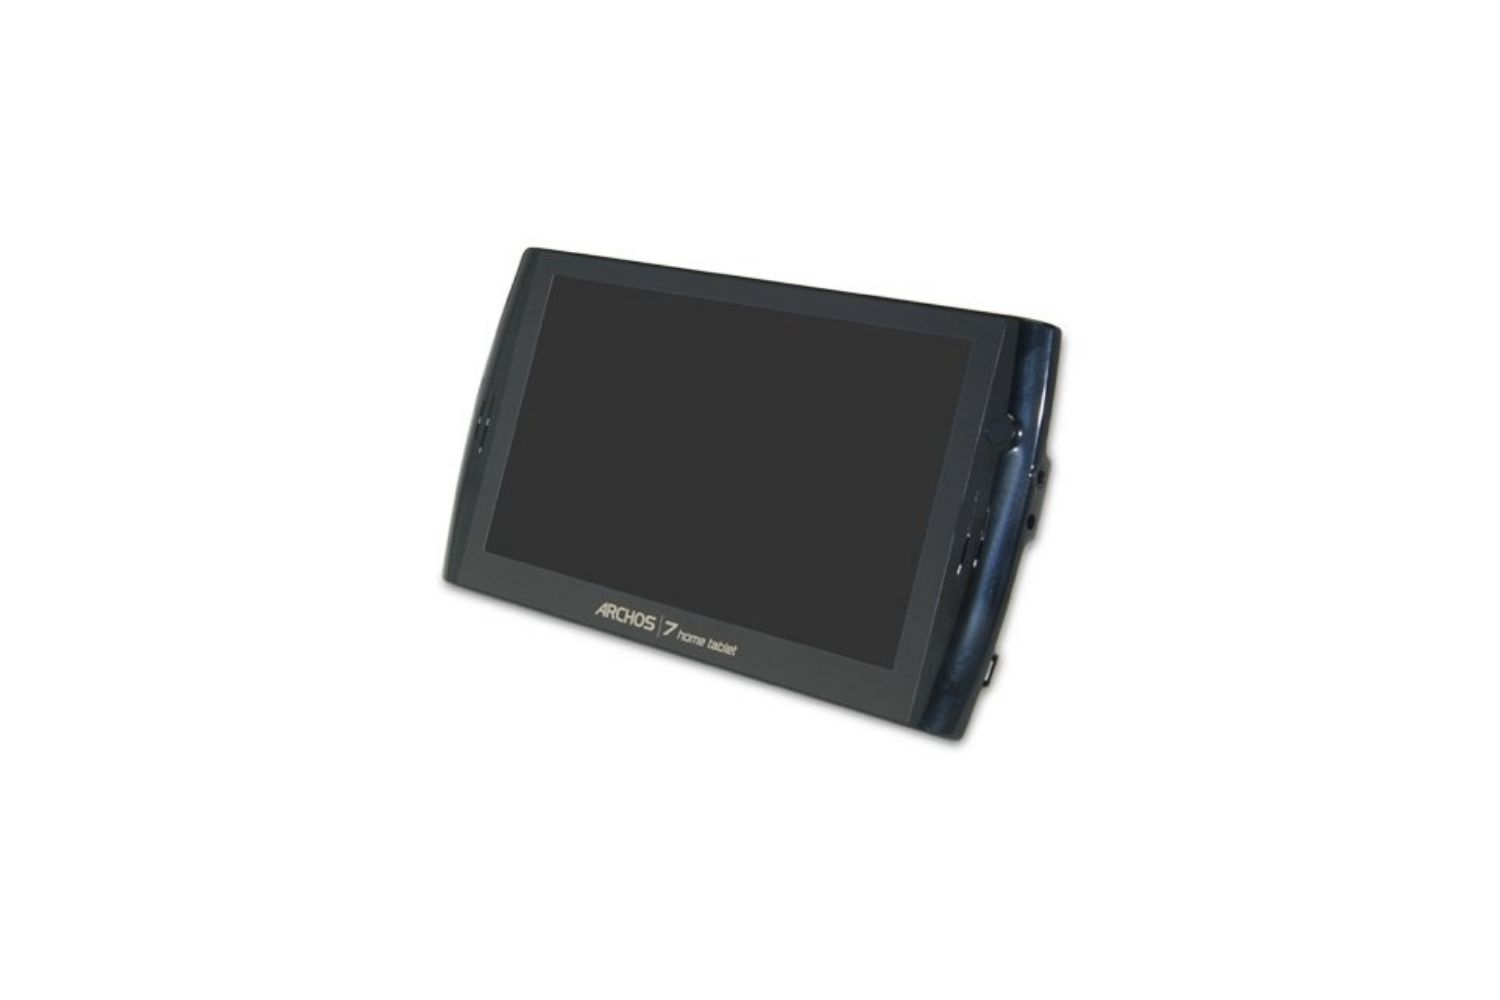
The Archos 7 Home Tablet is a popular device known for its compact size and versatility. Whether you use it for watching videos, browsing the internet, or playing games, it’s essential to know how to open it up in case you need to address any internal hardware issues. By following this guide, you’ll gain a better understanding of the tablet’s inner workings and be on your way to fixing any problems that may arise.
Throughout this tutorial, we will provide detailed instructions and illustrations to make the process as straightforward as possible. We’ll also highlight the safety precautions you should take to protect yourself and the device from potential harm. Remember, it’s always recommended to work in a well-lit, static-free environment and to have the necessary tools ready before starting the disassembly process.
Opening your Archos 7 Home Tablet can be a rewarding experience, allowing you to take control of your device’s maintenance. However, it’s crucial to exercise caution and follow the steps carefully to avoid damaging any internal components. By the end of this guide, you’ll have the knowledge and skills needed to access and replace various parts of your tablet, ensuring its longevity and optimal performance.
Without further ado, let’s get started with the safety precautions you need to know before starting the disassembly process.
Safety Precautions
Before you begin opening your Archos 7 Home Tablet, it’s important to prioritize your safety. Taking the necessary precautions will not only protect you from potential harm, but also prevent further damage to your device. Here are some guidelines to follow:
- Power off the tablet: Make sure the tablet is completely powered off and disconnected from any power sources. This will reduce the risk of electric shock and short-circuiting during the disassembly process.
- Prepare a clean workspace: Find a well-lit area with ample space to work. Remove any objects that could obstruct your workspace, as you’ll need room to lay out the tablet’s components and tools without clutter.
- Static precautions: Static electricity can damage delicate electronic components. To prevent this, work on a static-free surface, such as an anti-static mat or an unpainted wooden table. Additionally, consider using an anti-static wrist strap to ground yourself and minimize static discharge.
- Use the right tools: A proper set of tools will ensure a smooth disassembly process. You’ll typically need a small Phillips screwdriver, plastic pry tools, and tweezers for handling small components. Using the correct tools will minimize the risk of damaging the tablet or injuring yourself.
- Document the process: Take photos or notes as you progress through the disassembly. This will help you remember the order of steps and the location of components, making reassembly easier. It’s also a good idea to keep track of any screws or small parts, labeling them to ensure correct reassembly.
- Be gentle and patient: Take your time and proceed with caution. Avoid using excessive force when prying open the tablet’s casing or disconnecting ribbon cables. Applying too much pressure can lead to cracked or damaged components.
- Keep track of warranties: Opening your Archos 7 Home Tablet may void any warranties it has. Before proceeding, check the warranty terms and assess whether it’s worth the risk. If your device is still under warranty, consider contacting the manufacturer or an authorized service center for assistance.
By following these safety precautions, you’ll minimize the risk of accidents and ensure a successful and safe disassembly process. Now that you’re aware of the necessary precautions, let’s move on to the tools you’ll need to gather before getting started.
Tools Needed
Before you begin disassembling your Archos 7 Home Tablet, you’ll need to gather a few essential tools. Having the right tools on hand will make the process smoother and minimize the risk of damaging the tablet. Here are the tools you’ll need:
- Small Phillips screwdriver: This is the most common type of screwdriver used for electronic devices. Make sure to choose a size that fits the small screws typically found in tablets.
- Plastic pry tools: These tools are designed to help you safely separate the tablet’s components without scratching or damaging them. They are essential for prying open the casing and disconnecting ribbon cables.
- Tweezers: Precision tweezers will come in handy for handling small components, such as screws or ribbon cables. They provide better control and make it easier to manipulate delicate parts without damaging them.
- Anti-static wrist strap: While not essential, an anti-static wrist strap can help protect your tablet from static discharge during the disassembly process. It grounds you, minimizing the risk of damaging sensitive electronic components.
- Anti-static mat or surface: If you don’t have an anti-static mat, you can use an unpainted wooden table or a non-conductive surface to work on. This will help prevent static electricity from damaging the tablet’s components.
- Cleaning cloth and isopropyl alcohol: It’s always a good idea to clean the tablet’s screen and components before reassembly. Use a soft, lint-free cloth and isopropyl alcohol to remove any dust or fingerprints.
- Labeling stickers: As you disassemble the tablet, it’s important to keep track of the location and order of components. Labeling stickers can help you remember where each part goes, making the reassembly process smoother.
Gathering these tools before starting the disassembly process will save you time and ensure that you have everything you need to successfully open your Archos 7 Home Tablet. Now that you’re equipped with the necessary tools, let’s move on to the first step: removing the battery cover.
Step 1: Removing the Battery Cover
The first step in opening the Archos 7 Home Tablet is to remove the battery cover. This will give you access to the internal components of the device. Follow these steps carefully:
- Power off the tablet: Make sure the tablet is completely turned off to avoid any potential electrical hazards.
- Locate the battery cover: The battery cover is located on the back of the tablet. Look for a small groove or indentation on one side.
- Use a plastic pry tool: Insert a plastic pry tool into the groove and gently pry the battery cover upwards. Apply even pressure to avoid damaging the cover or the tablet’s casing.
- Continue prying: Work your way around the edges of the tablet to release any clips or tabs holding the battery cover in place. Take your time and be patient to prevent any accidental damage.
- Remove the battery cover: Once all the clips have been released, carefully lift the battery cover away from the tablet. Set it aside in a safe place for later reassembly.
With the battery cover removed, you now have access to the internal components of the Archos 7 Home Tablet. Keep the battery cover in a secure location to prevent any damage or loss.
Now that you’ve successfully removed the battery cover, we can move on to the next step: unscrewing the screws. This step is crucial in order to access the tablet’s internal components, so let’s proceed with caution.
Step 2: Unscrewing the Screws
Now that the battery cover is removed, we can proceed to the next step: unscrewing the screws that secure the Archos 7 Home Tablet’s casing. Follow these steps carefully:
- Take note of the screw locations: Look for the screws that hold the tablet’s casing together. They are typically located around the edges or near the corners. Take note of their positions as you will need to reinsert them in the same locations during reassembly.
- Use a small Phillips screwdriver: Select the appropriate size of the Phillips screwdriver and insert it into the first screw. Turn it counterclockwise to loosen and remove the screw. Place the screw in a safe spot where it won’t get lost.
- Repeat for all remaining screws: Continue removing the remaining screws one by one, making sure to keep them organized. Be careful not to overtighten or strip the screws as you remove them.
- Set aside the screws: Once all the screws have been removed, place them in a small container or on a magnetic mat to prevent them from rolling away or getting mixed up. Keeping the screws organized will make reassembly much easier.
With all the screws removed, the Archos 7 Home Tablet’s casing is ready to be opened. It’s important to keep the screws in a safe place to ensure that they don’t get lost or mixed up. Now, let’s move on to the next step: separating the back panel from the tablet’s body.
Step 3: Separating the Back Panel
With the screws removed, it’s time to separate the back panel of the Archos 7 Home Tablet from the tablet’s body. This step will give you access to the internal components. Follow these steps carefully:
- Locate the edges of the back panel: Take a close look at the edges of the tablet’s back panel. You’ll notice small gaps or indentations where the back panel meets the main body of the tablet.
- Use a plastic pry tool: Insert a plastic pry tool into one of the gaps or indentations. Gently apply pressure to pry the back panel away from the tablet’s body. Be careful not to use excessive force, as this can cause damage to the casing or internal components.
- Work your way around the edges: Once you have successfully inserted the pry tool, slowly move it along the edges of the tablet to separate the back panel from the body. Take your time and be patient, as some areas may require more effort to release the clips holding the back panel in place.
- Avoid prying near the buttons or ports: As you work your way around the edges, be cautious around the buttons, ports, and other sensitive areas. These areas are more prone to damage, so take extra care to avoid applying too much pressure.
- Continue until the back panel is fully separated: Repeat the process of inserting the pry tool and slowly working your way around the edges until the back panel is completely separated from the tablet’s body. Once separated, set the back panel aside in a safe location.
With the back panel successfully separated, you now have a clearer view of the Archos 7 Home Tablet’s internal components. Take a moment to inspect the inside and familiarize yourself with the layout before proceeding to the next step: disconnecting the ribbon cables.
Step 4: Disconnecting the Ribbon Cables
Now that the back panel is separated, we can move on to the next step: disconnecting the ribbon cables. These cables connect various components of the Archos 7 Home Tablet and need to be disconnected to access the motherboard and other internal parts. Follow these steps carefully:
- Identify the ribbon cables: Look for thin, flat cables connected to the motherboard. These are the ribbon cables that need to be disconnected.
- Use a plastic pry tool or your fingers: Gently lift the plastic retention flaps located at the ends of the ribbon cables. You can use a plastic pry tool or your fingers to do this. Be careful not to apply too much force to avoid damaging the cables or their connectors.
- Disconnect the ribbon cables: Once the plastic retention flaps are lifted, carefully pull the ribbon cables out of their connectors. Pull straight and evenly to avoid bending or damaging the cables. Take note of the orientation of the cables for proper reconnection later.
- Repeat for all ribbon cables: If there are multiple ribbon cables connected to the motherboard, repeat the process of lifting the retention flaps and disconnecting them one by one. Take your time and be gentle to prevent any accidents.
With the ribbon cables disconnected, you now have access to the Archos 7 Home Tablet’s motherboard and other internal components. Take a moment to inspect and familiarize yourself with the layout before proceeding to the next step: removing the motherboard.
Step 5: Removing the Motherboard
With the ribbon cables disconnected, we can now proceed to the next step: removing the motherboard from the Archos 7 Home Tablet. This step will give you direct access to the motherboard and other internal components. Follow these steps carefully:
- Identify the motherboard: Locate the main circuit board, also known as the motherboard, inside the tablet. It’s usually the largest component and contains various connectors and chips.
- Take note of the screws: Look for screws that secure the motherboard to the tablet’s casing. These screws are typically located near the edges or corners of the motherboard. Take note of their positions as you will need to reinstall them later.
- Use a small Phillips screwdriver: Select the appropriate size of the Phillips screwdriver and begin removing the screws that secure the motherboard. Turn them counterclockwise to loosen and remove them. Keep the screws organized and set them aside in a safe location.
- Gently lift and remove the motherboard: Once all the screws are removed, gently lift the motherboard from the tablet’s casing. Be careful not to apply excessive force or twist the motherboard, as this can cause damage to the internal components or connectors.
- Set aside the motherboard: Place the removed motherboard on an anti-static mat or a non-conductive surface. This will help protect it from static electricity and prevent damage. Take this opportunity to inspect the motherboard for any signs of damage or wear.
With the motherboard successfully removed, you now have full access to the Archos 7 Home Tablet’s internal components. Handle the removed motherboard with care to prevent any accidental damage. Now, let’s proceed to the next step: replacing the screen, if needed.
Step 6: Replacing the Screen
If you need to replace the screen of your Archos 7 Home Tablet, this step will guide you through the process. Follow these steps carefully:
- Obtain a replacement screen: Purchase a compatible replacement screen for your Archos 7 Home Tablet from a trusted source. Ensure that the screen matches the specifications of your device.
- Disconnect the old screen: Carefully disconnect the ribbon cables and any other connectors attached to the old screen. Take note of the locations and orientations for proper reconnection.
- Remove any adhesive or securing clips: If the old screen is held in place with adhesive or securing clips, gently remove them using a plastic pry tool or tweezers. Be cautious not to damage the surrounding components or the casing.
- Place the new screen: Position the replacement screen in place, making sure it aligns properly with the tablet’s frame. Ensure that any necessary cables or connectors are properly attached.
- Secure the new screen: If the replacement screen requires adhesive or securing clips, follow the manufacturer’s instructions to secure it in place. Be careful not to apply too much pressure, as this can damage the screen or other components.
- Reconnect the ribbon cables: Carefully reconnect the ribbon cables and any other connectors to their respective ports. Ensure that they are fully inserted and secure.
Replacing the screen of the Archos 7 Home Tablet requires precision and patience. Take your time and double-check all connections before moving on to the next step. With the screen successfully replaced, you’re one step closer to completing the reassembly process.
Before proceeding to the final step, take a moment to ensure that everything is properly connected and aligned. Check for any loose screws or components, and make any necessary adjustments. Now, let’s move on to the last step: putting the tablet back together.
Step 7: Putting the Tablet Back Together
Now that you have completed the necessary repairs or replacements, it’s time to put the Archos 7 Home Tablet back together. Follow these steps carefully to ensure a successful reassembly:
- Reconnect the motherboard: Place the motherboard back into the tablet’s casing, aligning it properly with the screw holes. Gently press it down to ensure a secure fit.
- Secure the motherboard: Retrieve the screws that were removed earlier and carefully reinstall them in their original positions. Tighten the screws with a small Phillips screwdriver, being careful not to overtighten.
- Reconnect the ribbon cables: Take the ribbon cables that were disconnected earlier and reinsert them into their respective ports on the motherboard. Ensure they are fully inserted and the retaining flaps are properly closed.
- Replace the back panel: Align the back panel with the tablet’s body and gently press it down to snap it into place. Work your way around the edges, making sure all clips are properly secured.
- Reinstall the battery cover: Line up the battery cover with the back of the tablet and press it down until it clicks into place. Ensure that it is securely attached.
- Perform a final inspection: Before powering on the tablet, visually inspect the device to ensure everything is properly aligned, secured, and connected. Check for any loose screws, cables, or components.
- Power on the tablet: Once you have completed the reassembly, power on the Archos 7 Home Tablet and check if it functions properly. Test the screen, buttons, and other features to ensure everything is working as expected.
Congratulations! You have successfully put the Archos 7 Home Tablet back together after your repairs or replacements. Take a moment to appreciate your efforts and the knowledge gained throughout this process.
If everything is working as it should, you can now enjoy your fully functional tablet. Remember that these steps should be performed with caution, and if you encounter any difficulties or uncertainties, it’s always best to seek professional assistance.
We hope this guide has been helpful in guiding you through the process of opening and repairing the Archos 7 Home Tablet. Always remember to follow safety precautions and take your time to ensure a successful outcome.
Conclusion
Congratulations on successfully opening and repairing your Archos 7 Home Tablet! By following this step-by-step guide, you have gained valuable knowledge and skills in disassembling and reassembling your device. Whether you needed to replace the screen, fix internal components, or simply gain a better understanding of your tablet’s inner workings, this guide has provided you with the necessary instructions and precautions.
Throughout the process, we emphasized the importance of safety precautions, including powering off the tablet, working in a static-free environment, using the right tools, and being mindful of delicate components. By prioritizing safety, you minimize the risk of damage to yourself and the tablet.
It’s important to note that opening your tablet may void any warranties you have. If your device is still under warranty or if you encounter any difficulties during the process, it’s always recommended to seek professional assistance or contact the manufacturer for support.
We hope this guide has empowered you to take control of your Archos 7 Home Tablet’s maintenance and repairs. By being able to disassemble and reassemble your device, you have the opportunity to extend its lifespan and address any issues that may arise.
Remember, patience and attention to detail are key throughout the disassembly and reassembly process. Take your time, carefully follow the steps, and refer back to the guide as needed. If you document each step, such as taking photos or notes, it will make the reassembly process much easier.
We hope that your Archos 7 Home Tablet now functions optimally and meets your expectations. Should you encounter any further issues or have any questions, consult the device’s user manual or seek support from manufacturer resources or technical forums.
Thank you for trusting this guide as your reference for opening and repairing your Archos 7 Home Tablet. We wish you the best of luck with your tablet and any future repair endeavors!