Introduction
Welcome to our guide on how to open an Asus tablet! If you’re experiencing technical issues or simply curious about the internal components, this step-by-step tutorial will provide you with the knowledge and confidence to safely open your Asus tablet.
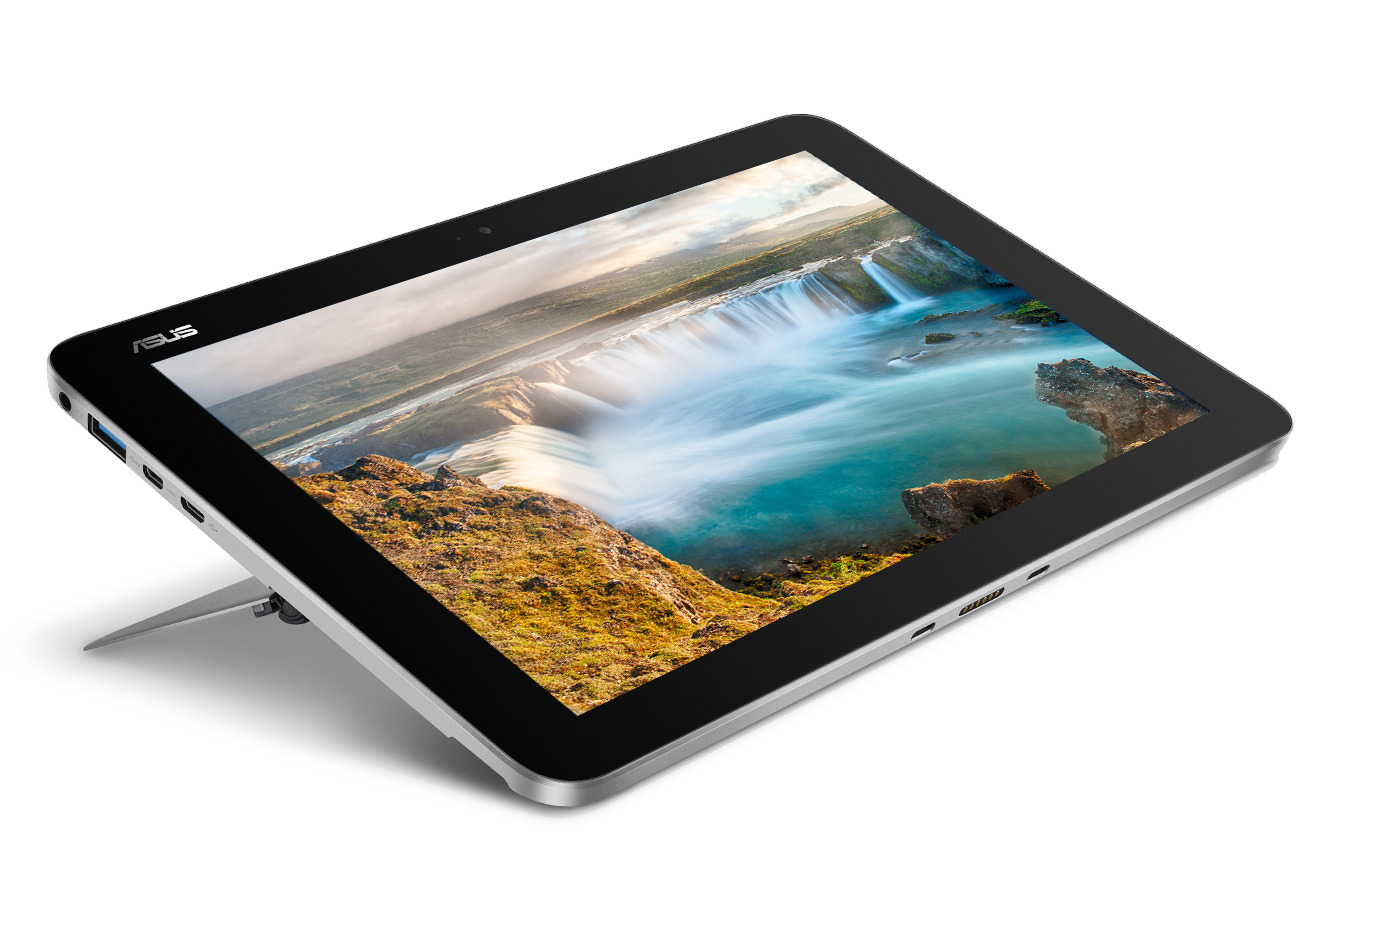
Asus tablets are known for their sleek design, durability, and powerful performance. However, like any electronic device, they may require maintenance or repairs over time. Opening the tablet allows you to access its internal components, such as the battery, motherboard, and display, which can be useful for troubleshooting and replacement purposes.
Before we dive into the procedure, it’s important to note that opening your Asus tablet can void your warranty. Ensure that your device is no longer covered by the warranty or obtain proper authorization before proceeding. Additionally, exercise caution and patience throughout the process to avoid damaging any components or the external casing.
In this guide, we will walk you through the necessary steps to open your Asus tablet, providing tips and insights along the way. We will cover gathering the necessary tools, locating and removing the screws, prying open the tablet, disconnecting the battery, and accessing the internal components. If you encounter any issues during the process, we will offer troubleshooting tips to help you overcome them.
It’s important to remember that opening your Asus tablet should be approached with care and only if absolutely necessary. If you are unsure or uncomfortable with the process, it is recommended to seek professional assistance from an authorized Asus service center or technician.
Now that we have set the groundwork, let’s move on to the first step: gathering the necessary tools.
Getting Started
Before you begin the process of opening your Asus tablet, it’s important to set yourself up for success by gathering the necessary tools and creating a suitable workspace. Taking these preliminary steps will ensure a smooth and efficient process, minimizing the risk of damage to your device.
The following are the tools you will need:
- Small screwdriver set: You will need a set of precision screwdrivers with various interchangeable heads. These tools will allow you to remove the screws that hold the tablet’s casing together.
- Plastic opening tool: A plastic opening tool, such as a spudger or a guitar pick, can be used to gently pry open the tablet while minimizing the risk of scratching or damaging the external casing.
- Tweezers: Tweezers will come in handy for delicate tasks, such as disconnecting small connectors or handling tiny components.
- Antistatic wrist strap (optional): An antistatic wrist strap can be used to ground your body and prevent static electricity from damaging sensitive internal components. While optional, it is highly recommended, especially when working in dry environments.
- Clean and well-lit workspace: Prepare a clean and well-lit area to perform the tablet disassembly. A clutter-free workspace will minimize the chances of misplacing screws or losing track of important components during the process.
Now that you have gathered all the necessary tools and set up your workspace, you are ready to proceed to the next step: turning off the tablet.
Step 1: Gather the necessary tools
Before you begin the process of opening your Asus tablet, it’s crucial to gather the necessary tools to ensure a smooth and successful disassembly. Having the right tools on hand will make the process easier and minimize the risk of damaging your device.
Here are the tools you will need:
- Small screwdriver set: A set of precision screwdrivers is essential for removing the screws that hold the tablet’s casing together. Make sure the screwdriver set includes heads of various sizes to fit different screw types.
- Plastic opening tool: A plastic opening tool, such as a spudger or a guitar pick, is vital for prying open the tablet without scratching or damaging the external casing. The flexibility and smooth edges of plastic tools help minimize the risk of accidental damage.
- Tweezers: Tweezers with fine, pointed tips are handy for handling small components or disconnecting delicate connectors inside the tablet. Make sure the tweezers are non-magnetic to avoid interfering with any magnetic parts.
- Antistatic wrist strap (optional): While not essential, an antistatic wrist strap can help prevent potential static electricity damage to sensitive internal components. It grounds your body, minimizing the risk of electrostatic discharge, especially in dry environments.
- Clean and well-lit workspace: Prepare a clean and well-lit area to work on your tablet. A clutter-free workspace will ensure you don’t misplace any screws or lose small components during the disassembly process.
Having all the necessary tools organized and within reach will save you time and frustration during the disassembly. It’s always a good idea to double-check that you have everything before proceeding.
Now that you have gathered the tools, you’re ready to move on to the next step: turning off the tablet.
Step 2: Turn off the tablet
Before you begin opening your Asus tablet, it’s essential to power it off completely. This step ensures your safety and prevents potential damage to the internal components while working on the device.
Follow these steps to turn off your Asus tablet:
- Locate the power button: The power button is usually located on the side or the top of the tablet. It’s typically labeled with a power symbol or the word “Power.”
- Press and hold the power button: Firmly press and hold the power button for a few seconds until a menu or prompt appears on the screen.
- Select “Power Off” or similar option: On the screen, look for the option to power off or shut down your tablet. This option can vary depending on the specific Asus tablet model you’re using.
- Confirm the power-off command: Once you’ve selected the power-off option, you may be prompted to confirm your decision. This confirmation is to prevent accidental shutdowns, especially if you’re in the middle of working on something important.
- Wait for the tablet to shut down: After confirming the power-off command, wait for your Asus tablet to completely shut down. You may notice the screen going blank, and any LED indicators turning off.
It’s important to ensure that your tablet is powered off and not in sleep mode or hibernation. This guarantees a safe working environment while you disassemble the device.
Once your Asus tablet is completely powered off, you can move on to the next step, which is locating the screws that hold the tablet’s casing together.
Step 3: Locate the screws
Once you have successfully powered off your Asus tablet, the next step in opening it is to locate the screws that hold the casing together. The location and number of screws may vary depending on the model of your Asus tablet.
Follow these steps to locate the screws:
- Inspect the tablet: Carefully examine the edges, sides, and back of the tablet’s casing. Look for small indentations or markings that indicate the presence of screws. These markings may be in the form of small circles or rectangles.
- Refer to the user manual: If you have the user manual that came with your Asus tablet, it’s a good idea to consult it at this point. The manual may provide detailed information on the location and types of screws used in your specific model.
- Use a flashlight if necessary: In some cases, the screw holes may not be clearly visible, especially in dimly lit conditions. Shine a flashlight along the edges and corners of the tablet to help identify the screw locations more easily.
- Take note of the screw types: As you locate the screws, pay attention to their size, shape, and type. Different screws may require different screwdriver heads for removal. Jotting down notes or taking pictures can be helpful when it’s time to reassemble the tablet.
It’s important to handle the tablet with care during this step to avoid accidental damage or scratching the casing. Gently inspect and identify all the screw locations before proceeding to the next step.
Once you have located the screws that secure the tablet’s casing, you’re ready to move on to the next step: removing the screws.
Step 4: Remove the screws
With the locations of the screws identified, it’s time to remove them to begin opening your Asus tablet. Removing the screws will allow you to access the internal components and continue with the disassembly process.
Follow these steps to remove the screws:
- Select the appropriate screwdriver head: Based on the types of screws you located in the previous step, choose the screwdriver head that matches the size and shape of the screws. Ensure a secure fit between the screwdriver head and the screw to prevent slipping and potential damage.
- Insert the screwdriver into the screw head: Position the screwdriver into the screw head and ensure it is properly aligned. Apply steady downward pressure while turning the screwdriver counterclockwise to loosen the screw.
- Continue removing all the screws: Repeat the process for each screw you found during the screw location step. Take your time and be gentle to avoid stripping the screw heads or causing any damage.
- Keep the screws in a safe place: Once a screw is fully loosened, carefully remove it from the screw hole and place it in a small container or on a clean and safe surface. Keeping track of the screws will make reassembling the tablet easier later on.
It’s crucial to remain patient and cautious during this step, as applying too much force or using the wrong screwdriver head can result in stripped screws or damage to the casing. Take your time to ensure each screw is fully loosened before moving on to the next.
Once all the screws are removed from the tablet’s casing, you can proceed to the next step: prying open the tablet.
Step 5: Pry open the tablet
After removing the screws, the next step in the process of opening your Asus tablet is to pry open the casing. This step requires careful handling to avoid damaging the internal components or the external casing of the tablet.
Follow these steps to pry open the tablet:
- Use a plastic opening tool: Take a plastic opening tool, such as a spudger or a guitar pick, and insert it into the small gap between the tablet’s front and back casing. Be gentle and start at a corner or an edge, where the casing is more likely to have a slight separation.
- Work your way along the edges: Once the plastic tool is inserted, carefully slide it along the edges of the tablet, applying gentle pressure to gradually separate the front and back casing. Be patient and work around the entire perimeter of the tablet to ensure even separation.
- Avoid excessive force: It’s important to apply consistent but gentle pressure while prying the casing open. Avoid using excessive force or twisting motions that may cause cracks or damage to the casing or the internal components.
- Listen for any clicking or releasing sounds: As you work your way around the edges of the tablet, you may hear faint clicking or releasing sounds. These sounds indicate that the casing is separating. Take note of any areas that require more effort to pry open, as there may be additional latches or adhesive in those spots.
- Stop if it feels too difficult: If you encounter significant resistance or feel unsure about prying open the tablet, it’s best to seek professional assistance. Attempting to force the casing open can result in irreversible damage. Always prioritize your safety and the integrity of your tablet.
Remember to be patient during this step, ensuring that you maintain a steady and gentle approach. Take your time and be diligent in prying open the casing to avoid any unnecessary harm to your tablet.
Once the tablet’s casing is successfully pried open, you can proceed to the next step: disconnecting the battery.
Step 6: Disconnect the battery
After prying open the casing of your Asus tablet, the next important step is to disconnect the battery. This step is crucial for ensuring your safety and preventing any accidental power supply to the internal components while working on them. Disconnecting the battery will minimize the risk of damage and allow you to proceed with accessing the tablet’s internal components.
Follow these steps to disconnect the battery:
- Identify the battery connector: Look for the battery connector, which is a small cable or wire attached to the motherboard or battery pack. It is usually located near the center or bottom of the tablet’s internal components.
- Identify the battery connector type: Depending on the tablet model, the battery connector may have different types, such as a plug-in connector, a ribbon cable, or a clamping connector. Take note of the specific connector type to ensure proper disconnection.
- Follow the disconnection procedure: Use a pair of tweezers or your fingers to gently disconnect the battery connector. For plug-in connectors or ribbon cables, carefully pull them straight out from their sockets. For clamping connectors, lift the clamping mechanism or release the latch to loosen the connection.
- Avoid excessive force: It’s crucial to use a delicate touch when disconnecting the battery. Excessive force or improper handling can damage the connector or the motherboard. If you encounter resistance, double-check the connection type and ensure you’re following the correct procedure.
- Secure the battery connector: Once the battery is disconnected, take care to secure the loose connector to prevent accidental reconnection or tangling with other components within the tablet.
Disconnecting the battery effectively cuts off the power supply to the tablet’s internal components, ensuring a safe working environment for the remainder of the disassembly process.
Now that the battery is disconnected, you can proceed to the next step: accessing the internal components of your Asus tablet.
Step 7: Access the internal components
Now that the battery is safely disconnected, you can proceed to access the internal components of your Asus tablet. This step allows you to inspect, repair, or replace specific components as needed. When accessing the internal components, it’s important to handle them with care and avoid unnecessary pressure or mishandling that could cause damage.
Follow these steps to access the internal components:
- Identify the specific component: Determine which component you need to access. This may include the motherboard, display unit, memory modules, or other components depending on the issue you’re troubleshooting or the upgrade you’re performing.
- Review any additional screws or connectors: In addition to the ones used to secure the casing, there may be additional screws or connectors holding specific components in place. Take note of them and remove them carefully using the appropriate tools.
- Handle components with care: When accessing the internal components, exercise caution and avoid touching any delicate circuitry or sensitive parts. Hold components by their edges or use tweezers if necessary, especially for small connectors or modules.
- Keep track of removed screws: As you remove any additional screws, keep them organized and separate from the ones used to secure the casing. This will make the reassembly process easier and prevent confusion later.
- Take necessary precautions: If you encounter any adhesive or connectors that seem difficult to detach, consult the user manual or seek professional assistance. Applying too much force or improper techniques can cause damage to the components or the tablet itself.
By carefully accessing the internal components, you gain the ability to troubleshoot and perform necessary repairs or upgrades to your Asus tablet. However, it’s important to exercise caution and seek professional help if you’re unsure about any particular component or procedure.
With the internal components accessible, you can now move on to the next step: troubleshooting tips.
Step 8: Troubleshooting tips
Once you have accessed the internal components of your Asus tablet, you may encounter specific issues that require troubleshooting. This step provides some helpful tips to assist you in diagnosing and resolving common problems that you may come across during the disassembly process.
Here are some troubleshooting tips to keep in mind:
- Document your disassembly: While disassembling your tablet, take pictures or notes of the component positions and cable connections. This documentation will be helpful when reassembling the tablet or seeking assistance from a professional if needed.
- Inspect for loose connections: Check all cable connections to ensure they are securely plugged in. Loose or improperly connected cables can cause various issues like a malfunctioning display or non-responsive touch screen.
- Clean components and contacts: Dust, debris, or oxidized contacts can interfere with proper functioning. Use compressed air or a soft brush to clean dust off components and remove any debris that may be affecting connections.
- Check for signs of damage: Carefully examine the internal components for any visible signs of damage, such as burnt or swollen capacitors, frayed cables, or discolored circuit boards. Damaged components may require replacement or repair.
- Ensure proper alignment: When reassembling the tablet, ensure that the components and connectors are aligned correctly. Misalignments can lead to issues such as non-functional buttons, uneven display brightness, or poor audio quality.
- Test functionality before reassembly: Before fully reassembling the tablet, perform a functionality test. Connect the necessary cables, power on the tablet, and test each component to ensure everything is working properly.
- Refer to online resources: If you encounter specific issues or errors during the disassembly process, refer to online forums, support websites, or community groups for troubleshooting guides and solutions specific to your Asus tablet model.
Remember that troubleshooting can sometimes be complex, and it’s important to approach it with patience and caution. If you’re unsure or unable to resolve an issue, consider seeking professional assistance to avoid causing further damage.
With these troubleshooting tips in mind, you’re now equipped to identify and potentially resolve common issues that may arise while disassembling your Asus tablet.
Conclusion
Congratulations! You have successfully completed the step-by-step guide on how to open an Asus tablet. By following the instructions provided, gathering the necessary tools, and taking necessary precautions, you can safely access the internal components of your tablet for troubleshooting or maintenance purposes.
It’s essential to remember that opening your Asus tablet may void your warranty, so it is crucial to ensure that the device is no longer covered or seek proper authorization before proceeding. Exercise caution, be patient, and handle the tablet and internal components with care to avoid any damage.
Throughout the process, we discussed the importance of gathering the necessary tools, turning off the tablet, locating and removing the screws, prying open the casing, disconnecting the battery, and accessing the internal components. We also provided troubleshooting tips to help you diagnose and potentially resolve common issues that may arise.
If at any point you feel unsure or uncomfortable with the disassembly process, it is recommended to seek professional assistance from an authorized Asus service center or technician. They have the expertise and experience to handle complex repairs and ensure the continued functionality of your tablet.
Remember to document your disassembly, clean components and connections, check for damage, and test functionality before fully reassembling the tablet. These steps will help ensure a smooth reassembly process and minimize the chances of any issues after closing the tablet’s casing.
We hope this guide has been informative and helpful in guiding you through the process of opening your Asus tablet. By gaining access to the internal components, you have the opportunity to maintain, repair, or upgrade your tablet effectively.
Now that you have the knowledge and confidence, you can tackle any necessary repairs or modifications with ease. Good luck, and may your Asus tablet regain its optimal performance!