Introduction
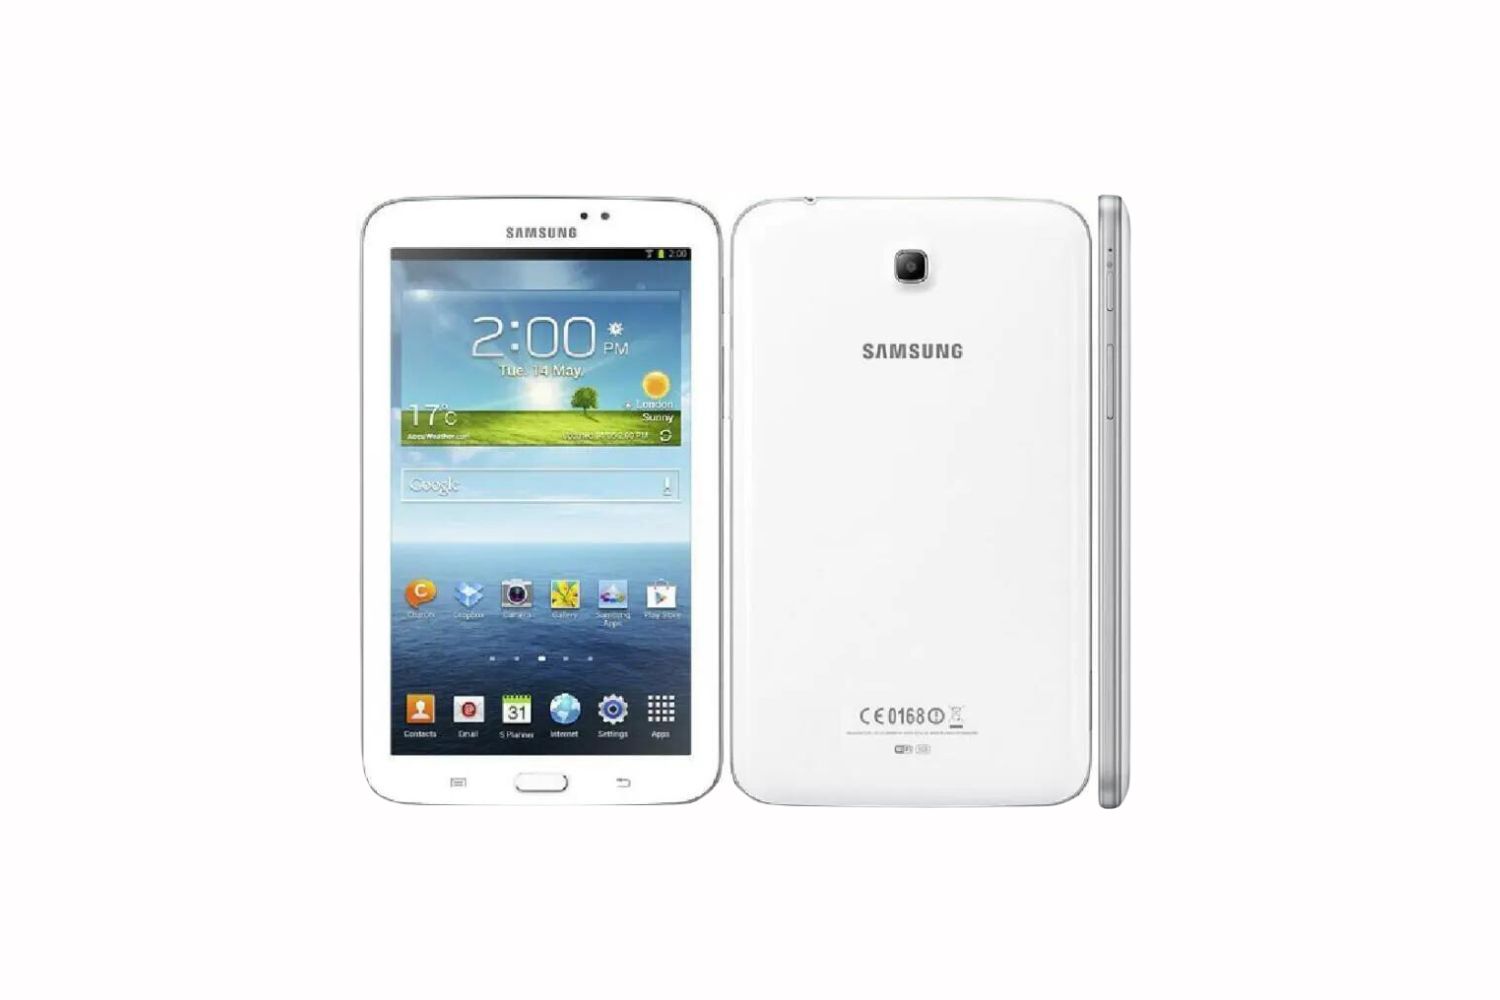
Are you the proud owner of a Samsung Ce0168 tablet? Perhaps you’ve encountered a technical issue that requires you to open up your device and perform some troubleshooting or repair. Opening up a Samsung Ce0168 tablet may seem like a daunting task, but with the right tools and a step-by-step guide, you can successfully access and work on the internal components.
In this article, we will walk you through the process of opening a Samsung Ce0168 tablet. We will provide you with detailed instructions on how to remove the back cover, disconnect the battery, detach the rear camera(s), access the internal components, and even remove the LCD display if necessary.
It is important to note that opening up your tablet may void the warranty, so it’s best to check with the manufacturer or seek professional assistance if your device is still under warranty. Additionally, performing any repairs or modifications on your own carries some risk, so proceed with caution and be aware of the potential consequences.
Now, let’s gather the necessary tools and equipment before we start the process of opening up your Samsung Ce0168 tablet.
Tools and Equipment Needed
Before you begin opening up your Samsung Ce0168 tablet, make sure you have the following tools and equipment handy:
- Small Screwdriver Set: A set of small screwdrivers with various heads will be useful for removing screws of different sizes in the tablet.
- Plastic Opening Tools: Plastic opening tools, such as spudgers or pry tools, will help you gently separate the back cover from the tablet without causing any damage.
- Tweezers: Tweezers can be handy for handling small components or cables inside the tablet.
- Anti-static Wrist Strap: While not necessary, an anti-static wrist strap can prevent static electricity from damaging sensitive internal components.
- Heat Gun or Hair Dryer: In cases where the adhesive holding the components is strong, a heat gun or hairdryer can be used to gently heat and loosen the adhesive for easier removal.
- Microfiber Cloth: A microfiber cloth will help you clean the tablet and remove any fingerprints, smudges, or dust that may have accumulated.
- Double-sided Adhesive Tape: If you need to reattach any components or secure the back cover, double-sided adhesive tape can come in handy.
- Container or Magnetic Mat: Having a container or magnetic mat to keep track of small screws and components will ensure they don’t get lost during the disassembly process.
Make sure you have all the necessary tools and equipment ready before you proceed with opening your Samsung Ce0168 tablet. It’s important to work in a well-lit and clean environment to avoid any accidental damage or loss of components.
Step 1: Power off the Tablet
The first step in opening up your Samsung Ce0168 tablet is to ensure that it is powered off. This is crucial to prevent any potential damage to the internal components and ensure your safety during the disassembly process.
To power off the tablet, locate the power button. On most Samsung Ce0168 tablets, the power button is located on the side or the top of the device, near the volume buttons. Press and hold the power button until a menu appears on the screen.
In the menu, you should see an option to power off. Tap on this option to initiate the shutdown process. Wait for a few seconds until the tablet completely powers down.
Once the tablet is powered off, you are ready to proceed with the next steps of opening up your Samsung Ce0168 tablet. Remember to handle the tablet with care and avoid excessive force to prevent any unwanted damage.
Now that your tablet is powered off, let’s move on to the next step: removing the back cover.
Step 2: Removing the Back Cover
With the tablet powered off, it’s time to remove the back cover of your Samsung Ce0168. The back cover is usually held in place by clips or screws, depending on the model of your tablet. Here’s how you can remove it:
- Inspect the edges of the tablet to locate any visible screws. If there are screws, use a small screwdriver from your toolkit to carefully unscrew and set them aside in a container or magnetic mat for safekeeping.
- If there are no visible screws, you will need to use a plastic opening tool. Insert the tool between the back cover and the body of the tablet, and gently pry them apart. Start from one corner and work your way around the edges, applying gentle pressure to release the clips holding the back cover in place.
- As you work your way around, you may hear some snapping or clicking sounds as the clips disengage. This is normal but be careful not to use too much force to avoid damaging the cover or the internal components.
- Once all the clips have been released, carefully lift the back cover away from the tablet. Be mindful of any cables or connectors that may still be attached.
- If you encounter resistance when lifting the back cover, double-check to ensure that all screws have been removed or that no clips are still holding the cover in place. Applying excessive force can cause damage to the tablet.
With the back cover removed, you now have access to the internal components of your Samsung Ce0168 tablet. Make sure to keep the back cover in a safe place, as you will need to reattach it later when reassembling the tablet.
Next, we will move on to step 3: removing the battery.
Step 3: Removing the Battery
Now that you have successfully removed the back cover, you can proceed with removing the battery of your Samsung Ce0168 tablet. Removing the battery is necessary to ensure your safety and prevent any accidental damage to the internal components.
Follow these steps to remove the battery:
- Locate the battery, which is usually a rectangular object found near the center or one side of the tablet’s internal compartment. It may be secured in place with adhesive or held down by small screws.
- If there are screws holding the battery in place, use a small screwdriver to carefully unscrew them and set them aside in a container or magnetic mat.
- If the battery is secured with adhesive, you can gently pry it up using a plastic opening tool. Start from one corner and work your way around, applying gentle pressure to loosen the adhesive holding the battery in place.
- Once the battery is detached from any screws or adhesive, you can carefully lift it out of the tablet using your fingers or a pair of tweezers. Be cautious not to bend or damage the battery during this process.
- If the battery has a connector attached to it, gently disconnect the connector by pulling it straight outwards. Be careful not to use excessive force.
With the battery removed, you have now successfully completed the third step in opening up your Samsung Ce0168 tablet. Take a moment to inspect the battery for any signs of damage or swelling. If you notice any abnormalities with the battery, it may be wise to replace it with a new one.
Now that the battery is out, we can move on to the next step: removing the rear camera(s) (if applicable).
Step 4: Removing the Rear Camera(s)
If your Samsung Ce0168 tablet has a rear camera or multiple rear cameras, this step will guide you through the process of removing them. Removing the rear camera(s) will allow you to access and work on other internal components if needed.
Follow these steps to remove the rear camera(s):
- Locate the rear camera module(s) on the tablet. They are usually located in the upper corner or center of the back side of the tablet.
- If there are any screws holding the camera module(s) in place, use a small screwdriver to carefully unscrew them and set them aside in a container or magnetic mat.
- Gently disconnect any cables or connectors that are attached to the camera module(s). Some connectors may require you to gently lift a latch or lever before pulling the cable out.
- Once the screws and cables are removed, you can carefully lift the camera module(s) out of their housing. Be mindful of any components or cables underneath that may still be connected to the camera module(s).
- If there is more than one camera module, repeat the steps above for each module until they are all removed.
When handling the camera module(s), be cautious not to touch the lens or any delicate parts. Fingerprints or damage on the lens can affect the quality of the camera’s performance.
With the rear camera(s) removed, you have successfully completed the fourth step in opening up your Samsung Ce0168 tablet. Take a moment to inspect the camera module(s) for any signs of damage and clean them if necessary.
Now that the rear camera(s) are out, we can move on to the next step: disconnecting the internal components.
Step 5: Disconnecting the Internal Components
As we continue to open up your Samsung Ce0168 tablet, it is important to disconnect the internal components to ensure safe and proper access for any further repairs or troubleshooting. Follow these steps to disconnect the internal components:
- Start by identifying the different internal components, such as the motherboard, cables, and connectors.
- Gently remove any screws or connectors that are securing the components in place. Use a small screwdriver to unscrew the screws and carefully detach any cables or connectors.
- When removing connectors, be mindful of any latches or levers that need to be released before pulling the cable out. Avoid using excessive force to prevent damage.
- Keep track of the screws and connectors you remove by placing them in a container or magnetic mat. This will prevent them from getting lost and make reassembly easier later on.
- Continue disconnecting all necessary components, working methodically to ensure you don’t miss any.
It is important to exercise caution when handling delicate internal components, such as ribbons or cables, as they can be easily damaged. Use your fingertips or a pair of tweezers to gently disconnect the cables.
By disconnecting the internal components, you are preparing the tablet for further disassembly or repairs. Take a moment to inspect the components for any visible damage or wear.
Now that the internal components are disconnected, we can move on to the next step: removing the LCD display.
Step 6: Removing the LCD Display
Removing the LCD display of your Samsung Ce0168 tablet is a more advanced step in the disassembly process. This step should only be attempted if you have the necessary knowledge and experience. Removing the LCD display will allow you to access and work on the screen or other internal components if necessary.
Follow these steps to remove the LCD display:
- Begin by disconnecting any remaining cables or connectors attached to the LCD display. These can include display cables, digitizer connectors, or any other cables that are securing the screen in place.
- Use a small screwdriver to carefully unscrew any screws that are holding the LCD display in place. Typically, these screws are located around the edges of the display or near the corners. Place the screws in a container or magnetic mat for safekeeping.
- Gently pry the LCD display away from the tablet using a plastic opening tool. Start from one corner and work your way around, applying gentle pressure to separate the display from the body of the tablet.
- As you detach the LCD display, be cautious of any adhesive or clips that may be securing it. Apply gentle pressure and take your time to avoid causing any damage.
- Once the LCD display is completely separated, carefully lift it out of the tablet. Be mindful of any ribbons or cables that may still be attached.
Removing the LCD display requires precision and care. Be sure to handle the screen delicately and avoid putting any pressure on it to prevent any cracks or damage.
With the LCD display removed, you now have access to the screen and other internal components. Take a moment to examine the LCD display for any signs of damage or issues.
Now that the LCD display has been removed, we can move on to the next step: reassembling the tablet.
Step 7: Reassembling the Tablet
After successfully completing the previous steps to open up your Samsung Ce0168 tablet, it’s time to reassemble the device. Reassembling the tablet requires careful attention to detail and following the reverse order of the disassembly steps. Follow these guidelines to put everything back together:
- Begin by carefully placing the LCD display back into position. Make sure to align it properly with the openings and connectors on the tablet body.
- Secure the LCD display in place by reattaching any screws that were removed during the disassembly process. Take care not to overtighten the screws.
- Reconnect any cables or connectors that were detached, ensuring they are properly seated and secured. Double-check that any latches or levers are engaged, if applicable.
- If you have removed any internal components, such as the rear camera(s) or the battery, reinstall them following the reverse order of their removal. Attach any necessary screws or connectors.
- Place the back cover back onto the tablet, aligning it carefully with the edges of the device. Apply gentle pressure to snap the clips back into place or reattach any screws that were removed.
- Once the back cover is securely in place, power on the tablet to ensure that everything is functioning correctly. Check the screen, cameras, buttons, and other components to verify their functionality.
Take your time during the reassembly process to ensure that every component is properly aligned and securely attached. Be mindful of any cables that need to be routed correctly and any adhesive that needs to be applied.
By following these steps, you should be able to reassemble your Samsung Ce0168 tablet successfully. If you encounter any issues or have difficulty reassembling any component, it may be helpful to consult a professional or refer to Samsung’s official documentation for further guidance.
Congratulations on successfully reassembling your Samsung Ce0168 tablet!
Conclusion
Opening up a Samsung Ce0168 tablet may seem like a daunting task, but with the right tools, knowledge, and step-by-step instructions, it can be successfully accomplished. By following the steps outlined in this guide, you have learned how to power off the tablet, remove the back cover, disconnect the battery, remove the rear camera(s), disconnect the internal components, remove the LCD display, and finally, reassemble the tablet.
It’s important to note that opening up your tablet may void the warranty, so it’s always recommended to check with the manufacturer or seek professional assistance if your device is still covered. Additionally, performing any repairs or modifications on your own carries some risk, so proceed with caution and only attempt the process if you feel confident and comfortable doing so.
Remember to handle the tablet and its components with care, avoiding excessive force or mishandling that can cause damage. Take your time, follow the steps meticulously, and refer to the device’s official documentation for any specific details or instructions.
By successfully opening up your Samsung Ce0168 tablet, you have gained access to the internal components and the ability to perform repairs, upgrades, or troubleshooting. However, always prioritize your safety and the integrity of your device. If you are unsure or not confident about any step, it’s best to seek professional help to avoid further complications.
We hope this guide has been helpful in assisting you with opening up your Samsung Ce0168 tablet. Good luck with your repairs and may your tablet serve you well!