Introduction
Welcome to our guide on how to mount an SSD to your PC case. Solid State Drives, or SSDs, have become increasingly popular due to their faster performance and reliability compared to traditional hard drives. Whether you are looking to upgrade your existing system or build a new one, properly installing an SSD is crucial for optimal performance and longevity.
In this article, we will walk you through the step-by-step process of mounting your SSD to your PC case. We will highlight the tools and materials you will need, as well as provide detailed instructions to ensure a successful installation. With some basic knowledge and a few minutes of your time, you will be able to enjoy the benefits of a faster and more efficient storage solution.
Before we get started, it is important to note that the specific steps and methods might slightly vary depending on the type of PC case you have and the mounting options it provides. However, the general principles we will discuss should apply to most cases.
Now, let’s gather the necessary tools and materials and embark on the journey to mount your SSD securely in your PC case.
Tools and Materials Needed
Before you begin the process of mounting your SSD to your PC case, it’s important to gather all the necessary tools and materials. Here is a list of what you will need:
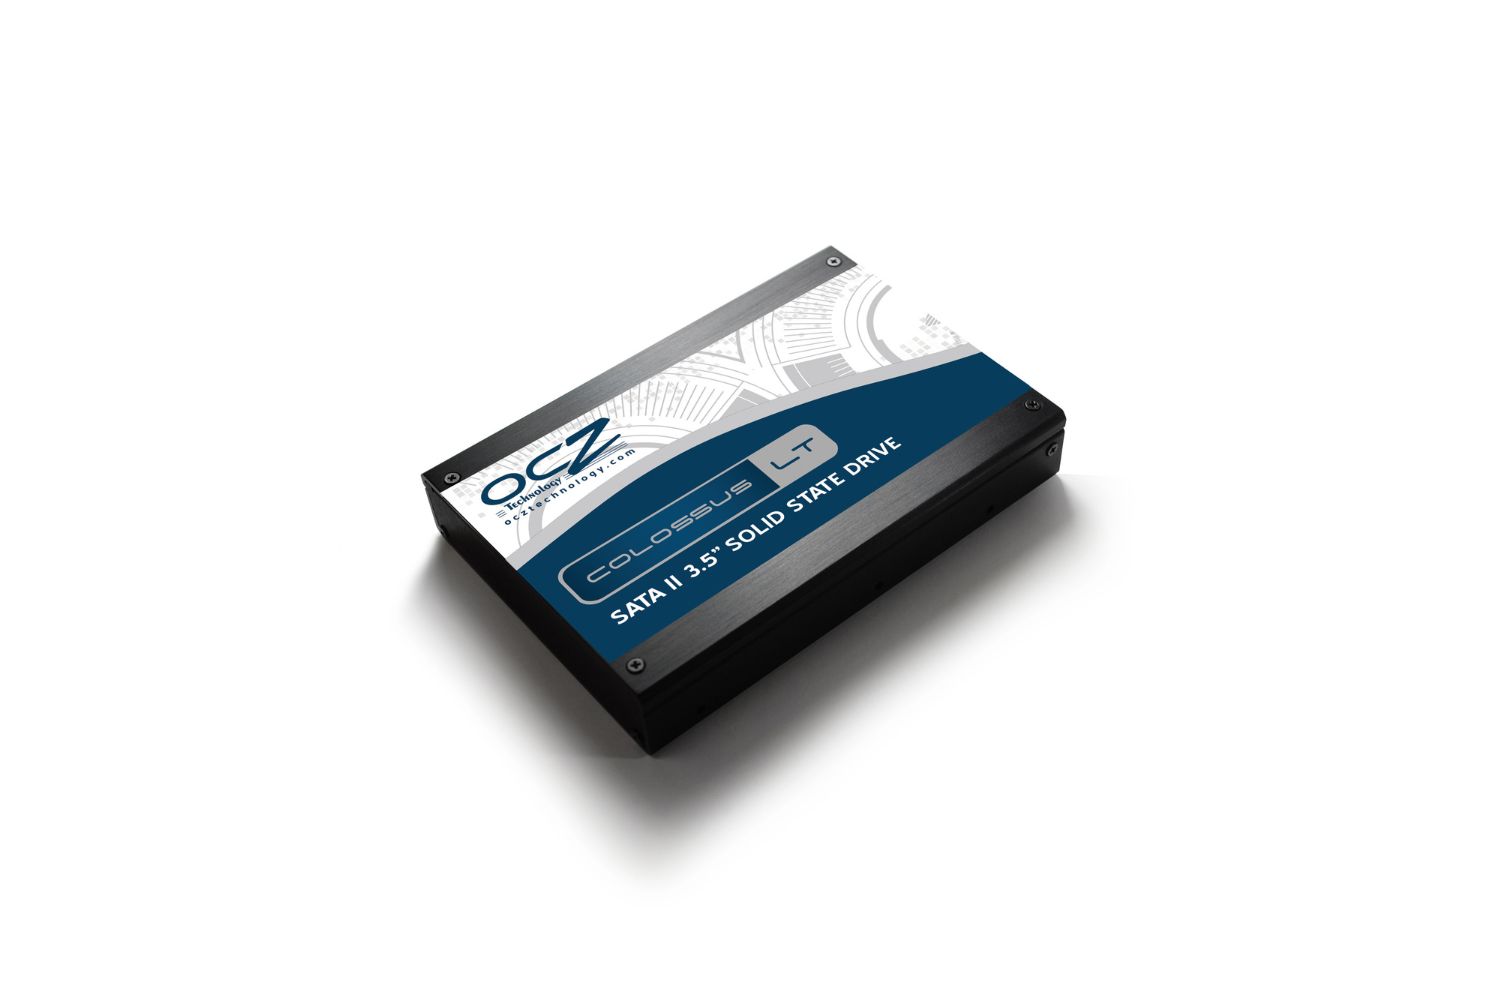
- SSD: This is the main component of the installation. Make sure you have a compatible SSD for your system.
- PC Case: The case that houses your computer components. Ensure that it has appropriate mounting options for the SSD.
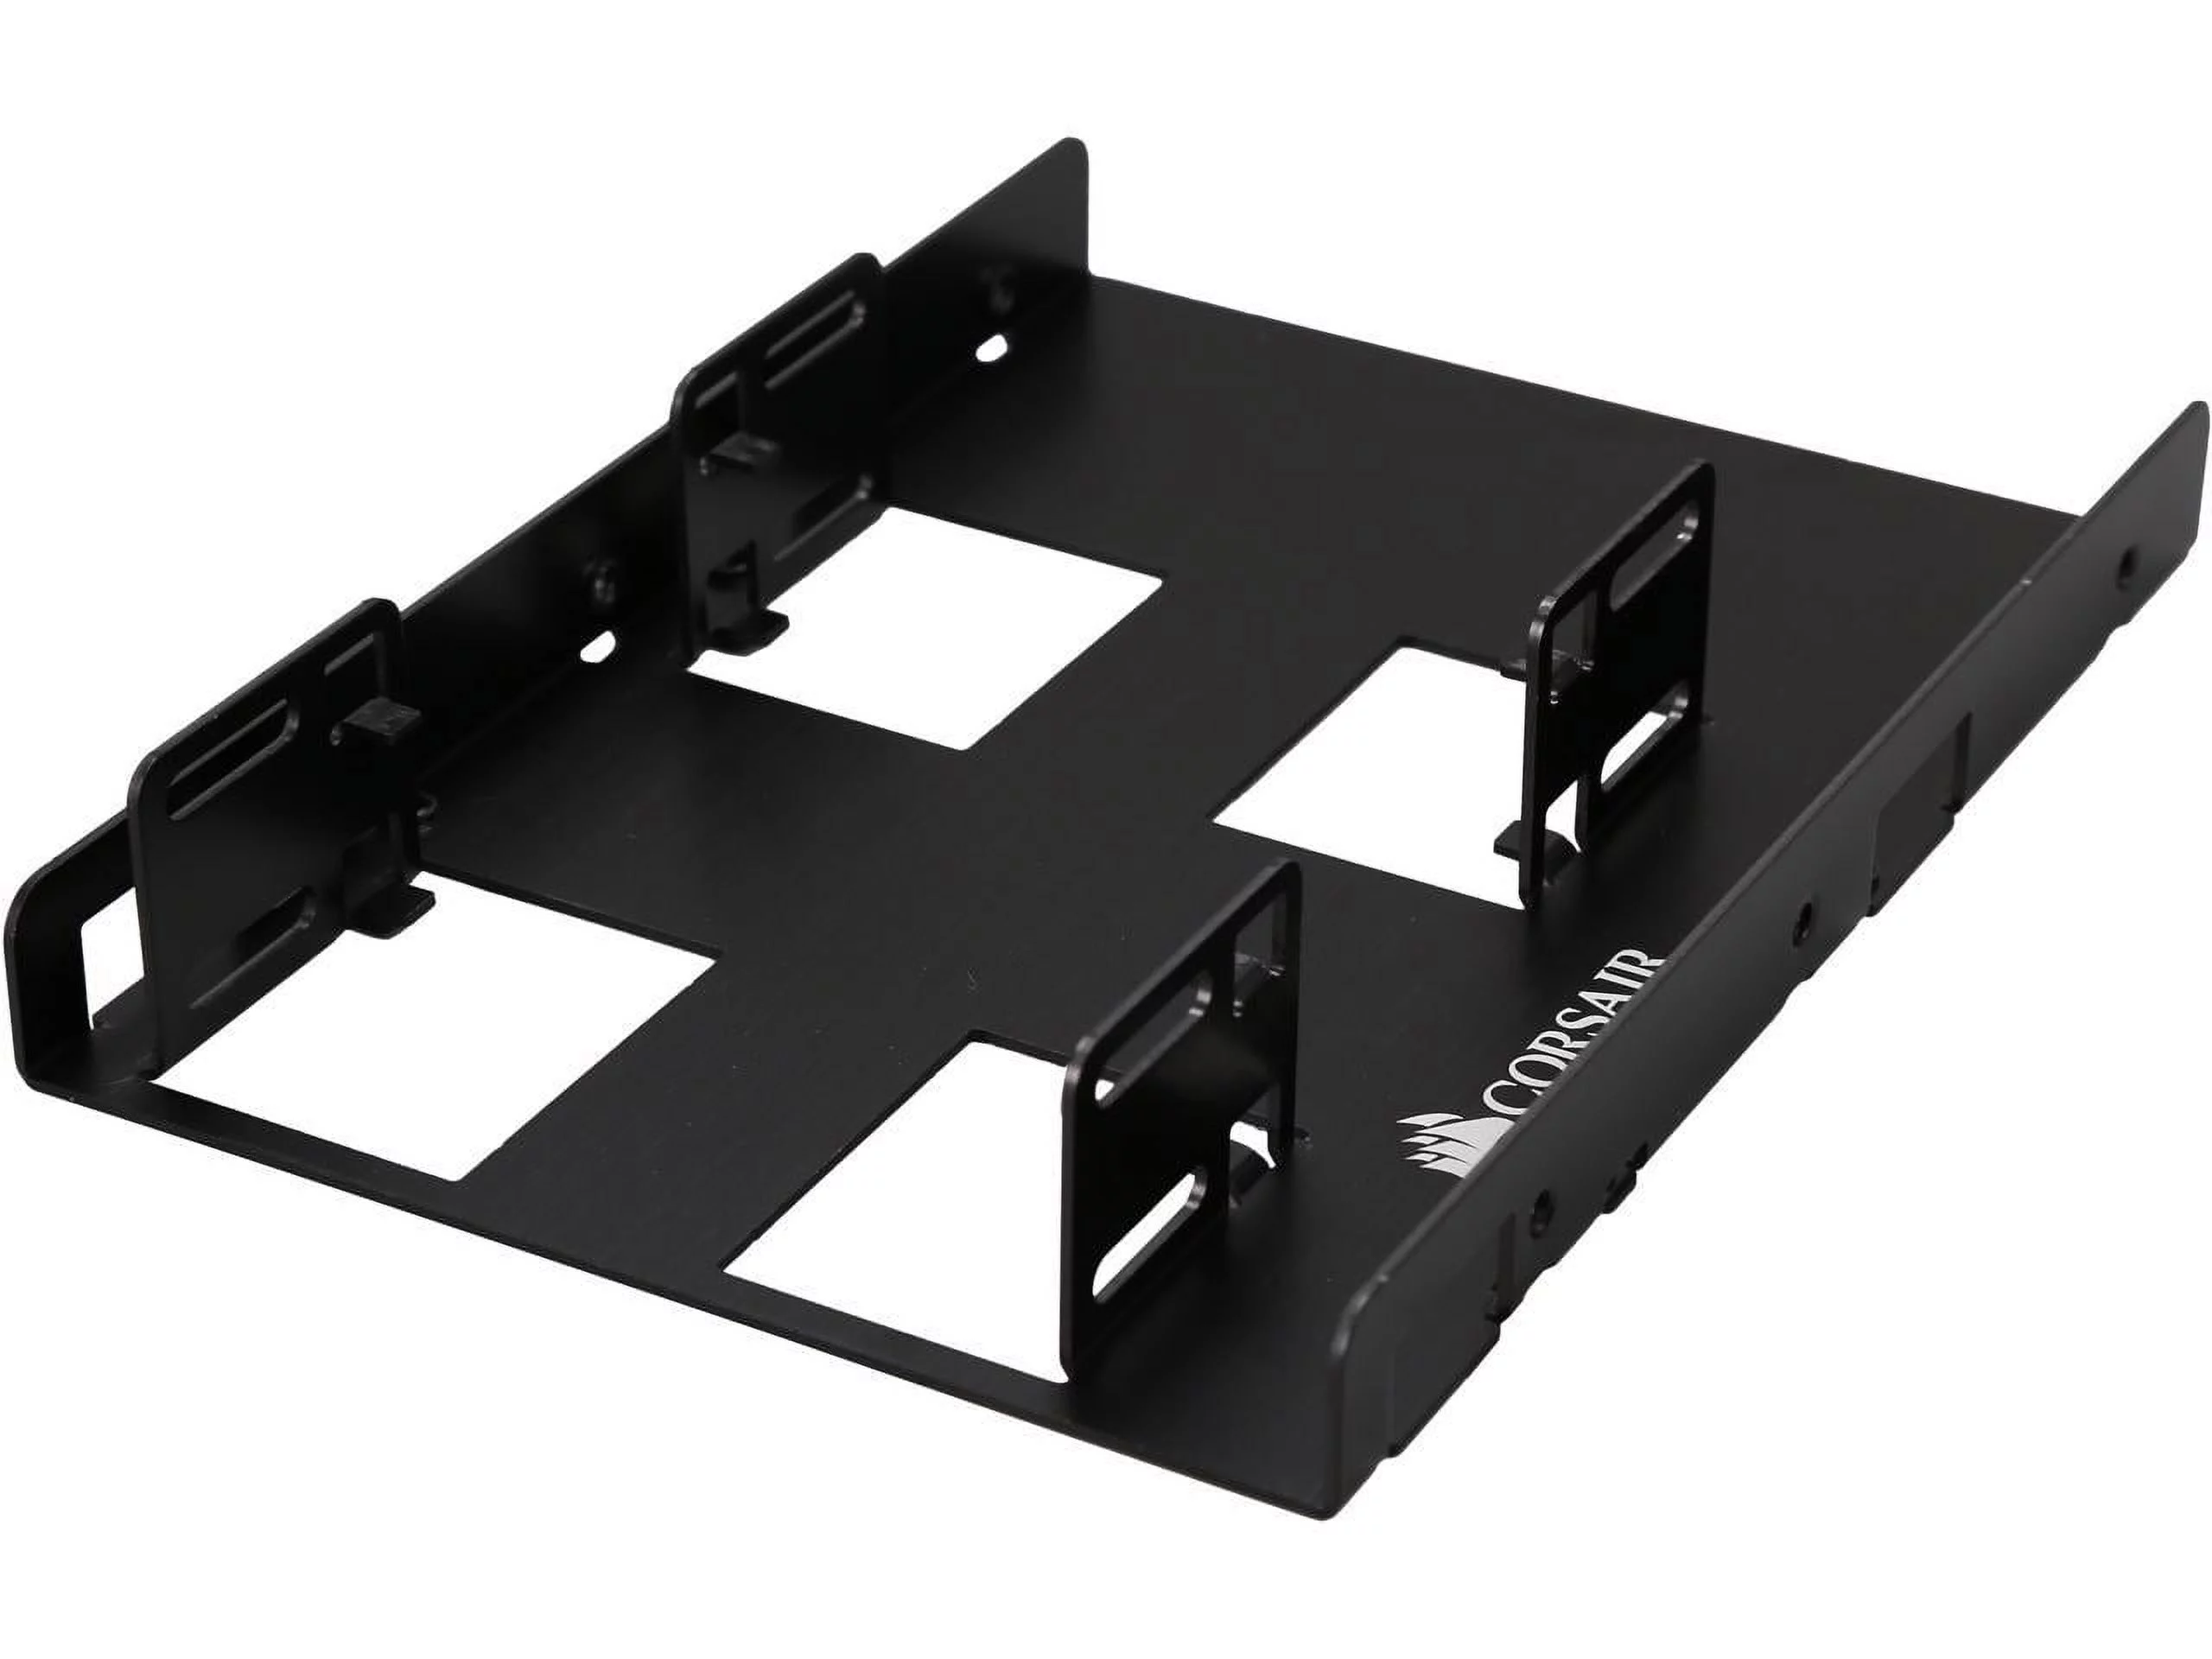
- Mounting Bracket: In some cases, you may require a mounting bracket to securely attach the SSD to the case. Check if your case includes one or if you need to purchase it separately.
- Screws: Most SSDs come with screws for securing them to the mounting bracket or directly to the case. If not, make sure to have the appropriate screws on hand.
- Screwdriver: Depending on the type of screws used, you may need a Phillips or a Torx screwdriver. Check the screws and have the corresponding screwdriver ready.
- Static Strap: To protect your SSD and other components from static electricity, it is recommended to wear an anti-static strap during the installation process.
- Gloves (optional): If you prefer to keep your SSD clean and free from fingerprints, wearing gloves can be helpful.
By gathering these tools and materials beforehand, you will have everything you need to mount your SSD securely and efficiently. Remember to review the specifications of your SSD and PC case to ensure compatibility and to follow any specific guidelines provided by the manufacturer.
Step 1: Prepare your SSD
Before installing your SSD, it is crucial to prepare it properly. Follow these steps to ensure a smooth installation process:
- Power off your computer: To prevent any potential data loss or damage to your components, make sure to shut down your computer and unplug it from the power source.
- Ground yourself: Static electricity can harm sensitive electronic components. To avoid static discharge, be sure to ground yourself by touching a grounded metal object or wearing an anti-static strap.
- Identify the SATA connectors: Locate the SATA connectors on your SSD. These are usually small L-shaped connectors situated on one side of the drive. Take note of their location as you will need to connect them later.
- Remove any protective covers: Some SSDs come with protective covers or stickers to safeguard the connectors during transportation. Carefully remove these covers, making sure not to touch the exposed connectors with your fingers.
- Handle with care: SSDs are delicate devices, so handle them with care to avoid any physical damage. Hold the SSD by its sides and avoid touching the circuit board or any exposed components.
By following these steps, you will ensure that your SSD is properly prepared for installation. Taking the time to handle the SSD carefully and remove any protective covers will help prevent any issues during the mounting process. Once your SSD is ready, you can proceed to the next step of locating the mounting point in your PC case.
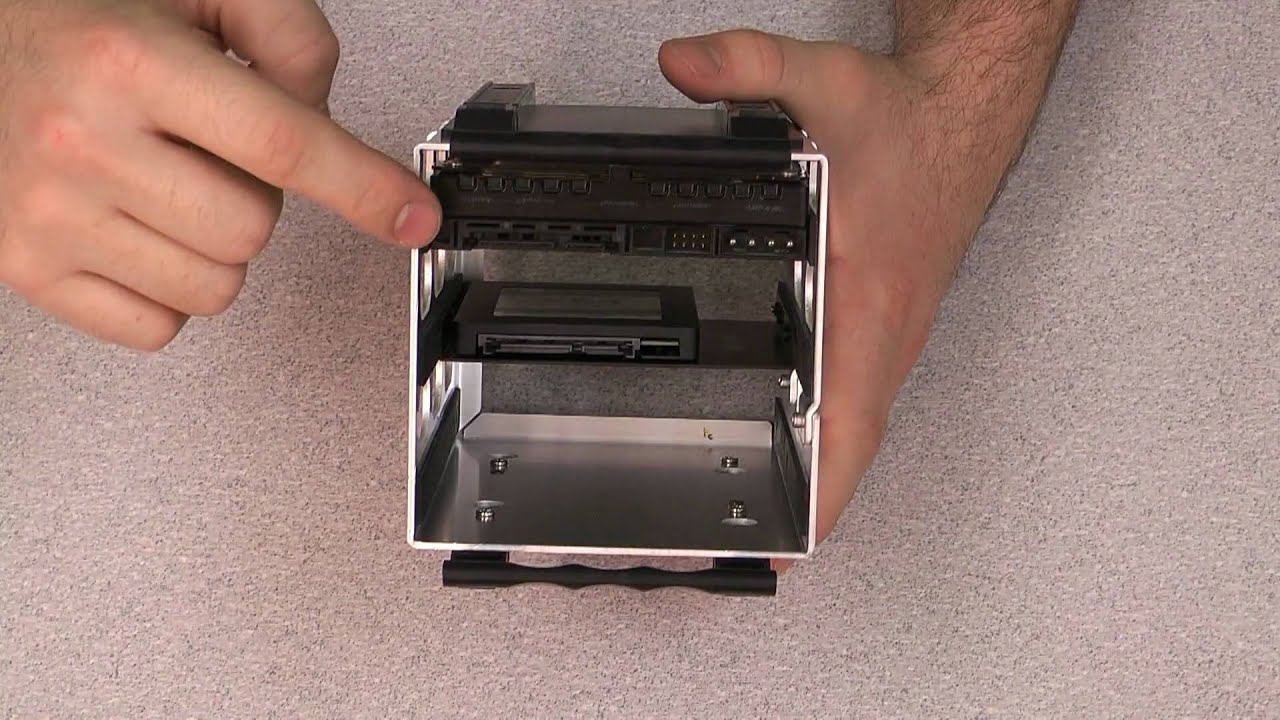
Step 2: Locate the mounting point in your PC case
Now that you have prepared your SSD, the next step is to locate the mounting point in your PC case. Follow these instructions to find the appropriate spot:
- Refer to the PC case manual: Check the manual that came with your PC case to identify the specific mounting options available. Different cases have different configurations, so it’s important to understand how your particular case is designed.
- Look for dedicated SSD mounting points: Many modern PC cases feature dedicated mounting points specifically designed for SSDs. These may include brackets, trays, or slots located in various areas of the case.
- Consider alternative mounting options: If your case doesn’t have dedicated SSD mounting points, you may need to get creative. Look for available drive bays or mounting brackets where you can securely attach your SSD.
- Ensure proper positioning: Regardless of the mounting option you choose, make sure the SSD is positioned in a way that allows for proper airflow and cable management. Avoid placing it in a position that obstructs other components or restricts airflow within the case.
Once you have identified the appropriate mounting point, you are ready to proceed to the next step of attaching the SSD to the mounting bracket. Take your time to ensure that you understand the layout of your PC case and choose the best mounting option for your SSD.
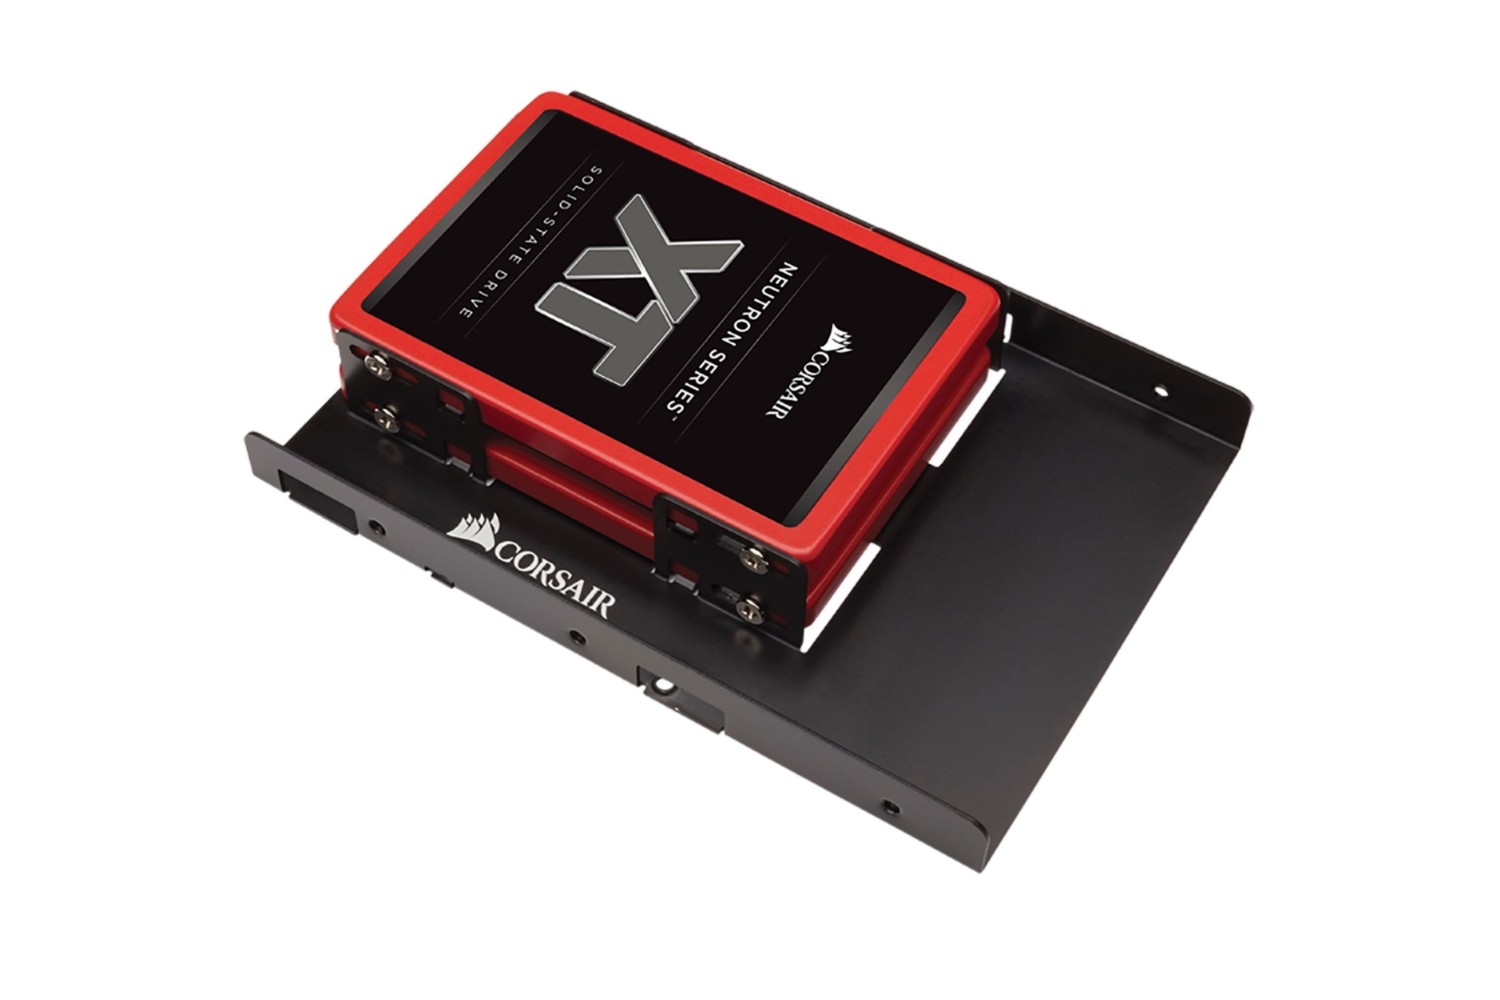
Step 3: Attach the SSD to the mounting bracket
With the mounting point identified, it’s time to attach your SSD to the mounting bracket. Follow these steps to secure your SSD in place:
- Align the screw holes: Position the SSD onto the mounting bracket, aligning the screw holes on the bottom of the SSD with the corresponding holes on the bracket. Make sure the connectors face towards the desired direction to ensure easy cable connections.
- Insert the screws: Once aligned, insert the screws into the screw holes on the SSD and tighten them gently. Be cautious not to overtighten as excessive force can damage the SSD or the mounting bracket.
- Double-check the alignment: After securing the SSD, double-check the alignment to ensure it is firmly attached to the mounting bracket. The SSD should be secure and not wobble or move when gently touched.
If your PC case does not have a separate mounting bracket, you can skip this step and proceed to the next one, which involves securing the mounting bracket itself to the case. However, if your case does have a specific bracket for SSDs, following these steps will help ensure that your SSD is securely attached and ready for installation.
Once you have successfully attached the SSD to the mounting bracket, you can move on to the next step, which involves securing the mounting bracket to the PC case.
Step 4: Secure the mounting bracket to the PC case
After attaching the SSD to the mounting bracket, it’s time to secure the bracket itself to the PC case. Follow these steps to ensure a secure and stable installation:
- Locate the mounting area: Depending on your PC case, the mounting area for the bracket could be at the bottom, top, or side. Consult the case manual or visually inspect the case to find the appropriate location.
- Position the bracket: Carefully position the mounting bracket in the designated area, making sure that it is aligned properly with any screw holes or mounting points.
- Secure the bracket: Using screws provided with your PC case or the appropriate hardware, attach the mounting bracket to the PC case. Tighten the screws firmly, but do not overtighten to avoid damaging the case or the bracket.
- Check stability: Once the bracket is secured, gently give it a slight wiggle to ensure that it is firmly attached and stable. The bracket should not move or shift when pressure is applied.
Securing the mounting bracket is essential to ensure that your SSD remains in place and does not become loose during operation. A stable and secure mounting bracket prevents any unnecessary vibrations or movement that could potentially impact the performance and longevity of your SSD.
With the mounting bracket successfully secured to the PC case, you are ready to move on to the next step: connecting the SSD to the motherboard.
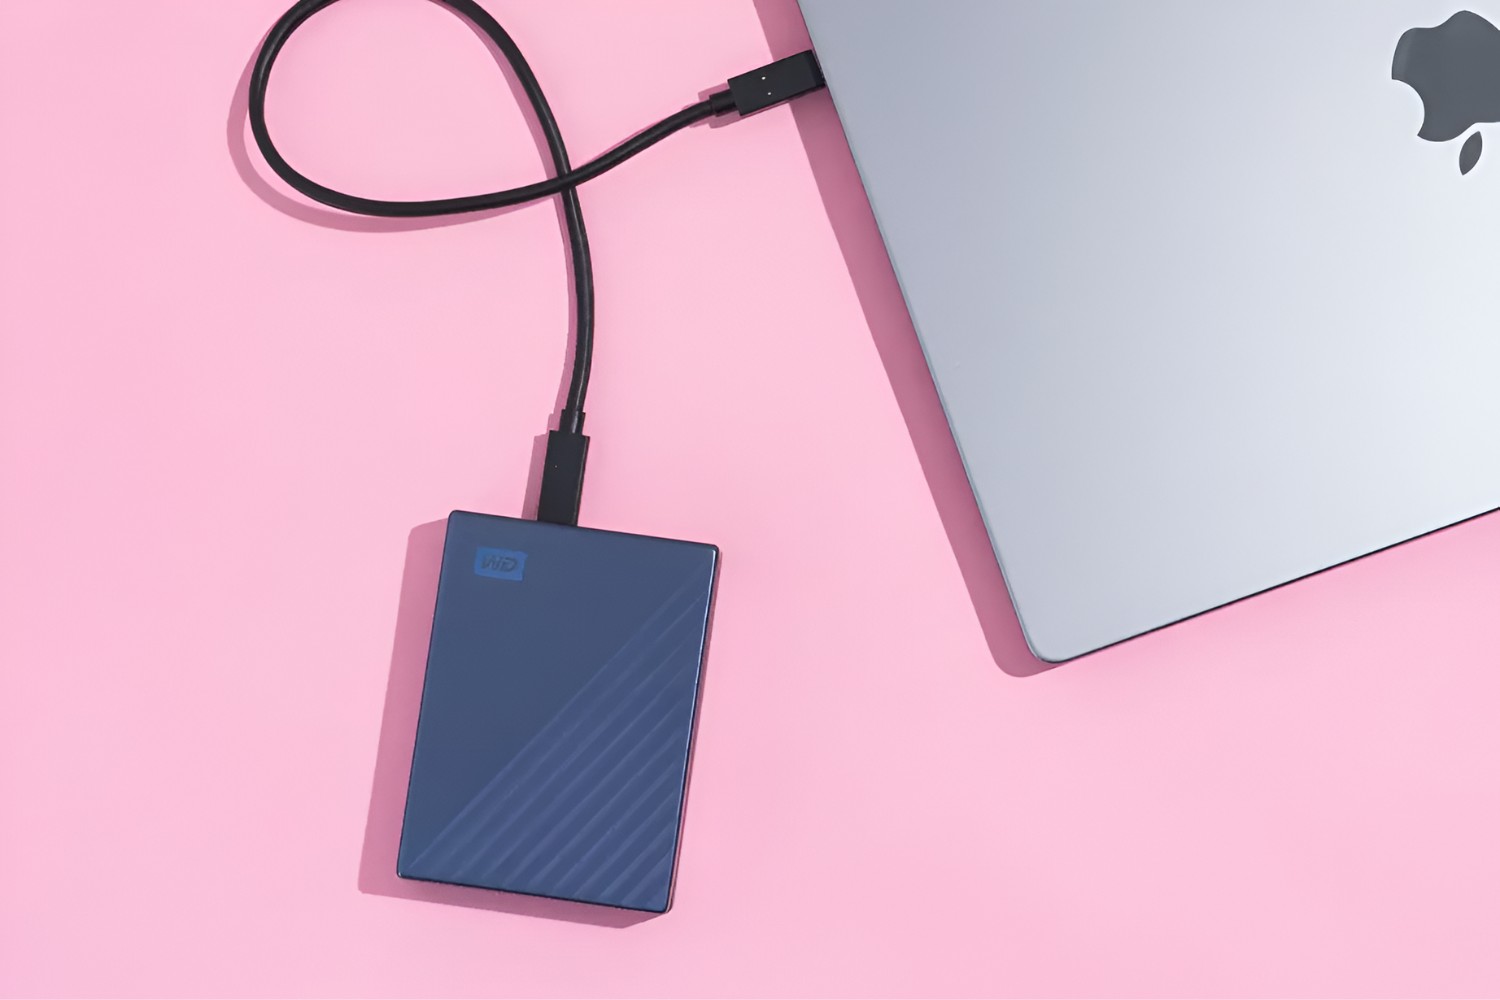
Step 5: Connect the SSD to the motherboard
Now that you have securely mounted the SSD to your PC case, it’s time to connect it to the motherboard. Follow these steps to establish the connection:
- Locate the SATA ports: Identify the SATA ports on your motherboard. They are small rectangular connectors typically labeled with numbers or letters.
- Choose an available SATA port: Select an available SATA port to connect your SSD. If multiple ports are available, choose the one that is most convenient or recommended in your motherboard’s manual.
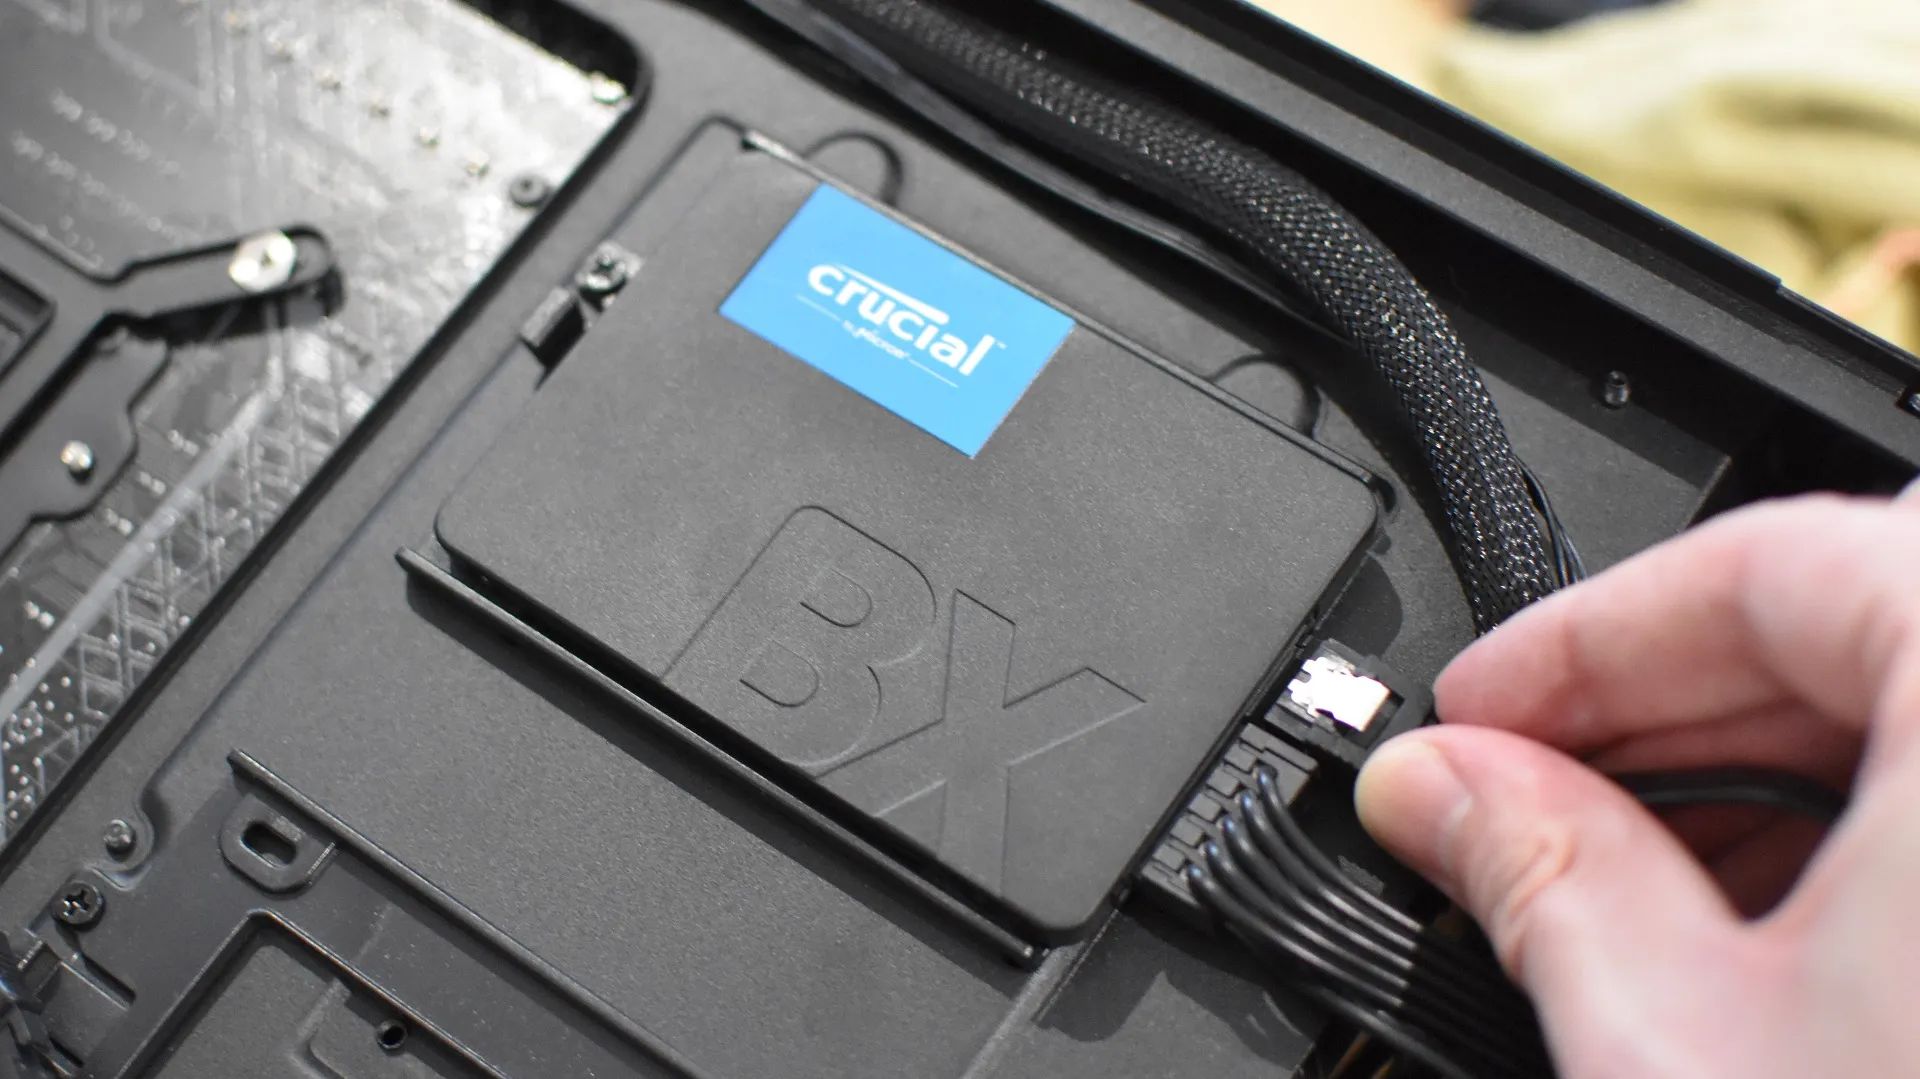
- Connect the SATA data cable: Take the SATA data cable and connect one end to the SATA port on the motherboard. Ensure a secure connection by firmly pushing the connector into the port.
- Connect the other end to the SSD: Take the other end of the SATA data cable and connect it to the SATA connector on your SSD. Again, make sure it is securely attached.
- Connect the SATA power cable: Locate an available SATA power cable from your power supply unit (PSU). Connect one end of the SATA power cable to the corresponding SATA power connector on the SSD.
- Test the connection: Double-check that all connections are secure. Gently tug on the cables to ensure they are firmly attached. Additionally, ensure that the power cable is connected to the power supply.
By following these steps, you will establish the necessary connections between your SSD and the motherboard. The SATA data cable and power cable enable data transfer and provide power to the SSD, allowing it to function properly within your system.
Now that the SSD is connected to the motherboard, you can proceed to the next step of connecting the SSD to the power supply.
Step 6: Connect the SSD to the power supply
After establishing the connection between the SSD and the motherboard, the next step is to connect it to the power supply. Follow these steps to ensure a proper power connection:
- Locate an available SATA power cable: Look for an available SATA power cable from your power supply unit (PSU). These cables have flat, rectangular connectors with L-shaped notches.
- Connect the SATA power cable: Take one end of the SATA power cable and connect it to the corresponding SATA power connector on your SSD. Ensure a secure connection by firmly pushing the connector in.
- Connect the other end to the PSU: Locate an unused SATA power connector on the PSU and connect the opposite end of the power cable to it. Make sure the connection is secure.
- Organize the cables: Once the SSD is connected to the power supply, organize and secure the cables to improve airflow and maintain a clean and tidy interior. Use cable ties or other cable management tools if necessary.
Connecting your SSD to the power supply provides the necessary power for it to function properly. The SATA power cable ensures a reliable power source, allowing the SSD to operate efficiently and reliably.
Once you have successfully connected the SSD to the power supply, you are now ready to proceed to the final step: closing the PC case and testing the SSD.
Step 7: Close the PC case and test the SSD
With the SSD securely installed and connected, it’s time to close the PC case and ensure everything is working properly. Follow these steps to complete the installation process:
- Double-check all connections: Before closing the PC case, double-check all the connections you made. Ensure that the SATA data cable, SATA power cable, and any other cables are securely attached to the SSD, motherboard, and power supply respectively.
- Clean up any debris: Take a moment to clean up any dust or debris that may have accumulated during the installation process. Use compressed air or a soft cloth to gently remove any particles from the SSD, cables, and surrounding components.
- Close the PC case: Carefully place the side panel back onto the PC case and secure it by tightening the screws. Ensure that the case is closed properly and aligned with any latches or locks.
- Power on the computer: Plug your computer back into the power source and press the power button to turn it on. Observe the booting process to ensure that the computer recognizes the SSD and that it is functioning correctly.
- Check the BIOS/UEFI settings: Access the BIOS/UEFI settings by pressing the designated key during startup (usually F2, Del, or Esc). Verify that the SSD is detected and properly identified in the relevant settings menu. If needed, consult your motherboard’s manual for guidance.
- Test the SSD performance: Once the computer has fully booted up, you can test the performance of the SSD. Transfer files, open applications, and monitor the speed and responsiveness of the SSD to ensure it is performing as expected.
Closing the PC case and testing the SSD ensures that the installation was successful and that the SSD is functioning as intended. By following these steps, you can enjoy the improved speed, reliability, and efficiency that an SSD brings to your system.
Congratulations! You have now successfully mounted your SSD to your PC case and completed the installation process. Enjoy the enhanced storage performance and productivity that an SSD delivers!
Conclusion
Mounting an SSD to your PC case is a straightforward process that can greatly improve the performance and efficiency of your computer system. By following the step-by-step guide provided in this article, you have learned how to properly prepare your SSD, locate the mounting point in your PC case, attach the SSD to the mounting bracket, secure the bracket to the case, connect the SSD to the motherboard and power supply, and test the SSD for proper functionality.
Ensuring a secure and stable installation is crucial for maximizing the benefits of an SSD. By properly mounting the SSD, you reduce the risk of any vibrations or movement that could potentially affect the performance and lifespan of the drive.
Remember to consult your PC case and motherboard manuals for any specific instructions or guidelines that are unique to your hardware. Every system may have slightly different mounting options or locations, so it’s important to familiarize yourself with the specific requirements of your components.
With the SSD successfully mounted, you can enjoy faster boot times, quicker application launches, and improved overall system responsiveness. The enhanced storage performance provided by the SSD will greatly enhance your computing experience and productivity.
Thank you for following this guide on how to mount an SSD to your PC case. We hope that the information provided has been helpful and that you now feel confident in performing this installation process. Happy computing!