Introduction
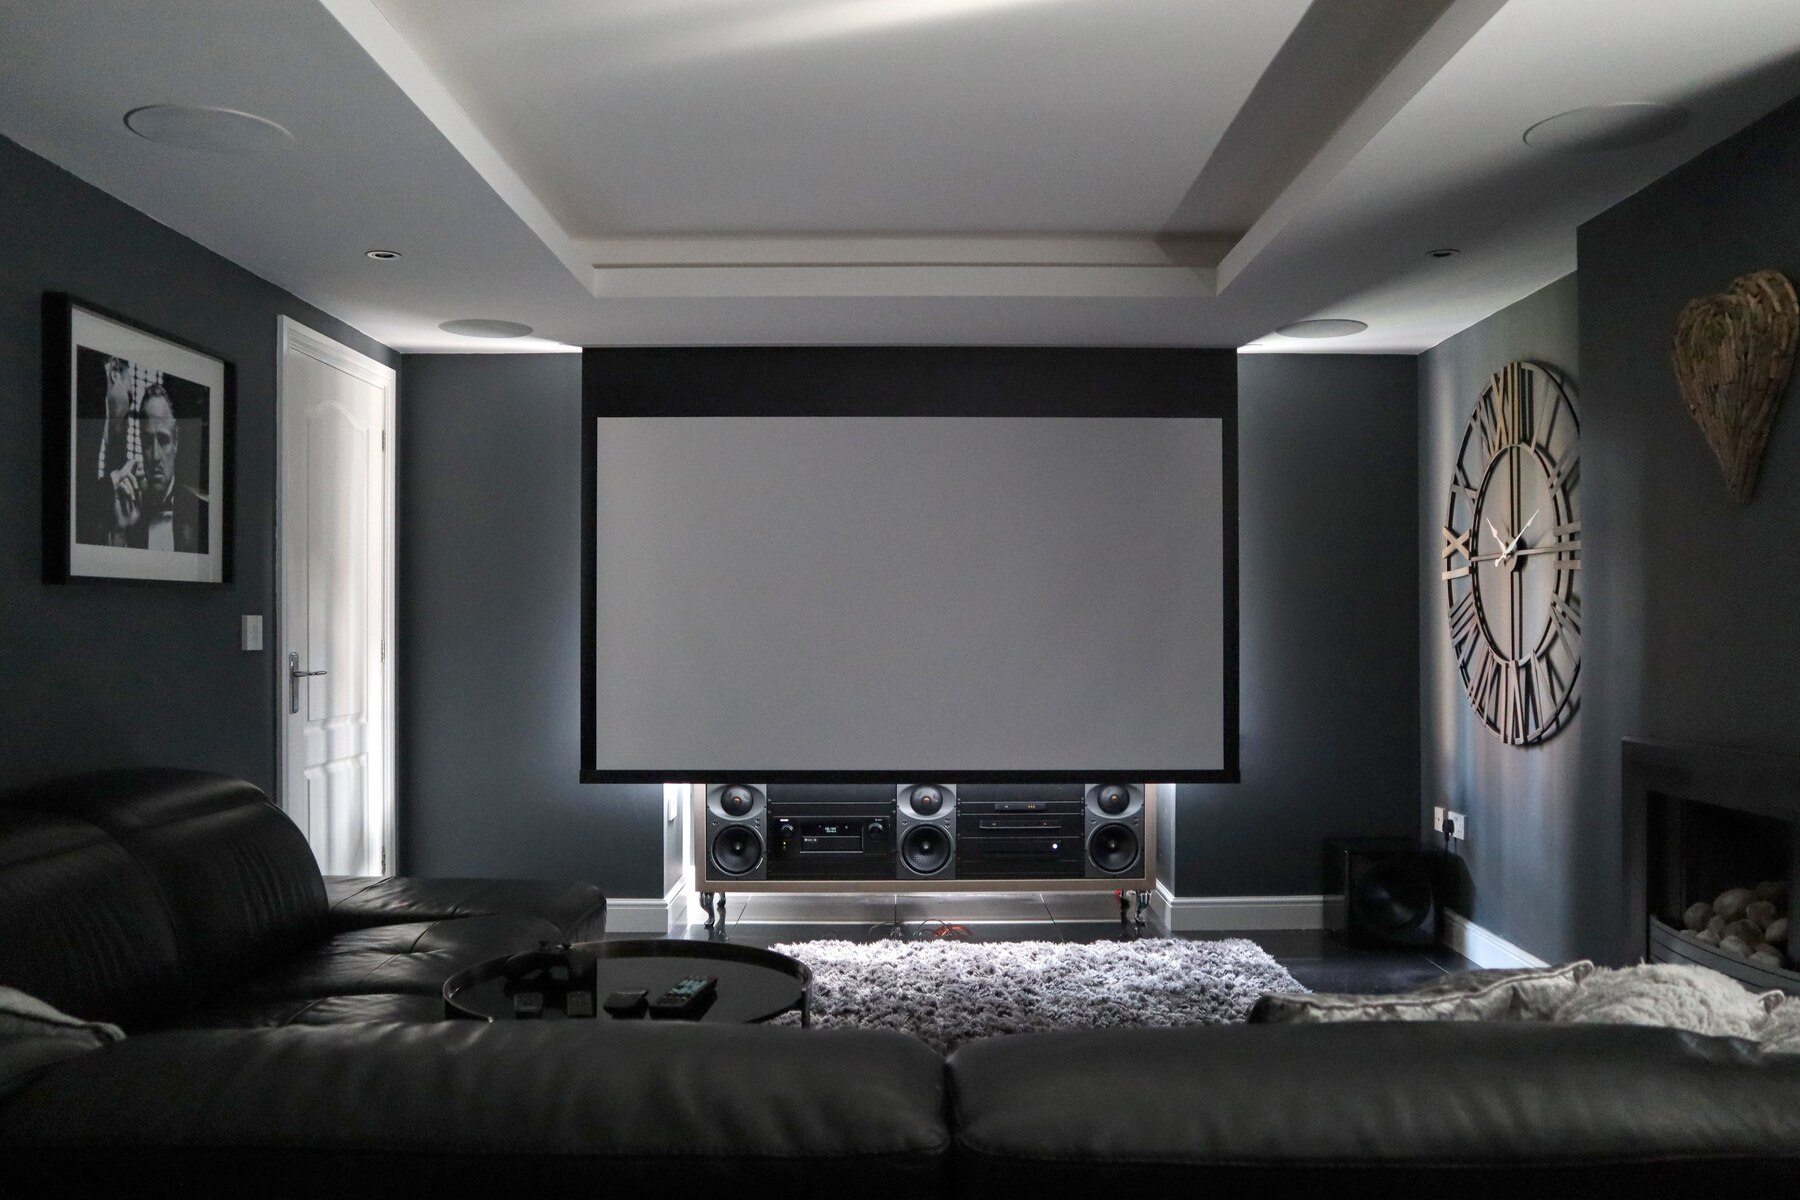
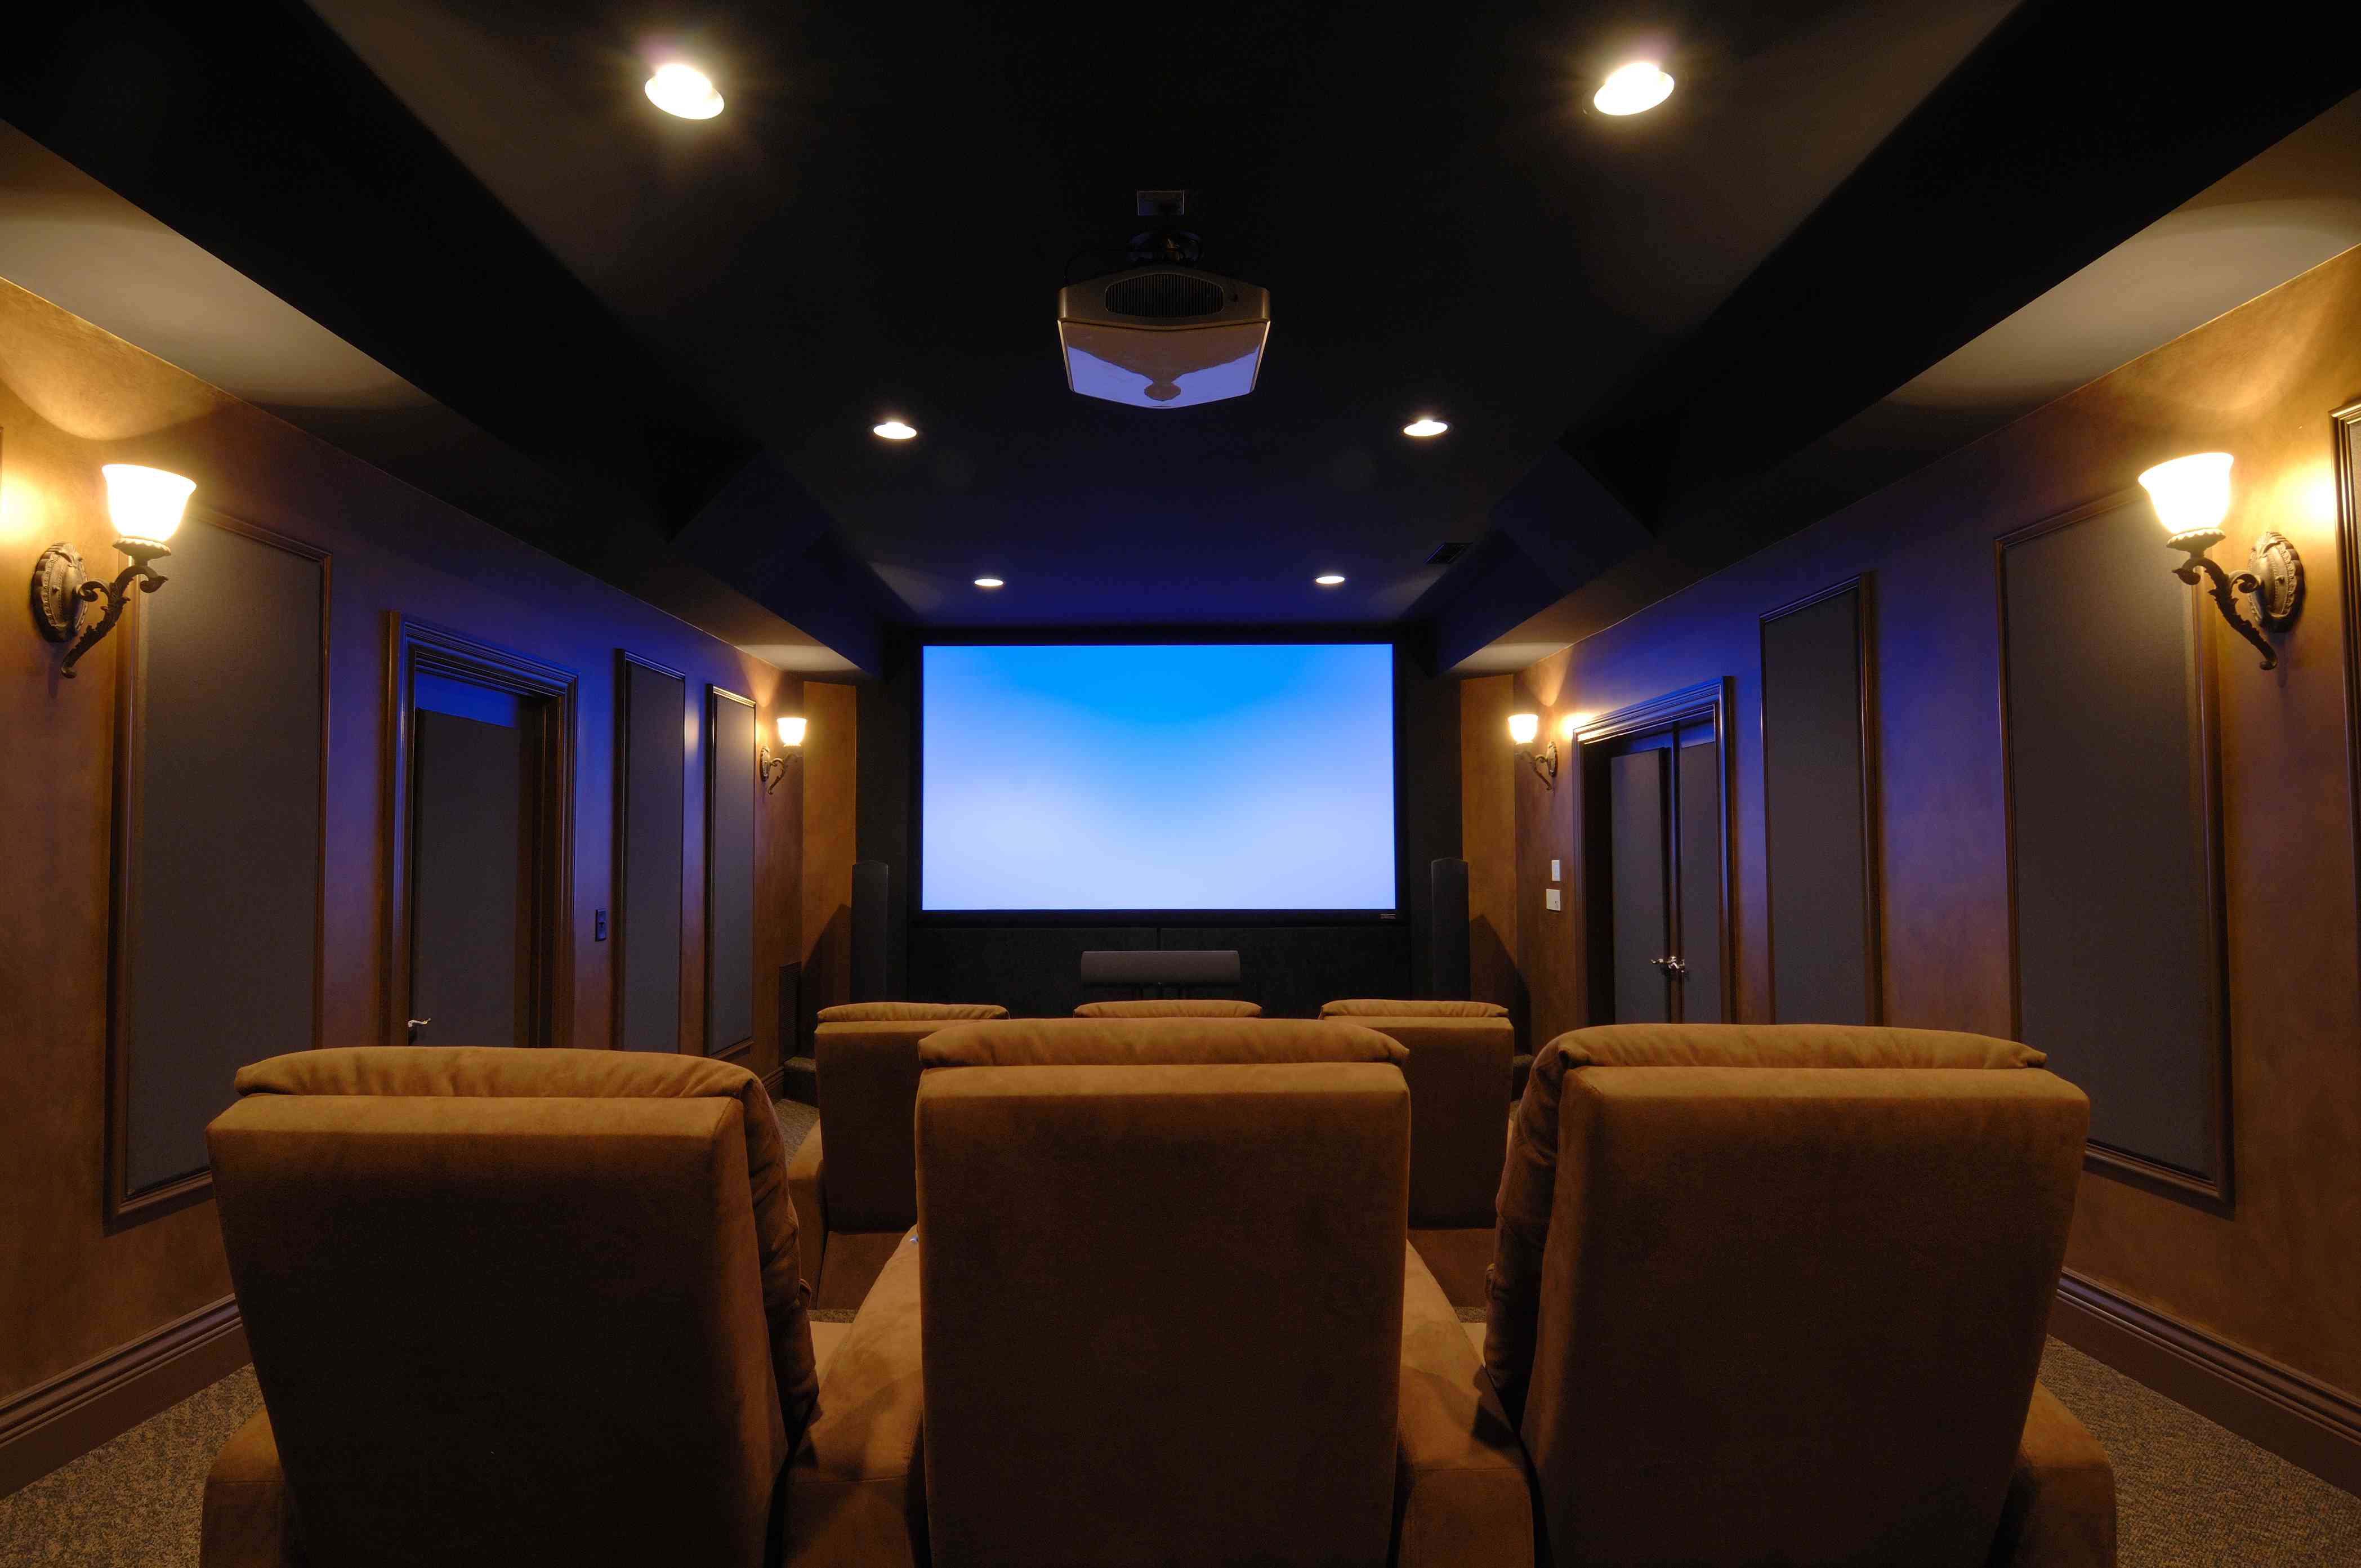
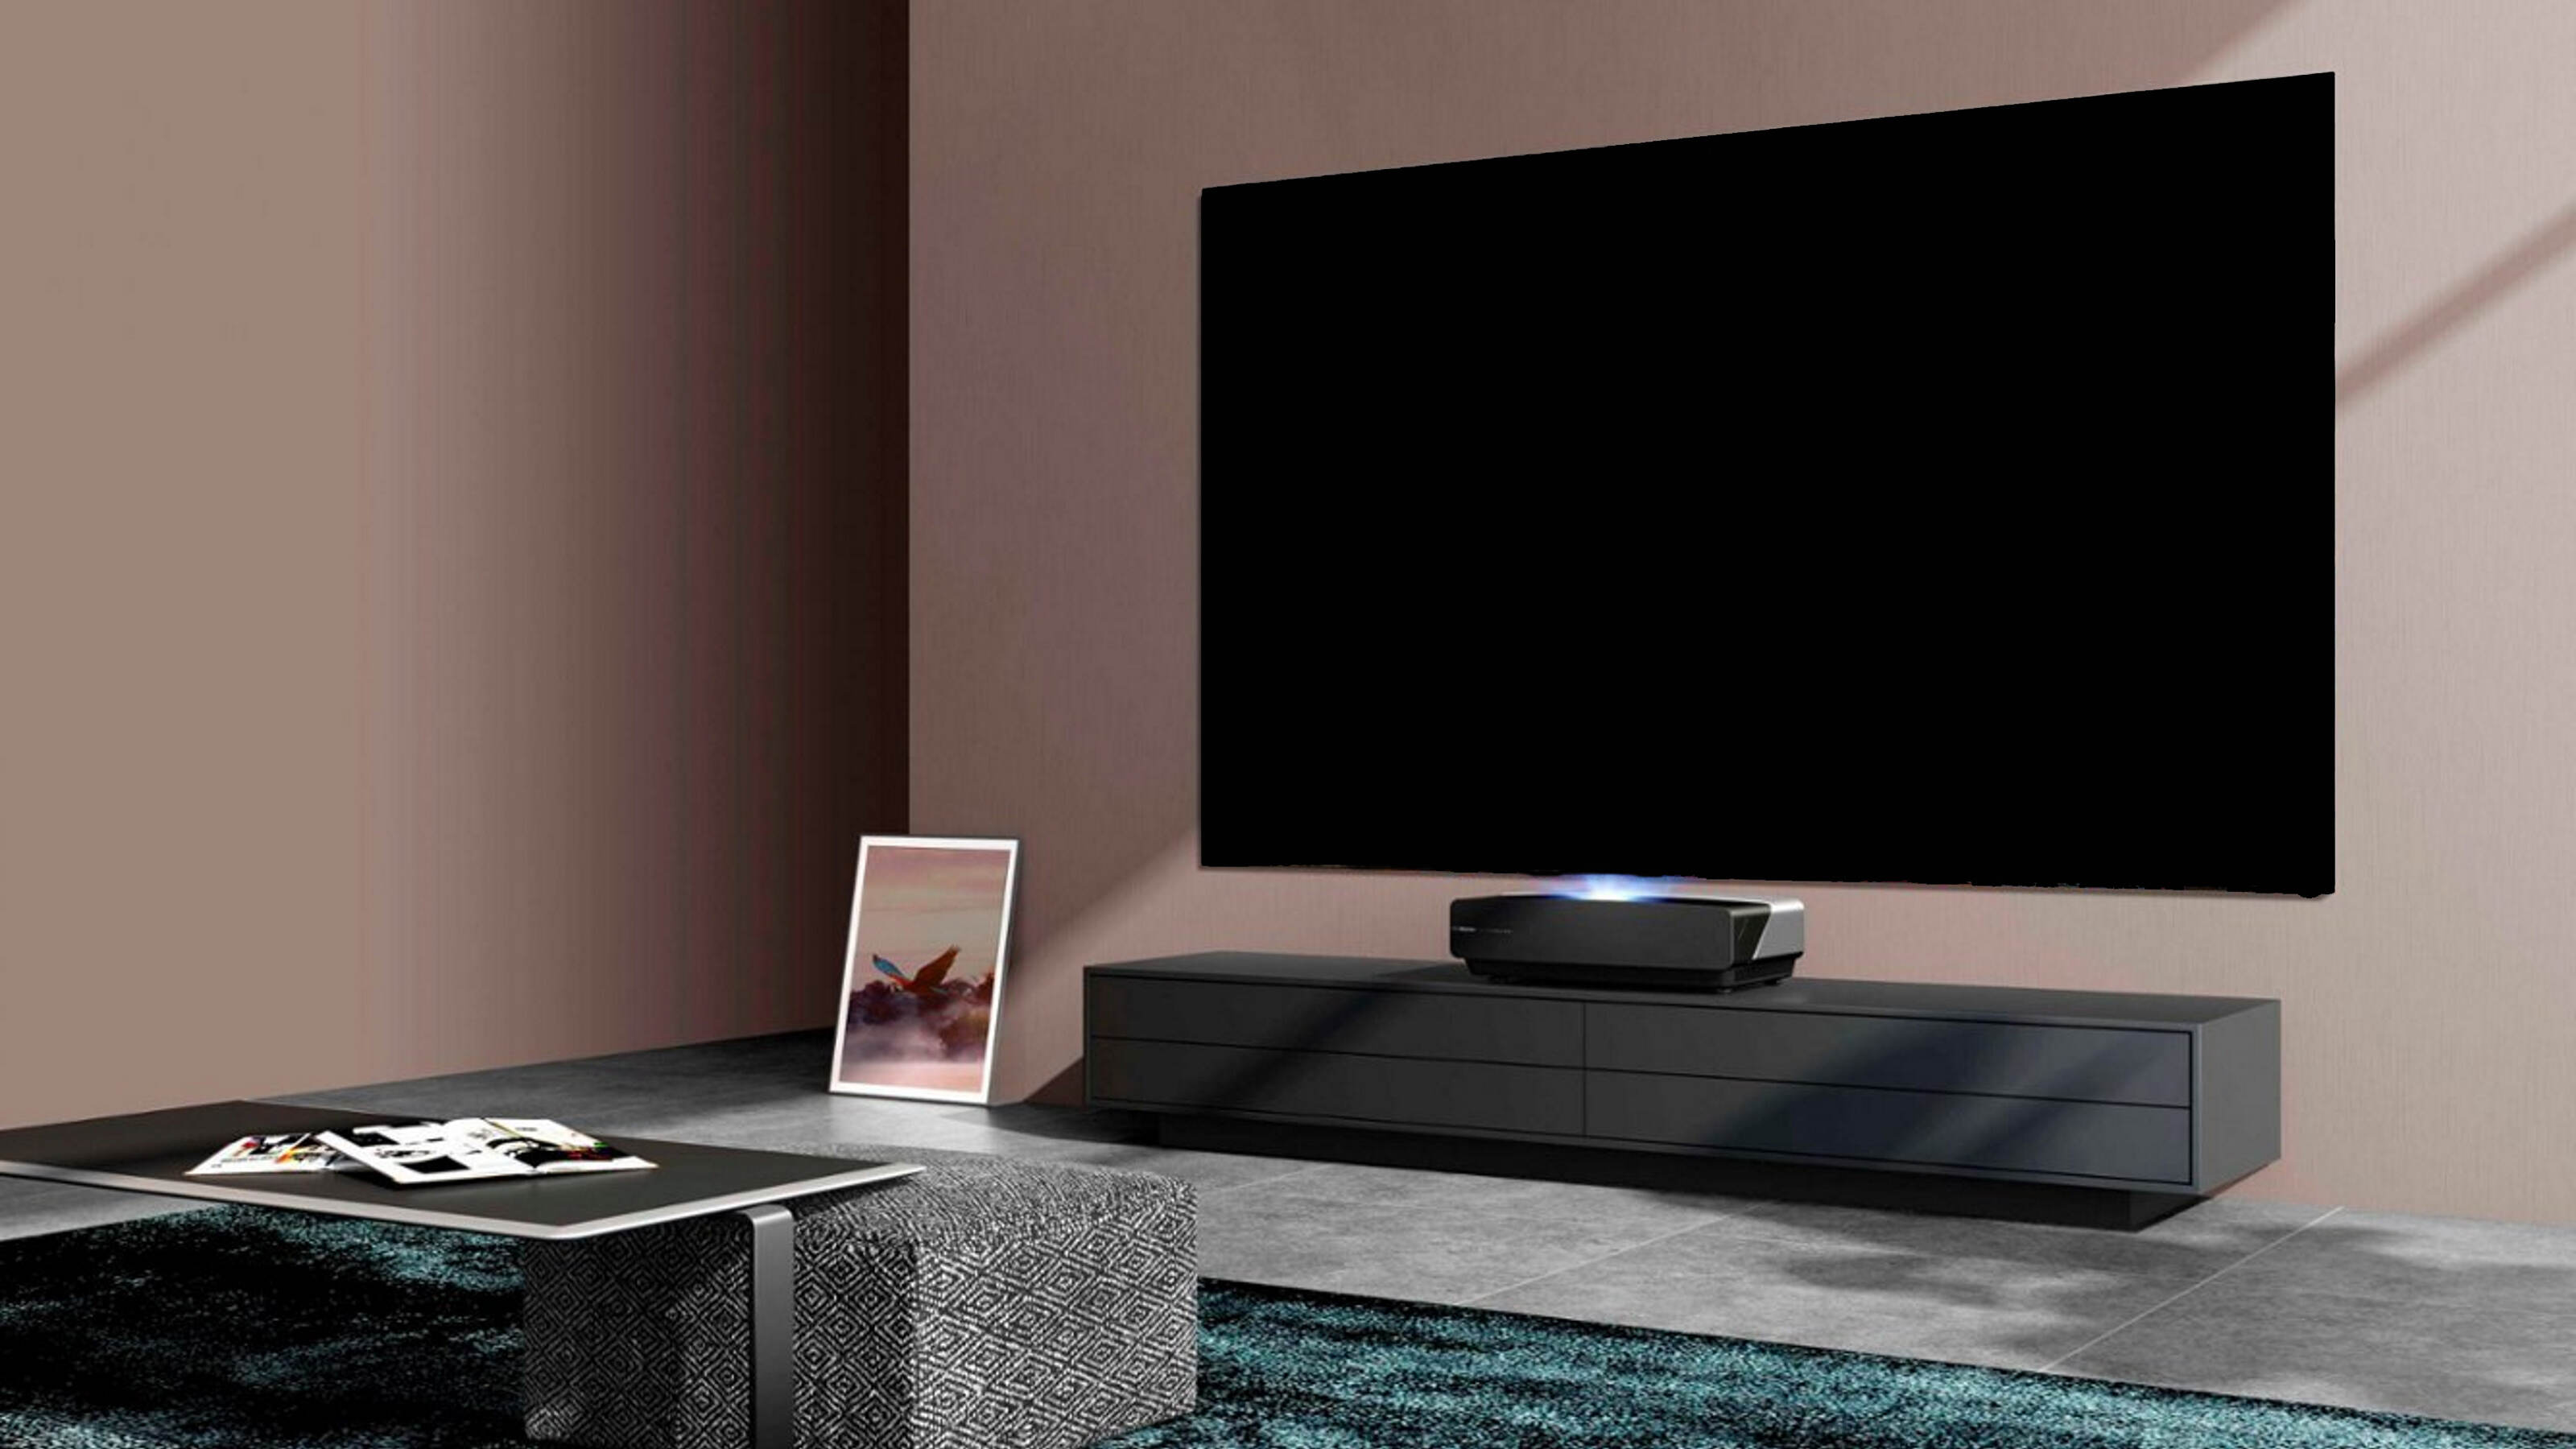
Welcome to the guide on how to mount a projector screen on the ceiling. Installing a projector screen on the ceiling is a great way to create a professional and immersive viewing experience in your home theater or conference room. By mounting the screen on the ceiling, you can enjoy a clear view without any obstructions and optimize the use of available space.
Whether you are a movie enthusiast or a business professional looking to enhance your presentations, this step-by-step guide will walk you through the process of mounting a projector screen on the ceiling. We will cover everything from determining the ideal location, measuring the screen size, locating ceiling joists, marking mounting points, drilling pilot holes, installing mounting brackets, attaching the screen, testing the position, concealing wiring, and adjusting screen tension.
With the right tools and materials, along with some careful planning and execution, you’ll be able to enjoy an enhanced visual experience that rivals that of a movie theater or professional conference room.
Before we dive into the installation process, be sure to check the manufacturer’s instructions for any specific guidelines or recommendations for your projector screen model. This guide will provide general instructions that should work for most projector screens, but it’s always best to refer to the manufacturer’s guidelines for your specific screen.
Tools and Materials Needed
Before you begin the installation process, gather the following tools and materials to ensure a smooth and successful projector screen mounting:
- Measuring Tape: To accurately measure the screen size and determine the ideal mounting location.
- Pencil: For marking the mounting points on the ceiling.
- Drill: To drill pilot holes for the mounting brackets.
- Hammer: If necessary, to secure any additional hardware.
- Screwdriver: To tighten screws and bolts during the installation process.
- Ladder or Step Stool: Depending on the height of your ceiling, a ladder or step stool will be needed to access the mounting area.
- Stud Finder: To locate ceiling joists for secure and stable installation.
- Level: To ensure that the screen is mounted straight and level.
- Mounting Brackets: These will vary depending on your projector screen model, so refer to the manufacturer’s instructions for the specific brackets required.
- Screws and Anchors: To secure the mounting brackets to the ceiling. Use appropriate screws and anchors based on your ceiling type (e.g. drywall, plaster, wood).
- Wire Cover (optional): If you choose to conceal the wiring, you’ll need wire covers to hide and protect the cables.
It’s crucial to have these tools and materials ready before starting the installation process to ensure a seamless experience. Let’s move on to the next step: determining the ideal location for mounting your projector screen.
Step 1: Determine the Ideal Location
The first step in mounting a projector screen on the ceiling is to determine the ideal location for installation. Consider the following factors to ensure the best viewing experience:
- Room Layout: Assess the layout of the room and find a location that provides an unobstructed view for everyone. Consider the distance from the seating area, the angle of projection, and any potential obstacles such as lighting fixtures or air vents.
- Screen Height: Decide on the height at which you want to mount the projector screen. Typically, it is best to position the screen at eye level when seated for optimal viewing comfort.
- Screen Size: Take into account the size of your projector screen and the available space on the ceiling. Ensure that there is enough room to comfortably accommodate the screen without it overpowering the room or being too close to walls or furniture.
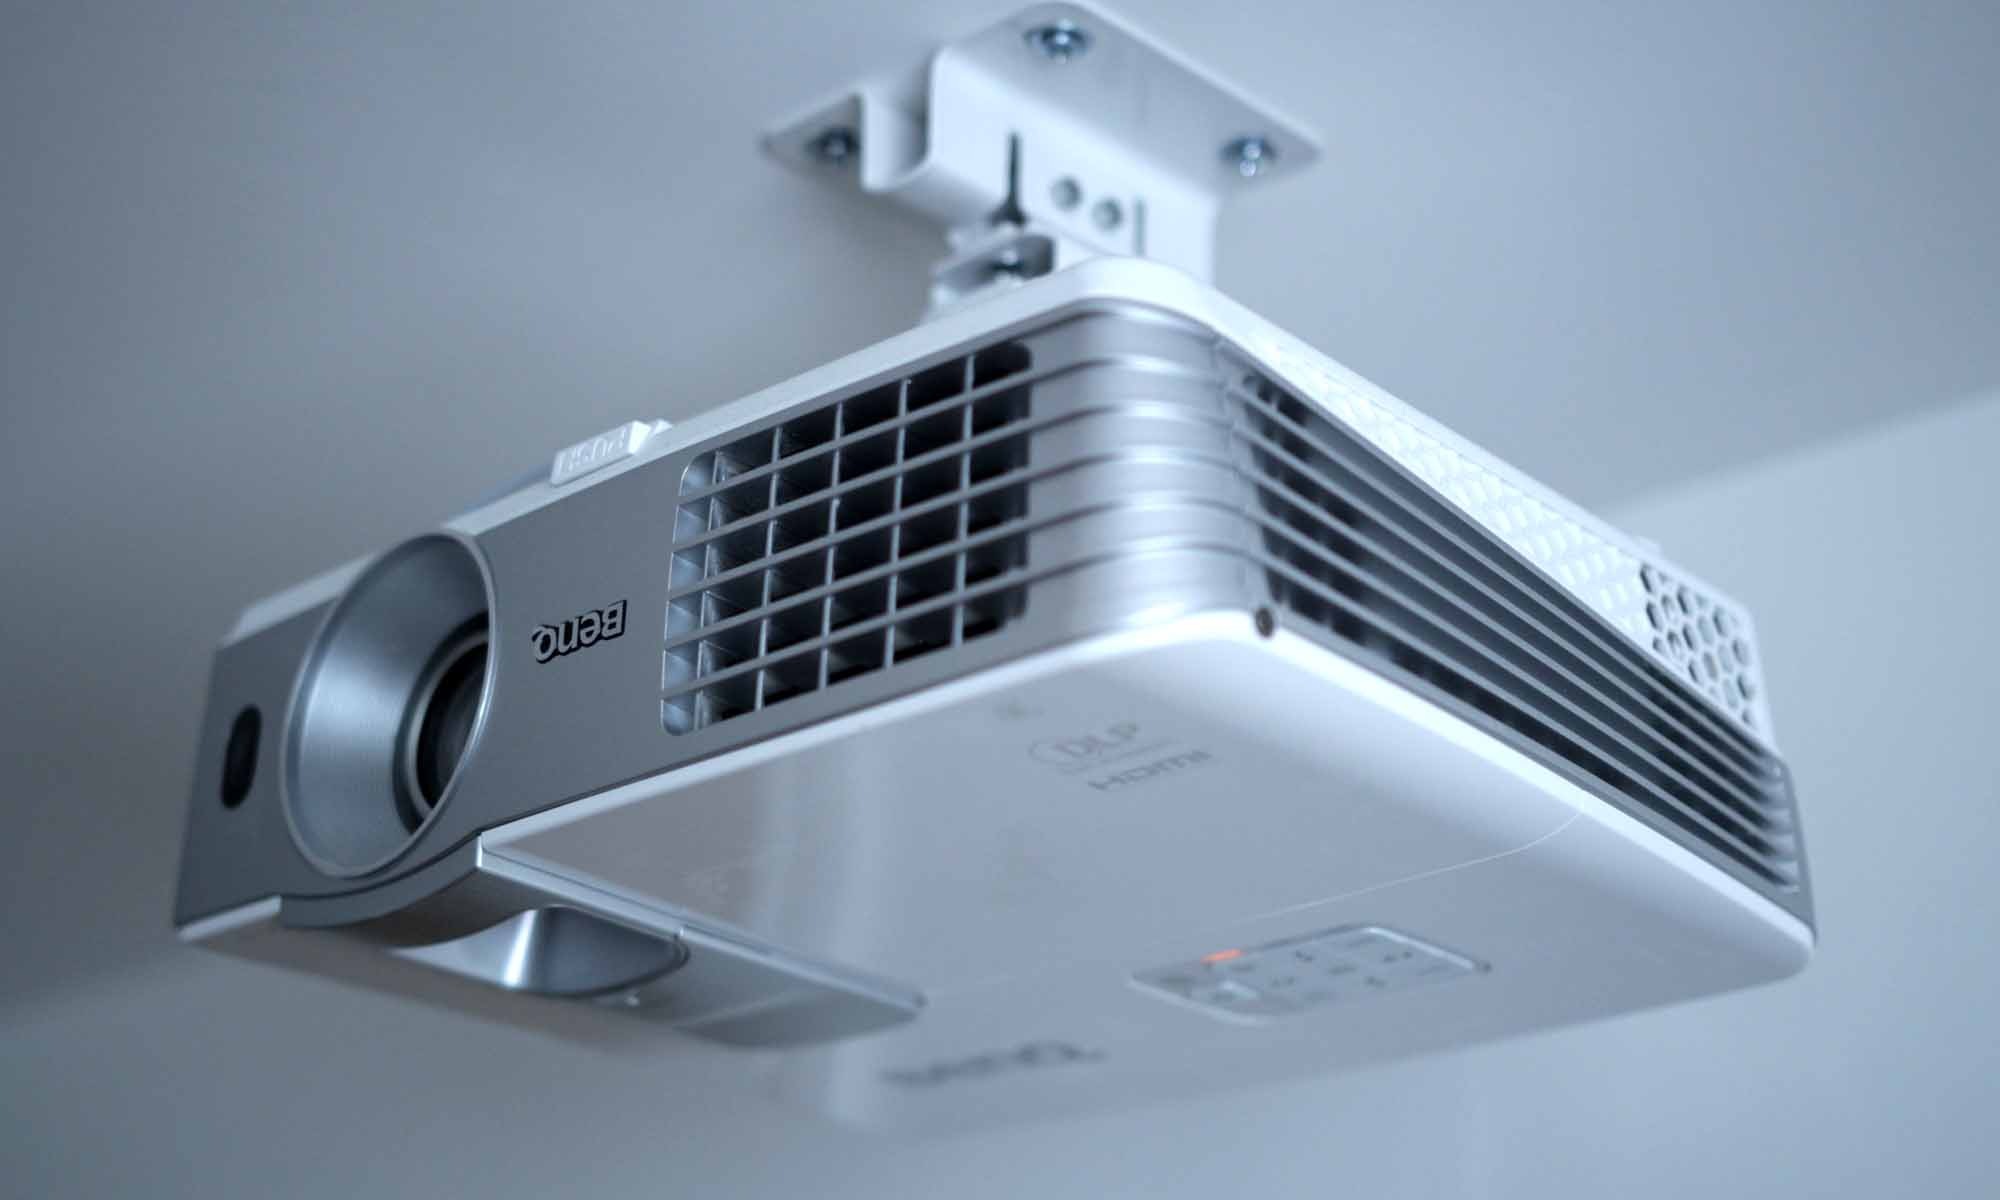
- Projector Throw Distance: Consider the throw distance of your projector, which is the distance between the projector and the screen. Consult the projector’s specifications or the manufacturer’s guidelines to determine the required distance for your specific model.
- Screen Adjustment: Some projector screens allow for vertical adjustment or tilt. If your screen has this feature, you can adjust the angle to optimize the viewing angle based on the seating arrangement.
Once you have considered these factors, mark the chosen location on the ceiling using a pencil. This mark will act as a reference point for the subsequent steps of the installation process.
It’s important to carefully choose the location for mounting your projector screen, as it will significantly impact the overall viewing experience. Take your time to assess the room and consider all relevant factors before proceeding to the next step.
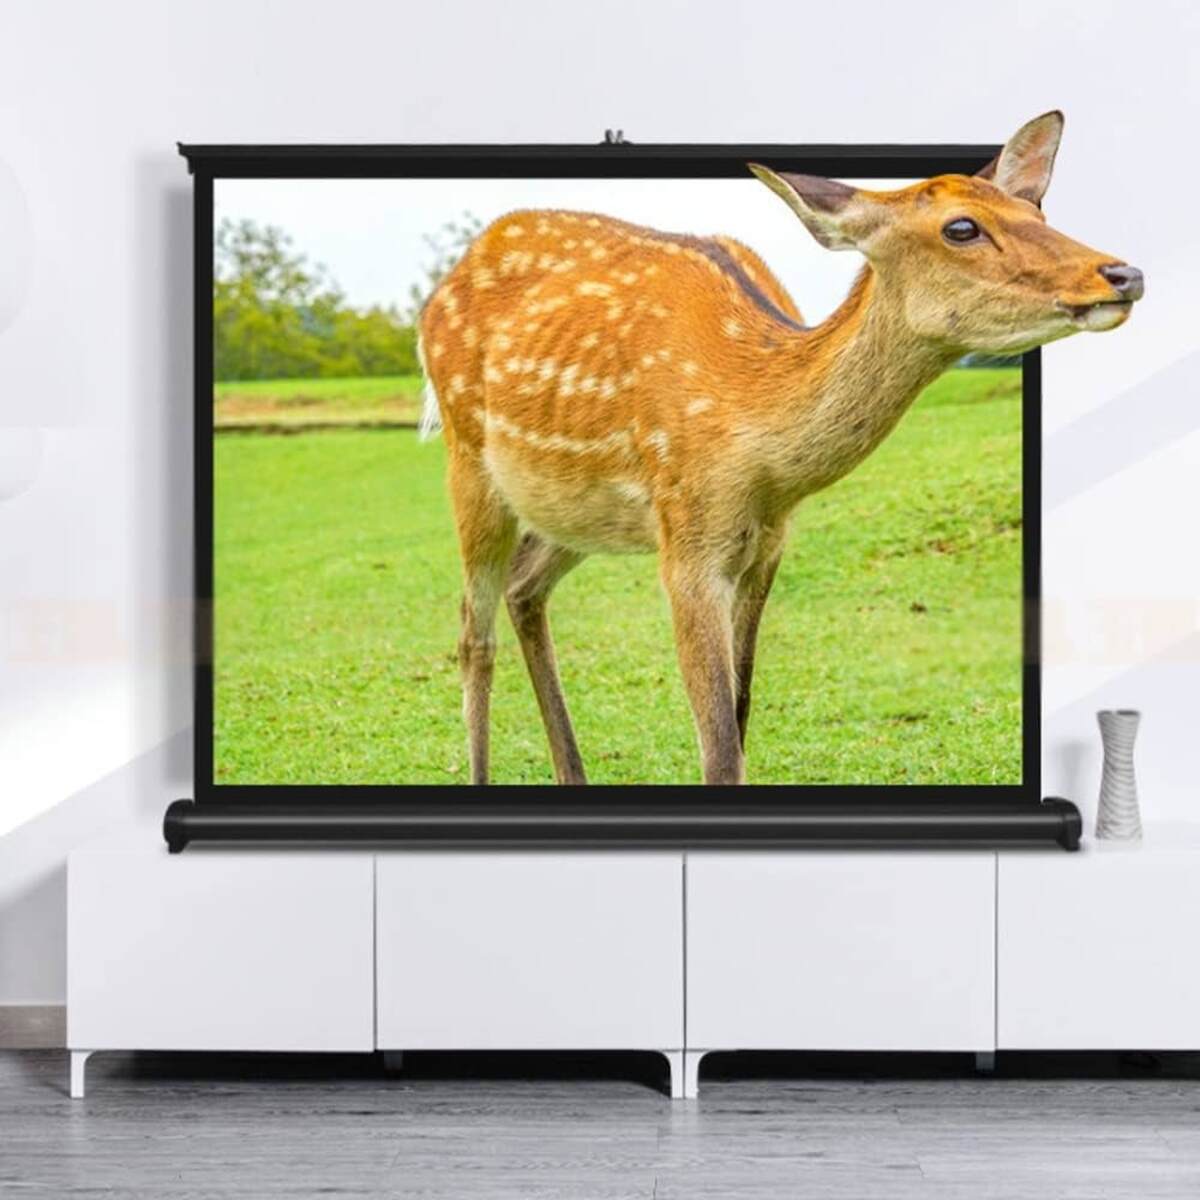
Step 2: Measure the Screen Size
Once you have determined the ideal location for your projector screen, the next step is to measure the screen size. This will ensure that you have the proper dimensions and can accurately position the screen on the ceiling.
Follow these steps to measure the screen size:
- Unroll the projector screen completely.
- Measure the width of the viewing area using a measuring tape. This is the distance between the left and right edges of the screen.
- Measure the height of the viewing area using a measuring tape. This is the distance from the top to the bottom of the screen.
Take note of the measurements, as you will use them to determine the position and spacing of the mounting brackets in the next steps.
It’s important to measure the screen size accurately to ensure a proper fit and alignment when mounting the screen on the ceiling. Incorrect measurements may result in a screen that is not centered or properly positioned, affecting the overall viewing experience.
Once you have determined the screen size, you can proceed to the next step: locating the ceiling joists.
Step 3: Locate Ceiling Joists
Locating the ceiling joists is crucial for secure installation of the projector screen. Ceiling joists are the beams or studs behind the ceiling that provide support. By attaching the mounting brackets to these joists, you ensure that the screen is securely fastened to the ceiling.
Follow these steps to locate the ceiling joists:
- Use a stud finder to scan the ceiling in the area where you plan to mount the screen. Move the stud finder along the ceiling until it indicates the presence of a joist.
- Mark the location of the joist with a pencil or a small piece of masking tape.
- Continue scanning the ceiling to locate additional joists, if necessary. It’s recommended to have at least two joists to attach the mounting brackets for stability.
Once you have located the joists, you can determine the spacing for the mounting brackets based on the screen size and the position of the joists. It’s important to ensure that the brackets are evenly spaced and aligned with the joists for a secure and stable installation.
If you are unable to locate ceiling joists using a stud finder, an alternative method is to gently tap the ceiling with a hammer to listen for a solid, denser sound. This may indicate the presence of a joist. However, using a stud finder is generally more accurate and efficient.
Now that you have located the ceiling joists, you can proceed to the next step: marking the mounting points on the ceiling.
Step 4: Mark Mounting Points
With the ceiling joists located, it’s time to mark the mounting points for the projector screen. These points will serve as a guide for drilling pilot holes and installing the mounting brackets.
Follow these steps to mark the mounting points:
- Take the measurements of the screen size that you obtained in Step 2 and divide them by two. This will give you the midpoint for both the width and height of the screen.
- Starting from the midpoint of the width, measure the same distance to the left and right. Mark these points on the ceiling with a pencil.
- Next, starting from the midpoint of the height, measure the same distance up and down. Mark these points on the ceiling as well.
- Repeat this process for the remaining mounting brackets, ensuring that they are evenly spaced and aligned with the joists.
When marking the mounting points, it’s important to double-check your measurements and ensure that they are accurate. This will help ensure that the screen is centered and level when it is installed on the ceiling.
Using a level to confirm that the marks are straight and at the same height can help ensure a professional and visually pleasing installation.
After marking the mounting points, you are ready to move on to the next step: drilling pilot holes for the mounting brackets.
Step 5: Drill Pilot Holes
Now that you have marked the mounting points for the projector screen, it’s time to drill pilot holes. These holes will serve as guides for inserting screws and securing the mounting brackets to the ceiling joists.
Follow these steps to drill pilot holes:
- Choose a drill bit that is slightly smaller than the diameter of the screws you will be using. This will prevent the wood from splitting when you insert the screws.
- Attach the drill bit to your drill and set it to the appropriate speed and torque settings.
- Position the drill bit over one of the marked mounting points on the ceiling.
- Apply gentle pressure and start drilling, keeping the drill perpendicular to the ceiling.
- Once the pilot hole is drilled to the desired depth, remove the drill bit.
- Repeat this process for all the remaining marked mounting points.
While drilling the pilot holes, it’s important to be cautious and not apply too much pressure. This will help prevent any damage to the ceiling or the joists behind it.
Make sure to clean up any dust or debris that may have accumulated during the drilling process. This will ensure a clean and secure installation.
With the pilot holes drilled, you are now ready to move on to the next step: installing the mounting brackets.
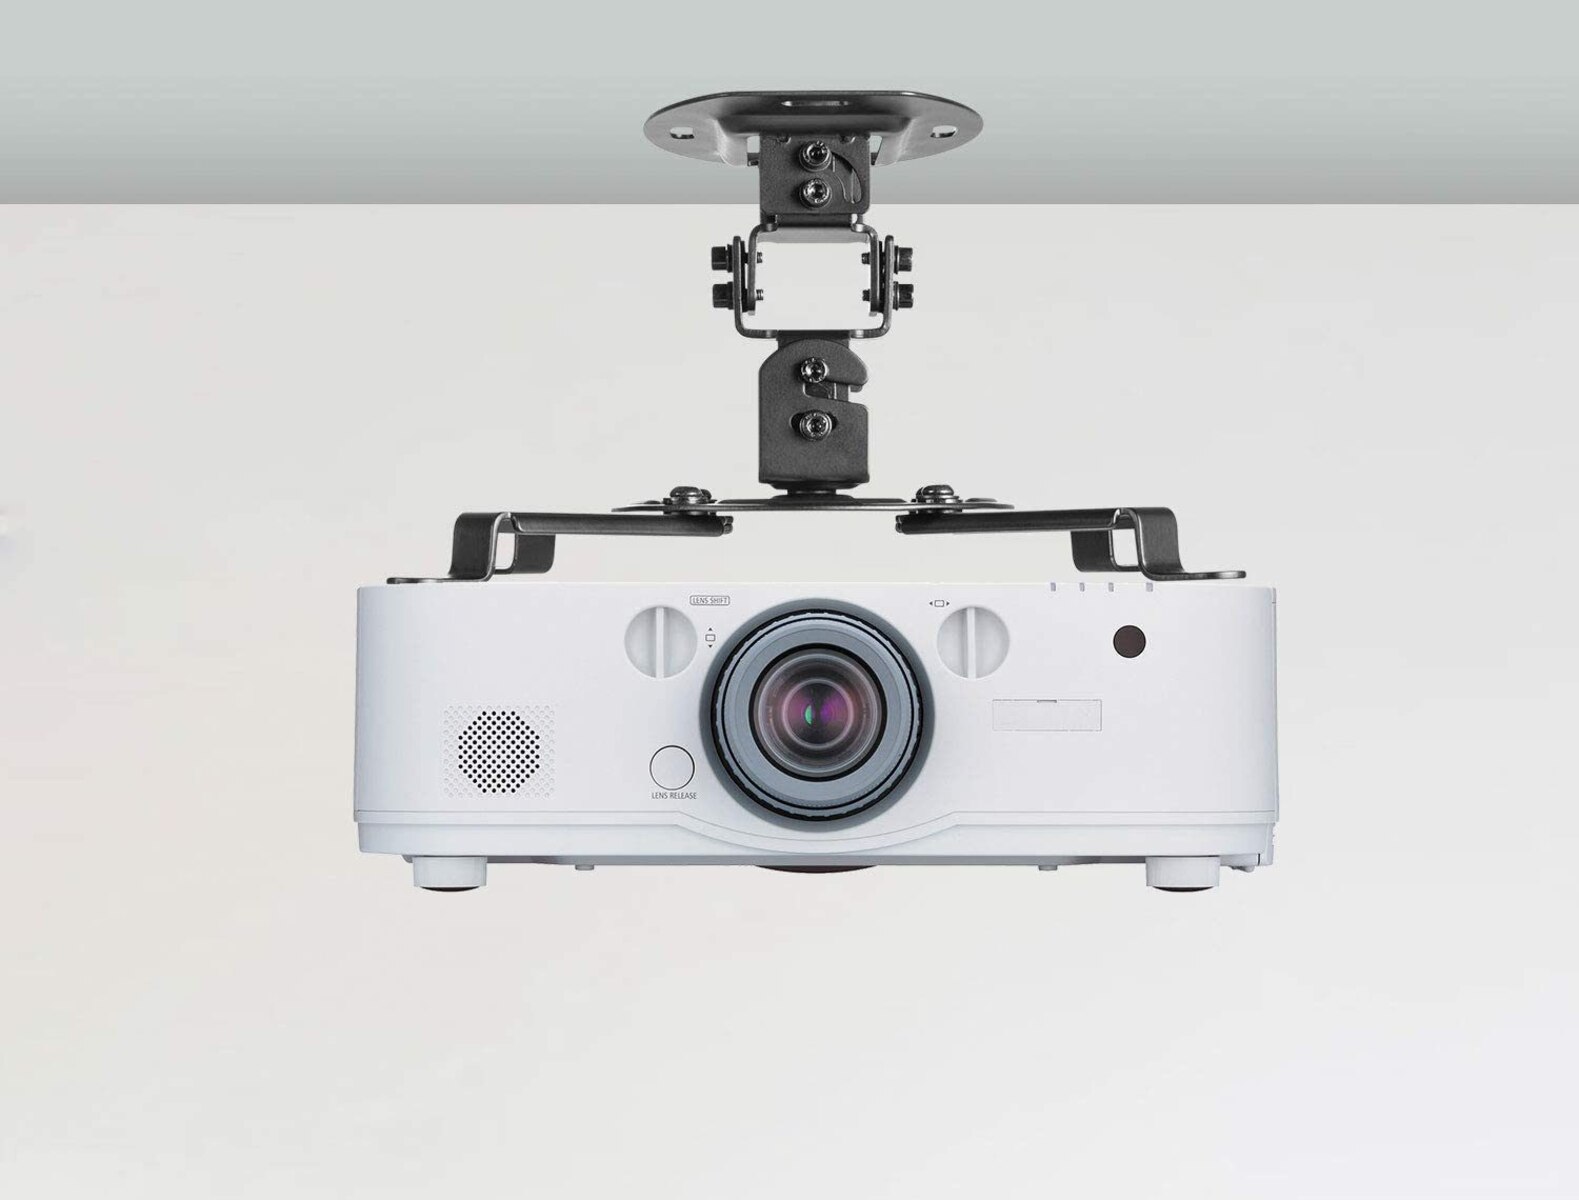
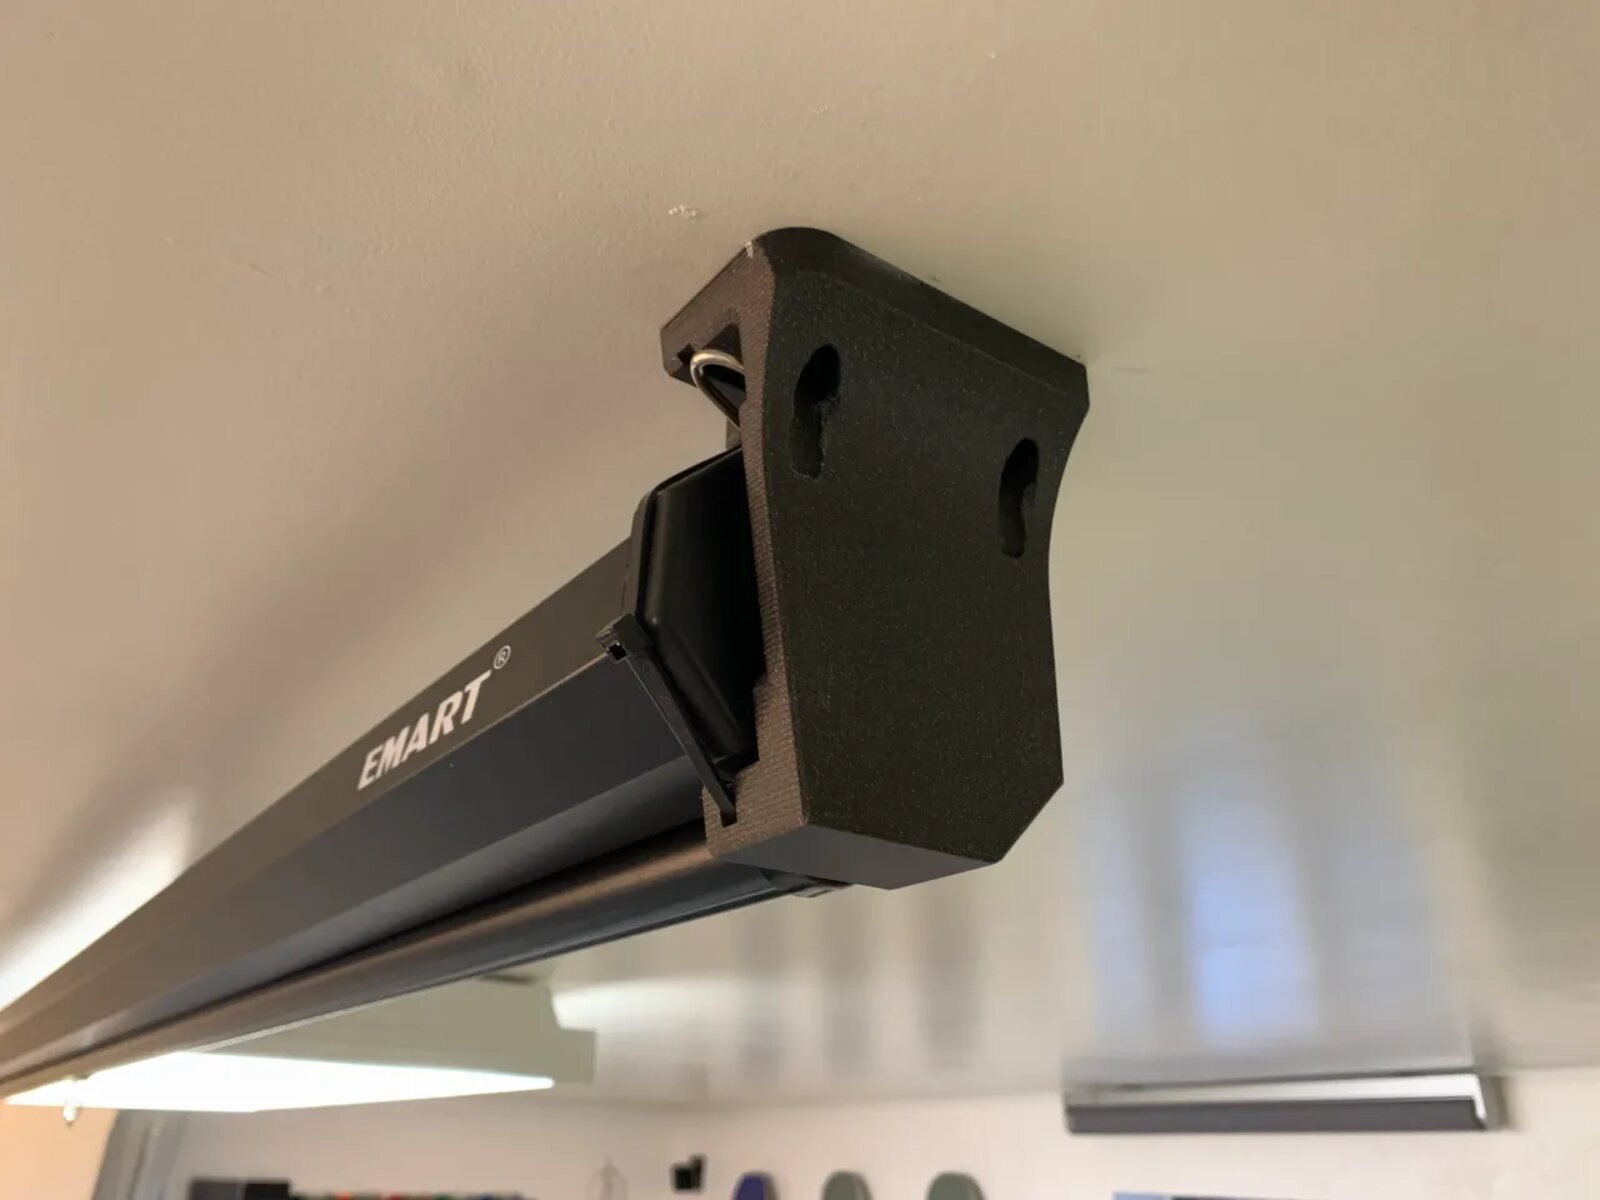
Step 6: Install Mounting Brackets
With the pilot holes drilled, it’s time to install the mounting brackets for your projector screen. The mounting brackets will securely hold the screen in place on the ceiling.
Follow these steps to install the mounting brackets:
- Take the mounting brackets and align them with the pilot holes on the ceiling.
- Insert screws through the holes in the brackets and into the pilot holes.
- Tighten the screws using a screwdriver, ensuring that the brackets are firmly attached to the ceiling.
- Repeat this process for all the mounting brackets, making sure they are aligned properly and evenly spaced.
When attaching the brackets, it’s important to keep them level and aligned with the markings you made in Step 4. Double-check their position and adjust as necessary before fully tightening the screws.
Ensure that the screws are tight enough to hold the brackets securely in place, but be careful not to overtighten and strip the holes or damage the ceiling.
Once all the mounting brackets are installed, give them a gentle tug to ensure they are secure. If any brackets feel loose, remove the screws and adjust the position or check if the pilot hole needs to be redrilled.
With the mounting brackets successfully installed, you are now ready to move on to the next step: attaching the screen to the mounting brackets.
Step 7: Attach Screen to Mounting Brackets
After installing the mounting brackets, it’s time to attach the projector screen to the brackets. This step will securely hold the screen in place, allowing for a stable and optimal viewing experience.
Follow these steps to attach the screen to the mounting brackets:
- Refer to the manufacturer’s instructions for your specific projector screen model to understand the attachment mechanism.
- Position the screen so that the mounting holes on the back align with the corresponding brackets on the ceiling.
- Insert the provided screws or bolts through the holes on the screen and into the matching bracket holes.
- Securely tighten the screws or bolts using the appropriate tool, ensuring that the screen is securely attached to the brackets.
- Double-check the alignment and stability of the screen, making any necessary adjustments.
Be careful when attaching the screen to the mounting brackets to avoid damaging the screen or the brackets. Follow the manufacturer’s instructions and use the recommended screws or bolts provided to ensure a proper fit.
Once the screen is attached, give it a gentle tug to ensure that it is securely in place. If it feels loose, double-check the screws or bolts and tighten them as necessary.
Congratulations! You have successfully attached the projector screen to the mounting brackets. The next step is to test the screen position and make any necessary adjustments.
Step 8: Test the Screen Position
After attaching the projector screen to the mounting brackets, it’s important to test the screen position to ensure an optimal viewing experience. This step allows you to make any necessary adjustments before finalizing the installation.
Follow these steps to test the screen position:
- Stand or sit in the primary viewing area and assess the screen position. Ensure that it is centered, level, and at the desired height for comfortable viewing.
- Adjust the screen’s vertical tilt or angle, if applicable, to achieve the best viewing angle for the seating arrangement.
- If needed, make minor adjustments to the position of the screen by loosening the screws or bolts slightly and repositioning the screen. Once satisfied with the position, securely tighten the screws or bolts.
- Test the screen by projecting images or videos onto it and evaluate the clarity and visibility from different angles in the room.
During the testing phase, take note of any adjustments you need to make to ensure the best viewing experience. This includes checking for any reflections, glares, or obstructed views that may affect the image quality.
If necessary, involve others who will be using the room to gather feedback and make any required adjustments.
By thoroughly testing the screen position, you can fine-tune the installation and achieve the optimal viewing experience for yourself and your audience.
After testing the screen position and making any necessary adjustments, you are almost finished! The next step, step 9, is optional and involves concealing the wiring if desired.
Step 9: Conceal Wiring (Optional)
Concealing the wiring of your projector screen can provide a cleaner and more professional look to your installation. While this step is optional, it can greatly enhance the overall aesthetics of your setup by reducing visible cables and creating a neater appearance.
Follow these steps to conceal the wiring:
- Determine the route for the wiring. Ideally, this would be along the ceiling and down the wall to a power outlet or AV equipment.
- Use wire covers or cable management solutions to hide the wires. These can be adhesive-backed channels or raceways that securely hold the cables in place.
- Carefully run the cables along the chosen route, ensuring they are neatly tucked away and out of sight.
- Attach the wire covers or cable management solutions to the ceiling and wall using the provided adhesive or screws.
- If necessary, use cable clips or zip ties to secure the cables within the wire covers to prevent them from dangling or becoming tangled.
- Ensure that the concealed wiring does not obstruct any vents, doors, or other functional aspects of the room.
When concealing the wiring, take your time to achieve a clean and organized look. The goal is to create a seamless integration of the screen into the room without any visible cables.
Additionally, make sure to consider safety precautions when working with electrical cables. If you are not comfortable or confident in your abilities, it may be best to hire a professional electrician to handle the wiring installation.
By concealing the wiring, you can achieve a more polished and clutter-free appearance for your projector screen setup.
Once you have finished concealing the wiring, you can move on to the optional step 10: adjusting the screen tension, if applicable.
Step 10: Adjust Screen Tension (if applicable)
Some projector screens come with an adjustable tension mechanism, allowing you to fine-tune the screen’s flatness and tightness. If your projector screen has this feature, you can follow this step to ensure optimal screen performance.
Here’s how to adjust the screen tension:
- Refer to the manufacturer’s instructions to understand how the tensioning mechanism works for your specific projector screen model.
- Identify the tension adjustment points, which are usually located on the sides or bottom of the screen housing.
- Use the provided tool or mechanism to tighten or loosen the tension as needed.
- Test the screen by retracting and extending it a few times to ensure smooth operation.
- Observe the screen’s flatness and tightness while in the extended position. Adjust the tension until the screen is taut and free of wrinkles or creases.
Be cautious when adjusting the tension, as tightening it too much may cause stress on the screen material, leading to damage or distortion. Ensure that the screen is evenly tensioned on all sides for optimal performance.
Once you have adjusted the screen tension to your satisfaction, retract and extend the screen a few more times to ensure that it functions smoothly and maintains the desired tension.
Adjusting the screen tension, if applicable, is the final step to optimize the performance and appearance of your projector screen. Take the time to make any necessary adjustments for the best possible viewing experience.
Conclusion
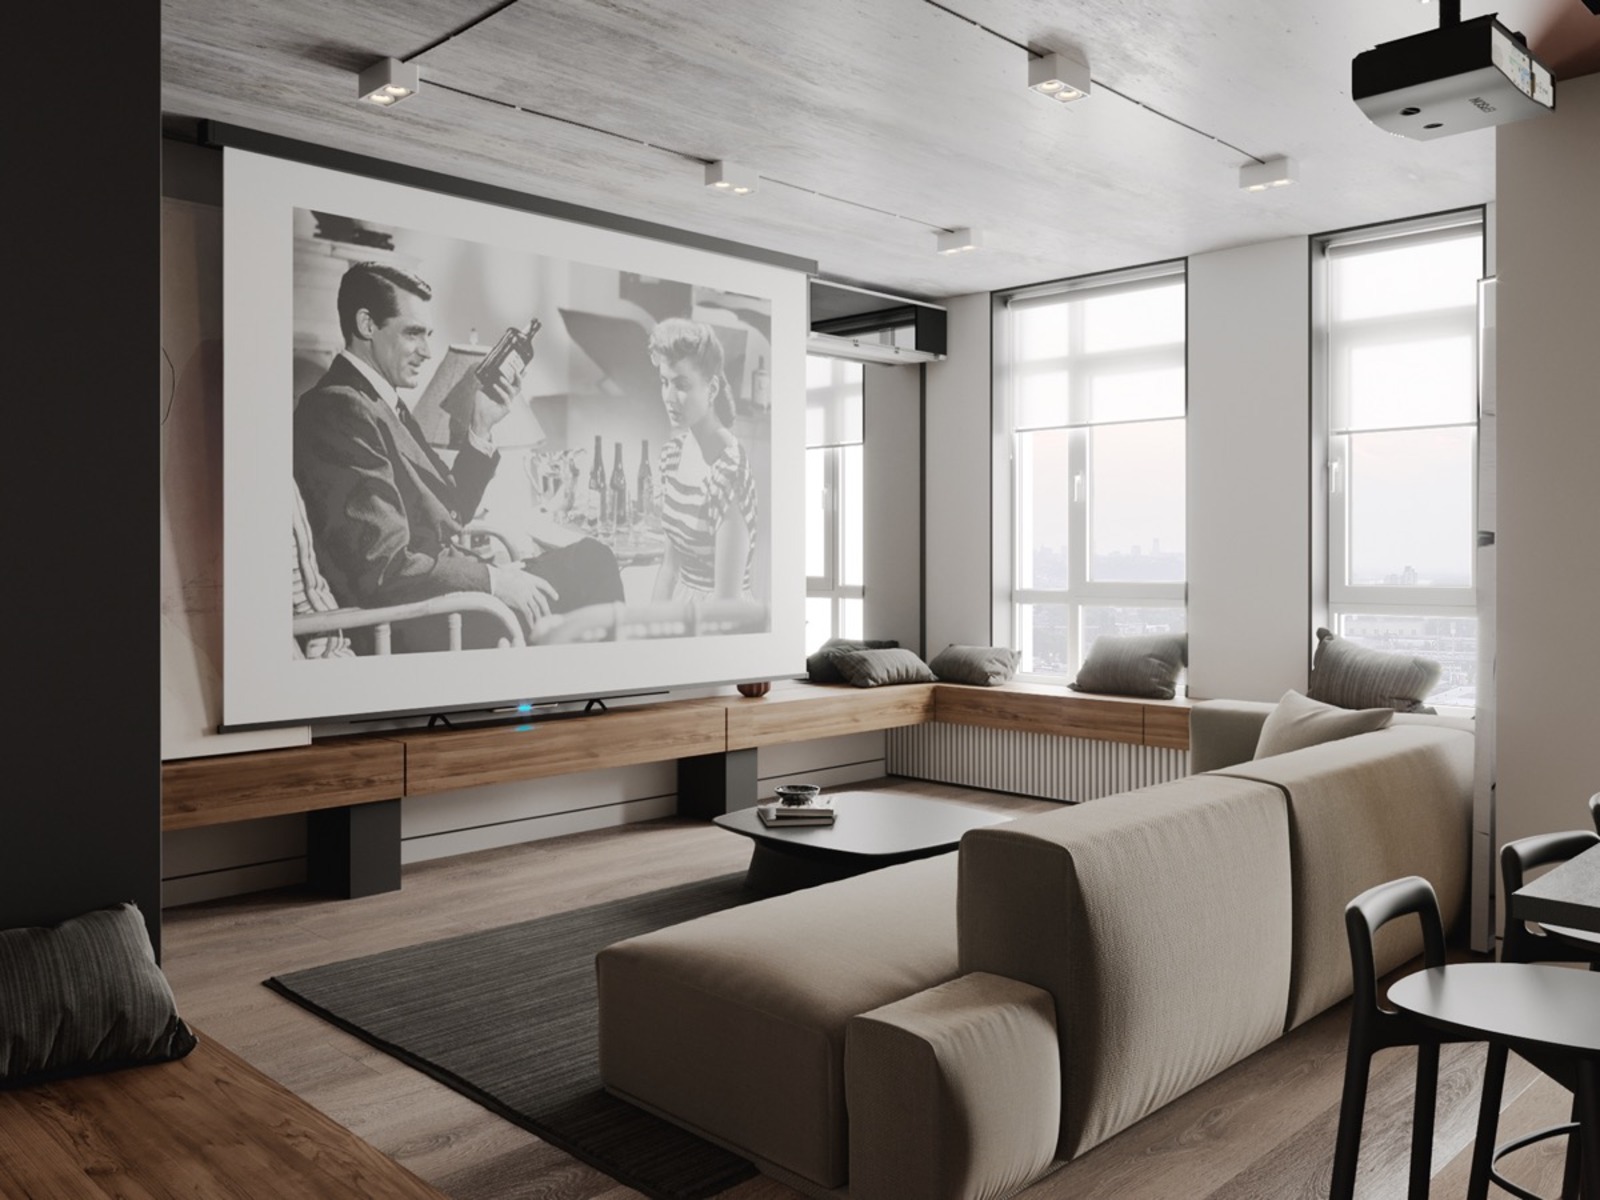
Congratulations on successfully mounting your projector screen on the ceiling! By following the step-by-step guide, you have created a professional and immersive viewing experience in your home theater or conference room.
In this guide, we covered the essential steps including determining the ideal location, measuring the screen size, locating ceiling joists, marking mounting points, drilling pilot holes, installing mounting brackets, attaching the screen, testing the position, concealing wiring (optional), and adjusting screen tension (if applicable).
Remember, before beginning the installation process, refer to the manufacturer’s instructions for specific guidelines and recommendations for your projector screen model. Adhere to safety precautions and consult professionals if you are uncertain about any aspect of the installation.
Now that you have your projector screen mounted on the ceiling, get ready to enjoy high-quality entertainment or deliver impactful presentations with a clear view and without any obstructions.
Sit back, relax, and immerse yourself in the ultimate viewing experience that rivals a movie theater or professional conference room!