Introduction
Mounting a case fan to a 660 Ti heatsink is a crucial step in ensuring optimal cooling for your graphics card. Over time, the original fan may become worn out or inefficient, leading to increased temperatures and potential performance issues. Fortunately, replacing the fan is a relatively straightforward process that can be done with a few tools and materials.
Proper cooling is essential for a graphics card like the 660 Ti, as it helps dissipate heat generated during intensive gaming or graphic-intensive tasks. By ensuring proper airflow and heat dissipation, you can help extend the lifespan of your GPU and prevent overheating-related issues.
In this guide, we will take you through the step-by-step process of mounting a new case fan to your 660 Ti heatsink. We will cover everything from removing the old fan to securing the new one in place. Whether you’re a tech enthusiast looking to upgrade your system or someone troubleshooting heat-related issues, this guide will provide you with the necessary knowledge to successfully mount a case fan to your 660 Ti heatsink.
Before we dive into the steps, let’s take a look at the tools and materials you’ll need for this project.
Tools and Materials Required
Before you begin mounting a case fan to your 660 Ti heatsink, gather the following tools and materials:
1. Screwdriver: This will be used to remove the old fan and secure the new one in place.
2. Thermal paste: If you need to remove the heatsink from the graphics card, you’ll need thermal paste to reapply it when mounting the new fan.
3. Cleaning cloth: It’s important to clean the heatsink surface before mounting the new fan to ensure a secure and efficient connection.
4. Isopropyl alcohol: Use this to clean the heatsink surface and remove any old thermal paste residue.
5. Case fan: Choose a fan that is compatible with your 660 Ti graphics card and provides sufficient airflow for effective cooling.
6. Replacement screws: In case the ones provided with the new fan do not fit your heatsink, have some spare screws of appropriate size on hand.
7. Anti-static wrist strap: When working with sensitive electronic components, it’s important to take precautions to prevent static electricity damage.
8. Disposable gloves: These can help keep your hands clean during the installation process and prevent any smudges or fingerprints on the heatsink or other components.
Ensuring you have the necessary tools and materials before starting the process will help streamline the installation and ensure a successful outcome. Now that you have everything you need, let’s move on to the first step of removing the old fan.
Step 1: Remove the Old Fan
The first step in mounting a case fan to your 660 Ti heatsink is to remove the old fan. Follow these steps:
1. Power down your computer and unplug it from the power source. This is crucial for your safety and to prevent any damage to the hardware.
2. Open the computer case by removing the screws or unlatching the side panel. Take caution not to touch any internal components unless you are wearing an anti-static wrist strap.
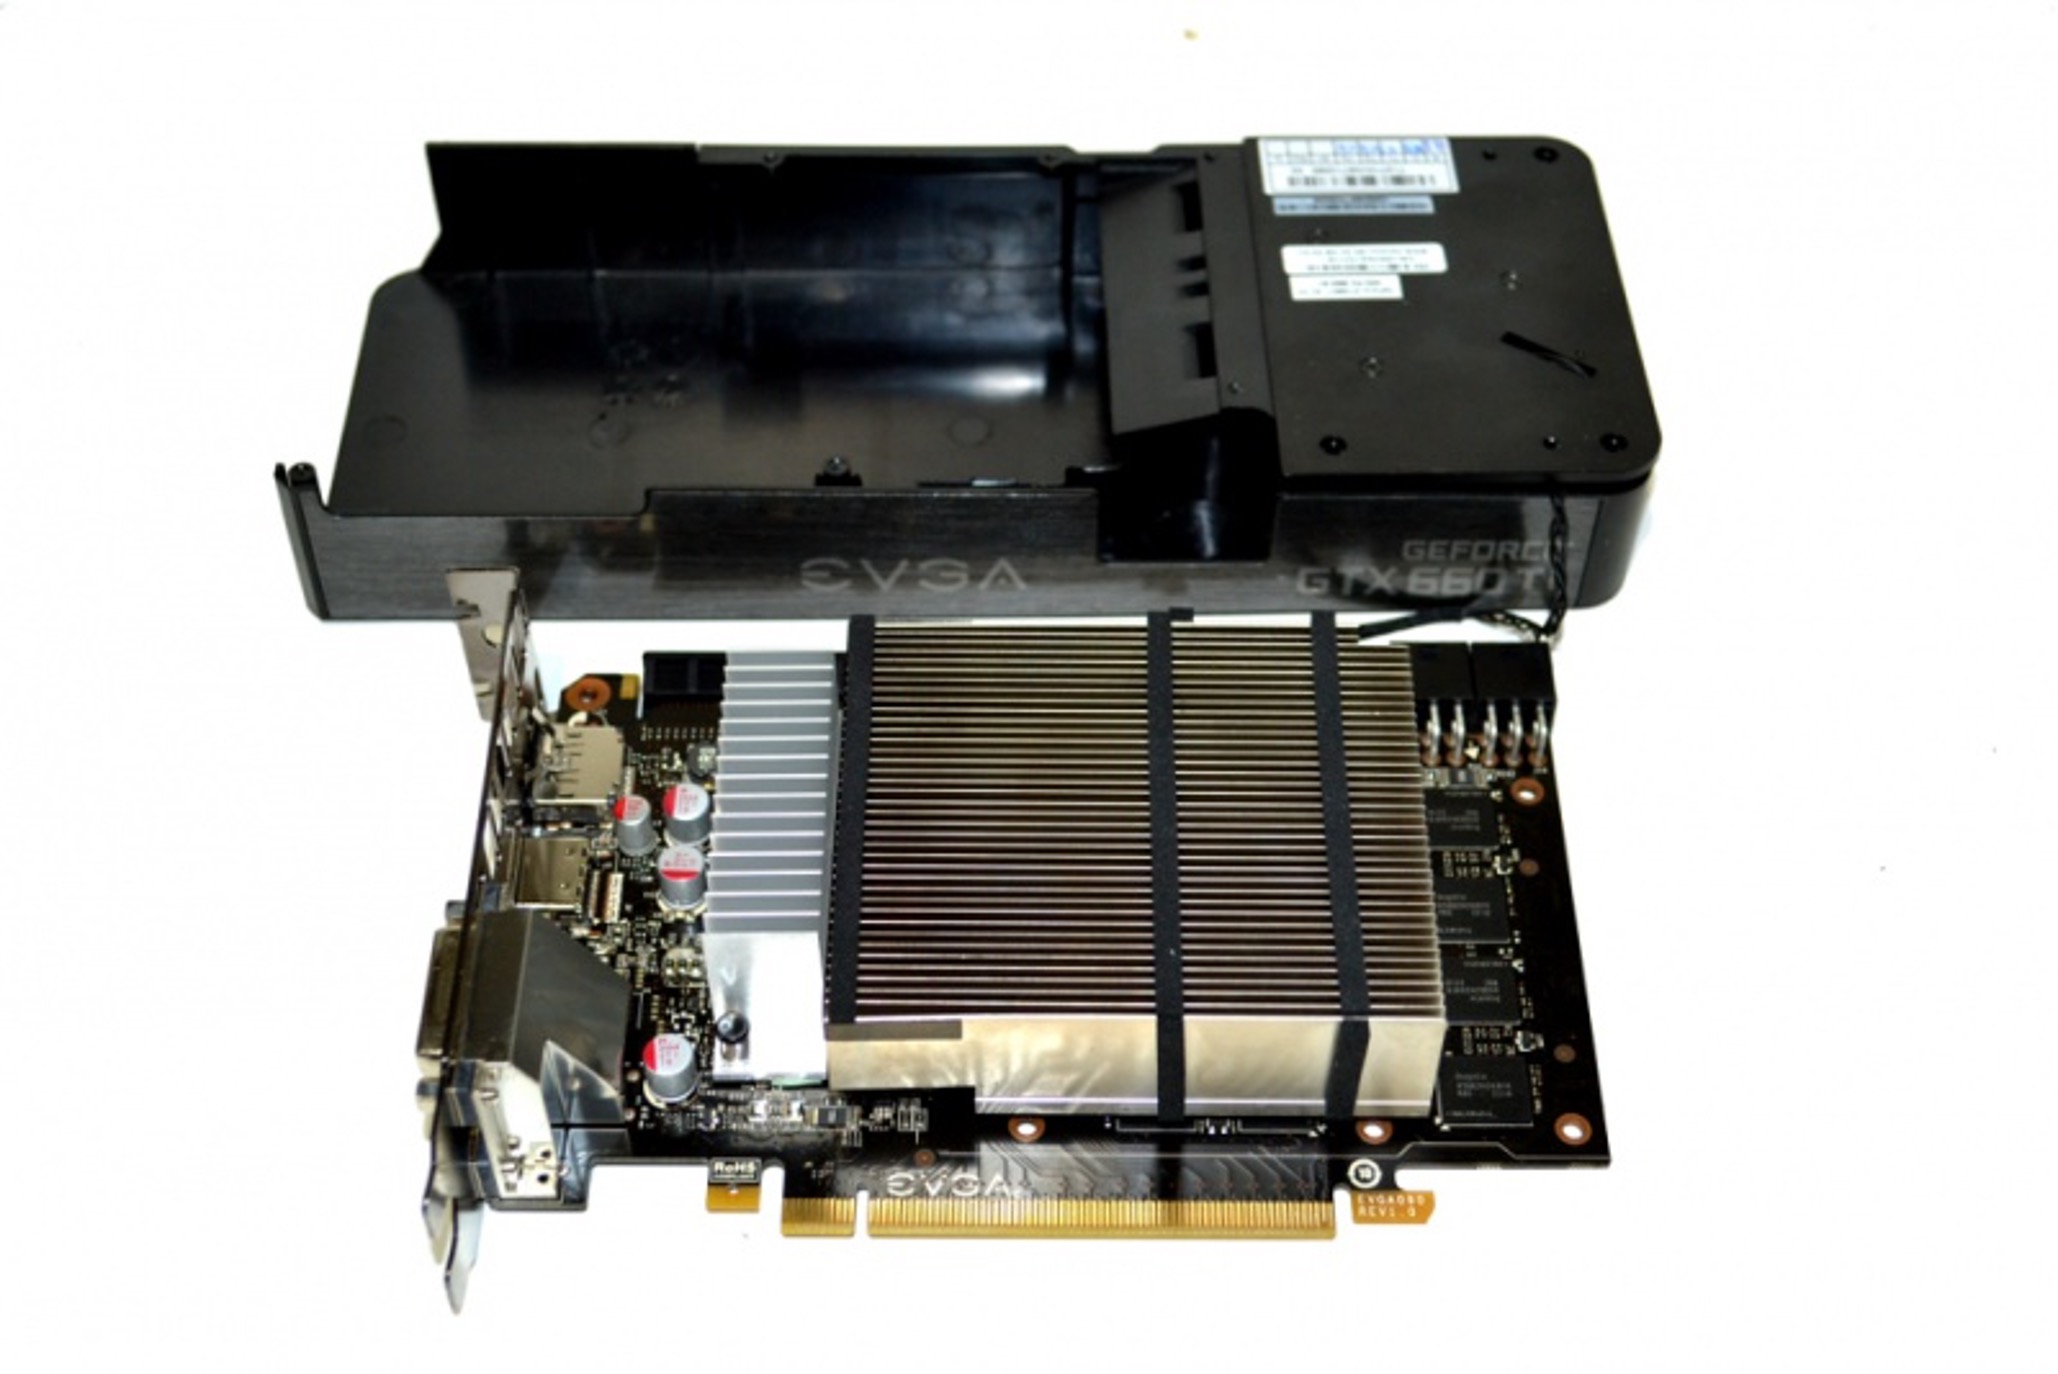
3. Locate the graphics card with the 660 Ti heatsink. You will see the fan attached to the heatsink, held in place by screws or clips.
4. Using a screwdriver, carefully unscrew the screws that secure the fan to the heatsink. Keep the screws in a safe place, as you may need them to secure the new fan later.
5. If your fan is attached with clips, gently push the clips to release them from the heatsink. Be cautious not to apply too much force and damage any components.
6. Once the fan is detached, carefully unplug the connector cable from the graphics card. Take note of how it is connected so you can easily reconnect the new fan later.
7. Set the old fan aside, as you won’t be needing it anymore. Take a moment to inspect it for any signs of damage or wear.
With the old fan successfully removed, you’re now ready to move on to the next step: cleaning the heatsink.
Step 2: Clean the Heatsink
After removing the old fan, it’s important to clean the heatsink before mounting the new case fan. Dust and debris can accumulate over time, affecting the cooling efficiency. Follow these steps to clean the heatsink:
1. Take a soft cleaning cloth and gently wipe away any visible dust or debris from the heatsink. Be careful not to apply excessive pressure that could damage the delicate fins.
2. If there are stubborn particles or residue, dampen the cleaning cloth with isopropyl alcohol. Make sure to use a minimal amount to avoid dripping alcohol into sensitive areas.
3. Gently wipe the heatsink surface with the damp cloth, focusing on areas with noticeable dirt or grime. Take your time to ensure a thorough cleaning.
4. Pay close attention to the area where the old fan was attached. Remove any leftover thermal paste residue using the cloth and a small amount of isopropyl alcohol. Make sure to clean both the heatsink and the GPU surface.
5. Allow the heatsink to air dry completely before proceeding. This will ensure that there is no moisture left that can affect the application of thermal paste and the performance of the new fan.
By cleaning the heatsink, you’re ensuring optimal thermal conductivity between the heatsink and the new fan. This will help maximize the cooling efficiency of your 660 Ti graphics card. Once the heatsink is clean and dry, you’re ready to move on to the next step: prepping the new fan.
Step 3: Prep the New Fan
With the heatsink clean and ready, it’s time to prepare the new case fan for installation. Follow these steps to properly prep the new fan:
1. Take the new case fan and inspect it for any damage or defects. Ensure that it is compatible with your 660 Ti graphics card and has the appropriate connectors and dimensions.
2. If the new fan does not come with pre-applied thermal paste, apply a small amount of thermal paste to the center of the heatsink. This will ensure proper heat transfer between the fan and the graphics card.
3. Carefully align the screw holes or clips of the new fan with those on the heatsink. Ensure that the cables are oriented in a way that will not interfere with other components.
4. If your new fan uses screws, gently insert and tighten them, securing the fan to the heatsink. Take care not to overtighten, as this can damage the fan or heatsink.
5. If your new fan uses clips, press them firmly until they securely latch onto the heatsink. Double-check that the fan is properly attached and does not wobble or move.
6. Take a moment to ensure that the new fan is oriented correctly for optimal airflow. Most fans have arrows indicating the direction of airflow, so position the fan accordingly.
7. Once the new fan is securely mounted, double-check the connections. Plug the connector cable into the appropriate header on the graphics card, ensuring a snug fit.
By properly prepping the new fan, you’re ensuring a secure and efficient installation. The thermal paste will help maximize heat transfer, and the proper alignment and connection will ensure effective cooling. With the new fan prepped and mounted, you’re ready to move on to the next step: aligning the fan with the heatsink.
Step 4: Align the Fan with the Heatsink
Now that you have prepped the new fan, it’s time to align it with the heatsink. Proper alignment ensures optimal airflow and cooling efficiency. Follow these steps:
1. Carefully position the new fan above the heatsink, aligning the screw holes or clips with the corresponding slots on the heatsink.
2. Take note of any alignment markers or notches on the fan and the heatsink. These indicators help ensure that the fan is correctly positioned for optimal airflow.
3. Gently lower the fan onto the heatsink, making sure that it sits evenly and securely. Do not force the fan, as this can cause damage to both the fan and the heatsink.
4. If necessary, make minor adjustments to align the fan with the heatsink. A properly aligned fan will ensure that the airflow is directed towards the heatsink fins.
5. Double-check that the fan is aligned with the graphics card and does not obstruct other components or cables.
By ensuring proper alignment, you can maximize the cooling efficiency of the fan and prevent any potential obstructions. Once the fan is aligned with the heatsink, you’re ready to move on to the next step: securing the fan in place.
Step 5: Secure the Fan in Place
Now that the new fan is aligned with the heatsink, it’s time to secure it in place. Properly securing the fan will ensure that it remains stable during operation and effectively cools the graphics card. Follow these steps:
1. If your new fan uses screws, insert them through the screw holes in the fan and into the corresponding holes in the heatsink.
2. Using a screwdriver, tighten the screws snugly but not excessively. Be careful not to overtighten, as this can damage the fan or heatsink.
3. If your new fan uses clips, ensure that they are securely latched onto the heatsink. Double-check that the fan is firmly held in place and does not wobble or move.
4. Give the fan a gentle tug or shake to ensure it is securely attached to the heatsink. If there is any movement, check the screws or clips and adjust as necessary.
5. Double-check that the fan is still properly aligned with the graphics card and does not interfere with any other components or cables.
By securely fastening the fan to the heatsink, you can prevent any potential movement that may impact cooling efficiency. Take your time to ensure that the fan is firmly in place before proceeding to the next step: connecting the fan to power.
Step 6: Connect the Fan to Power
Now that the fan is securely mounted, the next step is to connect it to power. This will ensure that the fan spins and effectively cools the graphics card. Follow these steps:
1. Locate the appropriate fan header on the graphics card or motherboard. This is typically labeled “SYS_FAN” or “CHA_FAN” and may have multiple pins.
2. Take the connector cable from the fan and align it with the fan header. Ensure that the pins and notches on the cable and the header match up.
3. Gently plug in the connector cable, ensuring a secure and snug connection. Be cautious not to bend any pins or force the connector.
4. Double-check that the connector cable is properly seated in the fan header and is not loose. A loose connection can lead to fan malfunctions or poor cooling performance.
5. Once the fan is properly connected, tidy up any excess cables and ensure they are not obstructing any other components or fans.
6. Replace the side panel of the computer case and secure it with the screws or latches.
By properly connecting the fan to power, you ensure that it spins and effectively cools the graphics card. With the fan connected, you’re ready for the final step: testing the fan to ensure proper functionality.
Step 7: Test the Fan
After completing the installation process, it’s important to test the newly mounted case fan to ensure that it is functioning properly. Follow these steps to test the fan:
1. Power on your computer and let it boot up. Make sure all the cables are connected properly and the case is closed.
2. Monitor the fan to confirm that it is spinning. You should be able to visually see and hear the fan operating.
3. Open up a monitoring software or the BIOS settings to check the fan speed and temperature readings. Ensure that the fan is working within the desired range and that the temperature is being adequately regulated.
4. If the fan is not spinning or not functioning as expected, power down the computer and double-check the connections. Make sure the fan is properly mounted and the connector cable is securely plugged in. If needed, repeat the installation steps to rectify any issues.
5. Test the fan under different workload conditions, such as running graphics-intensive applications or playing games, to gauge its effectiveness in cooling the graphics card.
6. Monitor the temperatures of the GPU while the fan is running. Make sure they are within safe limits and that the fan is effectively cooling the graphics card.
By testing the fan, you can ensure that it is operating correctly and effectively cooling your 660 Ti graphics card. If any issues or abnormalities are encountered during testing, take the necessary steps to troubleshoot and resolve them.
Conclusion
Congratulations! You have successfully mounted a new case fan to your 660 Ti heatsink. By following the step-by-step instructions, you have improved the cooling efficiency of your graphics card, which can result in better performance and longevity.
Throughout the process, you have learned how to remove the old fan, clean the heatsink, prep the new fan, align it with the heatsink, secure it in place, connect it to power, and test its functionality.
Proper cooling is essential for maintaining optimal performance, especially during heavy gaming sessions or demanding tasks. By ensuring efficient heat dissipation, you can prevent overheating issues and potential damage to your graphics card.
Remember to periodically monitor the fan’s performance and clean it if necessary. Keeping the fan and heatsink free from dust and debris will help maintain optimal cooling efficiency.
As always, if you encounter any issues during the fan installation or have concerns about your graphics card’s temperature, it is recommended to consult with a professional or reach out to the manufacturer for assistance.
With a newly mounted fan, you can now enjoy improved cooling and better overall performance from your 660 Ti graphics card. Take pride in your accomplishment and continue to explore ways to optimize your gaming or graphics-intensive experiences!