Introduction
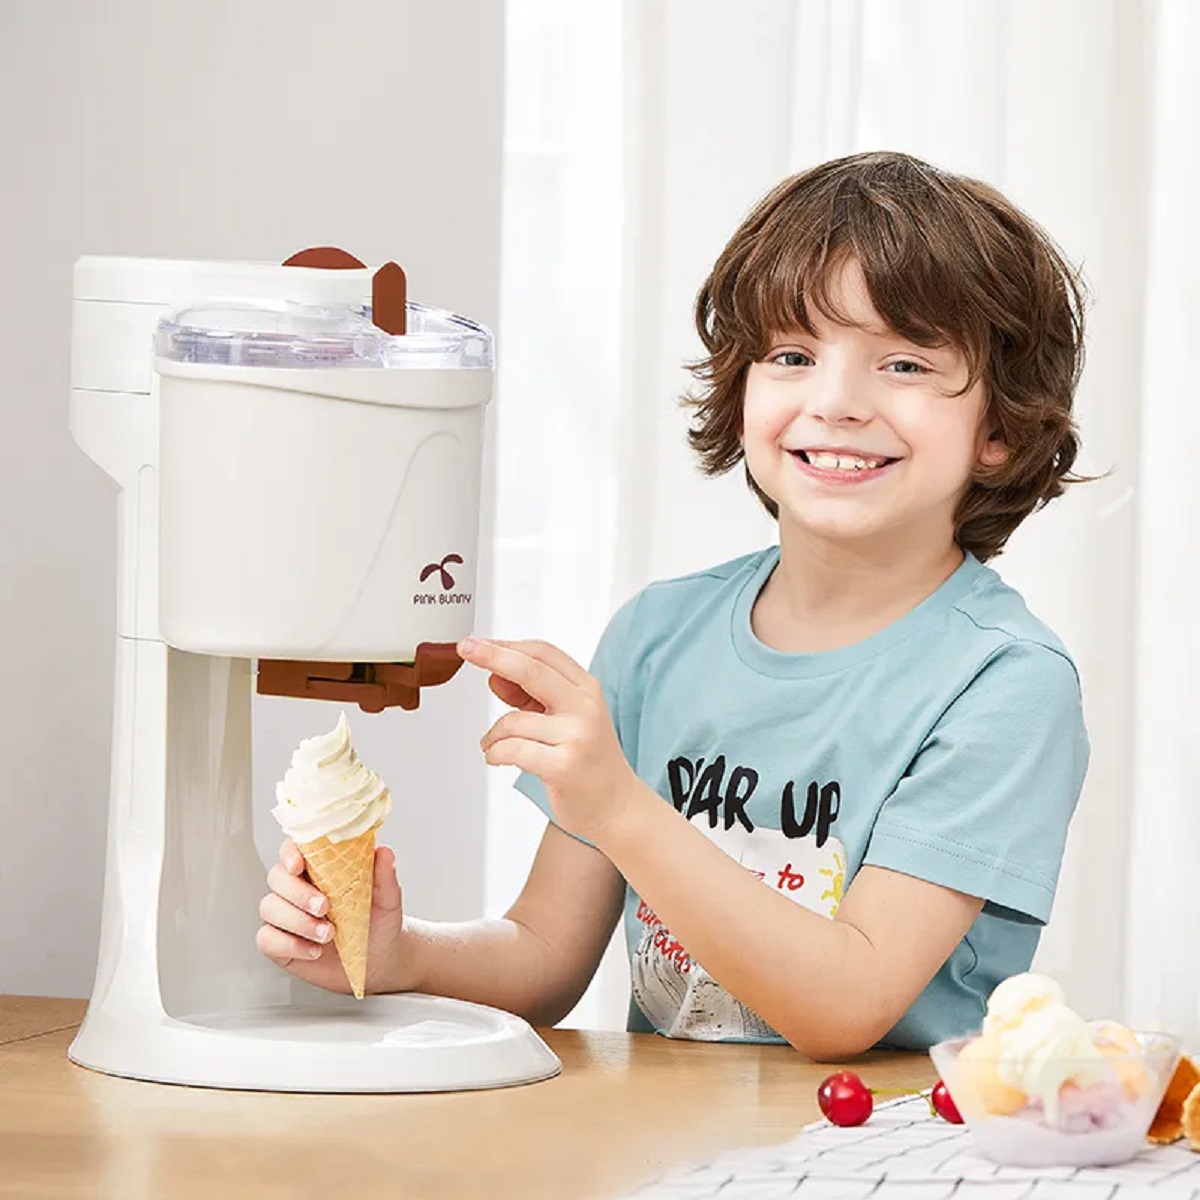
Craving a deliciously creamy and smooth soft serve ice cream? Look no further! With a home ice cream maker, you can easily whip up your favorite frozen treat in the comfort of your own kitchen. In this guide, we will walk you through the step-by-step process of making soft serve ice cream using a home ice cream maker.
There’s something magical about enjoying a scoop of soft serve ice cream on a hot summer day. The silky texture, the rich flavors, and the refreshing taste make it an all-time favorite dessert for people of all ages. And now, you can recreate that experience right at home.
Before we dive into the process, let’s talk about why investing in a home ice cream maker is a great idea. First and foremost, it gives you complete control over the ingredients that go into your ice cream. You can choose the freshest dairy, the finest cocoa, and the most vibrant fruits to create your signature flavor combinations.
Secondly, making your own soft serve ice cream allows you to experiment with different flavors and mix-ins. From classic vanilla and chocolate to adventurous combinations like salted caramel swirl or cookie dough chunks, the possibilities are endless.
Lastly, having a home ice cream maker is a cost-effective solution in the long run. Instead of buying expensive pints from the store, you can make a batch of soft serve ice cream at a fraction of the price. Plus, you can customize the sweetness and richness according to your taste preferences.
In the following sections, we will guide you through the process of choosing the right home ice cream maker, preparing the ingredients, creating the base mixture, using the machine, adding mix-ins and flavors, achieving the perfect soft serve consistency, and storing and serving your homemade ice cream.
Get ready to indulge in a creamy, dreamy treat that will satisfy your sweet tooth and impress your family and friends. Let’s get started on this delightful ice cream adventure!
Choosing the Right Home Ice Cream Maker
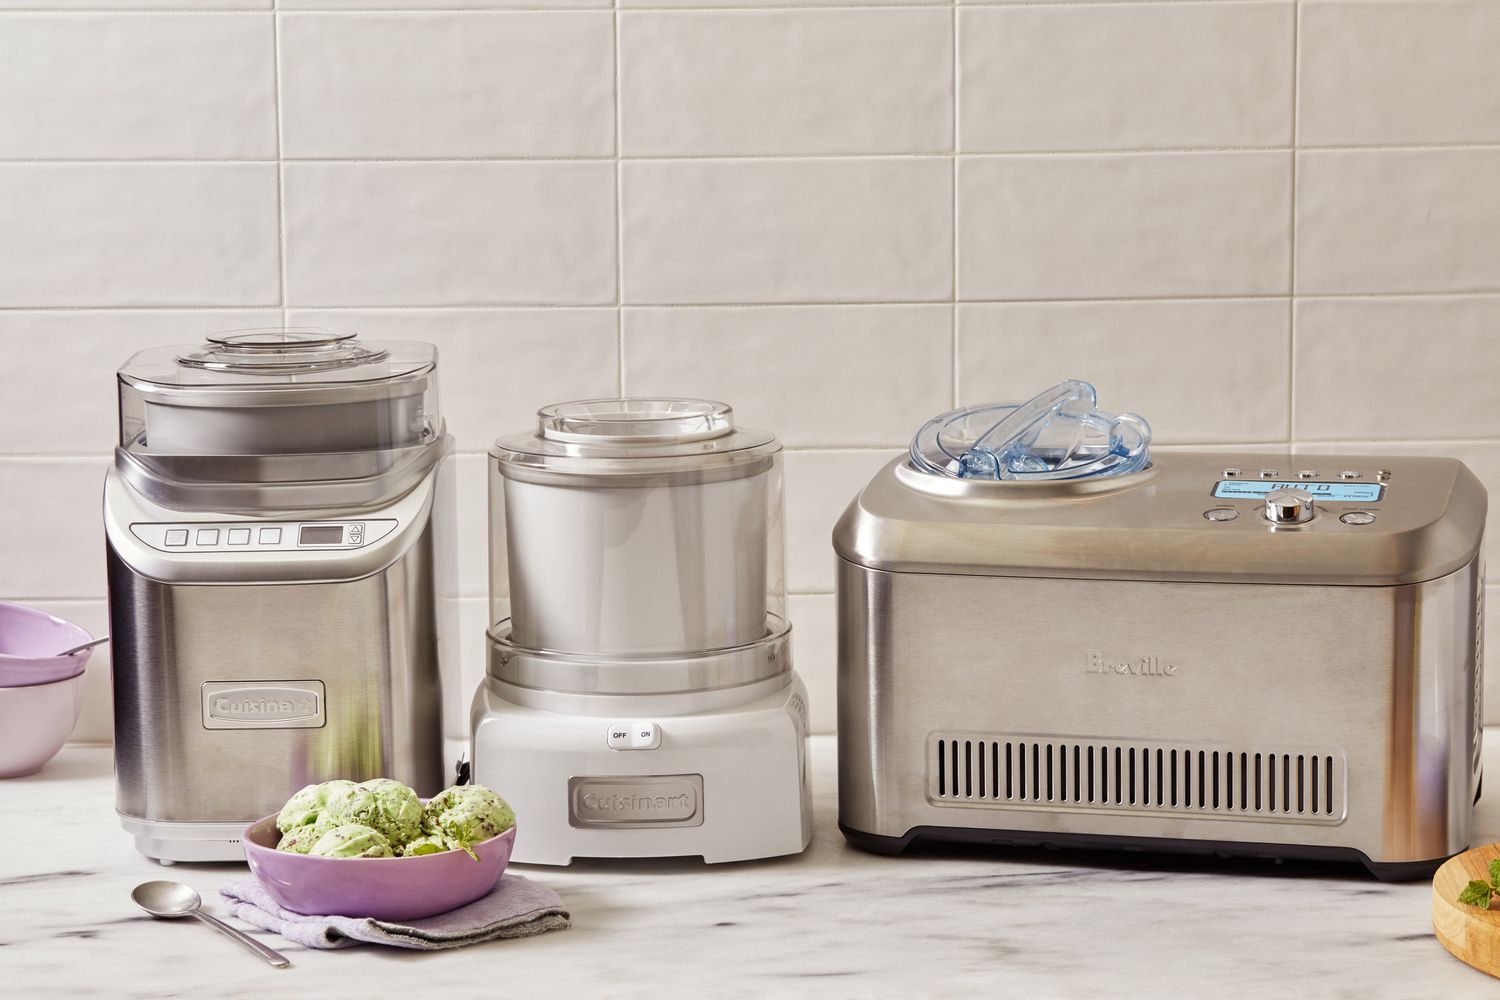
When it comes to making soft serve ice cream at home, having the right ice cream maker can make all the difference. With so many options available in the market, it’s important to consider certain factors before making your purchase.
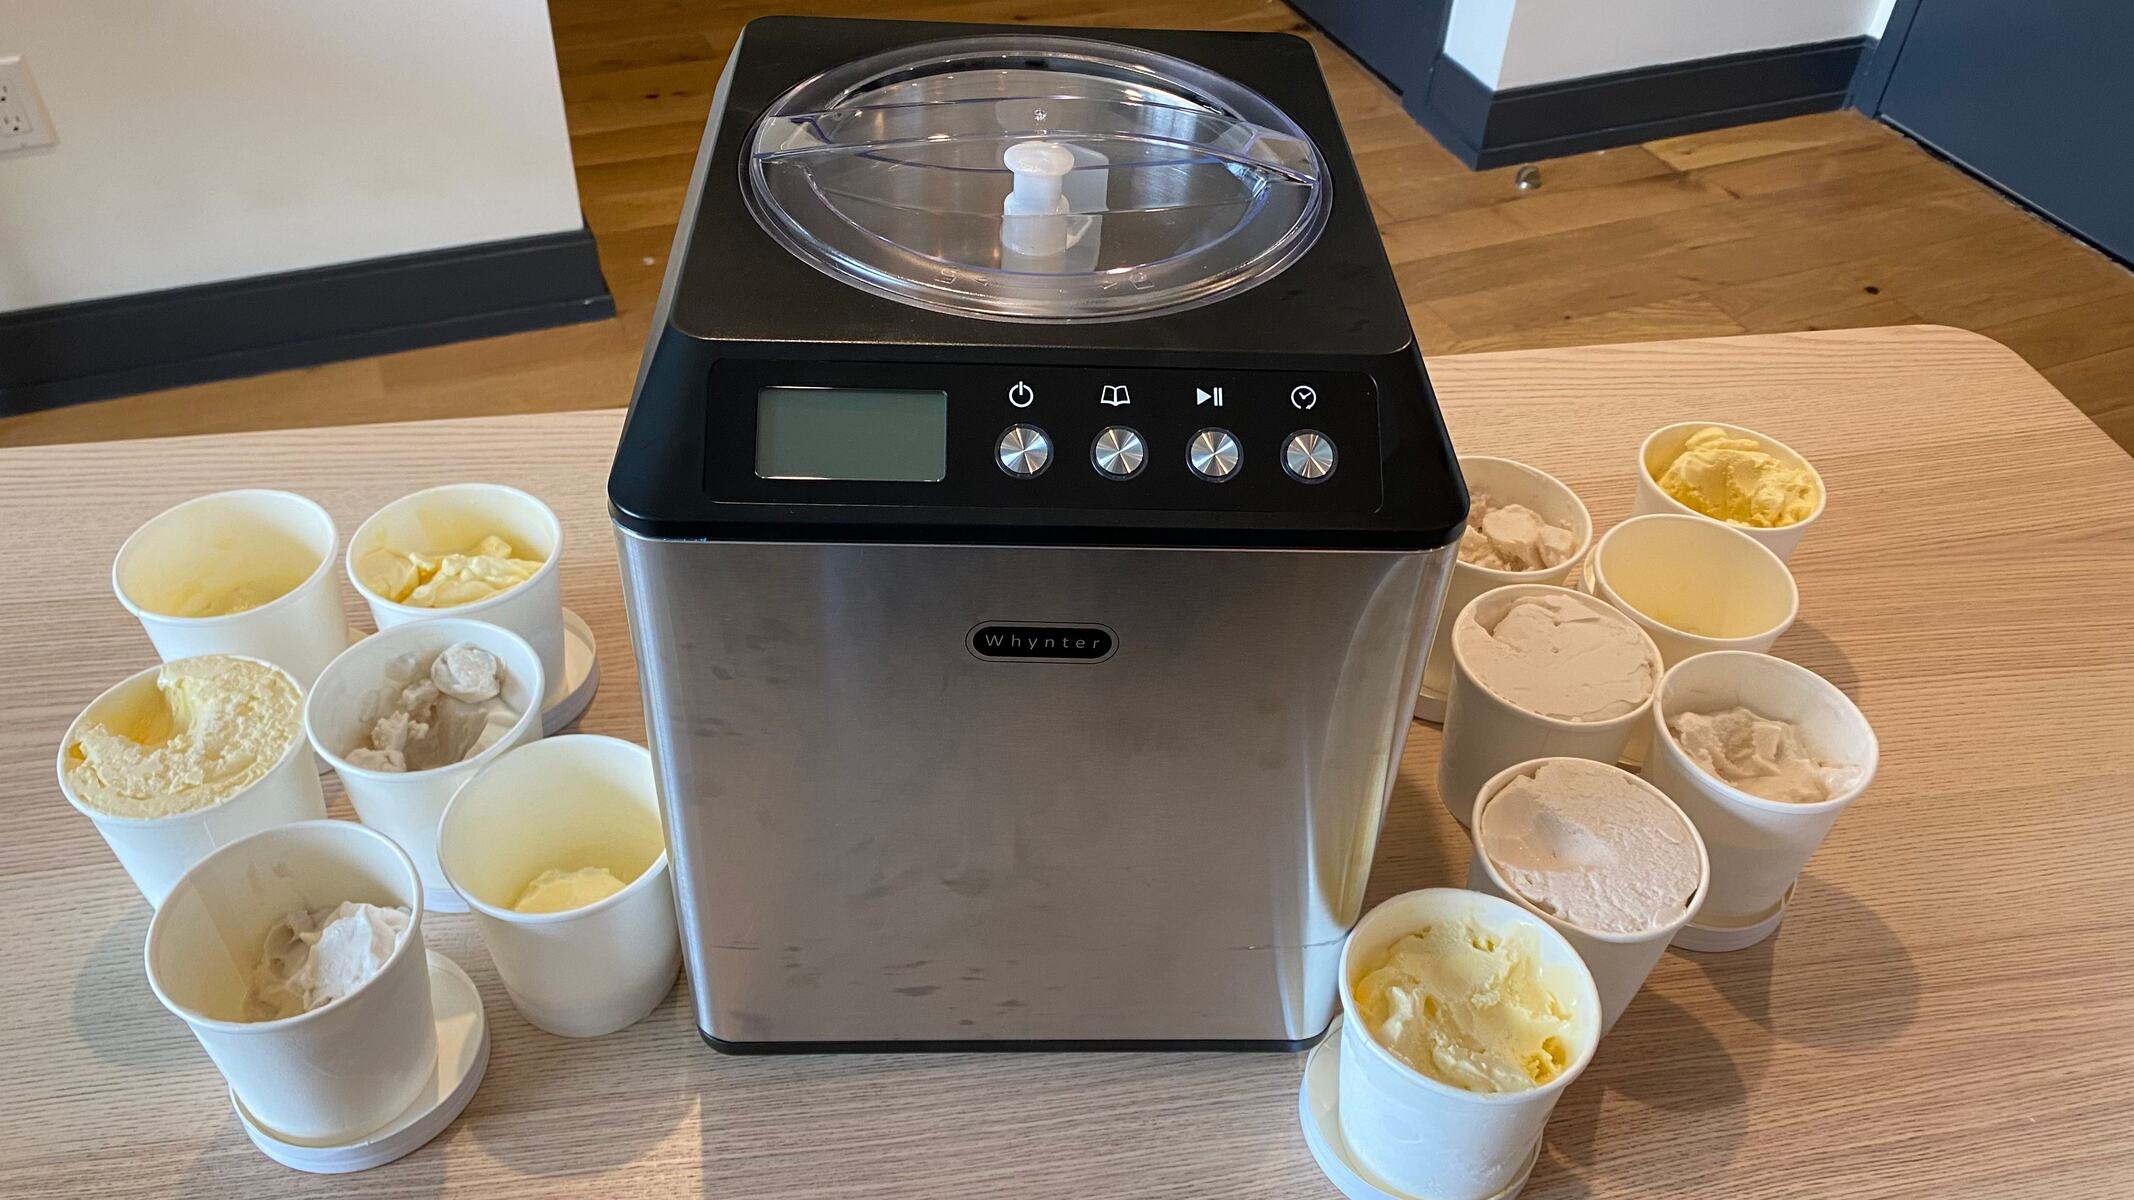
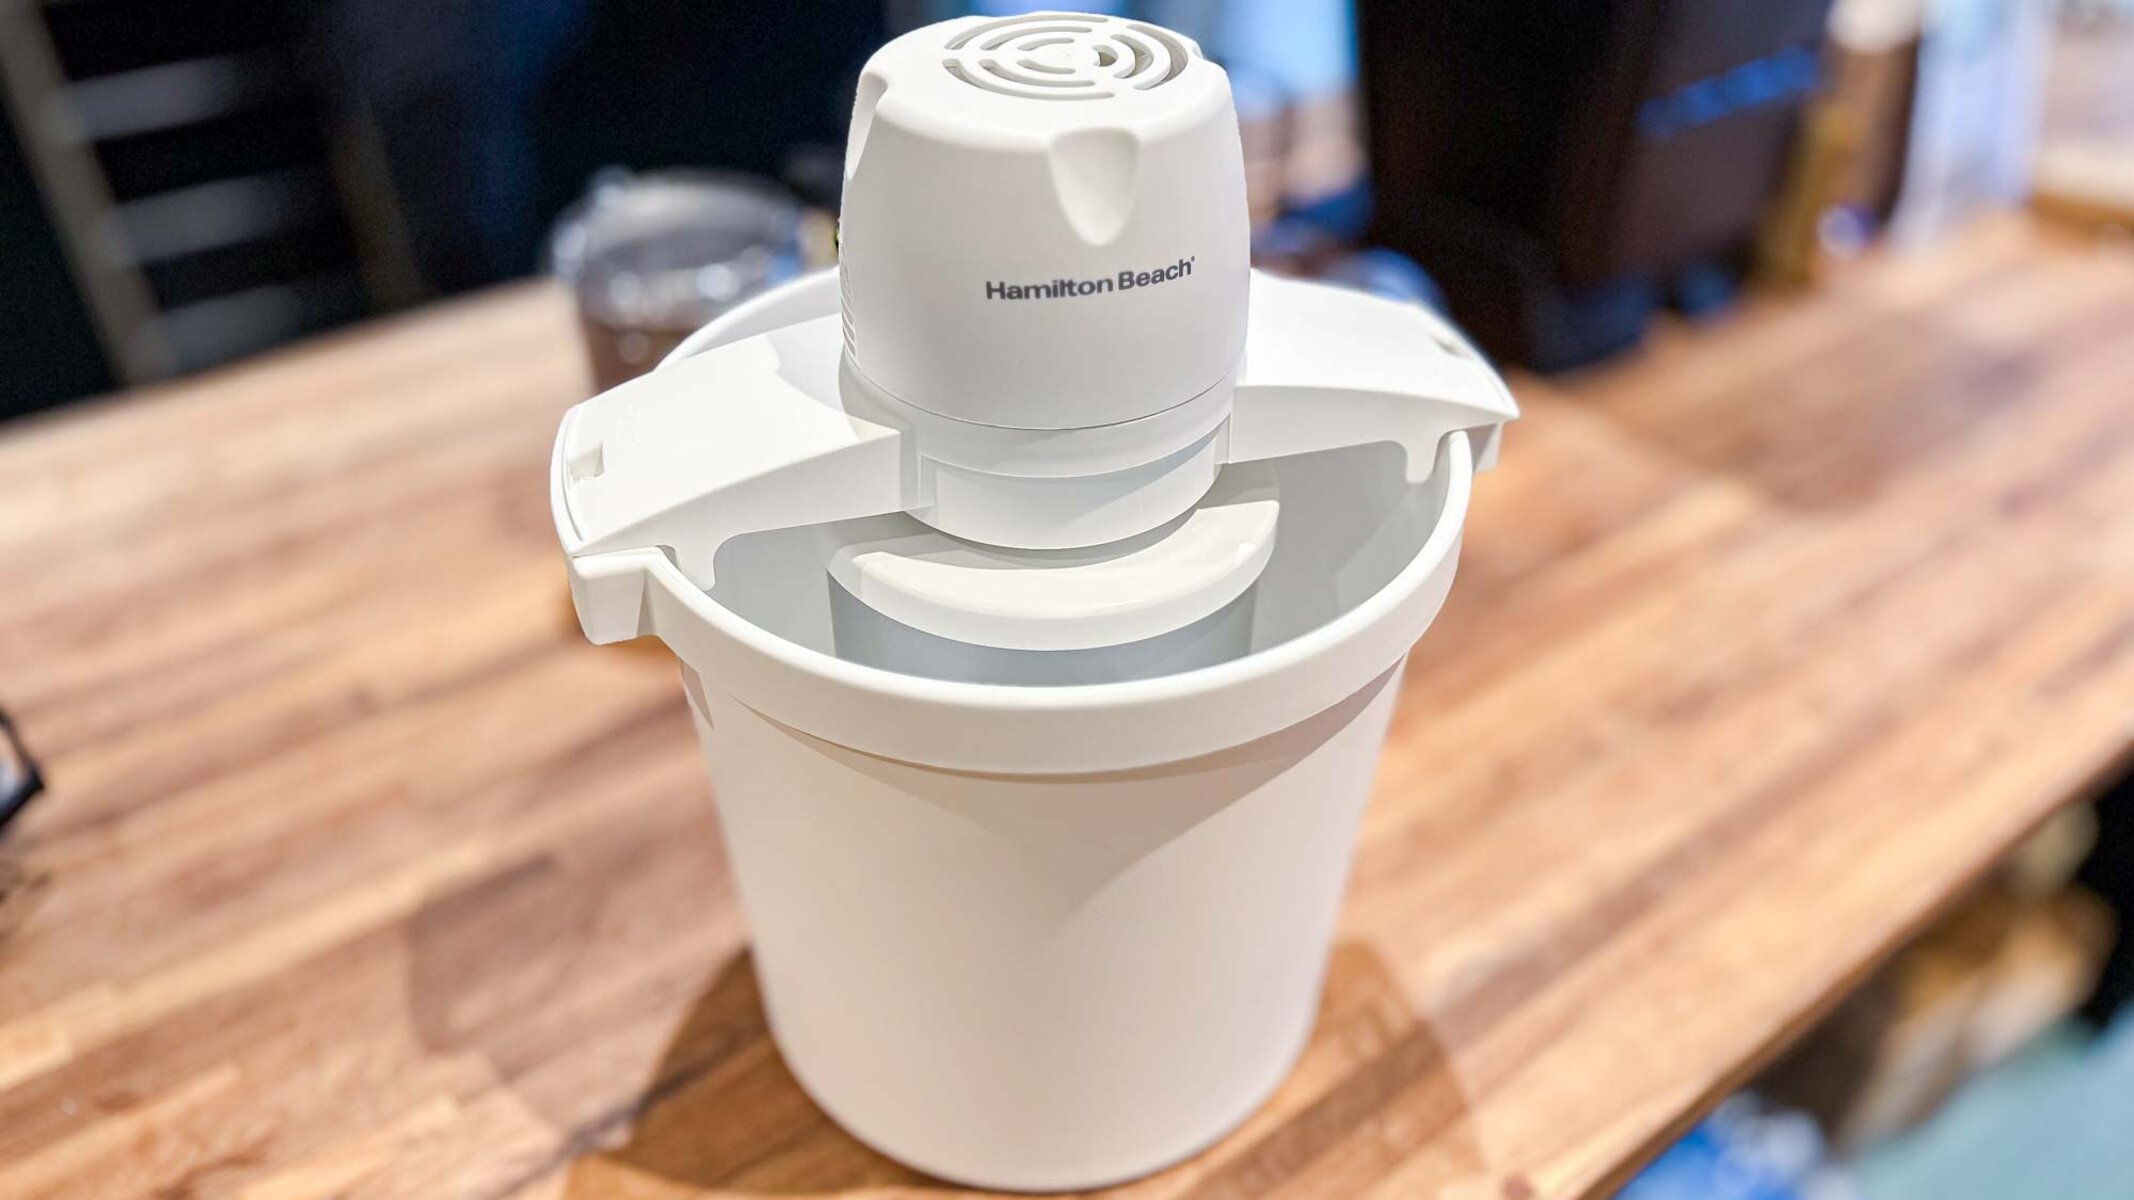
First and foremost, consider the type of ice cream maker that suits your needs. There are two main types: freezer bowl ice cream makers and compressor ice cream makers. Freezer bowl ice cream makers require you to pre-freeze the bowl before using it, while compressor ice cream makers have a built-in freezer that doesn’t need any pre-freezing. If you’re someone who enjoys making ice cream frequently, a compressor ice cream maker might be a better choice as it allows for continuous batches without waiting for the bowl to refreeze.
Next, think about the capacity of the ice cream maker. If you’re planning to make ice cream for a large group or have a big family, a machine with a bigger capacity will be more suitable. On the other hand, if you’re only making smaller batches for personal consumption or have limited kitchen space, a smaller capacity ice cream maker would be more practical.
Consider the features and functions of the machine as well. Some ice cream makers have additional settings that allow you to make other frozen treats like sorbet or frozen yogurt. Others have digital timers or built-in noise reduction technology. Think about what features are most important to you and choose a machine that meets your requirements.
It’s also worth considering the ease of use and clean-up process. Look for intuitive controls, easy assembly, and a machine that is easy to clean. Removable parts and dishwasher-safe components can make your ice cream making experience more convenient.
Lastly, consider your budget. Ice cream makers come in a range of prices, so determine how much you’re willing to spend. Keep in mind that a higher price doesn’t always guarantee better quality, so read reviews and compare different models to find the best value for your money.
By considering these factors, you can find the perfect home ice cream maker that suits your needs and preferences. Once you have your ice cream maker, it’s time to gather the ingredients and start creating your delicious soft serve ice cream!
Preparing the Ingredients
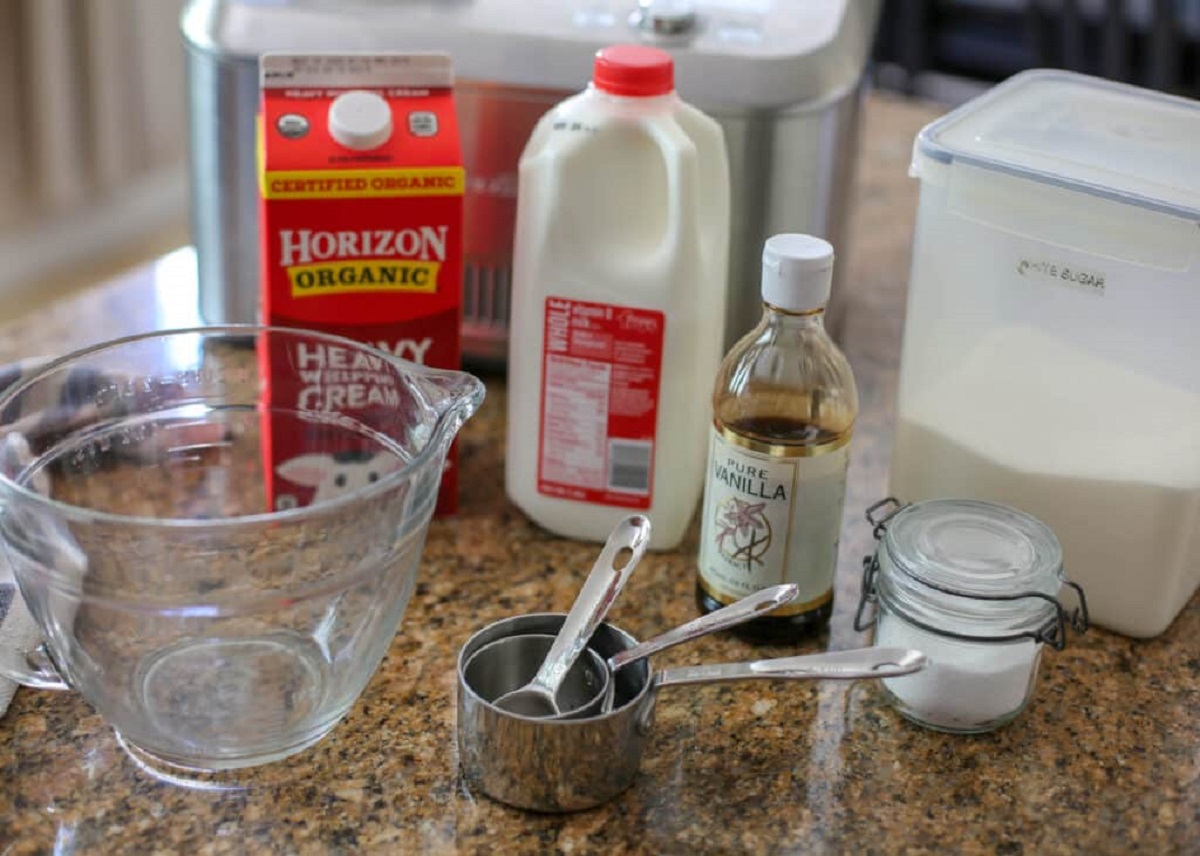
Before you embark on your soft serve ice cream adventure, it’s important to gather and prepare all the necessary ingredients. The quality and freshness of your ingredients will greatly impact the taste and texture of your homemade ice cream.
First and foremost, you’ll need high-quality dairy products. Opt for whole milk and heavy cream to achieve that luxurious, creamy texture. Avoid using low-fat or skimmed milk as they can result in a less creamy consistency.
Next, you’ll need sugar to sweeten your ice cream. Granulated sugar works well, but you can also experiment with alternative sweeteners like honey, maple syrup, or even agave nectar. Adjust the amount of sugar based on your taste preferences and the sweetness of your mix-ins.
To add flavor and depth to your soft serve ice cream, you can use extracts such as vanilla, almond, or mint. These extracts add a delightful aroma that enhances the overall taste experience. Additionally, you can incorporate cocoa powder or melted chocolate for chocolate-flavored ice cream.
If you’re feeling adventurous, consider adding mix-ins to your ice cream. Chopped nuts, chocolate chips, cookie dough chunks, fruit purees, or crushed cookies can take your soft serve to a whole new level. Be sure to prepare these mix-ins ahead of time by chopping, grating, or crushing them into small, bite-sized pieces.
Lastly, don’t forget about the little bit of acidity that helps balance the sweetness and enhances the creaminess of your ice cream. A squeeze of lemon juice or a splash of apple cider vinegar can do wonders for the overall flavor profile.
When preparing your ingredients, it’s important to ensure that they are properly chilled. Keeping the dairy products and mix-ins refrigerated until ready to use will help maintain the ideal temperature for the ice cream making process.
Gather all your ingredients and have them measured and prepared before moving on to the actual ice cream making process. Having everything organized and ready to go will make the process smoother and more enjoyable.
Now that you have your ingredients prepared, it’s time to dive into creating the perfect base mixture for your soft serve ice cream!
Creating the Base Mixture
The base mixture is the heart and soul of any soft serve ice cream. It provides the creamy, smooth, and rich texture that we all love. Creating the perfect base mixture requires precise measurements and a few simple steps.
To start, combine the whole milk and heavy cream in a saucepan over medium heat. Heat the mixture until it reaches a gentle simmer, but be careful not to let it boil. Stir occasionally to prevent scorching.
Once the mixture is simmering, it’s time to add the sweetener. Gradually sprinkle in the granulated sugar while whisking continuously. Keep whisking until the sugar is completely dissolved and the mixture is smooth and well combined. This will ensure a consistent sweetness throughout the ice cream.
Next, it’s time to incorporate flavorings. If you’re making classic vanilla ice cream, add a splash of vanilla extract and whisk it into the base mixture. For other flavors, such as chocolate or mint, add cocoa powder or mint extract accordingly. Adjust the amount based on your desired intensity of flavor.
Whisk the base mixture until all the flavorings are fully incorporated. At this stage, you can also add a pinch of salt to enhance the overall taste and balance out the sweetness.
Once the mixture is well combined, remove the saucepan from the heat and let it cool to room temperature. To speed up the cooling process, you can place the saucepan in an ice bath and gently stir the mixture until it reaches the desired temperature. Cooling the mixture is essential for achieving the smooth and velvety texture of soft serve ice cream.
Once the base mixture has cooled, cover the saucepan with plastic wrap and refrigerate it for at least 4 hours or overnight. Chilling the mixture allows the flavors to blend together and helps to achieve the perfect consistency when churning it in the ice cream maker.
Now that your base mixture is ready and chilled, it’s time to move on to the next step: using the home ice cream maker to turn it into irresistible soft serve ice cream.
Chilling and Aging the Mixture
After creating the base mixture for your soft serve ice cream, it’s important to chill and age it before moving on to the next steps. Chilling and aging the mixture allows the flavors to develop further, resulting in a smoother and more flavorful ice cream.
Start by transferring the base mixture to a lidded container or a bowl covered tightly with plastic wrap. This will prevent any unwanted flavors or odors from seeping into the mixture. Place the container in the refrigerator and let it chill for a minimum of 4 hours, or preferably overnight.
During the chilling process, the mixture will thicken and the flavors will meld together. It’s important to chill the mixture thoroughly to achieve optimal results when churning it in the ice cream maker.
Additionally, aging the mixture can further enhance the texture and taste of the ice cream. Aging allows the proteins and fats in the mixture to break down, resulting in a smoother and creamier consistency. If time permits, consider aging the mixture for an additional 4 to 6 hours in the refrigerator after it has chilled.
While chilling and aging, it’s important to keep the mixture away from strong-smelling foods in the refrigerator, as it can absorb unwanted flavors. Place it in an area where it won’t come into contact with potent odors.
Once the mixture has chilled and aged, it’s time to unleash your inner ice cream aficionado and take your homemade soft serve to the next level. With the base mixture ready, it’s time to use the power of the ice cream maker to transform it into a delightful frozen treat.
Using the Ice Cream Maker
Now that your base mixture has been chilled and aged, it’s time to use your home ice cream maker to turn it into a luscious soft serve ice cream. The ice cream maker will churn the mixture, incorporating air and freezing it simultaneously to create that signature light and creamy texture.
Start by setting up your ice cream maker according to the manufacturer’s instructions. Make sure the freezing bowl is properly frozen if using a freezer bowl ice cream maker, or ensure that the compressor ice cream maker is powered on and ready to go.
Once your ice cream maker is ready, give your chilled base mixture a good stir to ensure it’s well mixed. Then, pour the mixture into the ice cream maker’s freezing bowl, making sure not to overfill it as the mixture will expand during churning.
Turn on the ice cream maker and let it churn the mixture for the recommended amount of time, usually around 20 to 30 minutes. The churning process will incorporate air into the mixture, creating a light and airy texture.
As the ice cream churns, you’ll notice the mixture gradually thickening and freezing. Be sure to monitor the process and check the consistency periodically. The ice cream is ready when it reaches a soft serve consistency – thick enough to hold its shape, but still soft and creamy.
Once the soft serve texture is achieved, it’s time to stop the machine. Be careful not to over-churn, as this can lead to a dense and icy texture. Remove the freezing bowl from the machine and transfer the soft serve ice cream to a lidded container.
If you prefer a firmer texture, you can further freeze the ice cream in the freezer for an additional few hours. However, keep in mind that soft serve ice cream is meant to be enjoyed immediately after churning for its creamy and soft consistency.
Congratulations! You’ve successfully transformed your base mixture into a delightful soft serve ice cream using your home ice cream maker. Now it’s time to get creative and add some exciting mix-ins and flavors to take your soft serve to the next level.
Adding Mix-ins and Flavors
Now that you have freshly churned soft serve ice cream, it’s time to unleash your creativity and add a variety of mix-ins and flavors to take it to the next level. This is where you can truly customize your ice cream and make it uniquely yours.
Start by preparing your mix-ins. Whether it’s crushed oreos, chocolate chunks, fresh fruits, or caramel swirls, the possibilities are endless. Make sure your mix-ins are chopped or prepared into small, bite-sized pieces to ensure even distribution throughout the ice cream.
Once your mix-ins are ready, remove the soft serve ice cream from the ice cream maker and transfer it to a large mixing bowl. Add your desired mix-ins and gently fold them into the ice cream using a spatula or a spoon. Be careful not to overmix, as this can cause the ice cream to lose its creamy texture.
If you want to add an extra burst of flavor, consider incorporating additional extracts or spices. For example, a dash of peppermint extract can elevate your mint chocolate chip ice cream, or a sprinkle of cinnamon can enhance the flavor of your caramel swirl.
Get creative with flavor combinations and textures. You can create a tropical delight by adding crushed pineapple and shredded coconut to your vanilla base, or satisfy your sweet tooth by mixing in chunks of brownies or cookie dough.
Remember to be mindful of the amount of mix-ins you add. While they can enhance the taste and texture of the ice cream, adding too many can overwhelm the base and make it difficult to achieve a smooth consistency. Start with a small amount and adjust to your preference.
Once your mix-ins and flavors are incorporated, transfer the ice cream back to a lidded container and freeze it for at least 2 hours, or until it reaches your desired firmness. This will allow the flavors to meld together and the ice cream to set.
When serving, consider topping your soft serve ice cream with a drizzle of chocolate sauce, caramel, or whipped cream for an extra indulgent treat. Don’t forget to garnish with some sprinkles, nuts, or fresh fruits for added visual appeal.
Your soft serve ice cream is now ready to be enjoyed! Whether you serve it in a bowl, a cone, or even between two cookies for a homemade ice cream sandwich, it’s sure to be a delicious and satisfying delight.
Now that you know how to add mix-ins and flavors, it’s time to achieve that perfect soft serve consistency for your homemade ice cream.
Achieving a Soft Serve Consistency
One of the defining characteristics of soft serve ice cream is its smooth and creamy texture. Achieving the perfect soft serve consistency can be done by following a few simple tips and techniques.
An important factor in achieving a soft serve consistency is the duration of churning in the ice cream maker. It’s crucial not to over-churn the ice cream as it can result in a dense and icy texture. Pay close attention to the recommended churning time provided by your ice cream maker’s instructions and stop the machine once the ice cream reaches a soft, creamy consistency.
After churning, transfer the ice cream to a lidded container and place it in the freezer for a couple of hours to allow it to firm up slightly. This step is important as it helps the ice cream hold its shape when served, yet still maintains the desired softness.
Another technique to achieve a soft serve consistency is to adjust the amount of fat in the base mixture. Adding a higher proportion of heavy cream to the mixture can result in a richer and creamier texture. However, be cautious not to exceed the recommended ratio, as too much fat can lead to an overly soft and melting ice cream.
Chilling and aging the base mixture properly also plays a role in obtaining the desired consistency. Cooling the mixture in the refrigerator for an adequate amount of time allows the flavors to meld together and the ice cream to develop a smooth texture.
When serving the soft serve ice cream, it’s important to use chilled bowls or cones. The warmth from room-temperature serving vessels can cause the ice cream to melt quickly, compromising its soft serve texture.
Lastly, be mindful of the storage time of your homemade soft serve ice cream. While it’s best enjoyed shortly after being prepared, if you need to store it for longer periods, ensure it is kept in an airtight container to prevent the formation of ice crystals. When serving from storage, allow the ice cream to soften at room temperature for a few minutes before scooping.
By following these tips and techniques, you can achieve the delightful soft serve consistency that we all crave. So, get ready to indulge in a creamy and velvety soft serve ice cream experience right in the comfort of your own home!
Storing and Serving Soft Serve Ice Cream
Once you’ve made your delicious homemade soft serve ice cream, it’s important to know how to store and serve it properly to maintain its flavor and texture. Here are some tips to ensure your homemade treat stays fresh and enjoyable:
First, transfer any leftover soft serve ice cream into an airtight container. This will help prevent the formation of ice crystals and keep your ice cream creamy and smooth. Make sure the container is well-sealed to avoid any unwanted odors or flavors from other foods in the freezer.
Store the ice cream in the coldest part of your freezer, such as the back or bottom shelf. Freezers often have warmer spots near the door, which can cause the ice cream to soften and deteriorate in quality more quickly.
When it’s time to serve the soft serve ice cream, remember to let it thaw for a few minutes before scooping. This will allow the ice cream to soften slightly and make it easier to achieve that perfect soft and creamy consistency.
For serving, use chilled bowls or cones to help maintain the soft serve texture for longer. Cold temperatures will slow down the melting process, allowing you to savor the creamy goodness for a little bit longer.
If desired, you can also add some extra toppings to your soft serve ice cream for an extra burst of flavor and texture. Sprinkles, cookie crumbles, chocolate sauce, or fresh fruit are all great options to enhance your ice cream experience.
When serving the ice cream in a cone, consider placing a small scoop of chocolate or caramel sauce at the bottom of the cone before adding the soft serve. This helps to prevent the cone from becoming soggy as the ice cream melts.
Remember to enjoy your soft serve ice cream promptly once served. Soft serve ice cream tends to melt faster than regular ice cream due to its lower fat content and higher air incorporation. So, savor the creamy goodness before it turns into a delicious puddle.
If you have leftovers that can’t be finished in one sitting, make sure to return them to the freezer promptly. Soft serve ice cream is best consumed within a few days of being made to maintain its quality.
By following these guidelines for storing and serving soft serve ice cream, you can enjoy the delightful taste and texture of your homemade treat for as long as possible.
Conclusion
Congratulations! You have successfully learned the art of making soft serve ice cream in a home ice cream maker. By following the step-by-step process outlined in this guide, you can now indulge in creamy and delicious soft serve ice cream right in the comfort of your own kitchen.
From choosing the right home ice cream maker to preparing the ingredients and creating the base mixture, you have acquired the knowledge and skills needed to make a delectable treat. Adding mix-ins and flavors allows you to customize your ice cream and create unique flavor combinations that cater to your taste preferences.
Remember the importance of achieving a soft serve consistency by properly churning the ice cream, using the right ingredients, and understanding how to store and serve it. These elements are essential for achieving that smooth and velvety texture that makes soft serve ice cream so irresistible.
With your newfound skills, you can unleash your creativity and experiment with various flavors, mix-ins, and toppings to create your signature soft serve ice cream creations. Whether it’s a classic vanilla, a refreshing fruit medley, or a decadent chocolate fudge, the possibilities are endless.
Now, it’s time to enjoy the fruits of your labor. Gather your loved ones, grab a cone or bowl, and savor the creamy goodness of your homemade soft serve ice cream. Indulging in a cool and refreshing treat has never been more rewarding!
So, put your newfound knowledge to use and let the sweet journey of making soft serve ice cream in a home ice cream maker begin!