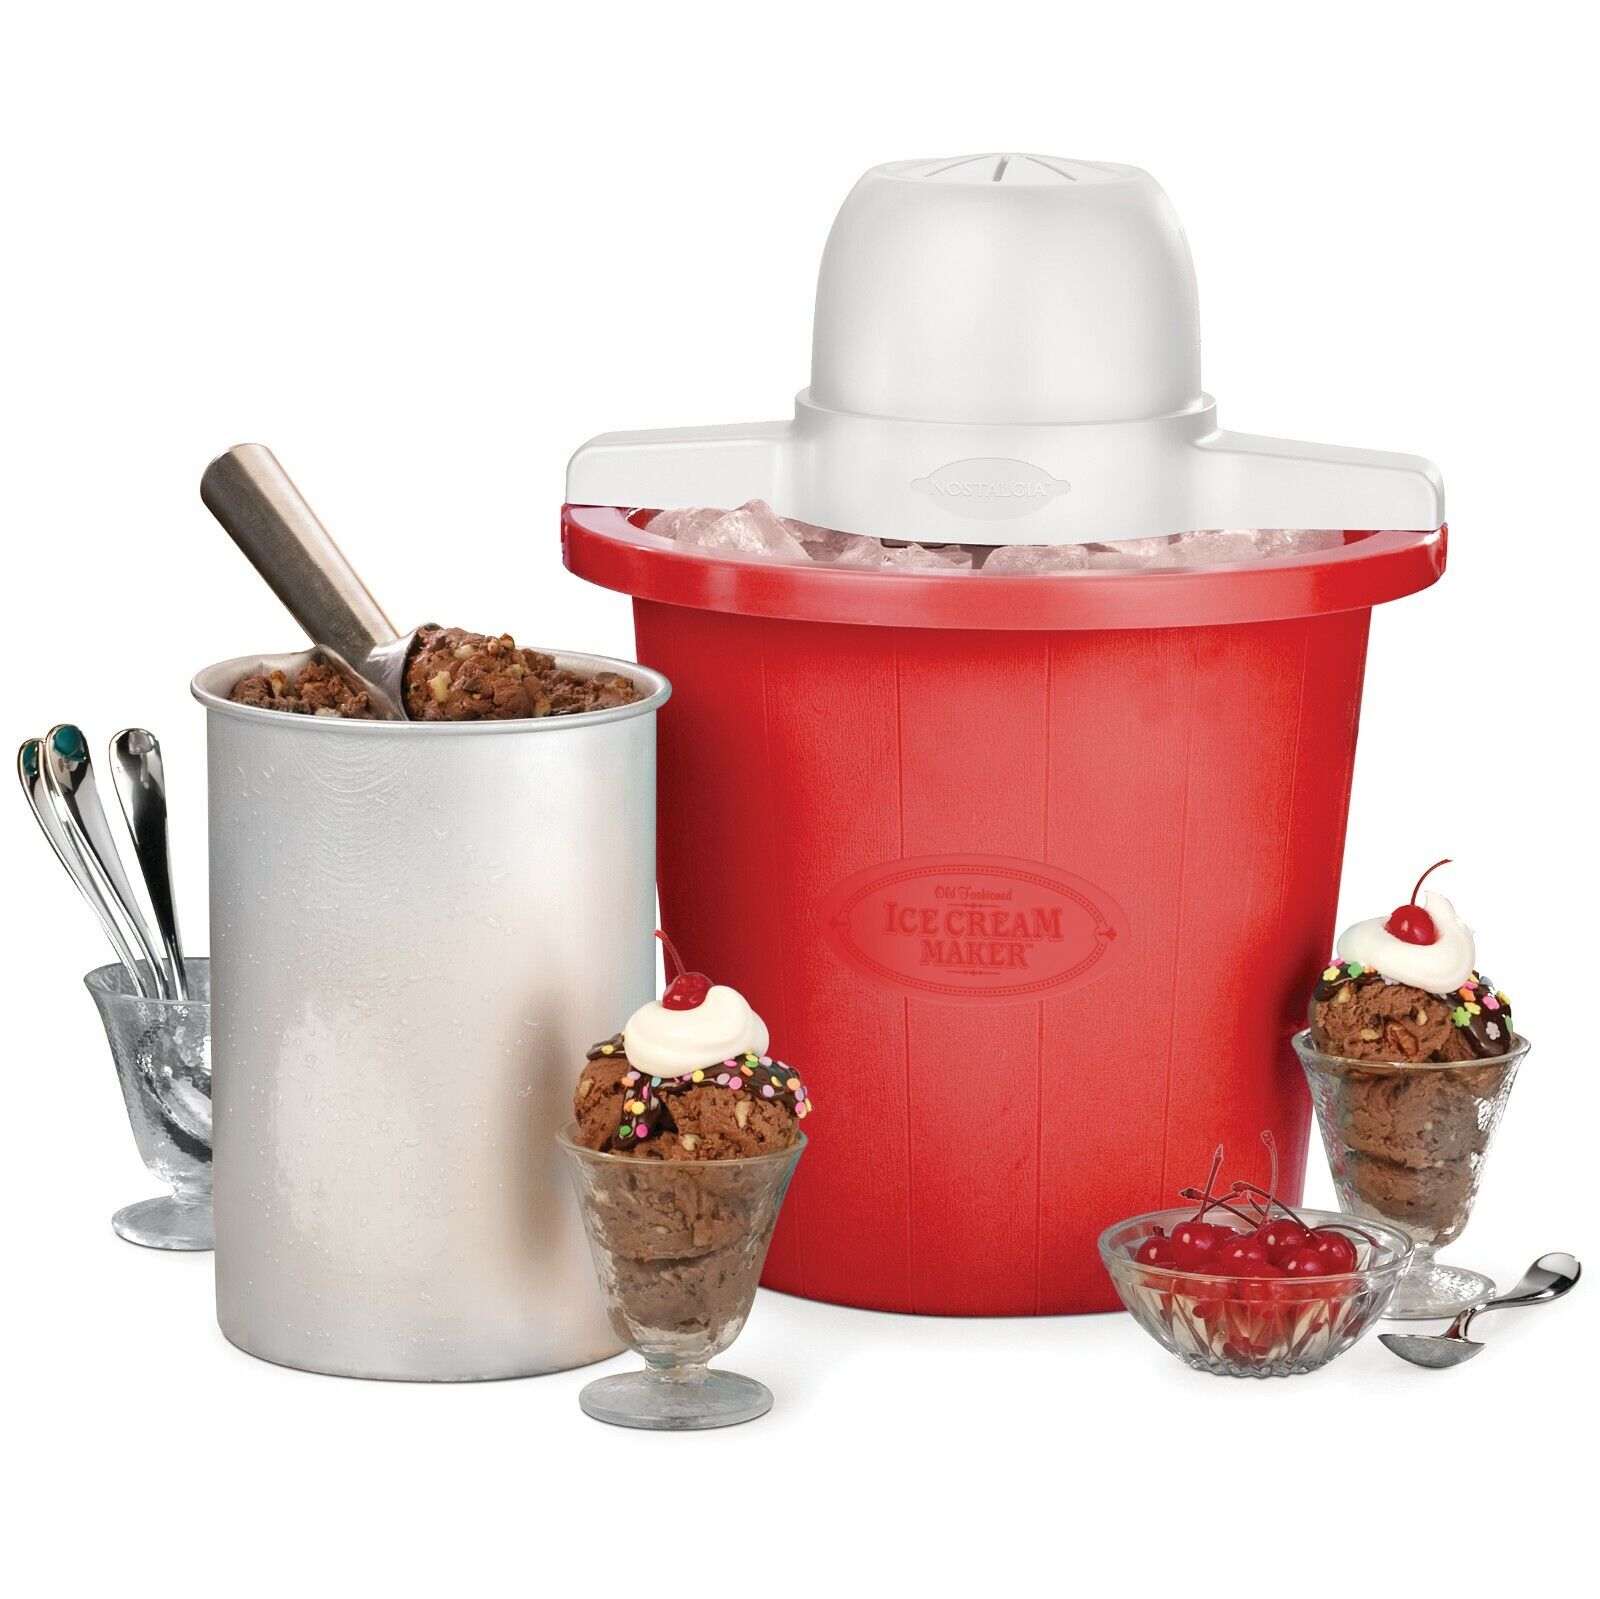
Introduction
Welcome to the delicious world of homemade ice cream! Making your own ice cream is a rewarding and fun activity, especially when you have a Sunbeam Ice Cream Maker 2 Qt. With this easy-to-use machine, you can enjoy the creamy goodness of homemade ice cream whenever you want. Whether you’re craving classic flavors like vanilla or chocolate, or you’re feeling adventurous and want to try unique combinations, the Sunbeam Ice Cream Maker 2 Qt is here to fulfill your frozen dessert dreams.
Creating your own ice cream allows you to control the ingredients that go into your frozen treat. You can choose high-quality dairy products, fresh fruits, and indulge in your favorite mix-ins. Plus, you can experiment with different flavors, textures, and combinations that you won’t find in store-bought ice cream.
In this step-by-step guide, we’ll walk you through the process of making ice cream using a Sunbeam Ice Cream Maker 2 Qt. You’ll learn how to prepare the machine, make the ice cream mixture, and churn it to perfection. We’ll also share tips on adding mix-ins and storing your homemade ice cream for future enjoyment.
So, gather your ingredients, put on your apron, and let’s get ready to make some delicious homemade ice cream with the Sunbeam Ice Cream Maker 2 Qt!
Ingredients Needed
Before we dive into the process of making ice cream in a Sunbeam Ice Cream Maker 2 Qt, let’s gather the ingredients you’ll need to create this delightful frozen treat:
- 2 cups of heavy cream
- 1 cup of whole milk
- 3/4 cup of granulated sugar
- 1 tablespoon of pure vanilla extract
- A pinch of salt
- Desired mix-ins (such as chocolate chips, crushed cookies, or fruit)
These ingredients are the basic foundation for a creamy and flavorful ice cream. The heavy cream is responsible for the rich and smooth texture, while the whole milk adds a lighter touch. The granulated sugar provides sweetness, and the vanilla extract adds a delightful aroma. The pinch of salt enhances the flavors and balances the sweetness.
Feel free to get creative with your mix-ins! Whether you love the classic combination of chocolate chips or you want to add a fruity twist with some fresh berries, the choice is yours. Just make sure to have them prepped and ready before you start making the ice cream.
Now that you have all the ingredients on hand, it’s time to move on to the next steps and start making your homemade ice cream in the Sunbeam Ice Cream Maker 2 Qt.
Step 1: Preparing the Ice Cream Maker
Before you can make delicious ice cream, it’s essential to properly prepare your Sunbeam Ice Cream Maker 2 Qt. Follow these steps to ensure your machine is ready to churn out frozen goodness:
- Remove all the parts of the ice cream maker from the box and wash them with warm, soapy water. Rinse thoroughly and dry them completely.
- Place the base of the ice cream maker on a flat, stable surface. Make sure it is clean and dry.
- Insert the paddle into the center of the base, ensuring it fits securely.
- Take the freezer canister and wash it with warm, soapy water. Rinse it thoroughly and dry it completely.
- Once the freezer canister is dry, place it in the freezer. Allow it to freeze for at least 24 hours before using it for the best results.
Properly cleaning and freezing the components of your ice cream maker is crucial for achieving the desired texture and consistency of your homemade ice cream. The frozen canister will help freeze the ice cream mixture properly during the churning process.
It’s also important to read the instruction manual provided with your Sunbeam Ice Cream Maker 2 Qt to familiarize yourself with any specific care and handling guidelines.
Now that your ice cream maker is prepared and ready, it’s time to move on to the next step: making the ice cream mixture!
Step 2: Making the Ice Cream Mixture
Now that your Sunbeam Ice Cream Maker 2 Qt is fully prepared, it’s time to create the delicious ice cream mixture. Follow these steps to make the perfect base for your homemade ice cream:
- In a mixing bowl, combine the heavy cream and whole milk. Whisk them together until well blended.
- Add the granulated sugar to the milk and cream mixture. Whisk until the sugar is completely dissolved.
- Add the pure vanilla extract to the mixture, followed by a pinch of salt. Whisk everything together until well combined.
Whisking the ingredients ensures that they are evenly distributed throughout the mixture, giving your ice cream a consistent flavor and texture.
At this point, your ice cream mixture is complete. It should have a smooth and creamy consistency with a sweet vanilla flavor. If you want to experiment with different flavors, you can add extracts, cocoa powder, or other flavorings to the base mixture.
Once your ice cream mixture is ready, it’s time to move on to the next step: chilling the mixture before churning it in the ice cream maker.
Step 3: Chilling the Mixture
Before you can churn your ice cream in the Sunbeam Ice Cream Maker 2 Qt, it’s important to chill the mixture. This step helps the flavors meld together and ensures a smoother freezing process. Follow these steps to chill your ice cream mixture:
- Cover the bowl with plastic wrap or transfer the mixture to an airtight container.
- Place the covered bowl or container in the refrigerator.
- Allow the ice cream mixture to chill for at least 2-4 hours, or preferably overnight.
Chilling the mixture is crucial as it allows the flavors to develop and enhances the overall taste of the ice cream. It also helps to cool down the mixture, which will make the freezing process more effective once it is transferred to the ice cream maker.
When the ice cream mixture is properly chilled, it will have a thicker consistency, ensuring better texture and mouthfeel in the final product. Taking the time to let the mixture chill will result in a creamier and tastier homemade ice cream.
Once the ice cream mixture has chilled, it’s time to move on to the next step: assembling the ice cream maker for churning.
Step 4: Assembling the Ice Cream Maker
Now that your ice cream mixture is chilled and ready to go, it’s time to assemble your Sunbeam Ice Cream Maker 2 Qt for the churning process. Follow these steps to ensure proper assembly:
- Remove the freezer canister from the freezer and place it onto the base of the ice cream maker.
- Attach the paddle securely onto the motor in the center of the freezer canister.
- Make sure the canister is securely in place and the paddle is positioned correctly.
- Double-check that all the components are properly assembled and fitted together.
It’s important to ensure that the freezer canister is fully frozen and fitted securely into the base. Any loose or improperly assembled parts may result in the ice cream not freezing properly or the machine not operating correctly.
Once you have confirmed that the ice cream maker is properly assembled, it’s time to move on to the next step: adding the chilled ice cream mixture to the machine for churning.
Step 5: Adding the Mixture to the Ice Cream Maker
With your Sunbeam Ice Cream Maker 2 Qt properly assembled, it’s time to add the chilled ice cream mixture to the machine and start the churning process. Follow these steps to add the mixture:
- Remove the lid of the ice cream maker.
- Pour the chilled ice cream mixture into the canister of the ice cream maker.
- Make sure not to overfill the canister, as the mixture will expand as it freezes.
- Replace the lid of the ice cream maker, ensuring it is tightly secured.
Adding the ice cream mixture to the canister is an exciting step, as you are one step closer to enjoying your homemade ice cream. Make sure to pour the mixture carefully to avoid any spills or overflowing.
Remember that the ice cream mixture will expand as it freezes, so leaving some room at the top of the canister is important to prevent any overflow during the churning process.
Once the mixture is securely added to the ice cream maker, it’s time to move on to the next step: churning the ice cream to perfection!
Step 6: Churning the Ice Cream
Now comes the exciting part – churning the ice cream in your Sunbeam Ice Cream Maker 2 Qt! Follow these steps to achieve the perfect creamy consistency:
- Plug in the ice cream maker and ensure it is properly connected.
- Turn on the machine and set the timer according to the manufacturer’s instructions.
- Allow the ice cream maker to churn for about 20-30 minutes, or until the mixture reaches a thick and creamy consistency.
- Keep an eye on the ice cream throughout the churning process, as it may vary depending on the machine and the temperature of the room.
During the churning process, the paddle will rotate, incorporating air into the mixture while freezing it. This action helps break down ice crystals and creates a smooth and creamy texture.
While the ice cream is churning, you might notice that the mixture starts to increase in volume and resemble soft-serve ice cream. This indicates that your homemade treat is well on its way to perfection.
Once the ice cream has reached the desired consistency, turn off the ice cream maker and get ready to add any mix-ins you desire. Adding mix-ins can add extra flavor and texture to your ice cream, taking it to a whole new level of deliciousness.
Now that your ice cream is churned to perfection, it’s time to move on to the next step: adding mix-ins (if desired)!
Step 7: Adding Mix-ins (Optional)
Adding mix-ins to your homemade ice cream is a great way to customize the flavors and add extra deliciousness to your frozen treat. Whether you prefer chocolate chunks, crushed cookies, or swirls of fruit, this step allows you to get creative. Follow these steps to incorporate mix-ins into your ice cream:
- Pause the ice cream maker and remove the lid.
- Add your desired mix-ins to the ice cream mixture.
- Gently fold the mix-ins into the ice cream using a spatula or spoon.
- Make sure to distribute the mix-ins evenly throughout the ice cream mixture.
When adding mix-ins, be mindful not to overmix, as it can cause the ice cream to become less creamy. The goal is to have a well-distributed consistency with pockets of delicious mix-ins throughout.
Some popular mix-in ideas include chocolate chips, crushed cookies, nuts, sprinkles, fresh fruit, or sauces. Consider experimenting with different combinations to create your own unique flavor creations.
Once the mix-ins are incorporated into the ice cream mixture, it’s time to move on to the next step: transferring and freezing the ice cream for further firming up.
Step 8: Transferring and Freezing the Ice Cream
After churning and adding your desired mix-ins, it’s time to transfer the freshly made ice cream to a container and move it to the freezer for further firming up. Follow these steps to ensure your ice cream reaches the perfect consistency:
- Turn off the ice cream maker and remove the canister containing the churned ice cream.
- Using a spatula, transfer the ice cream from the canister into an airtight container.
- Smooth the surface of the ice cream using the spatula, ensuring it is evenly spread.
- Place the lid on the container and seal it tightly to prevent any air from entering.
- Transfer the container to the freezer.
- Allow the ice cream to freeze for at least 2-4 hours, or until it reaches your desired firmness.
Transferring the ice cream to a separate container helps prevent freezer burn and preserves its texture and flavor. Airtight containers also prevent any outside odors from seeping into the ice cream.
Remember that the longer you let the ice cream freeze, the firmer and more solid it will become. If you prefer a softer texture, you can enjoy a scoop or two immediately after churning without transferring it to the freezer.
Now that your ice cream is safely stored in the freezer, it’s time for the final step: serving and enjoying your homemade ice cream!
Step 9: Serving and Enjoying the Homemade Ice Cream
Congratulations! You’ve made it to the final step – serving and indulging in your homemade ice cream. Follow these steps to savor the fruits of your labor:
- Remove the container of frozen ice cream from the freezer and let it sit at room temperature for a few minutes to soften slightly.
- Using an ice cream scoop, portion out desired amounts of ice cream into bowls or cones.
- Garnish with your favorite toppings, such as chocolate sauce, whipped cream, or sprinkles.
- Enjoy your homemade ice cream immediately and savor every delicious bite!
Serving the ice cream at a slightly softened state allows for easier scooping and ensures a creamy consistency. However, if you prefer a firmer texture, you can enjoy it right out of the freezer.
Get creative with your presentation by using fun bowls, colorful cones, or adding extra toppings and sauces. Let your imagination run wild and make your ice cream experience extra special.
Remember to store any remaining ice cream in the freezer for later enjoyment. Properly sealed and stored, your homemade ice cream can last for several weeks, although we suspect it won’t stay uneaten for too long!
Now it’s time to sit back, relax, and revel in the satisfaction of creating delicious homemade ice cream with your Sunbeam Ice Cream Maker 2 Qt.
Conclusion
Congratulations on successfully making your own homemade ice cream using the Sunbeam Ice Cream Maker 2 Qt! By following this step-by-step guide, you have unlocked the joy of creating creamy and flavorful frozen desserts right in your own kitchen.
From preparing the ice cream maker and making the perfect ice cream mixture to churning and adding mix-ins, you’ve learned the essential techniques to achieve delicious results. By taking control of the ingredients and flavors, you can customize your ice cream to your liking.
Remember, making homemade ice cream is a fun and creative process. Feel free to experiment with different flavors, mix-ins, and toppings to create your own signature creations.
Now that you’ve enjoyed the process of making homemade ice cream, it’s time to savor the rewards. Serve up scoops of your delicious creation in bowls or cones, and indulge in the creamy bliss of your homemade treat.
Don’t forget to share your homemade ice cream with friends and loved ones, as it’s guaranteed to bring smiles to their faces. Whether enjoyed on a hot summer day or as a sweet treat year-round, your homemade ice cream is sure to be a hit.
Thank you for joining us on this ice cream-making adventure. We hope you continue to explore the endless possibilities of homemade frozen desserts and create many more delightful ice cream memories with your Sunbeam Ice Cream Maker 2 Qt!


