Introduction
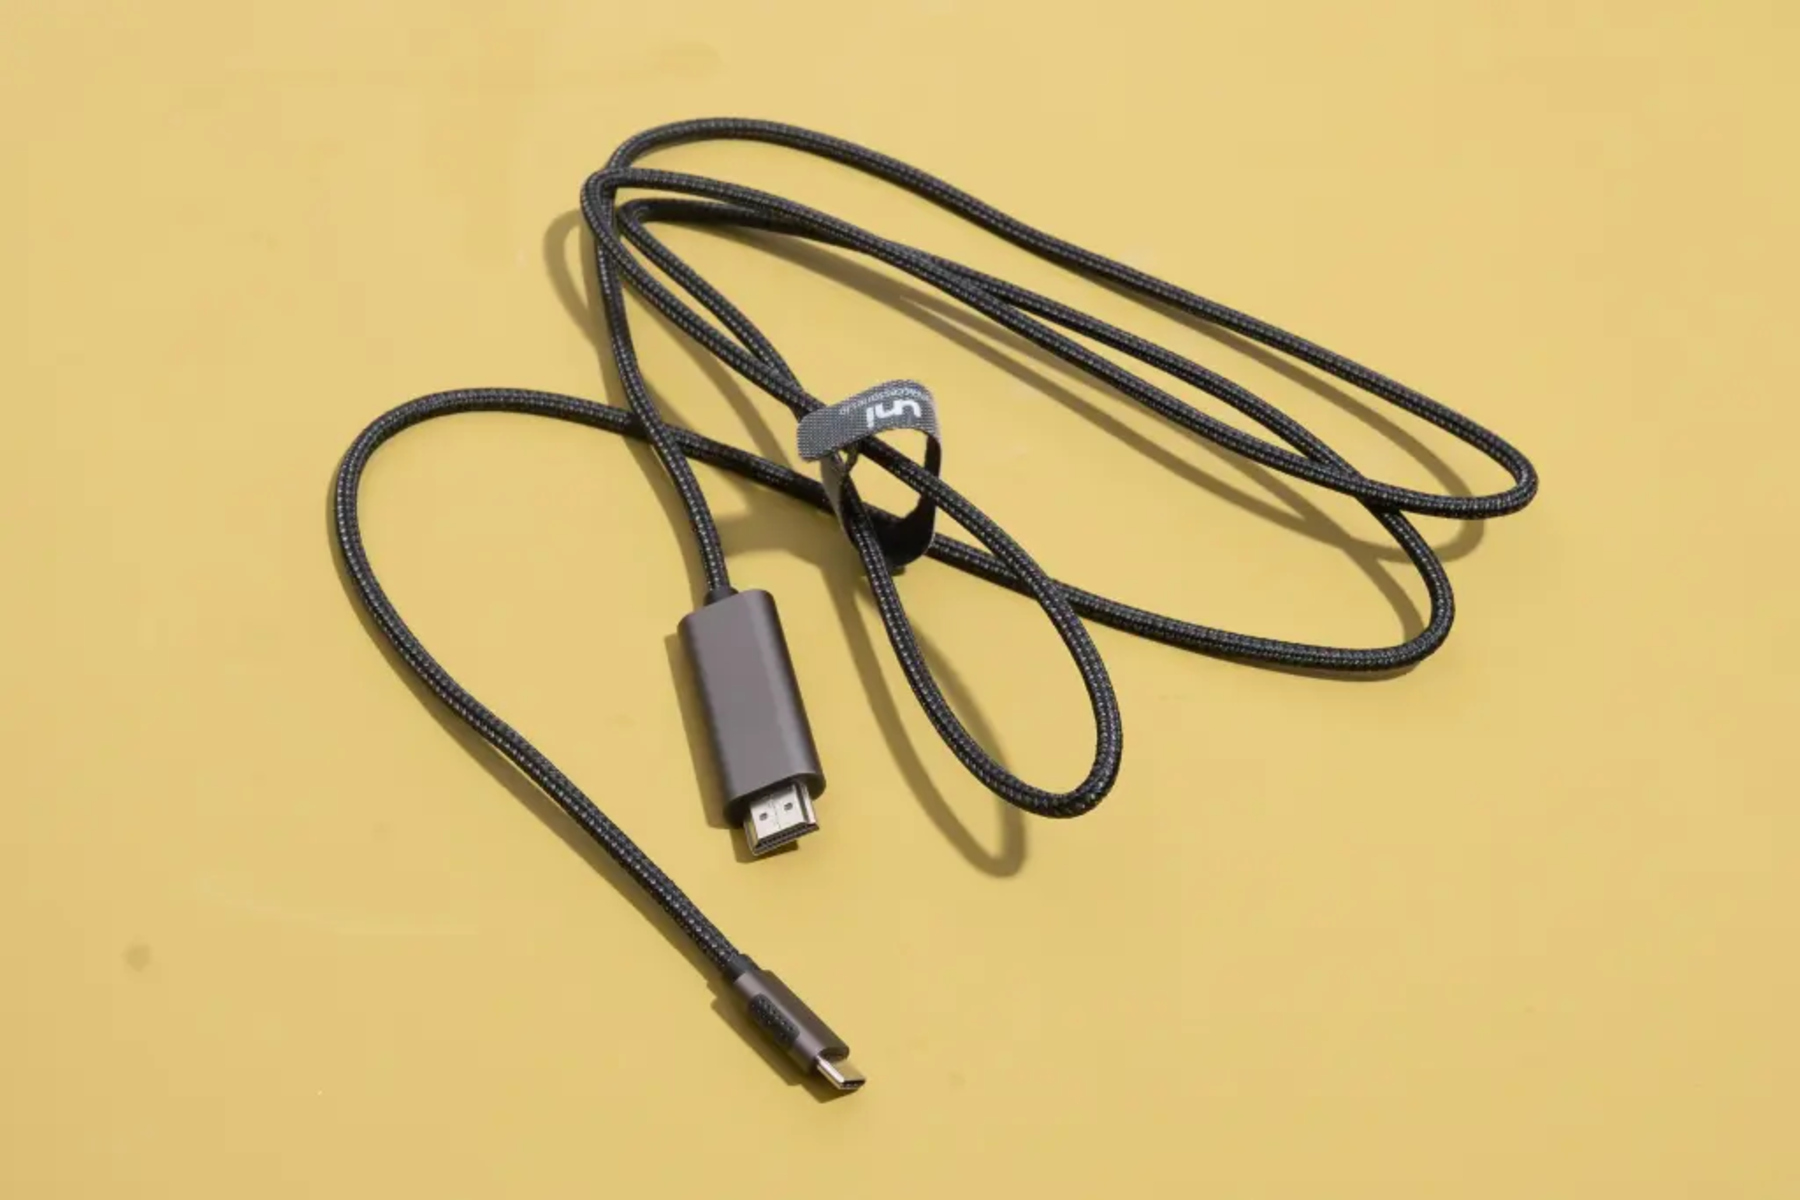
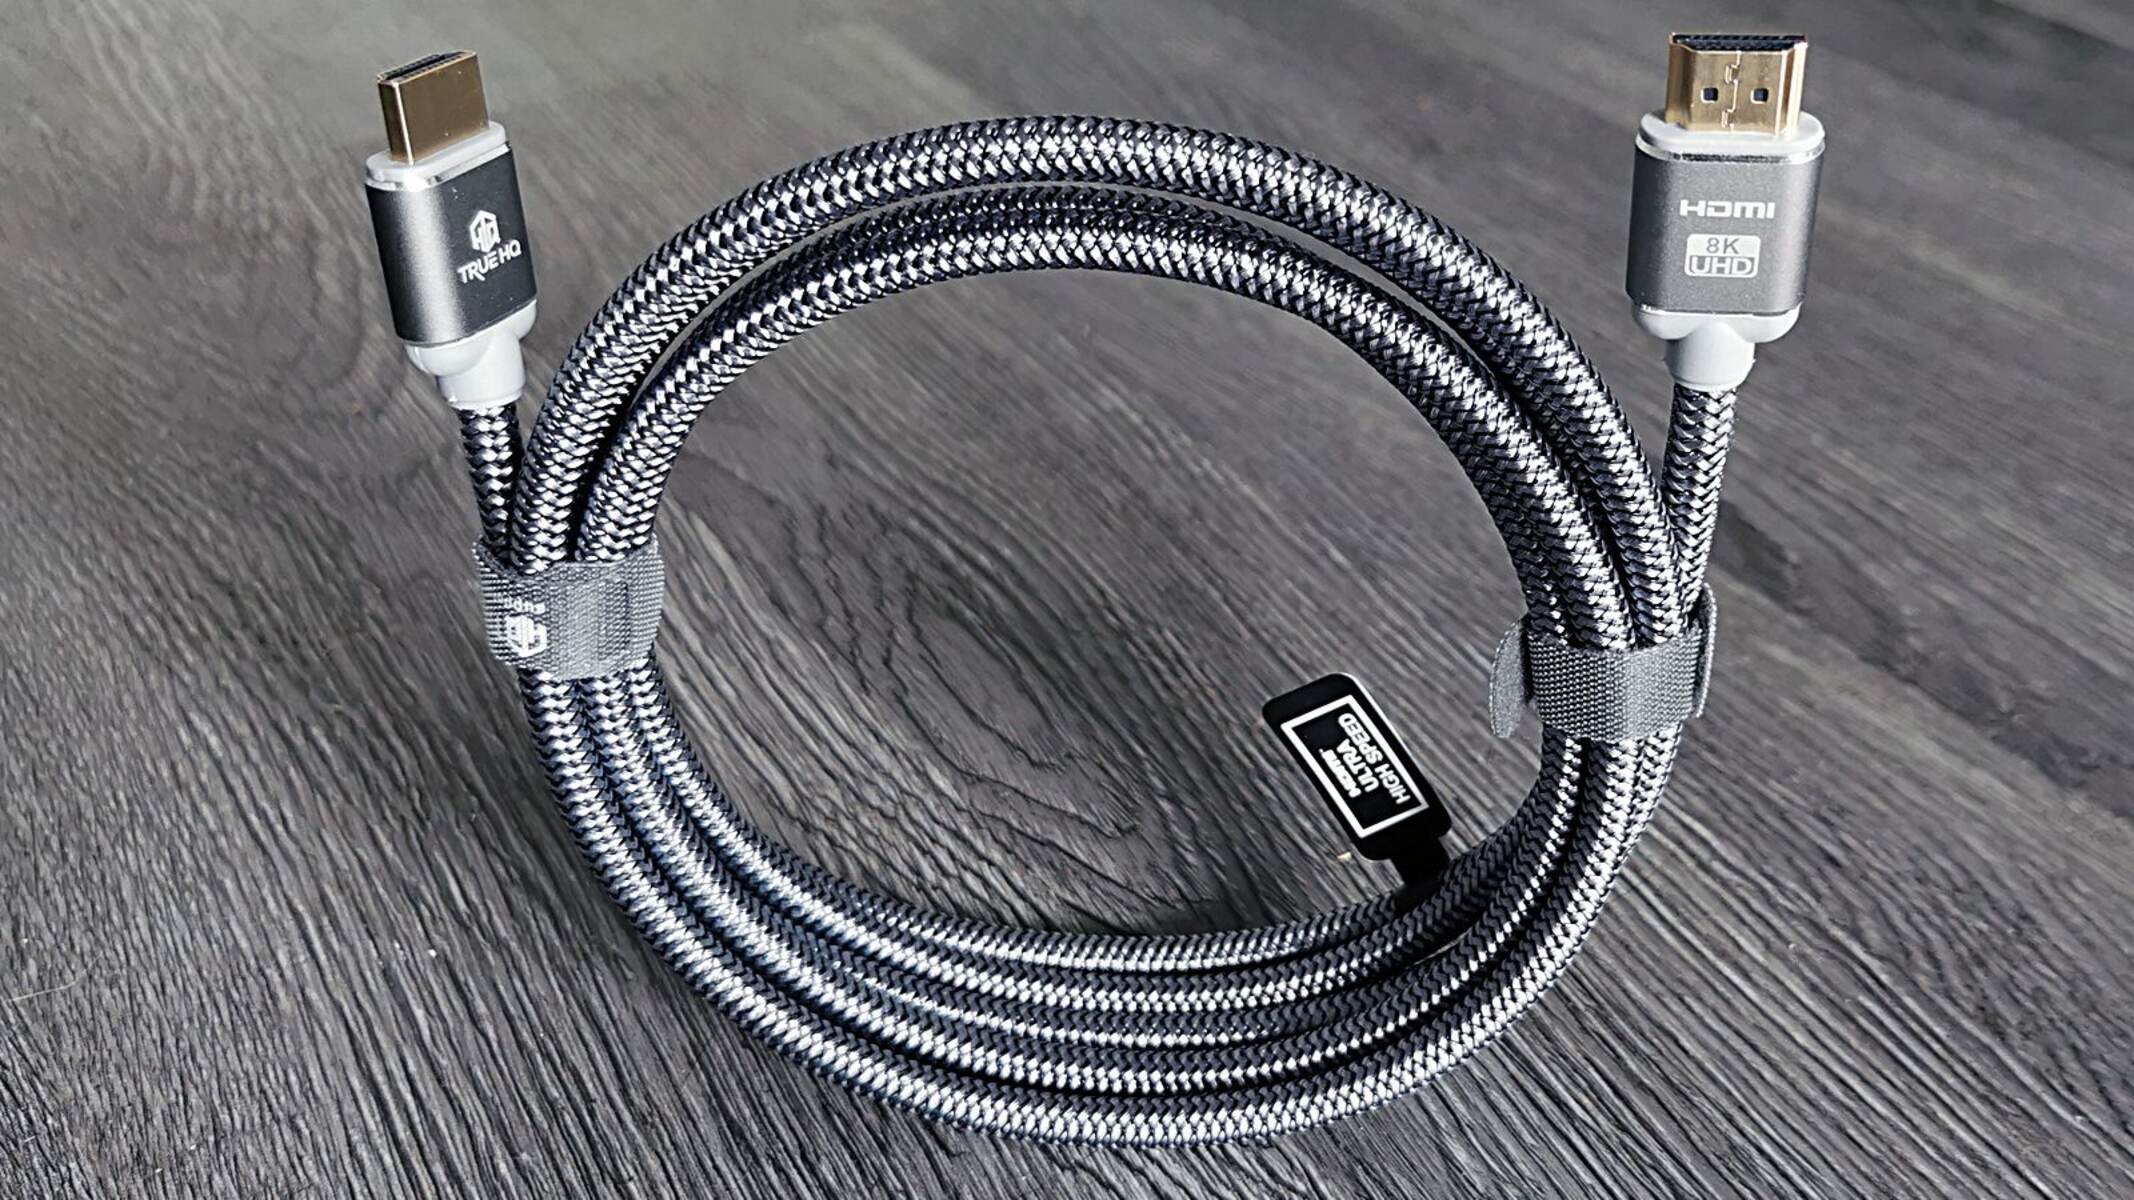
Welcome to this step-by-step guide on how to make an HDMI cable. HDMI (High-Definition Multimedia Interface) cables are essential for transmitting high-quality audio and video signals between devices such as TVs, computers, and gaming consoles. While it may seem daunting at first, crafting your own HDMI cable can be a rewarding experience that allows you to customize the cable length and quality. Plus, it can save you some money compared to buying pre-made cables. In this guide, we’ll walk you through the process to create your own HDMI cable from scratch.
Before we dive into the details, it’s important to note that making an HDMI cable requires a good understanding of electronics and soldering techniques. If you’re new to these concepts, it may be helpful to familiarize yourself with basic soldering techniques and acquire the necessary tools before attempting this project.
Now, let’s take a look at the materials and tools you will need for this DIY endeavor.
Materials Needed
Before you can begin making your own HDMI cable, it’s important to gather all the necessary materials and tools. Here’s a list of what you’ll need:
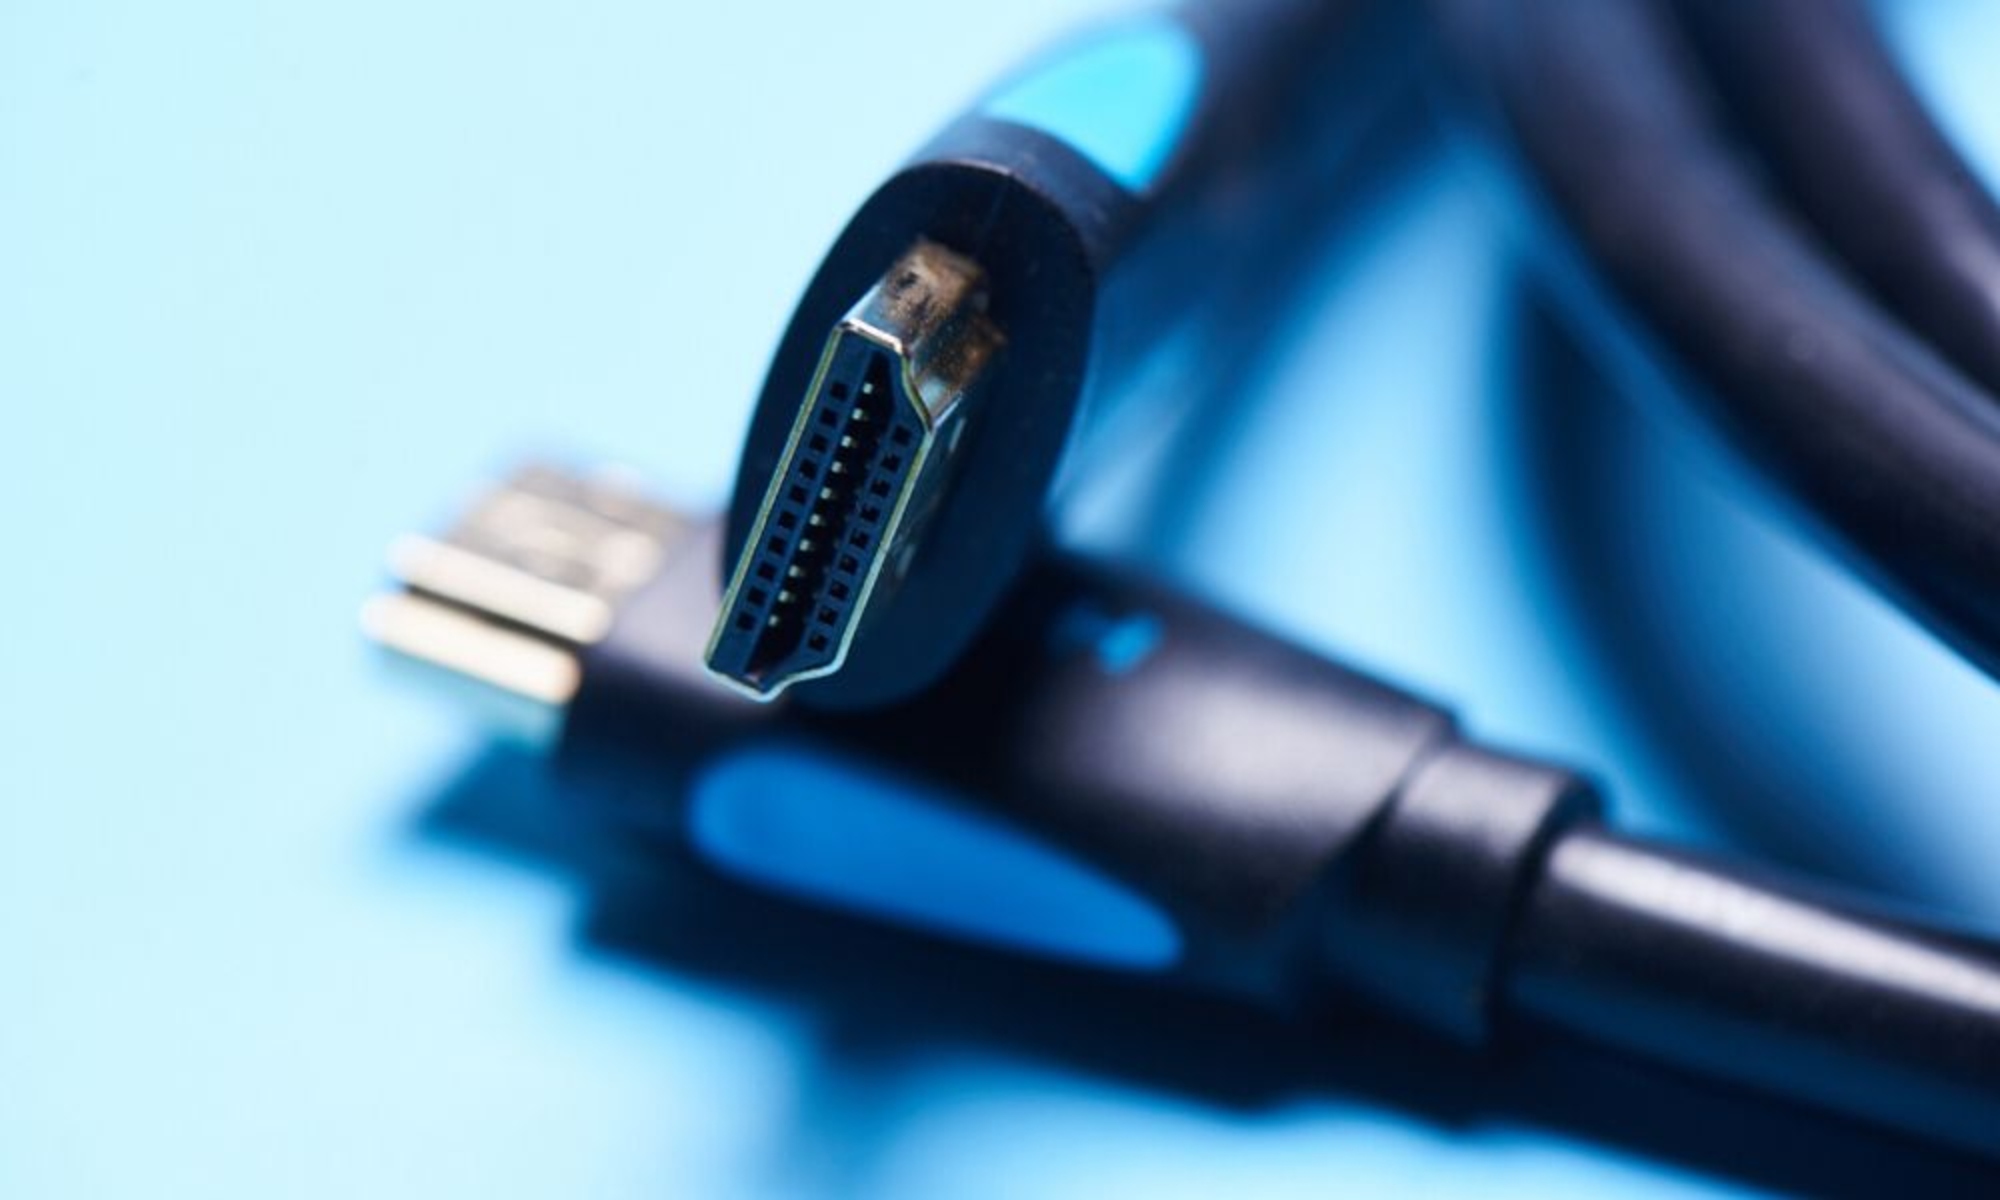
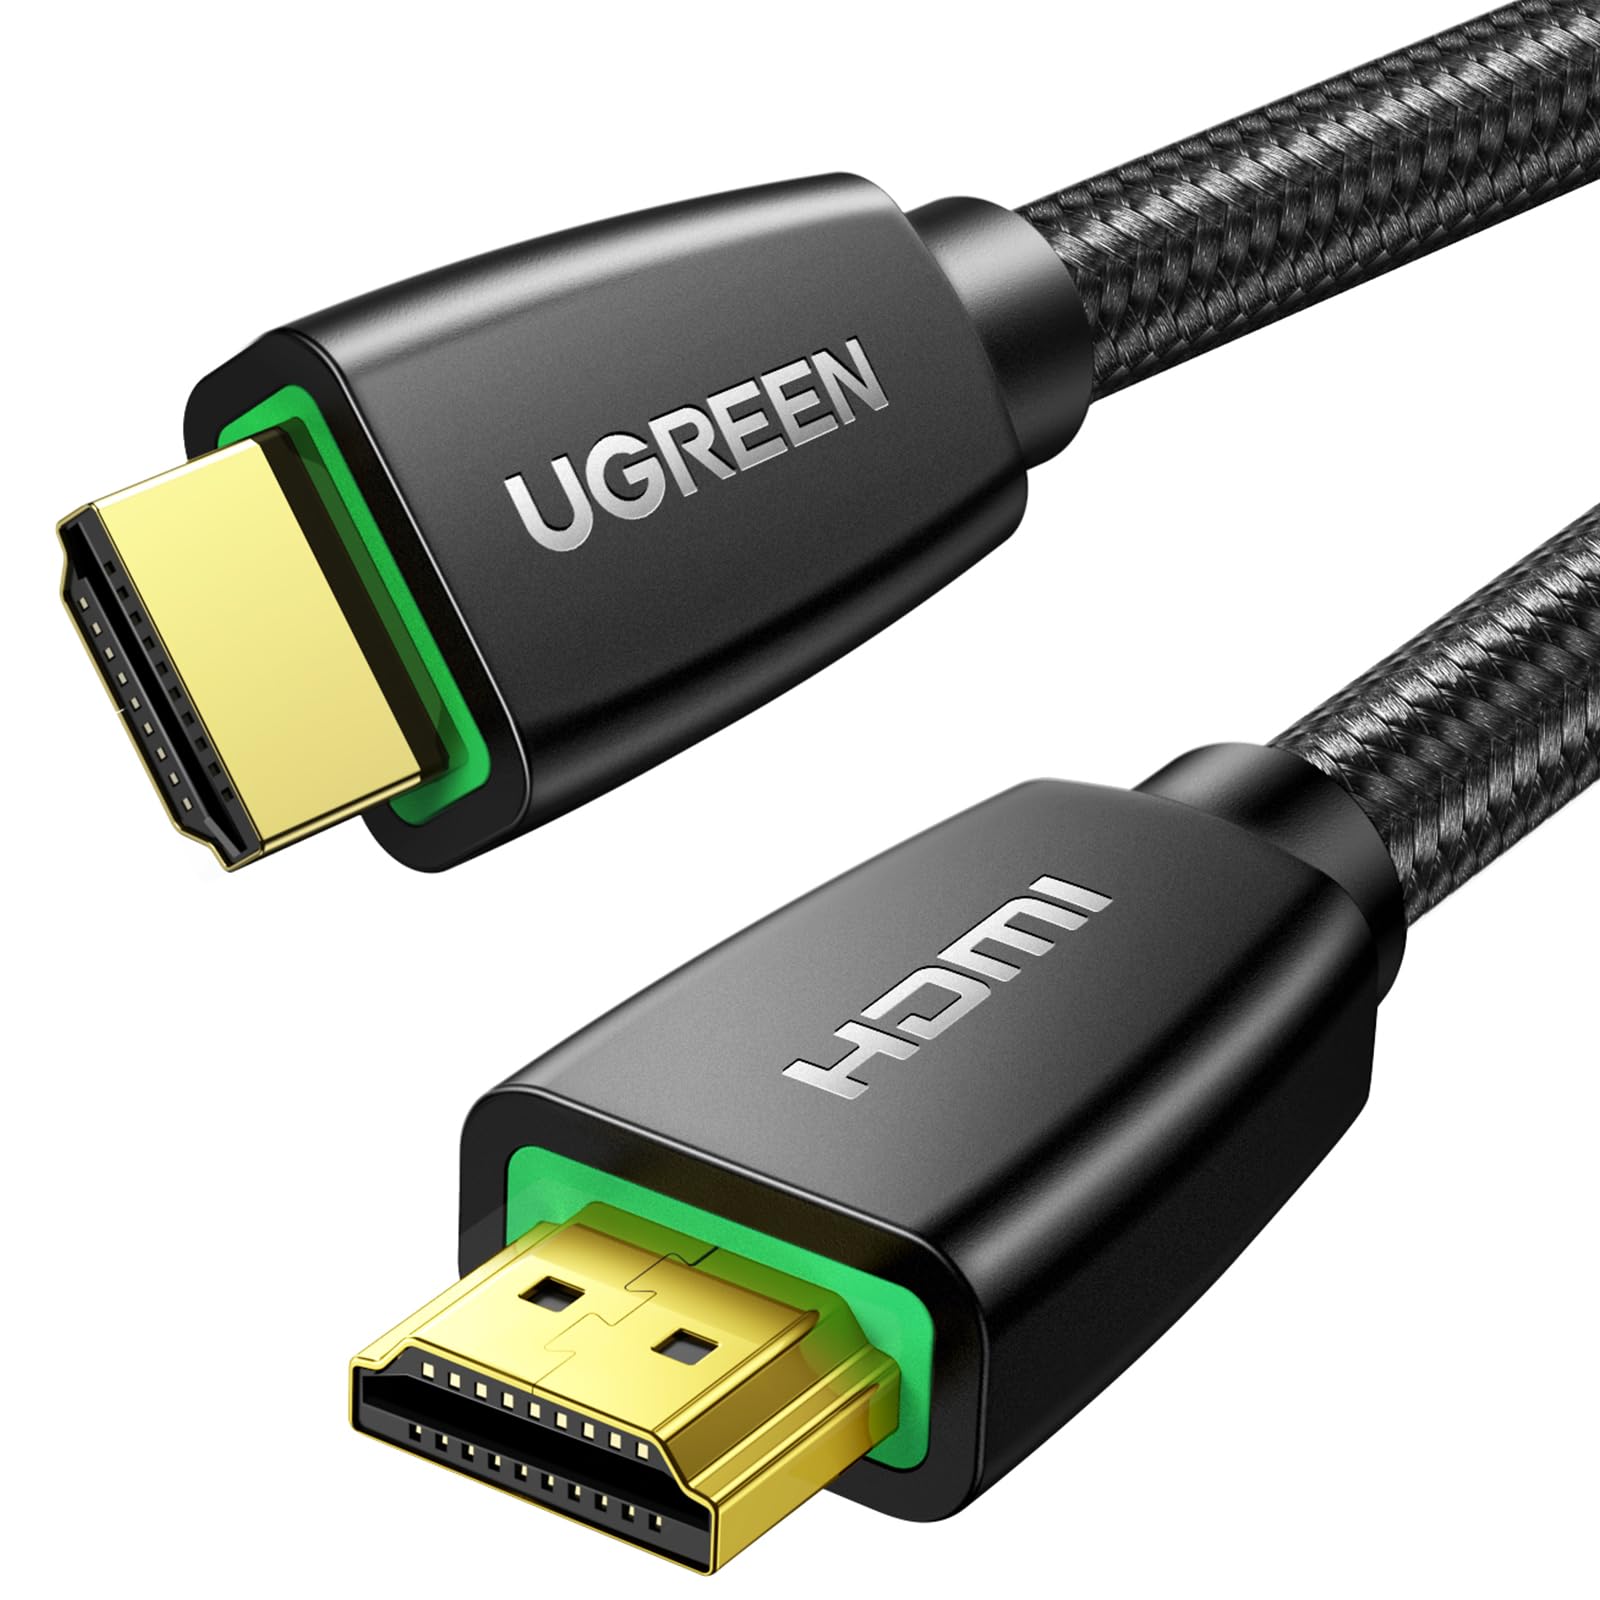
- HDMI Connector: You’ll need a male HDMI connector with solder cups. This is where the individual wires will be soldered.
- HDMI Cable: Choose a high-quality HDMI cable with at least the same length as the desired finished cable. Make sure the cable meets the necessary specifications to support the desired video and audio resolutions.
- Wire Strippers: These are essential for stripping the outer insulation of the HDMI cable.
- Soldering Iron: A soldering iron with a fine tip is required to solder the wires to the HDMI connector.
- Solder: Use high-quality solder that is appropriate for electronics and provides a strong and reliable connection.
- Heat Shrink Tubing: Heat shrink tubing will be used to insulate the soldered connections and provide additional strength to the cable.
- Heat Gun: A heat gun or a lighter can be used to shrink the heat shrink tubing.
- Wire Cutters: Wire cutters will help you trim and shape the wires to fit the connector.
- Electrical Tape: Electrical tape can be used to secure the heat shrink tubing and provide extra insulation.
Make sure to gather all these materials and have them readily available before starting the process. It’s important to have everything organized and within reach to ensure a smooth and efficient cable-making experience.
Step 1: Strip the Cable
The first step in making your own HDMI cable is to strip off the outer insulation of the cable. This will expose the individual wires inside that will be connected to the HDMI connector.
Start by using a pair of wire strippers to carefully remove approximately 2-3 inches of the outer insulation from the end of the HDMI cable. Make sure to be precise and gentle to avoid damaging the wires inside.
Once the outer insulation is removed, you’ll be left with several smaller wires inside. These wires are color-coded and correspond to different signals. The most common color coding for HDMI cables is as follows:
- Red: +5V (Power)
- Green: TMDS Data 0+
- Blue: TMDS Data 0-
- Purple: TMDS Data 1+
- Gray: TMDS Data 1-
- White: TMDS Data 2+
- Yellow: TMDS Data 2-
- Orange: TMDS Clock+
- Brown: TMDS Clock-
- Black: Ground
Take your time to identify and familiarize yourself with the color-coding of the wires to ensure proper connections later in the process.
It’s important to note that some HDMI cables may vary in wire color coding, so it’s always recommended to refer to the documentation or markings on the cable itself if available.
Great! You’ve successfully stripped the outer insulation of the HDMI cable. Now, let’s move on to the next step: exposing the individual wires inside.
Step 2: Expose the Wires
After stripping the outer insulation of the HDMI cable, the next step is to expose the individual wires inside. These wires will be connected to the corresponding solder cups on the HDMI connector.
Take a look at the stripped end of the cable. You’ll notice that the exposed wires are coated with a thin layer of insulation. To expose the wires, gently use a pair of wire cutters or a sharp knife to carefully remove the insulation from each wire.
It’s essential to be cautious and precise during this step to avoid damaging the wires or stripping them too much. Take your time and work with care to ensure clean and exposed wire ends.
Once you’ve exposed the wires, you should have ten individual wires, each with a different color. These wires correspond to specific signals in the HDMI cable. Remember the color-coding from the previous step to help you identify the wires accurately.
It’s worth noting that the wire colors may vary depending on the cable manufacturer, so always refer to the cable documentation or markings to confirm the correct wire colors.
Now that you have the individual wires exposed, you’re ready to move on to the next step: separating the wires for the connection.
Step 3: Separate the Wires
Now that the individual wires are exposed, the next step is to separate them and organize them for connection to the HDMI connector. This will ensure proper signal transmission and a clean and secure connection.
Start by gently untangling and straightening each wire. This will make it easier to work with them and prevent any potential twisting or tangling during the connecting process.
Once the wires are untangled, begin grouping them based on their color-coding. This will help you identify and connect the correct wires to their respective solder cups on the HDMI connector.
It’s crucial to double-check the wire colors and ensure they match the color-coding indicated on the HDMI connector and cable documentation. This will help prevent any mistakes and ensure a successful connection.
When organizing the wires, you may find it helpful to label each wire with its corresponding signal, especially if you’re not familiar with the color-coding or working with a cable that deviates from the standard color scheme.
Additionally, if the wires are too long, you can use wire cutters to trim them to the desired length. Just make sure to leave enough length for easy connection and flexibility.
By separating and organizing the wires, you’re ready to move on to the next step: attaching the HDMI connector to the cable.
Step 4: Attach the Connector
With the wires separated and organized, it’s time to attach the HDMI connector to the cable. The connector will serve as the interface between the cable and the device you want to connect it to.
Take the HDMI connector with the solder cups facing up. Hold the HDMI cable with the stripped end facing you. Carefully insert each wire into its corresponding solder cup on the connector according to the color-coding.
Make sure to align the wires with their respective solder cups and ensure a snug fit. The wires should be fully inserted into the cups without any gaps or excess wire extending beyond the cups.
Once all the wires are inserted into their respective solder cups, visually inspect the connection to ensure accuracy and proper alignment.
Next, use a pair of needle-nose pliers or a small tool to gently squeeze the solder cups on the connector. This will create a secure connection between the wires and the connector.
It’s crucial to avoid applying excessive force while squeezing the solder cups to prevent damage to the wires or the connector. Use a moderate amount of pressure to create a solid connection.
After attaching the connector to the cable, give it a gentle tug to verify that the wires are securely held in place. If any wires come loose, reattach them and ensure a firm connection.
Now that the connector is attached to the cable, it’s time to move on to the next step: soldering the wires for a permanent connection.
Step 5: Solder the Wires
With the HDMI connector attached to the cable, the next step is to solder the wires to create a permanent and secure connection. Soldering ensures reliable signal transmission and prevents loose or intermittent connections.
Start by heating your soldering iron to the appropriate temperature. Refer to the solder manufacturer’s instructions for the recommended temperature settings.
Take each wire one by one and apply a small amount of solder to the wire tip. This will help improve heat conductivity and ensure a strong bond between the wire and the solder cup.
Once the wire is tinned with solder, heat the corresponding solder cup on the HDMI connector using the soldering iron. Place the tinned wire into the molten solder and hold it in place until the solder solidifies.
Be mindful not to apply excessive heat to avoid damaging the wires or the connector. Use a steady hand and work quickly but carefully for each wire connection.
Repeat this process for each wire, ensuring that each connection is secure and the solder flows smoothly around the wire and the solder cup. Take your time and focus on achieving clean and strong connections.
After soldering all the wires, allow the connections to cool and solidify before handling the cable. This will ensure that the solder sets properly and creates a permanent bond.
It’s important to visually inspect each soldered connection to make sure there are no cold joints (dull or incomplete solder joints) or any excess solder bridging between the cups. If needed, gently reheat and reshape any problematic connections.
Now that the wires are properly soldered, it’s time to move on to the final step: testing the connection to ensure everything works as intended.
Step 6: Test the Connection
After soldering the wires and completing the cable assembly, it’s crucial to test the connection to ensure proper functionality before using the HDMI cable.
Start by connecting one end of the newly made HDMI cable to a compatible device, such as a TV or monitor. Connect the other end to a device that can output audio and video signals, such as a gaming console or computer.
Power on both devices and navigate to the appropriate input or source on the receiving device to display the connected content.
Check for a high-quality audio and video signal transmission. Look for clear picture quality, vibrant colors, and no visual artifacts or flickering on the screen. Test the audio output to ensure there’s no distortion or loss of sound quality.
If you encounter any issues, double-check the connections, making sure that each wire is securely attached and properly soldered. Inspect for any loose connections or shorts between wires that may be causing signal interruption.
If the connection still doesn’t work as expected, consider rechecking your soldering work, wire connections, and the overall integrity of the cable. It’s also possible that there may be compatibility issues between the connected devices.
Should you encounter persistent problems or have difficulty troubleshooting the connection, consult the cable’s documentation or seek assistance from a professional in electronics or audiovisual equipment.
Once you’ve successfully tested the connection and verified that the HDMI cable is working correctly, you can confidently enjoy high-definition audio and video transmission between your devices.
Congratulations! You’ve successfully completed the process of making your own HDMI cable. Now you can reap the benefits of a custom-made cable that meets your specific requirements in terms of length and quality.
Conclusion
Creating your own HDMI cable from scratch can be a rewarding and cost-effective endeavor. By following the steps outlined in this guide, you can ensure a customized cable that meets your specific needs in terms of length and quality.
We started by stripping the outer insulation of the HDMI cable, exposing the individual wires. Properly identifying the color-coded wires is essential to ensure correct connections.
Next, we separated and organized the wires, preparing them for attachment to the HDMI connector. Carefully attaching the connector, we securely connected each wire to its respective solder cup.
Soldering the wires provided a permanent and reliable connection, ensuring optimal signal transmission. Taking the time to heat the solder cups and apply solder to the wires guarantees a strong bond.
After completing the soldering process, it’s crucial to test the connection to ensure that audio and video signals are properly transmitted without any issues. Troubleshooting any connectivity problems is essential to achieving optimal performance.
By creating your own HDMI cable, you have the freedom to customize cable length and potentially save money compared to buying pre-made cables. This DIY approach empowers you to have a cable specifically tailored to your needs.
Remember to exercise caution and patience throughout the process, especially when soldering and testing the connection. Attention to detail and accuracy will ensure a successful outcome.
With the completion of this guide, you now have the knowledge and skills to embark on your own HDMI cable-making journey. Feel free to explore additional resources and consult experts in the field for more in-depth guidance.
Enjoy the satisfaction of using a self-made HDMI cable for your audiovisual needs and take pride in your ability to create something practical and functional.


