Introduction
Welcome to the world of 3D printing, where possibilities are endless and creativity knows no bounds. In this guide, we will walk you through the exciting process of creating your very own cookie cutters using a 3D printer. Whether you’re a baking enthusiast looking to add a personal touch to your delicious creations or a DIY hobbyist wanting to explore the capabilities of 3D printing, this article will provide you with the steps to bring your ideas to life.
3D printing has revolutionized various industries, and the realm of baking is no exception. With the ability to design and print custom cookie cutters, you can unleash your imagination and impress friends and family with unique and intricate shapes. The process may seem daunting if you’re new to 3D printing, but fear not – we’ll guide you through each step, from designing the cookie cutter to the final testing phase.
Before we dive in, let’s take a moment to explore the materials you’ll need for this project. Having a clear understanding of the tools and supplies required will ensure a smooth and successful printing experience.
Materials Needed
Before you can start creating your own cookie cutters, you’ll need to gather a few essential materials. Here’s a list of what you’ll need:
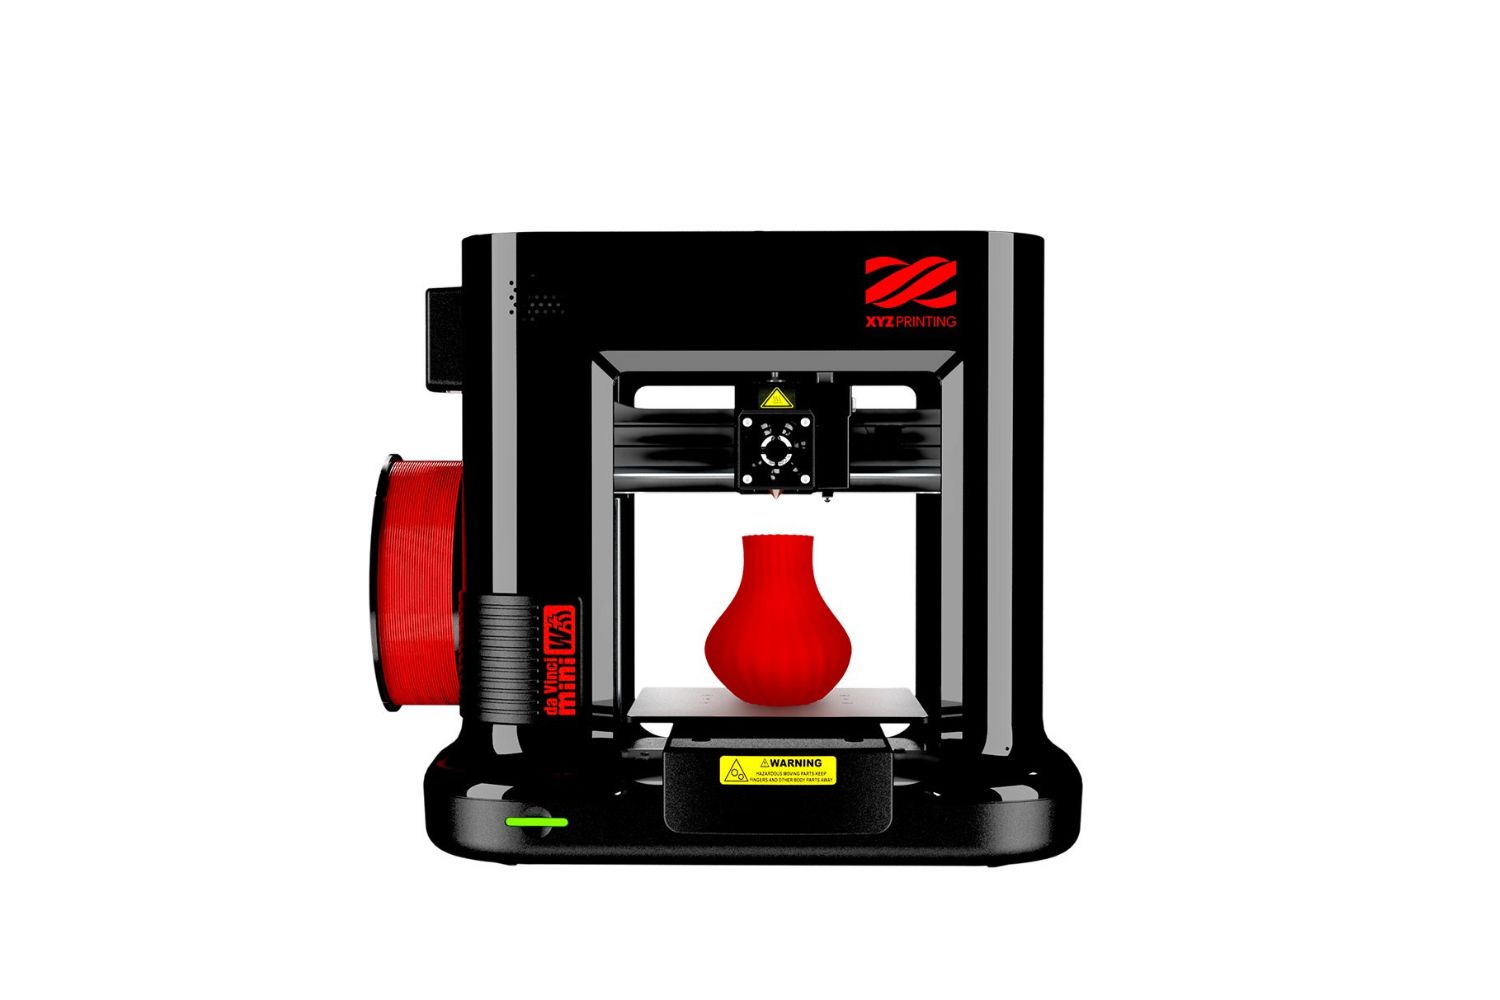
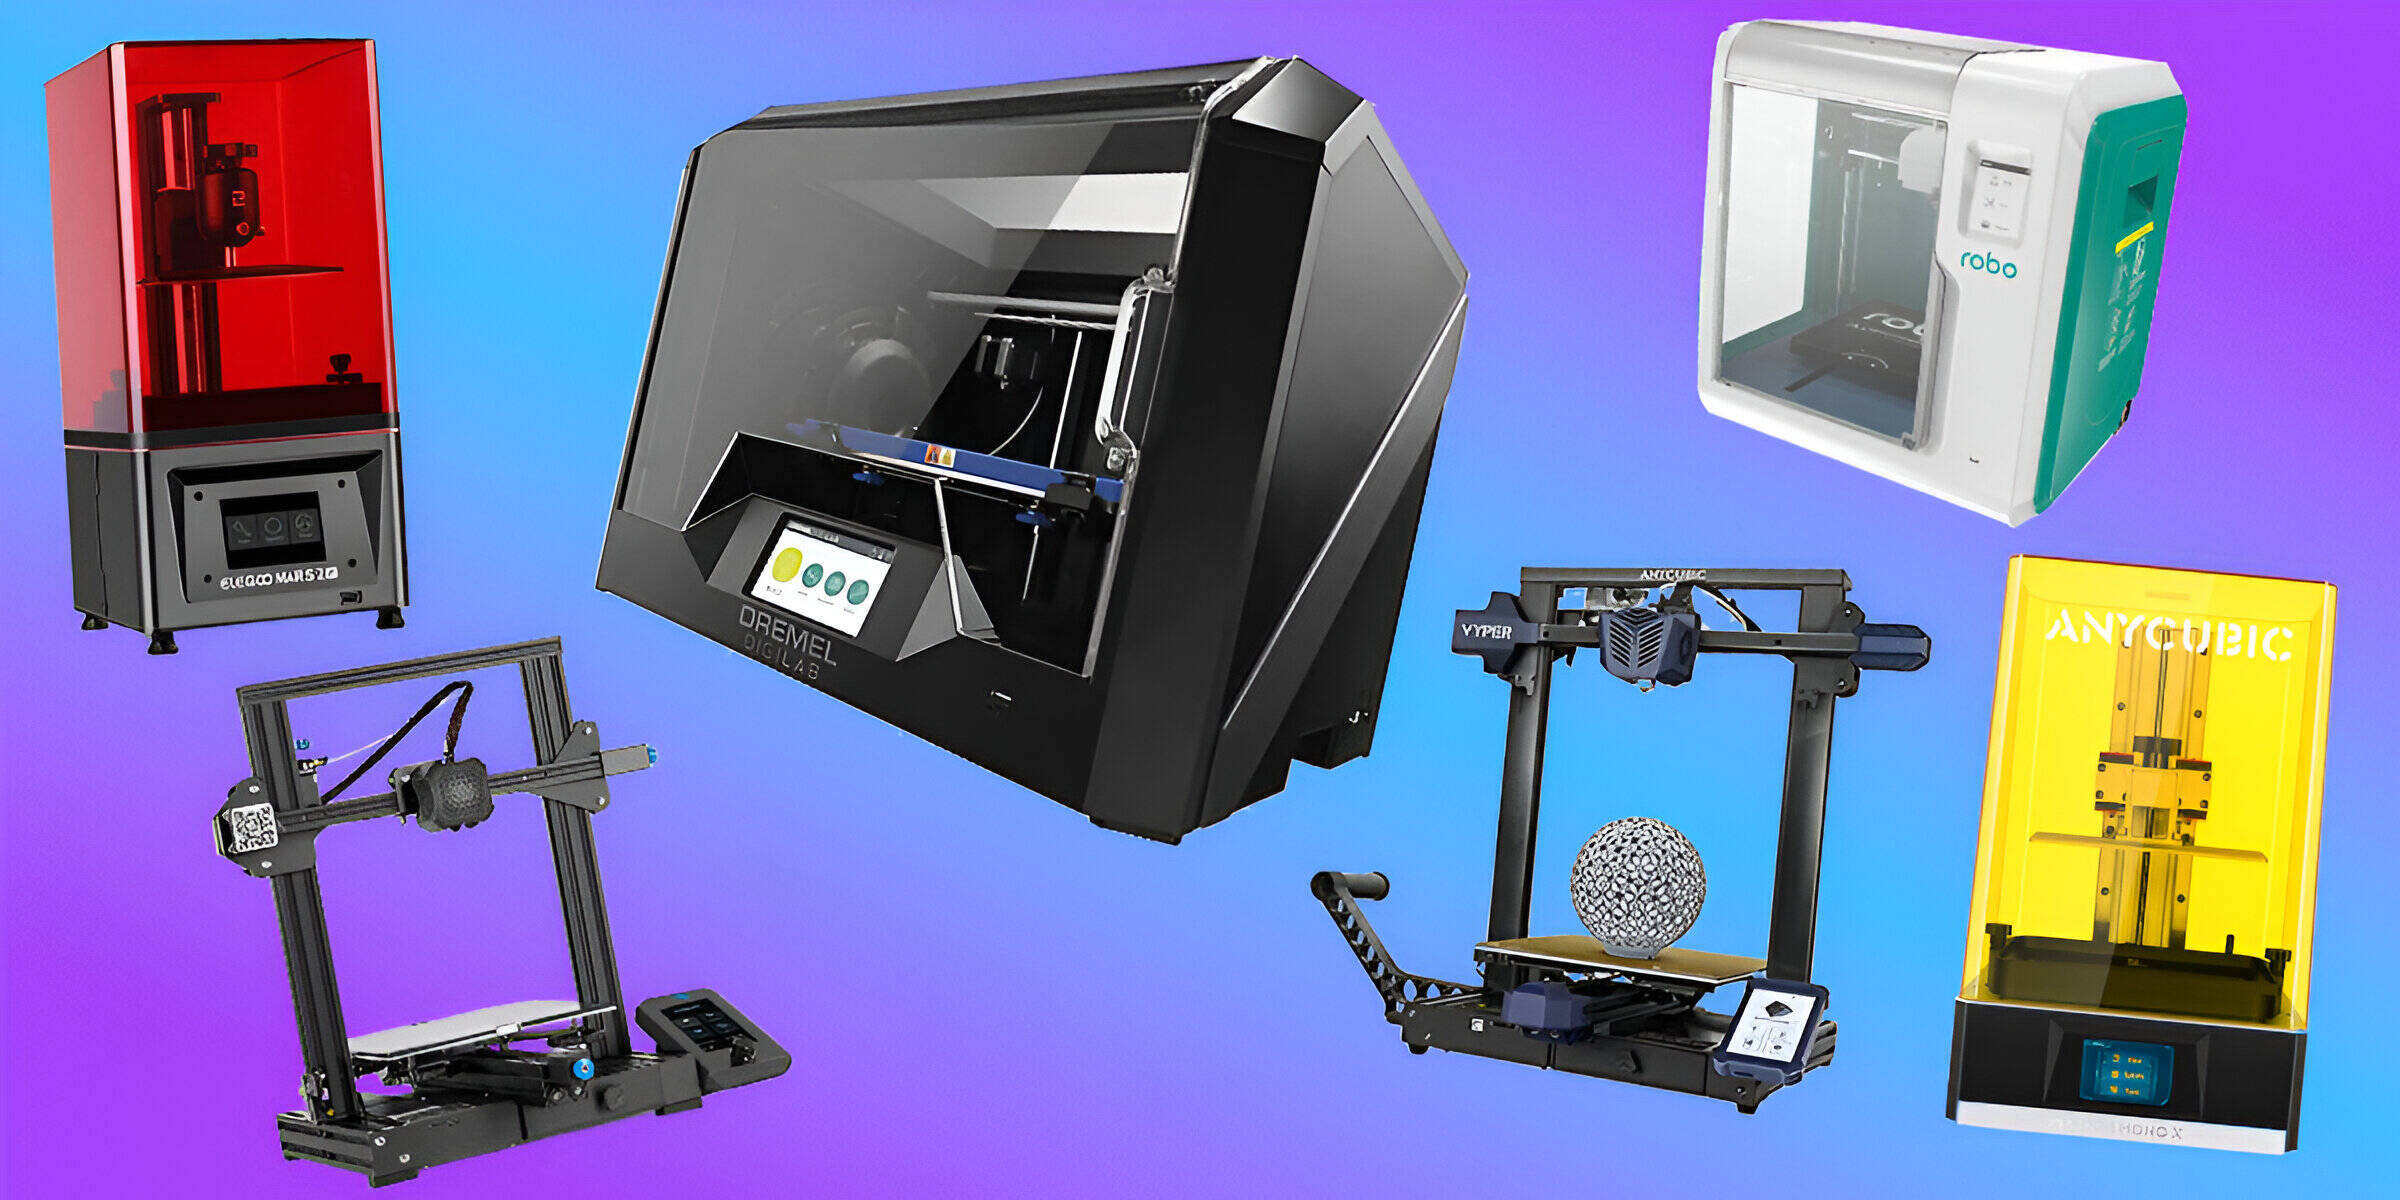
- A 3D Printer: You’ll need access to a 3D printer to bring your designs to life. If you don’t own a 3D printer, you can find local makerspaces or libraries that offer 3D printing services.
- 3D Modeling Software: To design your cookie cutter, you’ll need 3D modeling software. There are various options available, ranging from beginner-friendly programs to more advanced software like Blender or Fusion 360.
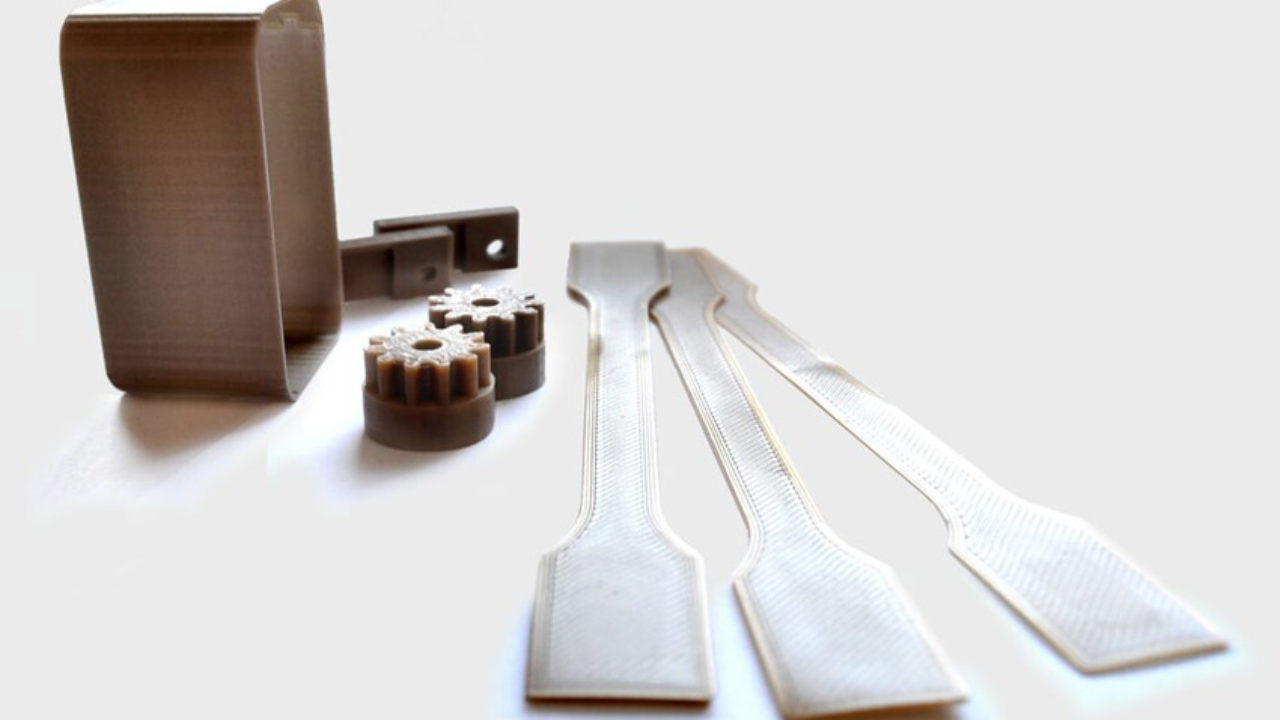
- Filament: Filament is the material used by the 3D printer to create the physical object. PLA (polylactic acid) filament is a popular choice for 3D printing cookie cutters as it is food-safe and easy to work with.
- Calipers or Ruler: Precise measurements are essential for designing accurate cookie cutters. A digital caliper or ruler will help you measure the dimensions of the cookie cutter accurately.
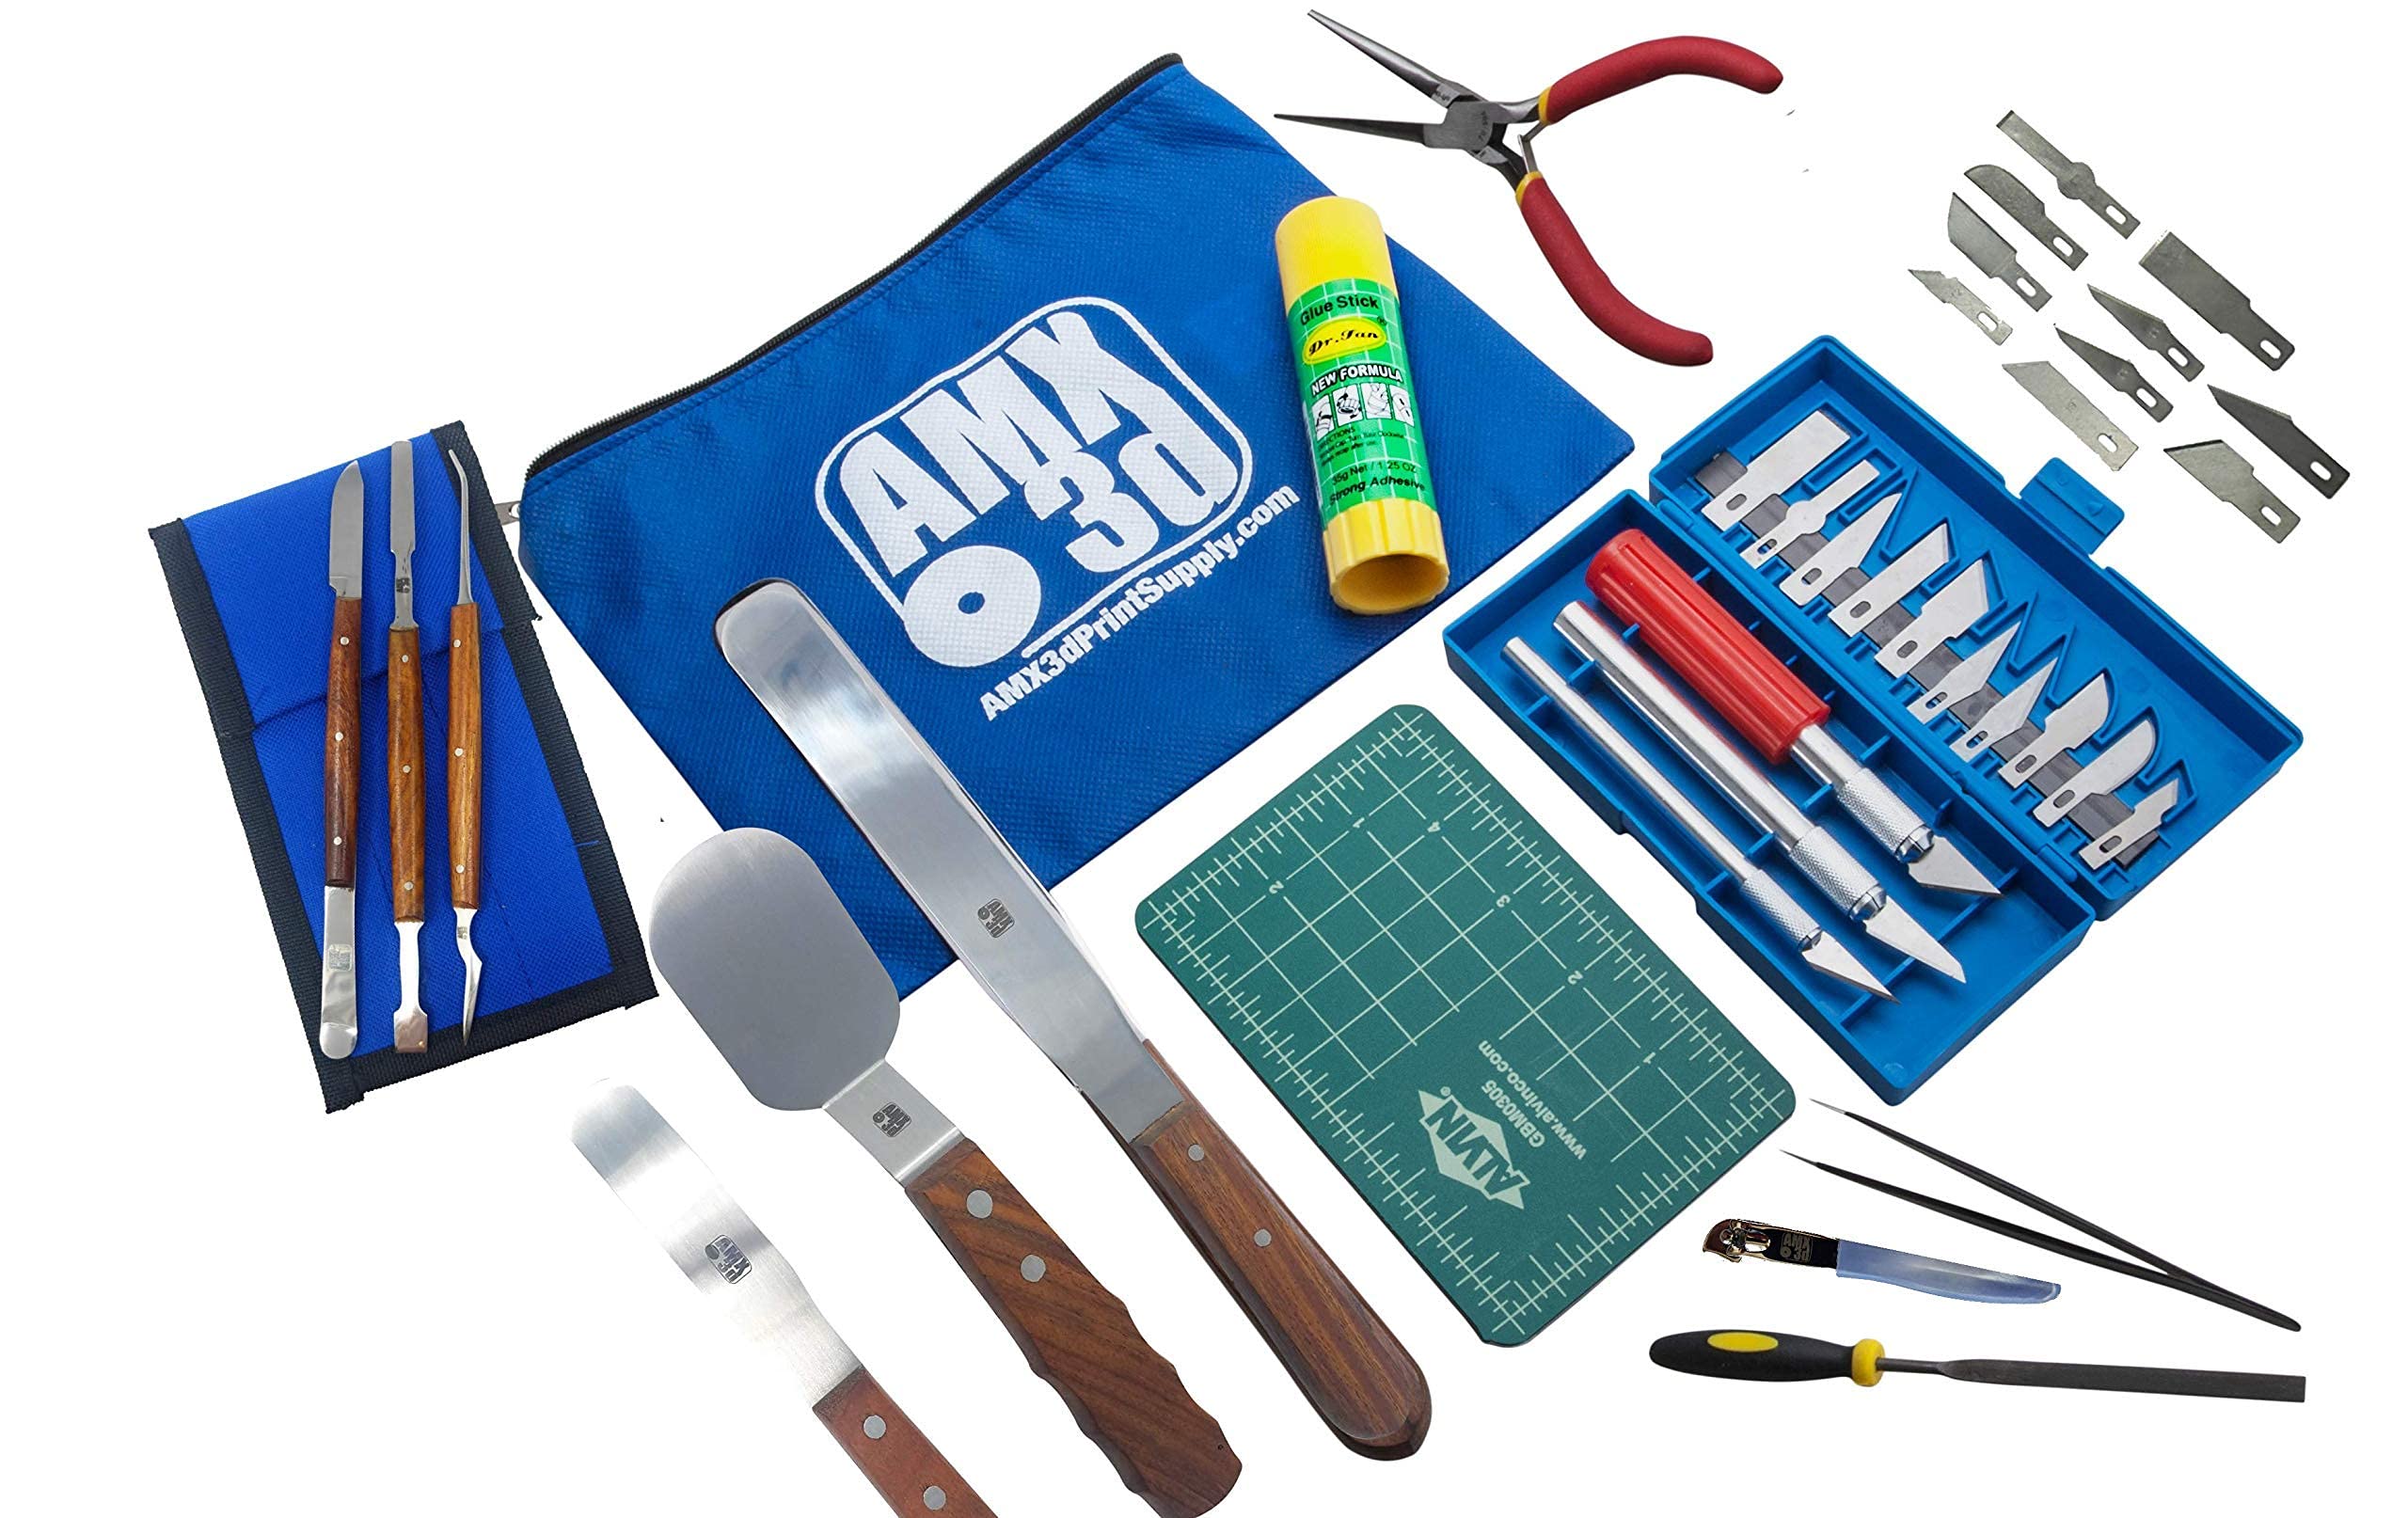
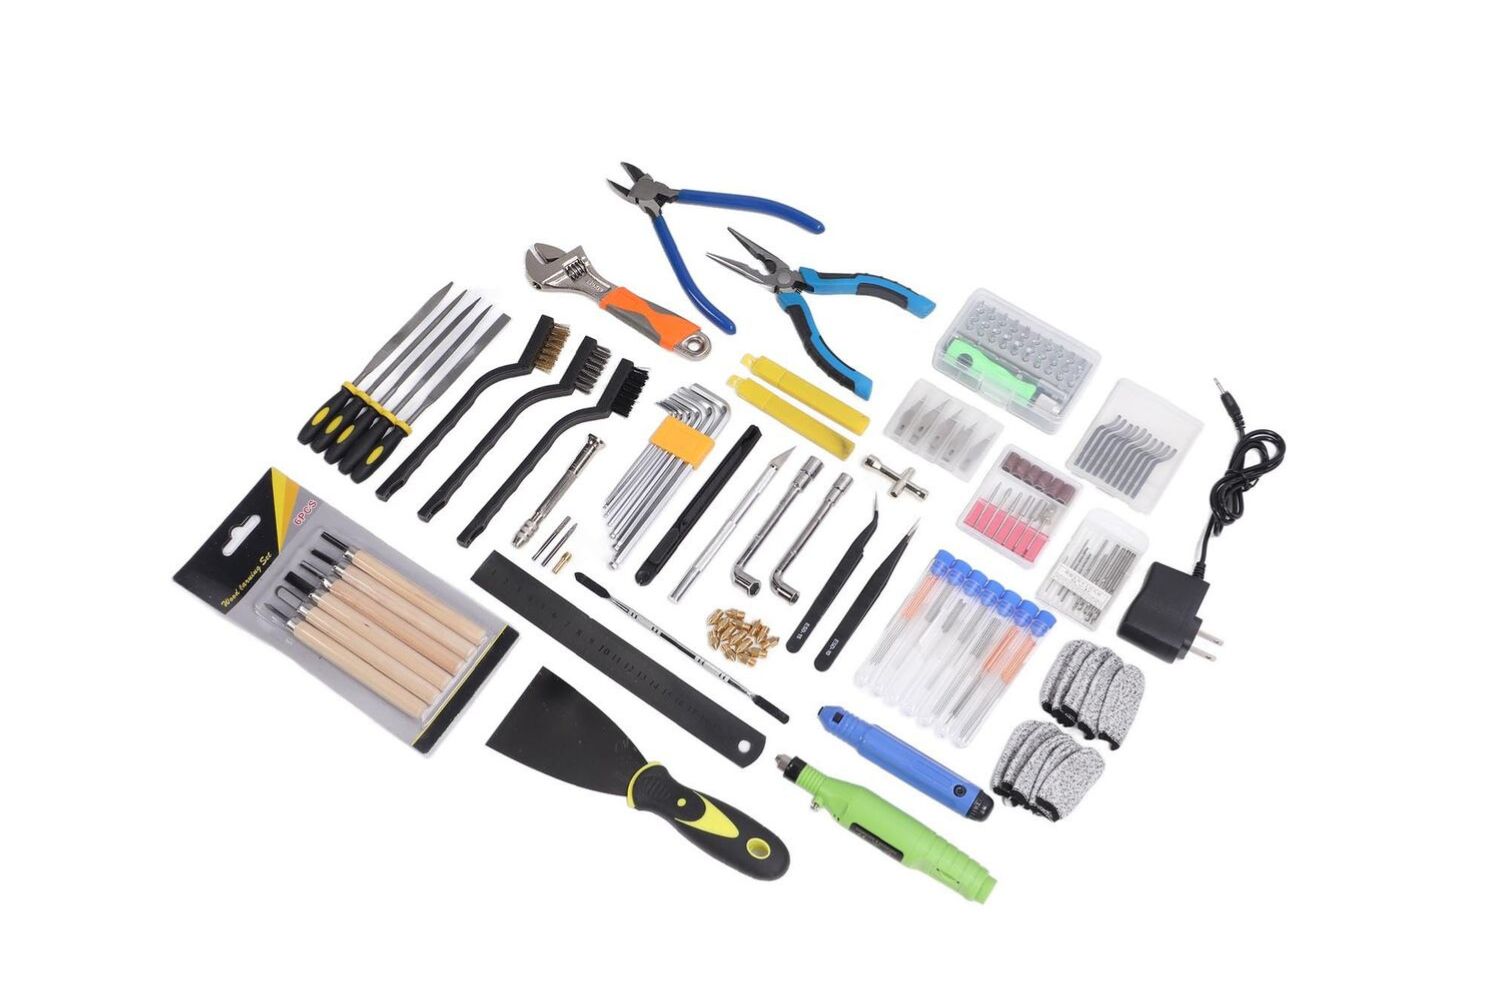
- Sanding Tools: After printing, you might need sanding tools like sandpaper or a file to smooth any rough edges and ensure a clean finish.
- Cutting Mat and X-Acto Knife: A cutting mat and an X-Acto knife will come in handy when removing excess filament or making adjustments to the printed cookie cutter.
By gathering these materials, you’ll be well-prepared to embark on your 3D printing journey and create custom cookie cutters that will elevate your baking endeavors to a whole new level.
Step 1: Designing the Cookie Cutter
Now that you have all the necessary materials, it’s time to dive into the exciting world of cookie cutter design. Follow these steps to bring your imagination to life:
- Choose Your Design Software: As mentioned earlier, you’ll need 3D modeling software to design your cookie cutter. Select a software that best fits your comfort level and design capabilities.
- Create a New Project: Open the software and create a new project. Set the dimensions of the project to match the desired size of your cookie cutter.
- Sketch the Shape: Use the tools in the software to draw the outline of your cookie cutter. You can create any shape you desire, whether it’s a simple geometric shape or a more intricate design.
- Add the Handle: To make it easier to handle the cookie cutter, consider adding a handle. You can either create a separate piece and attach it later or incorporate a handle directly into the design.
- Check Dimensions: Use calipers or a ruler to measure the dimensions of your design to ensure it will create the desired size of cookies.
- Save the Design: Once you’re satisfied with your design, save the file in a compatible format for 3D printing, such as .STL or .OBJ.
Remember, the design possibilities are endless! You can experiment with different shapes, sizes, and even intricate patterns to elevate your cookie-making game.
Once you have your design ready, it’s time to move on to the next step: preparing the 3D printer.
Step 2: Preparing the 3D Printer
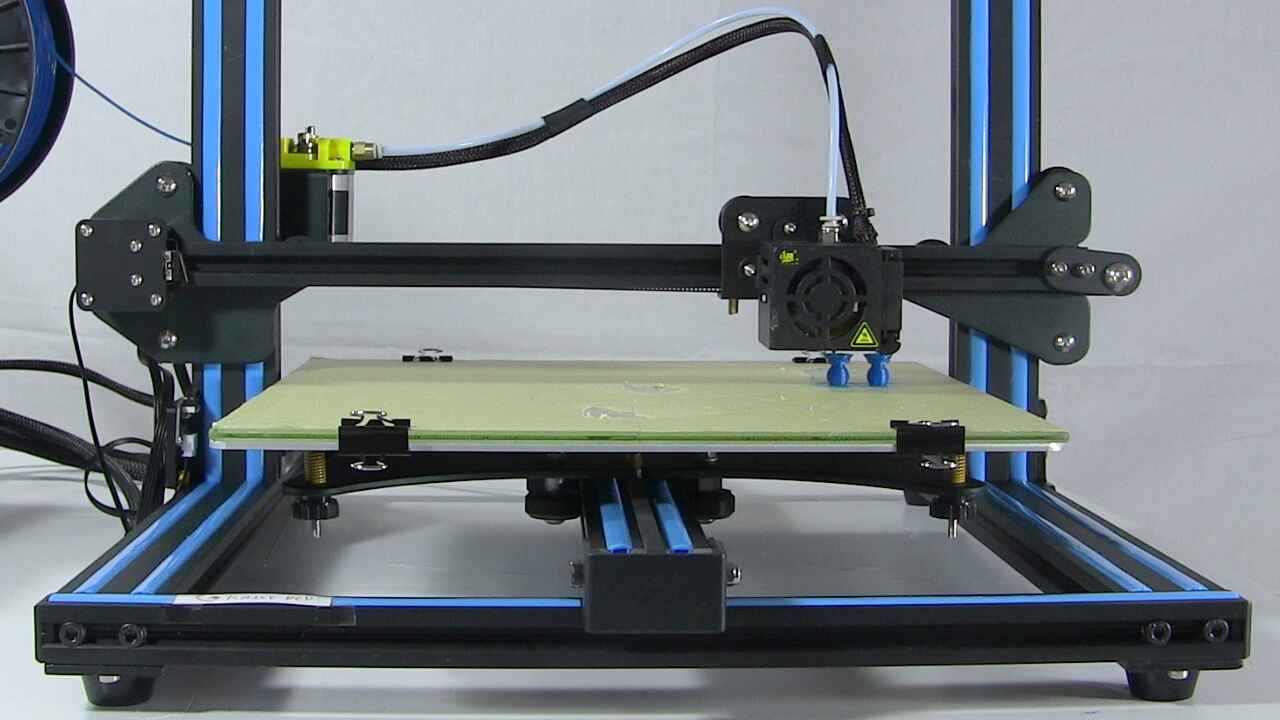
Before you can start printing your cookie cutter, it’s essential to properly prepare your 3D printer. Follow these steps to ensure a successful printing process:
- Check the Printer: Make sure your 3D printer is in good working condition. Check for any loose belts, clogged nozzles, or other potential issues. Consult the user manual for specific instructions on maintenance.
- Level the Bed: A leveled bed is crucial for a successful print. Use a leveling tool or follow the printer manufacturer’s instructions to ensure the build plate is properly leveled.
- Prepare the Filament: Load the PLA filament into the printer’s filament holder. Feed the filament into the extruder and make sure it is properly guided through the filament path.
- Set the Print Temperature: Set the printing temperature according to the specifications of your filament. This information can usually be found on the filament packaging or from the manufacturer’s website.
- Calibrate the Extruder: Perform an extruder calibration to ensure the correct amount of filament is being extruded. This calibration will help maintain the accuracy and precision of your printed cookie cutter.
- Load the Design: Use the 3D printer’s software or interface to load the design file you created in the previous step. Make sure the design is properly aligned and positioned on the virtual print bed.
Once you have completed these steps, your 3D printer should be properly prepared for printing. Double-check all settings and verify that everything is in order before moving on to the next step.
Now, it’s time to bring your cookie cutter design to life by printing it using your 3D printer. Let’s move on to the next step.
Step 3: Printing the Cookie Cutter
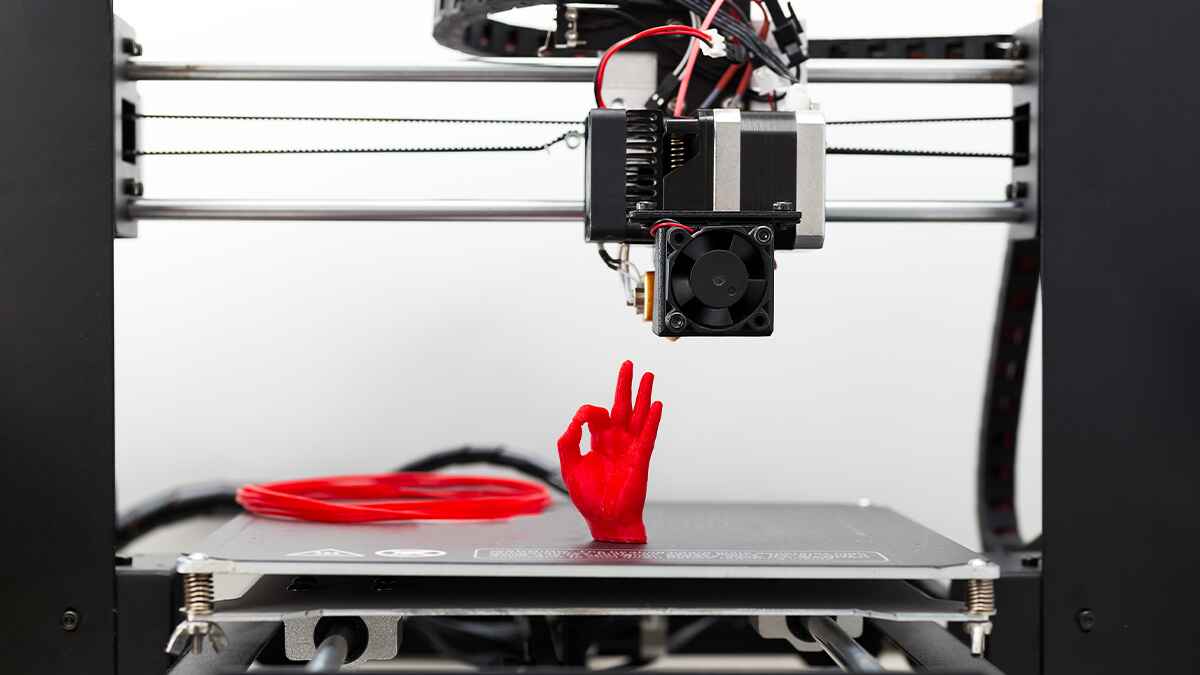
With your 3D printer properly prepared, it’s time to embark on the exciting process of printing your cookie cutter. Follow these steps to ensure a successful print:
- Start the Print Job: In the interface or software of your 3D printer, initiate the print job. Make sure to select the appropriate settings for layer height, print speed, and infill density.
- Monitor the Print: Keep an eye on the printer during the printing process. Check for any signs of irregularities or issues, such as warping or uneven layers. Adjust settings or troubleshoot as necessary.
- Be Patient: Depending on the complexity of the design and the size of the cookie cutter, the printing process may take anywhere from a few minutes to several hours. Be patient and avoid interrupting the print job.
- Allow Cooling Time: Once the printing is complete, give the printed cookie cutter some time to cool down. Removing a hot object can deform or damage it. Follow the recommended cooling time for your specific filament.
During the printing process, it’s essential to exercise caution and follow any safety guidelines provided by the printer manufacturer. Avoid touching any hot surfaces and keep the printing area well-ventilated.
Once the cookie cutter has cooled down, carefully remove it from the build plate. Use a cutting mat and an X-Acto knife if necessary to detach any excess filament or support structures.
Congratulations! You have successfully printed your own custom cookie cutter. Now, it’s time to move on to the next step and put the finishing touches on your creation.
Step 4: Post-Printing Finishing
After printing your cookie cutter, there might be some post-printing finishing steps required to ensure a polished and functional final product. Follow these steps to give your cookie cutter the perfect finishing touches:
- Inspect the Print: Carefully examine your printed cookie cutter for any imperfections, rough edges, or support structures that need to be removed.
- Remove Support Structures: If your design includes support structures, use pliers or an X-Acto knife to carefully remove them. Take your time to avoid causing any damage to the cookie cutter.
- Sand the Edges: Use sandpaper or a file to smooth any rough edges or surfaces on the cookie cutter. This step will ensure a clean finish and prevent any sharp edges that could potentially harm your hands during use.
- Wash and Clean: Give your printed cookie cutter a thorough wash using warm soapy water. This will remove any dust, debris, or lingering printing residue.
- Dry Completely: Once you’ve cleaned the cookie cutter, allow it to air dry completely before storing or using it. Moisture can affect the quality of the cookies and the longevity of the cookie cutter.
By following these finishing steps, you’ll have a well-crafted and ready-to-use cookie cutter in your hands. Now, it’s time to put your creation to the test!
Move on to the final step to learn how to test the functionality of your newly printed cookie cutter.
Step 5: Testing the Cookie Cutter
With the finishing touches complete, it’s time to put your custom cookie cutter to the test. Follow these steps to ensure its functionality:
- Preheat the Oven: Preheat your oven to the desired temperature according to your cookie recipe.
- Prepare the Dough: Prepare your cookie dough following your favorite recipe. Roll out the dough to an even thickness using a rolling pin.
- Flour the Cutter: Lightly dust your printed cookie cutter with flour to prevent it from sticking to the dough.
- Press and Cut: Place the cookie cutter on the rolled-out dough and firmly press down to cut out the desired shape. Repeat the process until you’ve used all the dough.
- Bake the Cookies: Transfer the cut-out cookies onto a baking sheet and place them in the preheated oven. Follow your recipe’s instructions for proper baking time and temperature.
- Cool and Enjoy: Once baked, remove the cookies from the oven and allow them to cool completely on a wire rack. Once cooled, you can decorate and enjoy your homemade, uniquely shaped cookies!
During the testing phase, pay attention to the shape, size, and overall performance of your custom cookie cutter. Make sure it maintains its shape and cuts the dough cleanly without any distortion or issues.
If you encounter any difficulties or notice room for improvement, take note of these observations and make adjustments to your design or printing settings for future iterations.
Now that you have successfully tested your newly printed cookie cutter, it’s time to unleash your culinary creativity and astonish friends, family, and yourself with beautifully shaped, homemade cookies!
Conclusion
Congratulations! You have completed the journey of creating your own custom cookie cutters using a 3D printer. By following the steps outlined in this guide, you’ve discovered the process of designing, preparing, printing, finishing, and testing your unique creations.
Through 3D printing, you have unlocked a world of limitless possibilities for creating personalized cookie cutters. The ability to bring your imagination to life in the form of delectable cookies is truly magical.
Remember, as you continue your 3D printing journey, there is always room for experimentation and refinement. Don’t be afraid to explore different designs, materials, and printing settings to enhance your cookie cutter creations.
Now that you have the knowledge and skills to create your own custom cookie cutters, it’s time to let your creativity flow and amaze others with beautifully shaped and delicious cookies.
We hope you’ve enjoyed this guide and that it has inspired you to explore the exciting possibilities that 3D printing brings to the world of baking. Happy baking and happy printing!