Introduction
Welcome to the world of Apple TV, a revolutionary device that brings your favorite movies, TV shows, and music right to your living room. Whether you’re a die-hard Apple fan or new to the Apple ecosystem, this guide will walk you through the process of logging into your Apple TV and accessing the vast library of entertainment content.
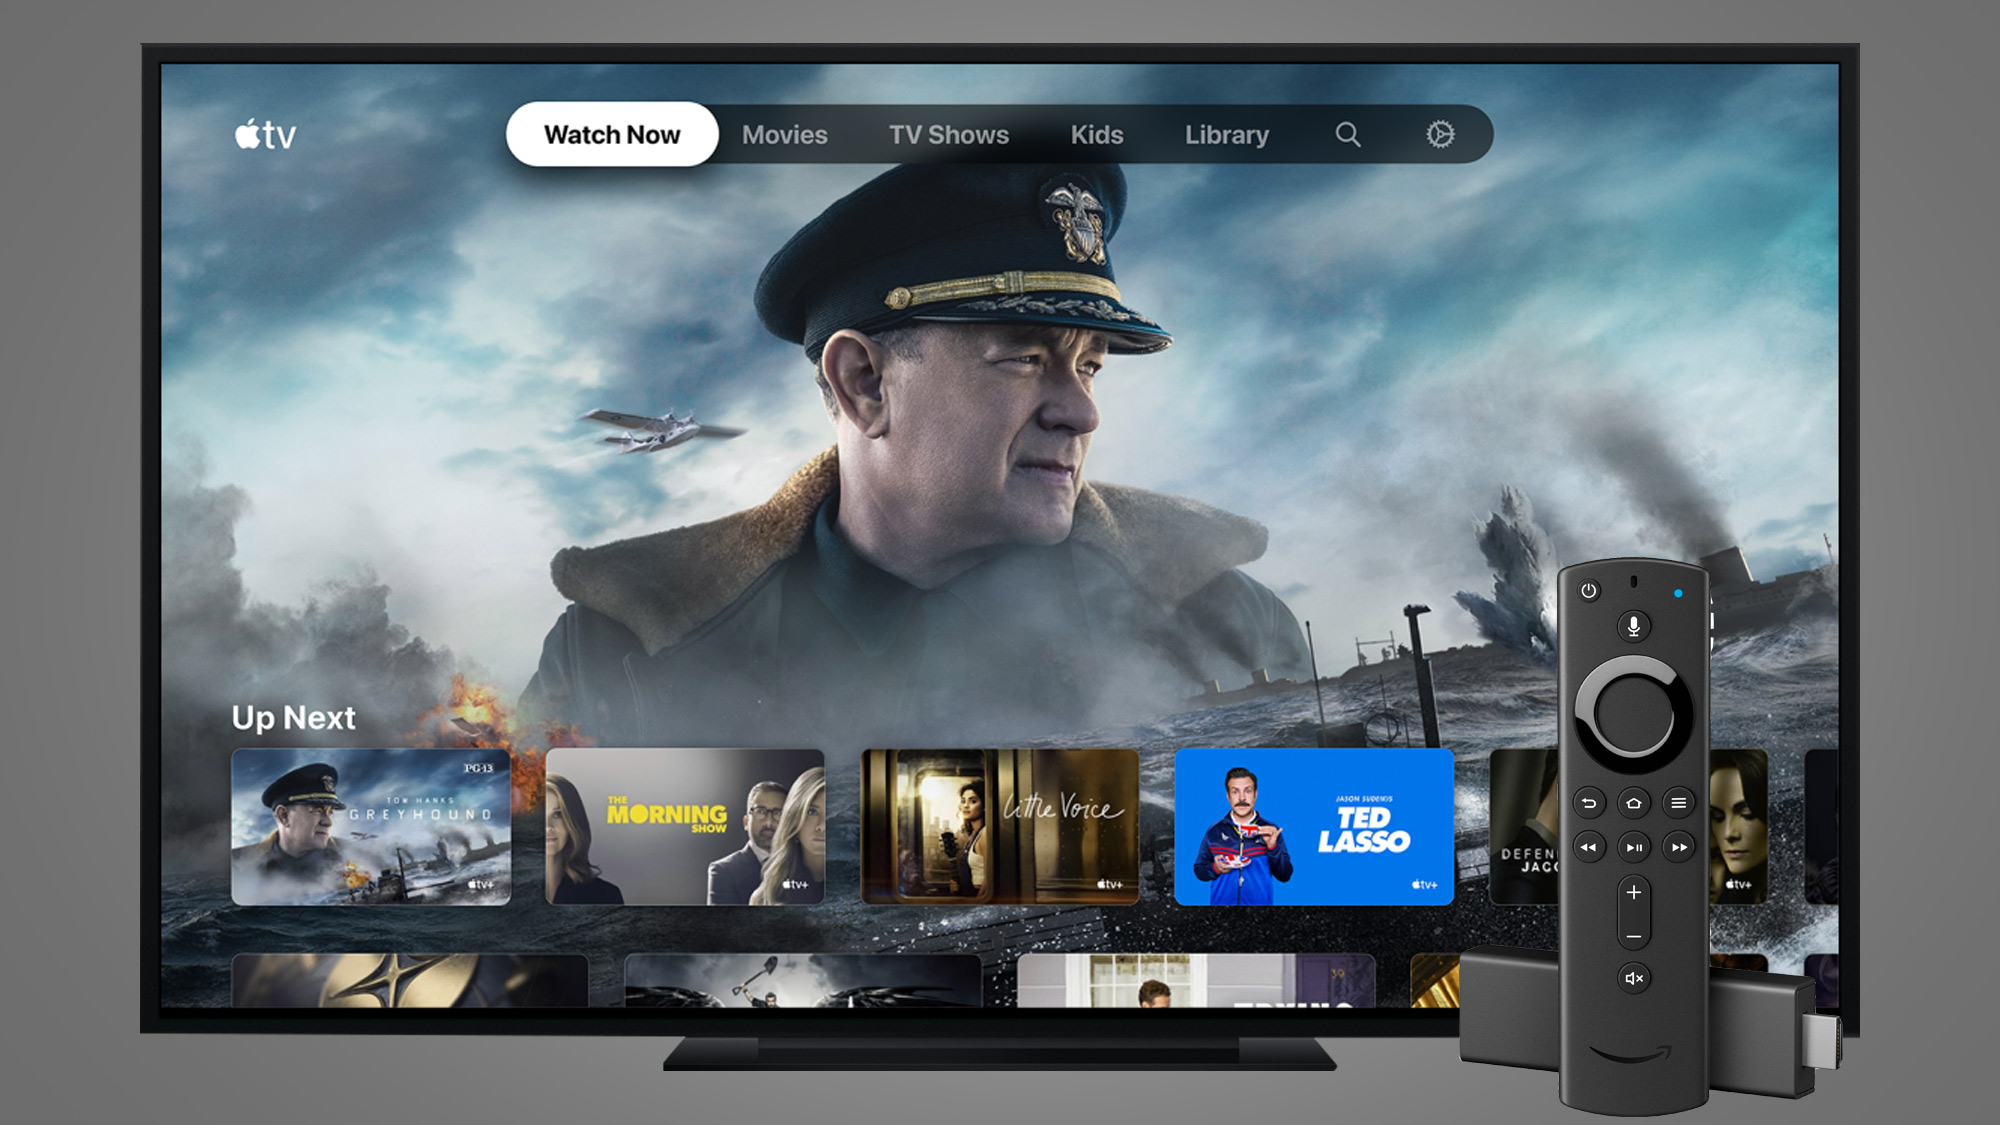
Apple TV is a streaming media player that connects to your television, allowing you to access popular streaming services, such as Netflix, Hulu, and Disney+, as well as enjoy your purchased content from the iTunes Store. However, before you can start enjoying all the amazing features and content that Apple TV has to offer, you need to log in with your Apple ID.
Your Apple ID is the key to unlocking the full potential of your Apple devices, as it connects your accounts, settings, and purchases across all your Apple devices. By logging into your Apple TV, you can access your personalized recommendations, sync your preferences and settings, and easily access your purchased movies, TV shows, and music.
In this guide, we’ll take you step by step through the process of logging into your Apple TV. We’ll also cover any prerequisites and provide troubleshooting tips in case you encounter any issues during the login process.
So, if you’re ready to dive into a world of entertainment and seamless integration, let’s get started by exploring the prerequisites for signing in to your Apple TV.
Prerequisites for Signing In to Apple TV
Before you can sign in to your Apple TV, you need to ensure that you have the following prerequisites in place:
- Apple ID: Ensure you have a valid Apple ID. If you don’t have one yet, you can create a new Apple ID on the Apple website or through the Apple ID app on your iPhone or iPad.
- Television and Power Source: Make sure you have a compatible television with an available HDMI input and a power source to connect your Apple TV.
- Internet Connection: You will need a stable internet connection to set up and sign in to your Apple TV. Ensure that your Wi-Fi network is active and reliable.
- Apple TV Remote: Locate the Apple TV remote that came with your Apple TV device. It’s essential for navigating the Apple TV interface and entering your login credentials.
Once you have confirmed that you meet these prerequisites, you’re ready to move on to the next step: connecting your Apple TV to your television and power source. Follow our step-by-step guide to get started with the Apple TV setup process.
Remember, having your prerequisites in place ensures a seamless and hassle-free login experience, allowing you to access all the amazing features and content that Apple TV has to offer.
Step 1: Connect Apple TV to a Compatible Television and Power Source
The first step to logging into your Apple TV is to connect it to a compatible television and ensure it has a power source. Here’s how to do it:
- Connect the HDMI cable: Take one end of the HDMI cable and plug it into the HDMI port on the back of your Apple TV. Make sure to note which HDMI input you’ve connected it to.
- Connect the other end of the HDMI cable: Plug the other end of the HDMI cable into the corresponding HDMI input on your television. Most modern televisions have multiple HDMI inputs, so select the one you connected the Apple TV to.
- Connect the power cable: Take the power cable that came with your Apple TV and plug one end into the power port on the back of the device.
- Plug the other end of the power cable: Connect the other end of the power cable into a power outlet or a surge protector.
- Turn on the television: Turn on your television and set it to the HDMI input to which you connected the Apple TV. You may need to use your television remote or input selector button to change the input source.
Once you have successfully connected your Apple TV to your television and powered it on, you are ready to proceed with the initial configuration. This includes selecting the language, connecting to your Wi-Fi network, and agreeing to the terms and conditions. We’ll cover these steps in the following sections.
Now that your Apple TV and television are connected and powered on, let’s move on to step 2: setting up your Apple TV with the initial configuration.
Step 2: Set Up Apple TV with Initial Configuration
Now that your Apple TV is successfully connected to your television and powered on, it’s time to set it up with the initial configuration. Follow these steps:
- Select the language: Use the Apple TV remote to navigate through the on-screen menu and select your preferred language. This will determine the language for the Apple TV interface and menus.
- Choose your country/region: Next, choose your country or region from the provided list. This helps customize the content and services available to you based on your location.
- Connect to Wi-Fi: Select your Wi-Fi network from the list of available networks, and enter the Wi-Fi password if prompted. Make sure you have a stable internet connection before proceeding.
- Agree to Terms and Conditions: Read and agree to the Terms and Conditions presented on the screen. You may need to scroll through the document to reach the end. Once you agree, you can proceed to the next step.
After completing the initial configuration, your Apple TV will be ready to sign in with your Apple ID and access all the features and content it has to offer. The next step will guide you through the process of signing in with your Apple ID.
By setting up your Apple TV with the initial configuration, you’re taking the necessary steps to personalize your viewing experience and ensure seamless integration with your Apple devices.
Step 3: Locate the Apple TV Remote
Before you can proceed with signing in to your Apple TV, it’s crucial to locate the Apple TV remote that came with your device. The remote is an essential tool for navigating the Apple TV interface and entering your login credentials. Follow these steps to find your Apple TV remote:
- Check the packaging: Begin by checking the packaging of your Apple TV. The remote is typically included in the box along with the Apple TV device.
- Look in the accessories compartment: If your Apple TV remote is not immediately visible, check the accessories compartment within the packaging. Apple often packages the remote separately to keep it protected during shipping.
- Check nearby storage areas: If you have unpacked your Apple TV and discarded the packaging, inspect nearby storage areas such as drawers, cabinets, or entertainment centers where you may have placed the remote for safekeeping.
- Use the Find My app: If you have an iOS device with the Find My app installed, you may be able to locate your Apple TV remote using Bluetooth connectivity. Open the Find My app and select the Devices tab to see if your remote appears.
- Consider a replacement: If you have tried the above steps and still cannot locate your Apple TV remote, you may need to consider purchasing a replacement remote. Apple offers additional remotes for sale, or you can explore third-party options that are compatible with Apple TV.
Locating your Apple TV remote is essential for a smooth login process and ongoing usage of your Apple TV. Once you’ve found the remote, ensure it’s within reach in preparation for the next step: turning on the Apple TV and TV screen.
With the Apple TV remote in hand, you’re ready to move forward with the login process and start enjoying the amazing content and features available on your Apple TV.
Step 4: Turn on Apple TV and TV Screen
Now that you have located your Apple TV remote, it’s time to turn on your Apple TV and the TV screen. Follow these steps to ensure everything is powered on correctly:
- Point the remote at the Apple TV: Hold your Apple TV remote within range of the Apple TV device, ensuring there are no obstructions between the two.
- Press the Menu button: Press the Menu button, which is located at the top left of the Apple TV remote. This will wake up the Apple TV and bring the device out of standby mode.
- Ensure the TV screen is on the correct input: Look at your TV screen and make sure it is set to the HDMI input you connected your Apple TV to in Step 1. Use the TV remote or input selector button to switch to the correct input if necessary.
- Check for the Apple TV home screen: After pressing the Menu button on the remote, the Apple TV home screen should appear on the TV screen. You may also see the Apple logo or a loading indicator before the home screen is displayed.
If you don’t see the Apple TV home screen, ensure that the HDMI cable is securely connected, and both the Apple TV and TV screen are powered on. Also, double-check that you have selected the correct HDMI input on your TV.
Once you see the Apple TV home screen, it’s an indication that your Apple TV and TV screen are successfully turned on and ready for further configuration and signing in with your Apple ID.
With your Apple TV and TV screen powered on, we can now move on to the next step: selecting the language and country/region.
Step 5: Select the Language and Country/Region
After turning on your Apple TV and TV screen, it’s time to set the language and country/region preferences. Follow these steps to select the appropriate settings:
- Navigate to the Language & Region settings: Use the Apple TV remote to navigate through the Apple TV home screen and locate the “Settings” app. Select the app and navigate to “General” > “Language & Region.”
- Select the preferred language: In the Language & Region settings, choose your desired language from the available options. This language will be used for the Apple TV interface and menus.
- Choose the country or region: Next, select the country or region that aligns with your location or preference. This selection helps personalize the content and services available on your Apple TV.
- Confirm the language and region settings: After making your selections, review the summary of the chosen language and region before moving forward.
These language and country/region settings ensure that your Apple TV is tailored to your preferred language and provides access to region-specific content and services. It’s important to select the correct settings to enhance your overall Apple TV experience.
Once you have confirmed the language and country/region settings, we can proceed to the next step: connecting your Apple TV to your Wi-Fi network.
Now that you have successfully selected the language and country/region settings, your Apple TV is one step closer to being personalized and ready for login with your Apple ID. Let’s move on to the next step and connect your Apple TV to your Wi-Fi network.
Step 6: Connect Apple TV to Wi-Fi Network
Now that you have set the language and region preferences, it’s time to connect your Apple TV to your Wi-Fi network. Follow these steps to establish a connection:
- Navigate to the Network settings: Using the Apple TV remote, navigate to the “Settings” app on the Apple TV home screen. Select “Network” to access the network settings.
- Select Wi-Fi: In the Network settings, choose the “Wi-Fi” option to view a list of available Wi-Fi networks.
- Select your Wi-Fi network: Locate your Wi-Fi network in the list and select it. If you don’t see your network, ensure it is within range and functioning properly.
- Enter your Wi-Fi password: If your Wi-Fi network is password-protected, a prompt will appear to enter your password. Use the Apple TV remote to enter the correct password using the on-screen keyboard.
- Connect to the Wi-Fi network: After entering the password, select “Connect” to establish the connection between your Apple TV and the Wi-Fi network.
- Confirm the Wi-Fi connection: Once the connection is established, you will see a confirmation message indicating that your Apple TV is connected to the Wi-Fi network.
It’s important to ensure a stable Wi-Fi connection for uninterrupted streaming and access to online services on your Apple TV. If you experience any connection issues, double-check that you have entered the correct password and that your Wi-Fi network is functioning properly.
With your Apple TV successfully connected to your Wi-Fi network, you’re now one step away from signing in with your Apple ID. Let’s move on to the next step and agree to the Terms and Conditions.
Step 7: Agree to Terms and Conditions
Before you can proceed with signing in to your Apple TV, you’ll need to agree to the Terms and Conditions set by Apple. Here’s how to do it:
- Navigate to the Settings: Use the Apple TV remote to navigate to the “Settings” app on the Apple TV home screen.
- Select General: In the Settings menu, select “General” to access the general settings of your Apple TV.
- Choose About: Scroll down and select “About” to access information about your Apple TV.
- Select Legal: In the About menu, choose “Legal” to access the legal agreements and documents for your Apple TV.
- Read the Terms and Conditions: Read through the Terms and Conditions presented on the screen. You may need to scroll to read the entire document.
- Agree to the Terms and Conditions: After reviewing the Terms and Conditions, select the option to agree. Please read the document carefully and ensure you understand the terms before proceeding.
Agreeing to the Terms and Conditions allows you to continue with the setup process and sign in with your Apple ID. It also ensures that you understand and comply with Apple’s policies and guidelines.
By agreeing to the Terms and Conditions, you’re acknowledging your consent to use Apple services and protecting both your and Apple’s rights. Once you’ve agreed, you can proceed to the final step: signing in to your Apple ID.
With the Terms and Conditions agreed upon, you’re now ready to move forward and sign in to your Apple ID to unlock the full potential of your Apple TV.
Step 8: Sign In to Your Apple ID
The final step in logging into your Apple TV is signing in with your Apple ID. Follow these steps to enter your Apple ID credentials:
- Navigate to the Settings: Use the Apple TV remote to navigate to the “Settings” app on the Apple TV home screen.
- Select Users and Accounts: In the Settings menu, select “Users and Accounts” to access the user settings of your Apple TV.
- Choose Add New User: In the Users and Accounts menu, select “Add New User” to begin the process of signing in with your Apple ID.
- Enter your Apple ID: On the sign-in screen, enter your Apple ID email address. Use the on-screen keyboard and the Apple TV remote to input your email correctly.
- Enter your password: After entering your Apple ID, a password field will appear. Enter your Apple ID password using the on-screen keyboard and the Apple TV remote.
- Sign in: Once you’ve entered your Apple ID and password, select “Sign in” to proceed with the sign-in process.
- Complete two-factor authentication: If you have two-factor authentication enabled for your Apple ID, a verification code will be sent to your trusted device. Enter the code on the Apple TV screen to authenticate your sign-in.
- Follow the prompts: After successfully signing in, follow any additional prompts that may appear on the screen to customize your Apple TV settings, such as Siri preferences and HomeKit integration.
Signing in to your Apple ID allows you to access your personalized content, settings, and preferences on your Apple TV. It also enables synchronization across your Apple devices, ensuring a seamless and consistent experience.
With your Apple ID signed in, you’re now ready to explore the world of entertainment and take full advantage of the features and content available on your Apple TV.
Congratulations! You have successfully logged into your Apple TV and unlocked a world of entertainment and convenience.
Troubleshooting Tips for Apple TV Login Issues
Experiencing login issues with your Apple TV can be frustrating, but don’t worry, as there are several troubleshooting steps you can take to resolve the problem. Here are some helpful tips to troubleshoot Apple TV login issues:
- Check your Apple ID credentials: Double-check that you are entering the correct Apple ID email address and password. Pay attention to uppercase and lowercase letters, as passwords are case-sensitive.
- Reset your Apple ID password: If you’re unable to log in due to a forgotten or incorrect password, you can reset your Apple ID password through the Apple website or the Apple ID app on your iPhone or iPad.
- Ensure a stable internet connection: A reliable internet connection is essential for logging in to your Apple TV. Make sure your Wi-Fi network is working correctly and try connecting other devices to confirm the internet connection is stable.
- Restart your Apple TV: Sometimes, a simple restart can resolve minor software glitches. Go to “Settings” > “System” > “Restart” to restart your Apple TV and then attempt to log in again.
- Update your Apple TV software: Outdated software can cause compatibility issues. Check for software updates by going to “Settings” > “System” > “Software Updates” and install any available updates.
- Reset your Apple TV: If you’re still having trouble logging in, you can try resetting your Apple TV to factory settings. Go to “Settings” > “System” > “Reset” > “Restore” to erase all data and settings on your Apple TV. Note that this will remove all content and personalized preferences.
- Contact Apple Support: If none of the above steps resolve your login issues, it’s recommended to reach out to Apple Support for further assistance. They can provide personalized troubleshooting and guide you through any specific issues you may be experiencing.
By following these troubleshooting tips, you can overcome login issues and gain access to all the features and content on your Apple TV. Remember to be patient and methodical in your approach, checking each step thoroughly before moving on to the next.
With these troubleshooting tips in your arsenal, you’ll be well-equipped to address any login issues that may arise and continue enjoying the seamless entertainment experience provided by your Apple TV.
Conclusion
Congratulations! You have successfully learned how to log into your Apple TV and gain access to a world of entertainment and convenience. By following the steps outlined in this guide, you have connected your Apple TV to a compatible television and power source, set up the initial configuration, located the Apple TV remote, turned on the Apple TV and TV screen, selected the language and country/region, connected to your Wi-Fi network, agreed to the Terms and Conditions, and signed in to your Apple ID.
Logging in to your Apple TV with your Apple ID allows you to access personalized content, settings, and preferences, as well as enjoy seamless integration with your other Apple devices. With your Apple TV now set up, you can explore a wide range of streaming services, watch your purchased movies and TV shows, listen to music, and even enjoy gaming on the big screen.
Remember, if you encounter any login issues, refer back to the troubleshooting tips provided to help troubleshoot and resolve the problem. Additionally, don’t hesitate to reach out to Apple Support for further assistance.
Now, sit back, relax, and enjoy the incredible entertainment experience that Apple TV offers. Whether you’re catching up on your favorite TV shows, immersing yourself in the latest blockbuster movies, or discovering new music, Apple TV brings it all to life in the comfort of your own home.
Thank you for choosing Apple TV, and happy streaming!