Introduction
Welcome to this comprehensive guide on how to install the vCenter Appliance on VMware Workstation. VMware vCenter is a powerful tool that allows you to manage virtualized infrastructures, monitor performance, and automate tasks in your virtual environment. The vCenter Appliance is a preconfigured virtual machine that includes vCenter Server and other essential components, making the installation process much simpler.
By following the steps outlined in this guide, you will be able to set up a vCenter Appliance on your VMware Workstation, allowing you to centrally manage multiple virtual machines and streamline your virtualization workflow.
Whether you are a system administrator, a developer, or an IT professional looking to enhance your virtual environment management skills, this step-by-step guide will provide you with everything you need to successfully install the vCenter Appliance on VMware Workstation.
Throughout this guide, we will cover the prerequisites, the downloading process for the vCenter Appliance, the creation of a new virtual machine, the importing of the vCenter Appliance OVA file, the configuration of the vCenter Appliance, and accessing the vCenter Server Web Client. By following these instructions, you will have a fully functional vCenter environment up and running in no time.
So, without further ado, let’s dive into the installation process and get your vCenter Appliance set up on VMware Workstation!
Prerequisites
Before you begin the installation process, there are a few prerequisites that you need to fulfill:
- VMware Workstation: Ensure that you have VMware Workstation installed on your computer. This virtualization software will serve as the platform for running the vCenter Appliance.
- System Requirements: Verify that your computer meets the minimum system requirements for running VMware Workstation. These requirements typically include adequate RAM, CPU, and storage space.
- vCenter Appliance OVA File: Download the vCenter Appliance Open Virtualization Appliance (OVA) file from the official VMware website. Make sure you have the appropriate version of the appliance for your VMware Workstation.
- Network Configuration: Ensure that your computer’s network is properly configured, and you have a stable internet connection. This is important for downloading the vCenter Appliance and for accessing it once it’s installed.
- Administrative Access: Make sure you have administrative privileges on your computer and the necessary permissions to create new virtual machines and make changes to the network settings.
It’s important to note that the installation process may require additional prerequisites depending on your specific environment. It’s recommended to consult the VMware documentation to ensure you have met all the necessary requirements before proceeding.
By fulfilling these prerequisites, you will have the necessary foundation to begin the installation process smoothly. Once you have everything in place, you can proceed to the next step, which involves downloading the vCenter Appliance.
Downloading the vCenter Appliance
To begin the installation process, you need to download the vCenter Appliance file from the VMware website. Follow these steps to download the vCenter Appliance:
- Open your preferred web browser and navigate to the VMware website.
- Sign in to your VMware account. If you don’t have an account, create one by following the registration process.
- Once you are logged in, go to the Downloads section of the website.
- Search for the vCenter Appliance and select the appropriate version for your VMware Workstation.
- Click on the Download button to start the download process. The file size may vary depending on the version you are downloading.
- Wait for the download to complete. The time it takes will depend on your internet connection speed.
After the download is complete, you will have the vCenter Appliance OVA file ready for installation. Keep the file in a location where you can easily access it during the installation process.
Note that the download process may require you to accept VMware’s terms and conditions or provide additional information. Make sure to carefully read and follow any prompts or instructions that appear during the download process.
With the vCenter Appliance downloaded and ready, you can now proceed to the next step, which involves creating a new virtual machine in VMware Workstation.
Creating a New Virtual Machine in VMware Workstation
Now that you have downloaded the vCenter Appliance, it’s time to create a new virtual machine in VMware Workstation. Follow these steps to create a new virtual machine:
- Launch VMware Workstation on your computer.
- Click on the New Virtual Machine button. This will open the New Virtual Machine Wizard.
- Choose the Typical configuration and click Next.
- Select the option I will install the operating system later and click Next.
- Specify the guest operating system as Other and choose the version that matches your vCenter Appliance. Click Next.
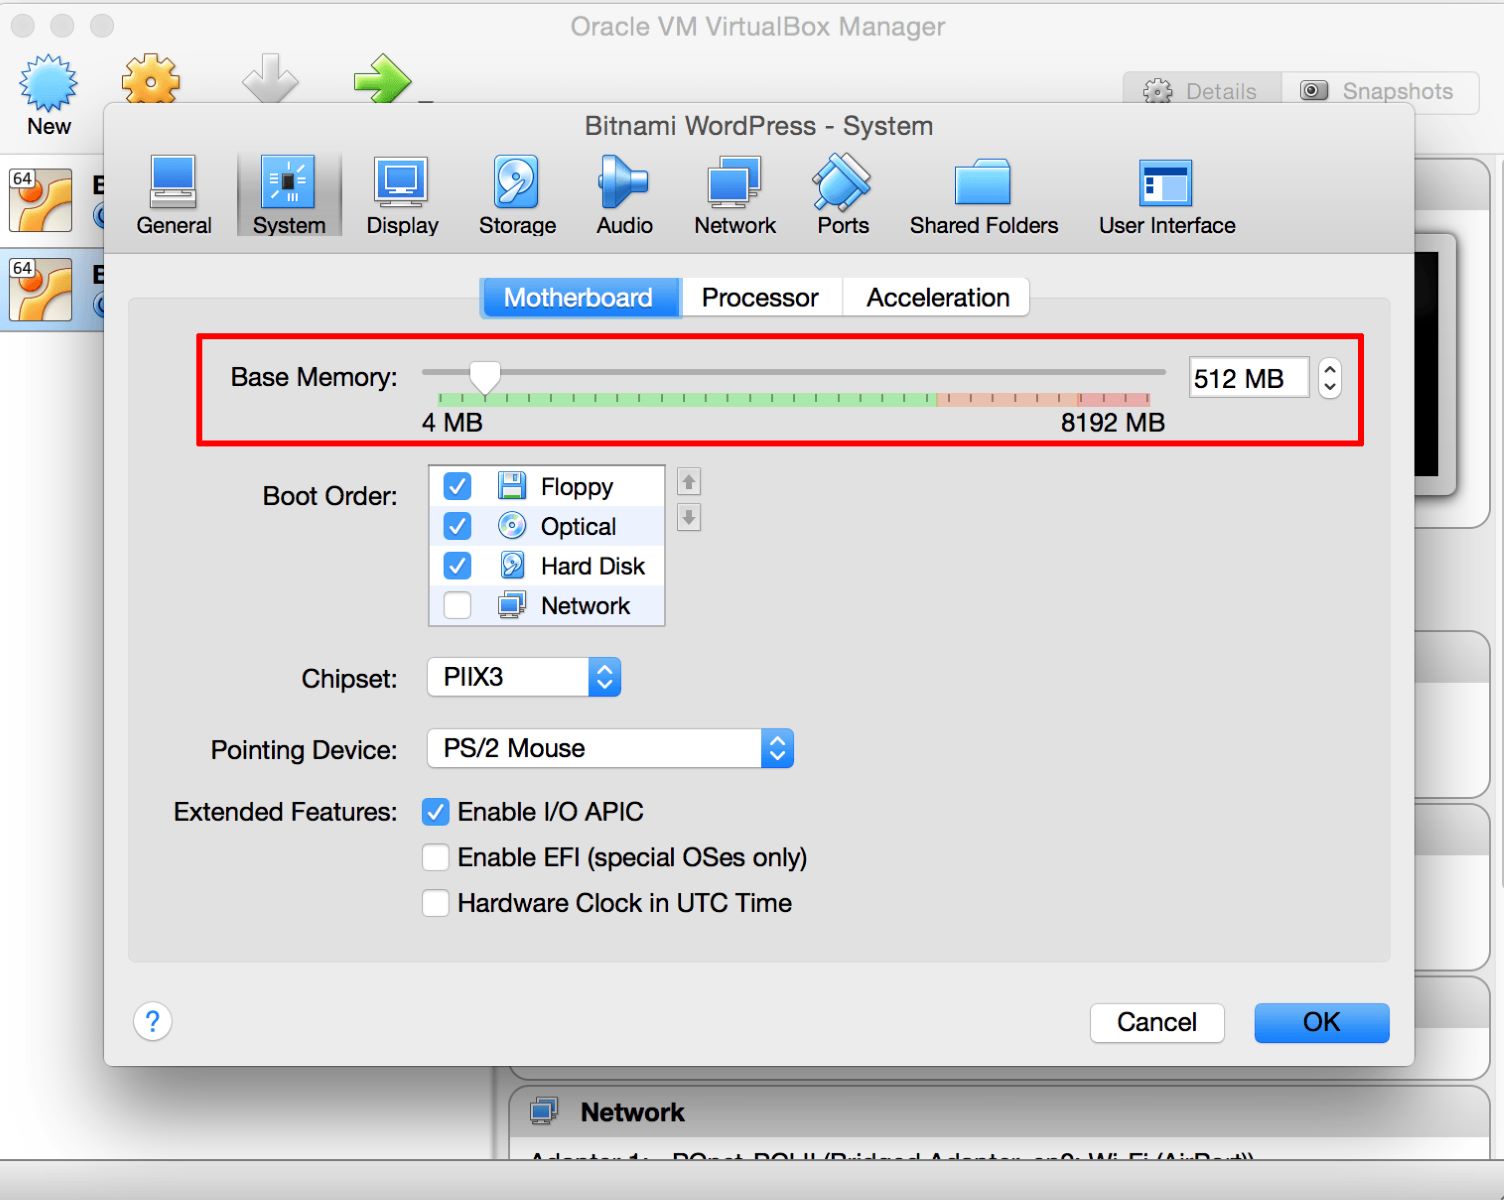
- Provide a name and location for your virtual machine. Choose a location where you have sufficient disk space to accommodate the vCenter Appliance. Click Next.
- Specify the maximum disk size for your virtual machine. Ensure that you allocate enough disk space to accommodate the installation and future growth of the vCenter Appliance. Click Next.
- Review the virtual machine settings and make any necessary adjustments. Ensure that the network adapter is set to the appropriate setting so that the vCenter Appliance can access the network. Click Finish when you are ready.
Once you have completed these steps, you will have successfully created a new virtual machine in VMware Workstation. This virtual machine will serve as the platform for installing the vCenter Appliance.
In the next section, we will cover how to import the vCenter Appliance OVA file into the newly created virtual machine.
Importing the vCenter Appliance OVA File
With the virtual machine created, the next step is to import the vCenter Appliance OVA file into VMware Workstation. Follow these steps to import the vCenter Appliance:
- Open VMware Workstation if it’s not already running.
- In the menu bar, go to File and select Open or Open a Virtual Machine.
- Navigate to the location where you downloaded the vCenter Appliance OVA file and select it.
- Click Open to start the import process.
- The Import Virtual Machine wizard will appear. Review the details and click Import to begin the import process.
- Wait for the import process to complete. This may take some time depending on the size of the OVA file and the performance of your computer.
- Once the import is finished, you will see the imported virtual machine listed in the VMware Workstation interface.
Importing the vCenter Appliance OVA file prepares the virtual machine to host the vCenter Server. The imported virtual machine contains all the necessary components to run the vCenter Appliance.
In the next section, we will explore how to configure the vCenter Appliance to prepare it for use in your virtual environment.
Configuring the vCenter Appliance
After importing the vCenter Appliance, the next step is to configure it to prepare it for use in your virtual environment. Follow these steps to configure the vCenter Appliance:
- Double-click on the imported vCenter Appliance virtual machine in VMware Workstation to start it.
- A console window will open, displaying the initialization process of the vCenter Appliance. Wait for the process to complete.
- Once the initialization is complete, you will see the vCenter Appliance Configuration Interface in the console window.
- Use the keyboard to navigate through the configuration options. Press Enter to select an option.
- Configure the following settings:
- Configure Network: Set the network settings for the vCenter Appliance, such as IP address, subnet mask, gateway, and DNS servers.
- Set Up SSO Domain: Create a Single Sign-On (SSO) domain and provide the necessary information, such as domain name, administrator password, and site name.
- Set Up Database: Choose the database type for the vCenter Appliance. You can select either an embedded PostgreSQL database or an external database.
- Configure Time Synchronization: Specify the time synchronization method for the vCenter Appliance, such as using an NTP server.
- Follow the on-screen prompts to complete the configuration process.
- Once the configuration is finished, the vCenter Appliance will start the services and be ready for use.
Configuring the vCenter Appliance ensures that it is properly set up to function within your virtual environment. Take your time to carefully configure the necessary settings based on your specific requirements.
In the next section, we will cover how to start the vCenter Appliance and access the vCenter Server Web Client.
Starting the vCenter Appliance
Once the vCenter Appliance is configured, the next step is to start it and ensure that all the services are up and running. Follow these steps to start the vCenter Appliance:
- In VMware Workstation, ensure that the vCenter Appliance virtual machine is selected.
- Click on the Power On button to start the vCenter Appliance.
- Monitor the console window for any startup messages and wait for the vCenter Appliance to fully boot up.
- During the startup process, the vCenter Appliance will initialize various services, including the vCenter Server.
- Once the startup process is complete, you will see a message indicating that the vCenter Appliance is ready.
- At this point, the vCenter Appliance is running, and you can proceed to access the vCenter Server Web Client.
Starting the vCenter Appliance is an important step as it ensures that all the necessary services are operational and ready for use. Make sure to monitor the startup process and take note of any error messages or warnings in case further troubleshooting is required.
In the next section, we will explore how to access the vCenter Server Web Client to manage your vCenter Appliance and virtual machines.
Accessing the vCenter Server Web Client
Once the vCenter Appliance is up and running, you can access the vCenter Server Web Client to manage your virtual machines and perform various administrative tasks. Follow these steps to access the vCenter Server Web Client:
- Open your preferred web browser on your computer.
- Enter the IP address or hostname of the vCenter Appliance in the address bar of the browser.
- Press Enter to navigate to the vCenter Appliance login page.
- Enter the username and password that you provided during the vCenter Appliance configuration process.
- Click Login or press Enter to log in to the vCenter Server Web Client.
Once you have successfully logged in, you will have access to the vSphere Client interface, which allows you to manage and monitor your virtual machines, create and configure virtual networks, and perform various administrative tasks.
Take your time to explore the different features and functionalities of the vCenter Server Web Client. Familiarize yourself with the interface and the available options to effectively manage your virtual environment.
It’s important to note that the vCenter Appliance can be accessed from any computer on the same network as the appliance, provided the necessary network connectivity is established.
Congratulations! You have successfully accessed the vCenter Server Web Client, and you are now ready to start managing your virtual machines and leveraging the power of the vCenter Appliance.
Conclusion
Congratulations on successfully installing the vCenter Appliance on VMware Workstation! In this guide, we covered the step-by-step process to set up the vCenter Appliance, starting from the prerequisites, downloading the appliance, creating a new virtual machine, importing the vCenter Appliance OVA file, configuring the appliance, starting it, and accessing the vCenter Server Web Client.
By following this installation guide, you now have a fully functional vCenter Appliance running in your virtual environment. The vCenter Appliance provides you with centralized management and monitoring capabilities for your virtual machines, allowing you to streamline your virtualization workflow and simplify administrative tasks.
Remember to regularly monitor the performance of your vCenter Appliance and virtual machines, and ensure that you keep your environment updated with the latest patches and updates provided by VMware.
Now that you have everything set up, take some time to explore the features and capabilities of the vCenter Server Web Client. Experiment with different configurations, create virtual networks, and leverage the power of vCenter to optimize your virtual environment.
Thank you for following this guide, and we hope that you find the vCenter Appliance a valuable tool in managing your virtual infrastructure efficiently. If you have any further questions or need assistance, don’t hesitate to refer to the VMware documentation or reach out to the VMware community for support.
Happy virtualizing!