Introduction
Are you a music lover who wants to enjoy your favorite tunes on your Mac? Look no further than Spotify, one of the most popular music streaming platforms worldwide. With its massive library of songs and user-friendly interface, Spotify is the go-to choice for music enthusiasts. In this guide, we will walk you through the steps to install Spotify on your Mac and start enjoying an endless collection of songs, playlists, and podcasts.
Whether you’re a casual listener or a music aficionado, Spotify offers a seamless and personalized music experience. From discovering new artists and genres to creating your own playlists, Spotify has something for everyone. Installing Spotify on your Mac is quick and simple, and once you have it set up, you’ll have access to millions of songs at your fingertips.
By following the steps outlined in this guide, you can have Spotify up and running on your Mac in no time. Before we dive into the installation process, let’s take a moment to ensure that your Mac meets the system requirements necessary to run Spotify seamlessly. Checking these requirements beforehand will help you avoid any potential compatibility issues and ensure a smooth installation process.
Step 1: Check System Requirements
Before installing Spotify on your Mac, it is essential to ensure that your system meets the necessary requirements. By fulfilling these requirements, you can guarantee a seamless and optimal user experience. Here are the system requirements you need to check:
- Mac OS: Verify that your Mac is running on a compatible operating system. Spotify requires macOS 10.10 or later to function properly. If you are using an older version of macOS, consider upgrading before proceeding with the installation.
- Internet Connection: A stable internet connection is necessary to stream music on Spotify. Make sure you have a reliable and fast internet connection to enjoy uninterrupted playback of your favorite songs.
- Free Space: Check if your Mac has sufficient free space on the hard drive. Spotify recommends having at least 250MB of free disk space to install the application and store cached music files.
- RAM: Spotify is a memory-intensive application, so having ample RAM is crucial for smooth performance. Although it can run on 2GB of RAM, it is recommended to have at least 4GB for optimal performance.
To check your system’s specifications, follow these steps:
- Click on the Apple menu in the top-left corner of your screen and select “About This Mac”.
- A window will appear displaying information about your Mac, including the version of macOS and the amount of RAM installed.
- Click on the “Storage” tab to view the available storage space on your hard drive.
If your Mac meets the system requirements mentioned above, you are ready to proceed with the installation of Spotify. In the next step, we will guide you on how to download the Spotify installer for Mac.
Step 2: Download Spotify
Now that you have confirmed that your Mac meets the system requirements, it’s time to download the Spotify application. Follow these steps to get started:
- Open your favorite web browser on your Mac.
- Go to the official Spotify website by typing “www.spotify.com” in the address bar and pressing Enter.
- Once you land on the Spotify homepage, locate and click on the “Download” button. The button is usually displayed prominently and labeled as “Download Spotify” or something similar.
- Your browser will initiate the download process, and you might be prompted to choose a location to save the Spotify installer file.
- Select a suitable location on your Mac where you want to save the installer file, such as the Downloads folder or the Desktop.
- Wait for the download to complete. The time required for the download will depend on your internet connection speed.
Congratulations! You have successfully downloaded the Spotify installer onto your Mac. The next step is to open the installer and proceed with the installation process. In the following section, we will guide you through the steps to open the Spotify installer on your Mac.
Step 3: Open the Installer
With the Spotify installer downloaded onto your Mac, it’s time to open the installer and start the installation process. Follow the steps below to get started:
- Navigate to the location where you saved the Spotify installer file. This is typically the Downloads folder or the Desktop.
- Locate the Spotify installer file, which is usually named “Spotify Installer” or something similar.
- Double-click on the Spotify installer file to launch the installer.
- You may be prompted to enter your administrator password. If so, enter the password and click “OK” to proceed. This step is necessary to authorize the installation process.
- Wait for the installer to initialize and display the Spotify installation wizard.
Once the installation wizard appears, you’re one step closer to enjoying Spotify on your Mac. In the next section, we will guide you through the process of dragging the Spotify application into your Applications folder for seamless accessibility.
Step 4: Drag Spotify to the Applications Folder
After opening the Spotify installer, the next step is to drag the Spotify application into your Applications folder. This will ensure easy access to Spotify from your Mac’s Launchpad or the Applications directory. Follow these steps to complete this process:
- Once the Spotify installation wizard appears, you will see a window with the Spotify logo and an icon representing the Applications folder.
- Click and hold the Spotify icon, then drag it over to the Applications folder icon.
- Release the mouse button to drop the Spotify application into the Applications folder.
- You may be prompted to enter your administrator password again to authorize the copying of the application to the Applications folder. If so, enter your password and click “OK” to proceed.
The copying process may take a few moments, depending on the size of the Spotify application and the speed of your Mac. Once the copying is complete, you have successfully moved Spotify into your Applications folder. In the next step, we will guide you on how to open Spotify for the first time on your Mac.
Step 5: Open Spotify
With Spotify successfully installed in your Applications folder, it’s time to open the application and start enjoying the vast music library it offers. Follow these steps to open Spotify on your Mac:
- Navigate to your Mac’s Launchpad, either by clicking on the Launchpad icon in the Dock or using the keyboard shortcut F4.
- Locate the Spotify icon among the other applications in the Launchpad. The Spotify icon will have the distinctive green logo.
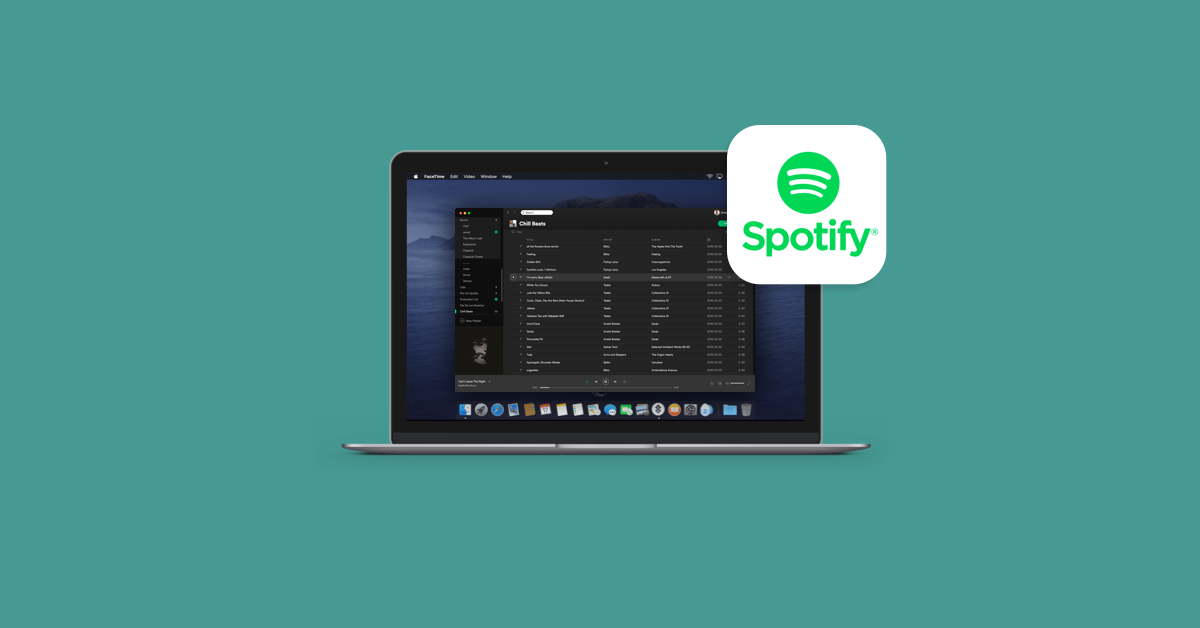
- Click on the Spotify icon to launch the application.
- Alternatively, you can also open Spotify by going to your Applications folder. Locate the Spotify application and double-click on it to open.
Once you have opened Spotify, you will be prompted to log in to your account. If you already have a Spotify account, enter your username and password in the provided fields and click on “Log In” to access your personalized music experience. If you don’t have an account, you can create one by clicking on the “Sign Up” option.
Once you have logged in or created a new account, you are now ready to explore the incredible world of music, playlists, and podcasts on Spotify. Feel free to browse through the millions of songs available, create your own playlists, discover new artists, and enjoy a personalized music journey on your Mac!
In this guide, you learned how to install Spotify on your Mac and open the application. Now it’s time to sit back, relax, and immerse yourself in the endless music streaming possibilities that Spotify has to offer. Enjoy your favorite tunes and discover new tracks, all at the convenience of your Mac!
Conclusion
Congratulations! You have successfully installed Spotify on your Mac and are now ready to enjoy a world of music, playlists, and podcasts. By following the steps outlined in this guide, you have set yourself up for a seamless and personalized music experience right at your fingertips.
Spotify’s extensive library, user-friendly interface, and personalized recommendations make it a popular choice for music lovers. Whether you’re into the latest chart-toppers, timeless classics, or niche genres, Spotify has something to offer for everyone. With features like creating playlists, following artists, and exploring curated playlists, Spotify allows you to customize your music journey according to your taste and mood.
Remember, before installing Spotify, it’s crucial to ensure that your Mac meets the necessary system requirements. This will help ensure optimal performance and prevent any compatibility issues. Additionally, make sure you have a stable internet connection to enjoy uninterrupted music streaming.
Now that Spotify is installed on your Mac, remember to open the application and log in to your account. From there, you can explore the vast music library, discover new artists, and create your own personalized playlists. Whether you’re working, relaxing, or on the go, Spotify will be your ultimate companion for all things music.
Thank you for following this guide on how to install Spotify on your Mac. We hope you found this information helpful and that you now have a seamless and enjoyable music streaming experience on your Mac. Happy listening!