Introduction
Welcome to our guide on how to install a projector to the ceiling! Whether you’re setting up a home theater or a conference room, mounting a projector to the ceiling can provide a clean and professional-looking setup while maximizing space. This guide will take you through the step-by-step process of installing a projector to the ceiling, ensuring a secure and stable installation.
Before you start, it’s important to gather the necessary tools and materials for the installation. You’ll need a projector mount, a drill, a stud finder, a screwdriver, screws, and possibly a ladder, depending on the height of your ceiling. Additionally, it’s essential to read and follow the manufacturer’s instructions for your specific projector model.
This installation guide will cover everything from preparing the equipment and determining the ideal projector placement to attaching the mounting bracket and securing all connections. By following these steps, you’ll be able to set up your projector on the ceiling like a pro.
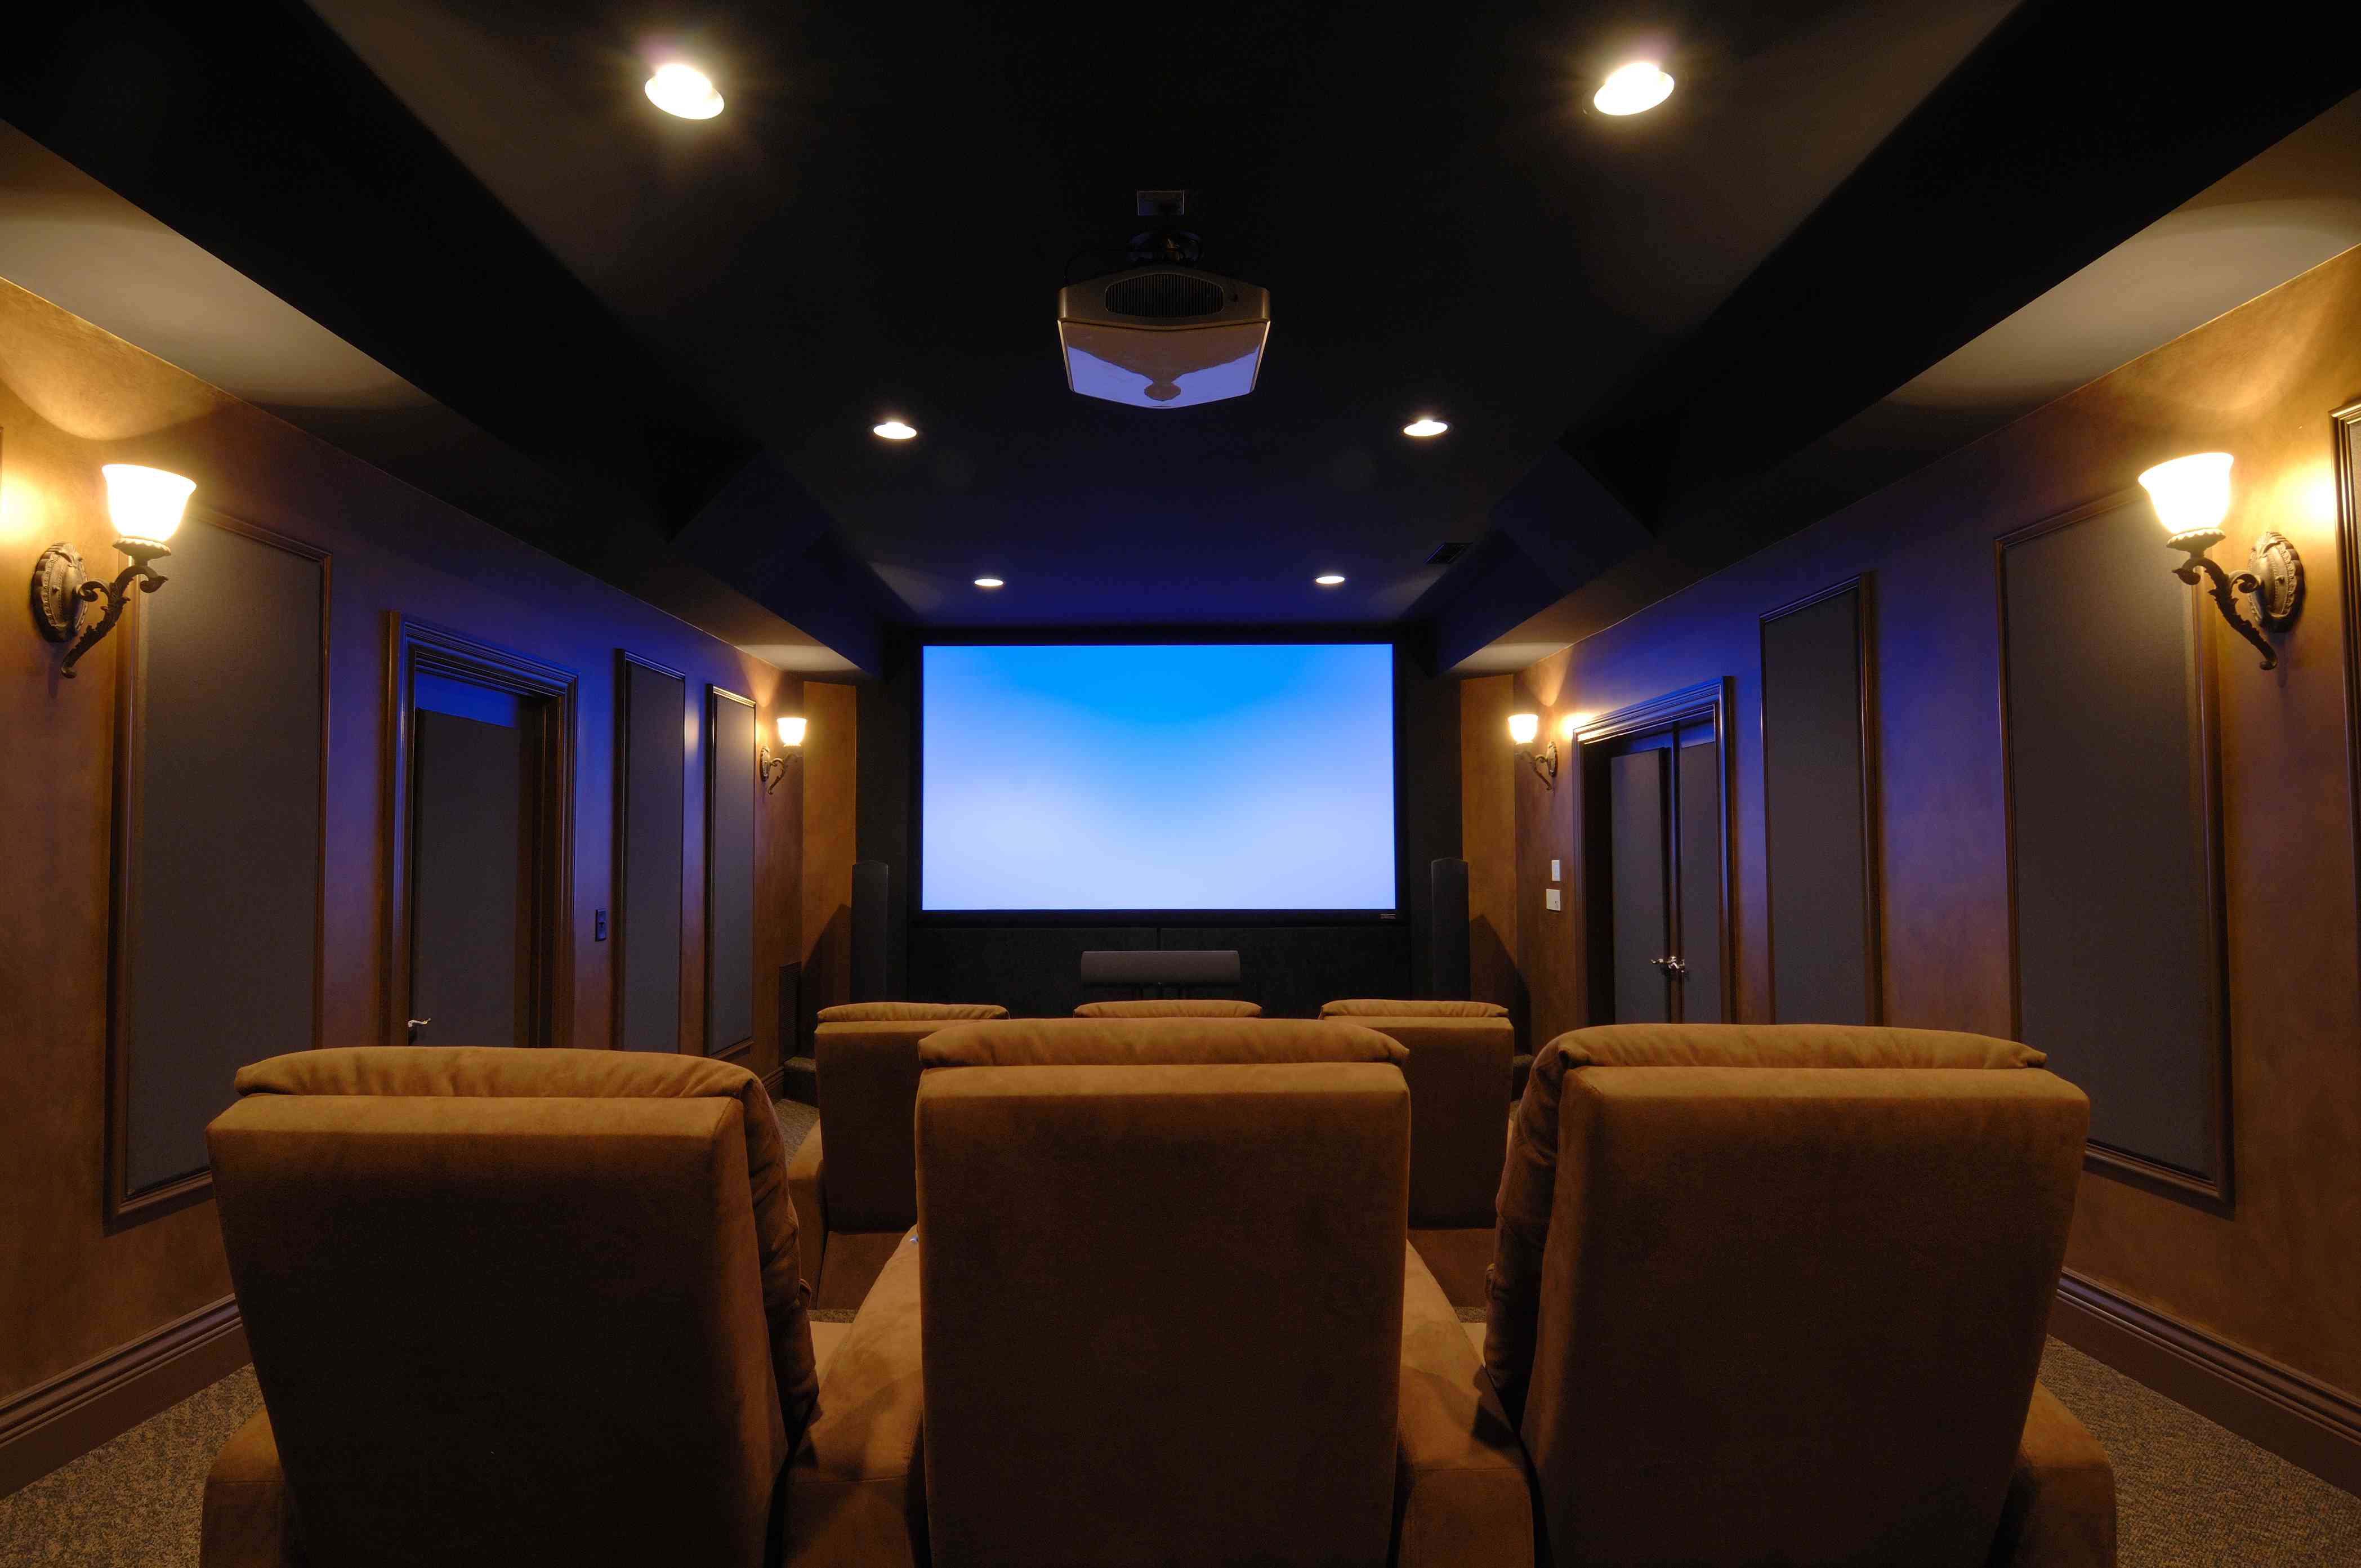
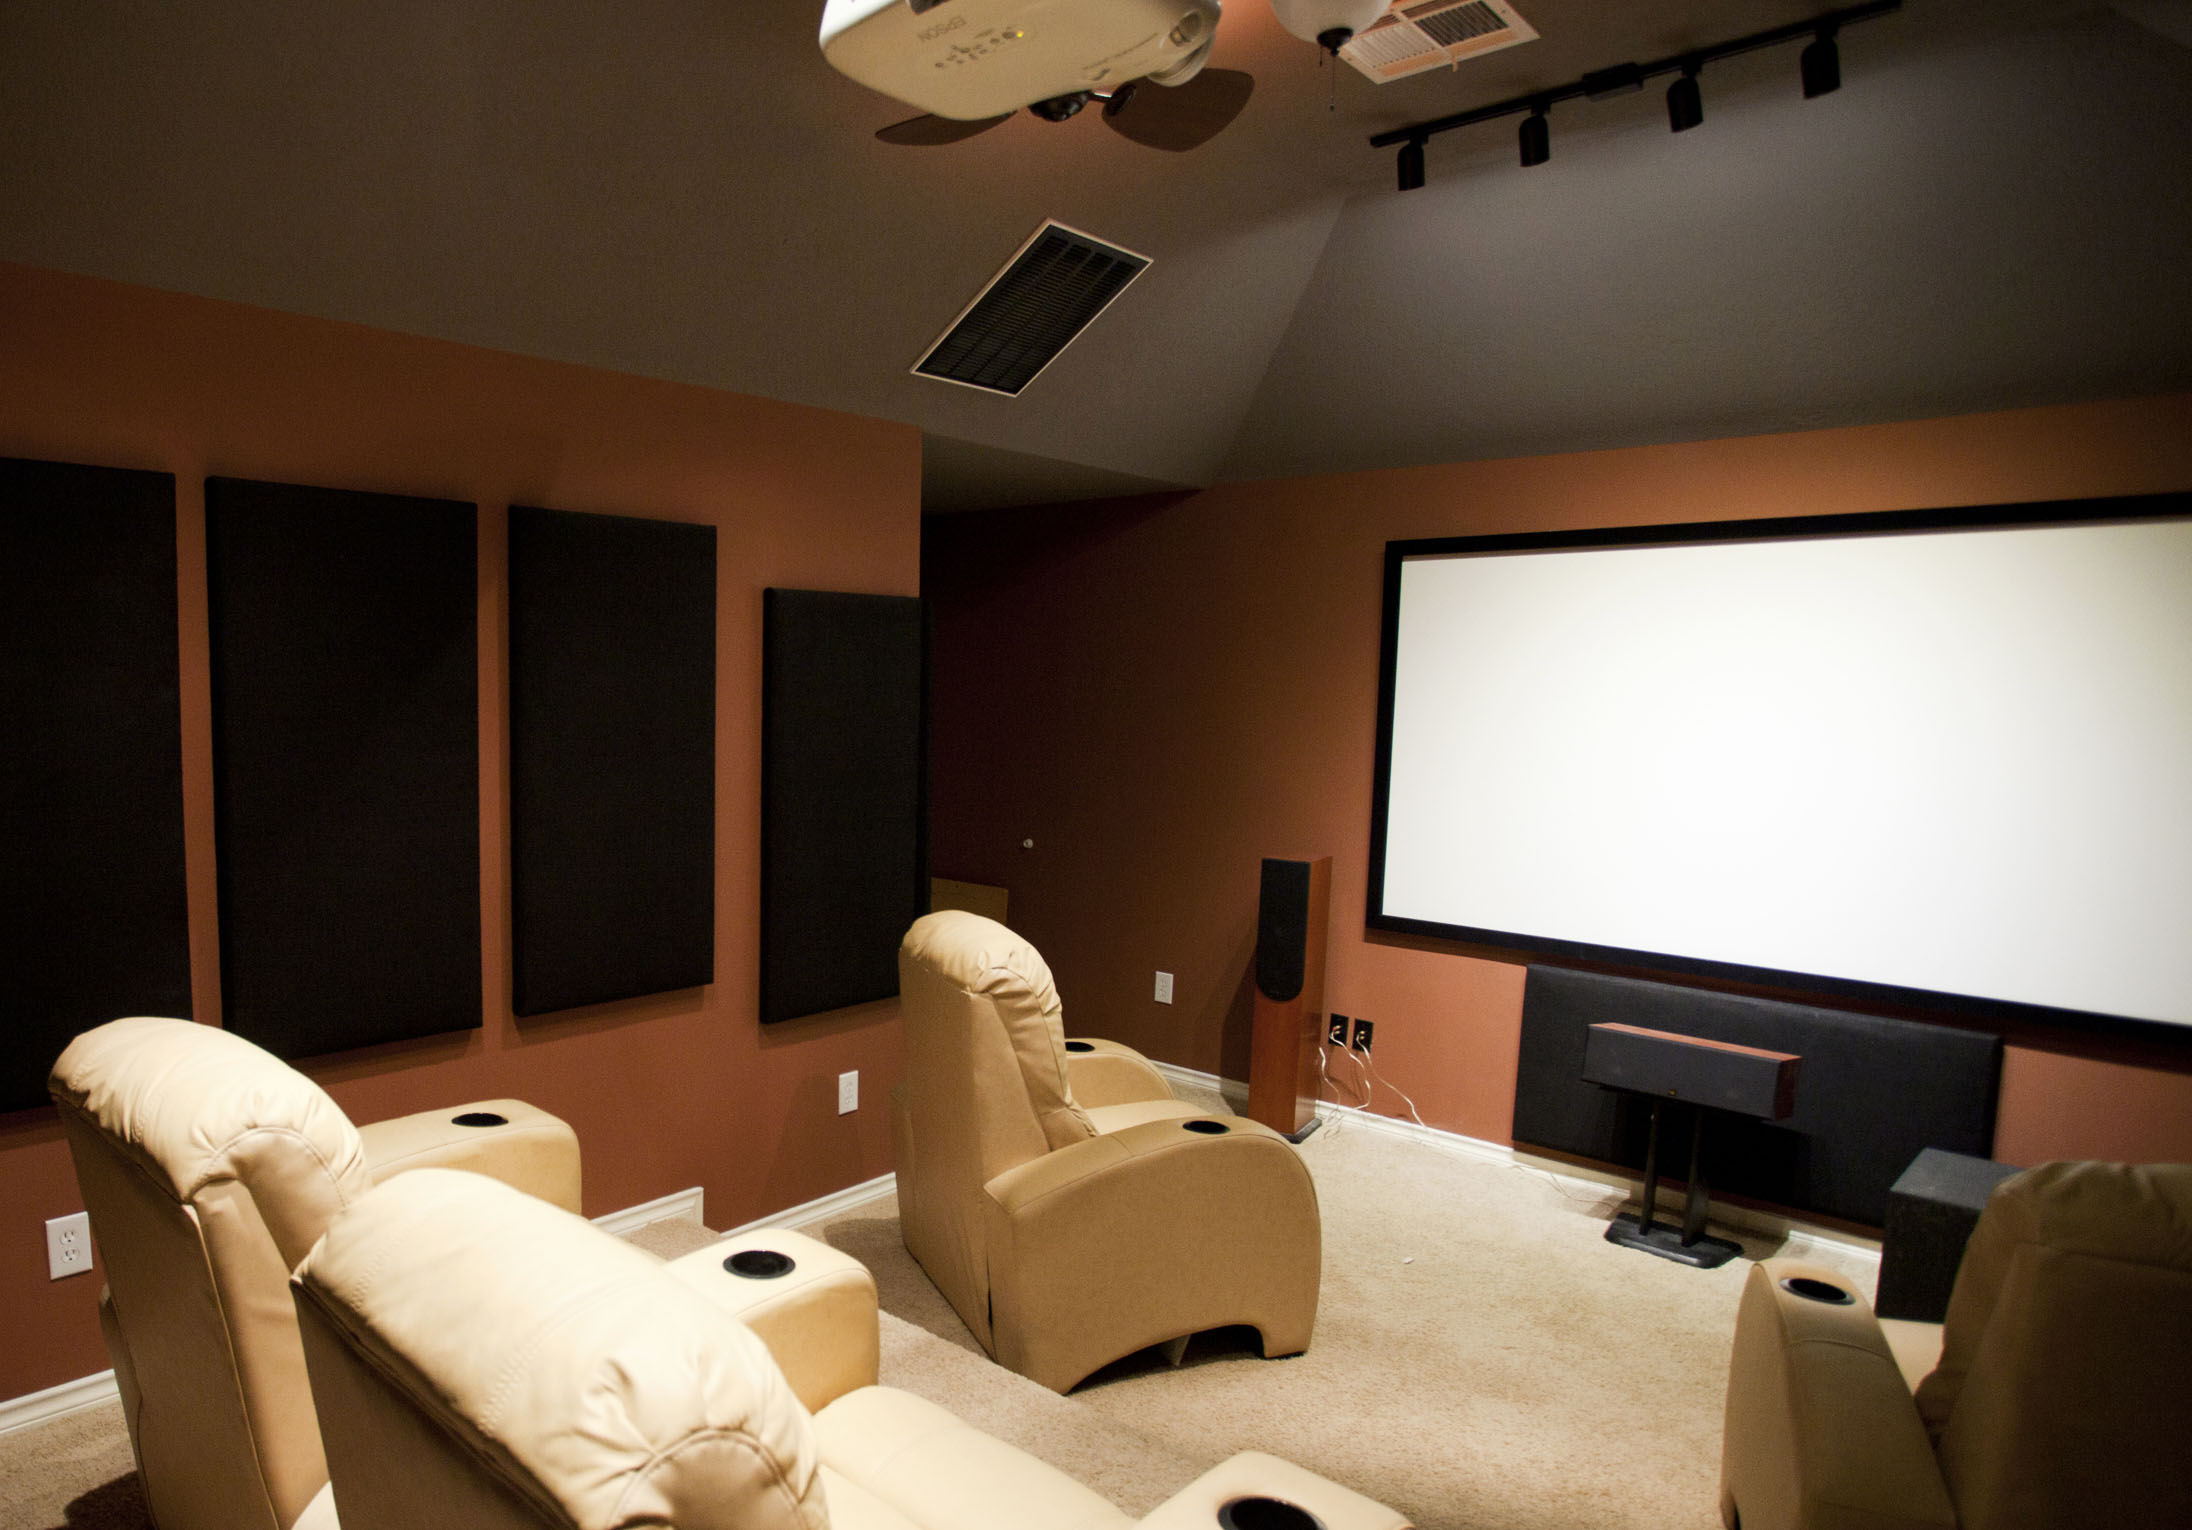
Installing a projector to the ceiling not only enhances the aesthetics of your space but also provides a more immersive and enjoyable viewing experience. Whether you’re watching movies, giving presentations, or gaming, having the projector mounted to the ceiling eliminates the need for bulky stands or wall-mounted brackets, freeing up valuable floor and wall space.
Now that you understand the benefits of ceiling-mounted projectors and have gathered the necessary tools, we can dive into the installation process. Follow each step carefully, and before you know it, you’ll have your projector mounted to the ceiling and ready to provide hours of entertainment or efficient presentations. So, let’s get started!
Tools and Materials Needed
Before you begin installing a projector to the ceiling, it’s important to gather all the necessary tools and materials. Having everything on hand will help ensure a smooth installation process. Here’s a list of the tools and materials you’ll need:
- Projector mount: This is the bracket that securely holds the projector to the ceiling. Choose a mount that is compatible with your projector model.
- Drill: You’ll need a drill to create holes in the ceiling for mounting the bracket.
- Stud finder: This tool will help you locate the ceiling joists, where you’ll anchor the mount for extra stability.
- Screwdriver: You’ll use a screwdriver to secure the mounting bracket to the ceiling.
- Screws: Select the appropriate screws based on the type of ceiling material and the size of the mounting holes on the bracket.
- Ladder: Depending on the height of your ceiling, you may need a ladder to reach the installation point safely.
- Level: A level will ensure that your projector is properly aligned on the ceiling for a straight and balanced image.
- HDMI or VGA cables: These cables will be used to connect your projector to the video source, such as a laptop or DVD player.
- Extension cord or power strip: You may need to extend the power source to reach the projector if it’s far away from the nearest power outlet.
It’s important to note that the specific tools and materials required may vary depending on your projector model and the type of ceiling in your space. Before starting the installation process, make sure to read the manufacturer’s instructions for any additional tools or materials that may be recommended.
Once you have gathered all the necessary tools and materials, you’ll be well-equipped to complete the projector installation. With everything organized and ready to go, you can proceed to the next steps confidently. So, let’s move on to preparing for the installation process.
Before You Begin
Before you start the installation process for mounting a projector to the ceiling, there are a few essential considerations and preparations to keep in mind. Taking these steps will ensure a smooth and successful installation. Here’s what you need to do before you begin:
- Read the Instructions: Familiarize yourself with the installation instructions provided by the projector manufacturer. Every projector model may have specific requirements and recommendations for installation, so it’s crucial to follow those guidelines.
- Choose the Right Location: Determine the ideal location to mount your projector on the ceiling. Consider factors such as the viewing distance, projection angle, and potential obstructions. Make sure the location provides a clear line of sight for the projected image.
- Check Ceiling Compatibility: Examine the ceiling to ensure it can support the weight of the projector and mounting bracket. Ceilings made of sturdy materials like concrete or wood are generally suitable for projector installation.
- Locate Ceiling Joists: Use a stud finder to locate the ceiling joists. Mounting the projector bracket into the joists ensures a secure and stable installation. If the joists are not in the desired location, you may need to use additional support structures.
- Measure and Mark: Measure the distance between the projector’s mounting holes and mark the corresponding spots on the ceiling. This will help you align the mounting bracket accurately during the installation process.
- Clear the Area: Remove any furniture, decorations, or obstacles from the installation area. Having a clear workspace will make it easier to maneuver and avoid accidental damage during the installation process.
- Ensure Proper Ventilation: Check if the projector requires proper ventilation for cooling. Ensure that there is enough airflow around the projector and that the ceiling installation will not impede the ventilation system.
- Secure Cables: Plan how you’ll route the cables from the projector to the video source and power outlet. Keep in mind the length of the cables and any potential hazards or trip hazards they may pose.
By completing these preparatory steps, you’ll be well-prepared and ready to begin the installation process. Taking the time to carefully consider these factors will ensure a successful and hassle-free installation of your projector to the ceiling. Now, let’s move on to the step-by-step instructions for installing the projector!
Step 1: Prepare the Necessary Equipment
Before you start installing the projector to the ceiling, it’s essential to gather and prepare all the necessary equipment. This step will ensure that you have everything you need within reach, making the installation process smoother and more efficient. Here’s what you need to do:
- Organize the Tools: Gather all the tools and materials you’ll need for the installation, including the projector mount, drill, stud finder, screwdriver, screws, ladder, level, HDMI or VGA cables, and extension cord or power strip. Arrange them in a convenient location near the installation area.
- Read the Instructions: Carefully review the installation instructions provided by the projector manufacturer. Each projector model may have specific instructions or recommendations that you should follow for the installation process. Familiarize yourself with the guidelines before proceeding.
- Inspect the Equipment: Thoroughly check the projector mount, ensuring that all the components are present and in good condition. Verify that the mounting bracket is compatible with your projector model. Inspect the cables for any signs of damage or wear.
- Prepare the Workspace: Clear the installation area, removing any furniture, decorations, or other obstacles that may hinder your movement or access to the ceiling. It’s crucial to have a clutter-free workspace to avoid accidents and ensure a seamless installation.
- Position the Ladder: If required, position a ladder or step stool near the installation area. Ensure that it is stable, level, and secure before climbing up. The ladder should be set at a height that allows you to comfortably reach the ceiling without straining or risking your safety.
- Have Safety Measures in Place: Before you start the installation, consider safety precautions such as wearing protective eyewear, using a dust mask if drilling into the ceiling creates dust, and using caution when handling tools and climbing ladders.
By taking the time to prepare the necessary equipment, familiarize yourself with the instructions, and ensure a safe and organized workspace, you’ll be off to a great start for installing your projector to the ceiling. With everything ready, it’s now time to move on to the next step: determining the ideal projector placement!
Step 2: Determine the Ideal Projector Placement
Before you proceed with the installation, it’s crucial to determine the ideal placement for your projector on the ceiling. The placement will not only affect the viewing experience but also impact the overall functionality and aesthetics of the setup. Follow these steps to determine the optimal projector placement:
- Consider the Projection Distance: Measure the distance between the desired screen or viewing area and the potential projector location on the ceiling. This distance will help you choose a projector with the appropriate throw ratio and determine the mounting position for the best image size and clarity.
- Factor in Screen Size: Determine the desired screen size or diagonal measurement. This will depend on your preferences and the available space. Use online calculators or projection distance charts provided by the projector manufacturer to determine the proper placement that will deliver the desired screen size.
- Check for Obstructions: Identify any potential obstructions between the projector and the screen, such as ceiling fans, lights, or air vents. Ensure that the projector’s projected image will not be obstructed or distorted by these elements.
- Consider Viewing Angle: Evaluate the viewing angle from various points in the room. Mount the projector in a location that provides a clear line of sight from different seating positions. This way, everyone in the room can have an optimal viewing experience without straining their necks or eyes.
- Account for Keystone Correction: Some projectors offer keystone correction, which digitally adjusts the image to compensate for distortion caused by an angled projection. If your projector has this feature, determine whether you need to mount it off-center or at an angle to align the image properly with the screen.
- Take Ceiling Height into Account: Consider your ceiling height and ensure that the projector’s projection angle won’t result in an image that is too high or too low on the screen. Adjust the projector mount and projection angle accordingly to achieve an even, centered image on the screen.
By taking these factors into consideration, you can determine the ideal placement for your projector on the ceiling. This step is crucial to ensure that the projected image aligns perfectly with your screen or viewing area, providing an immersive and enjoyable viewing experience for everyone. Now that you have determined the ideal projector placement, let’s move on to the next step: locating the mounting holes on the projector.
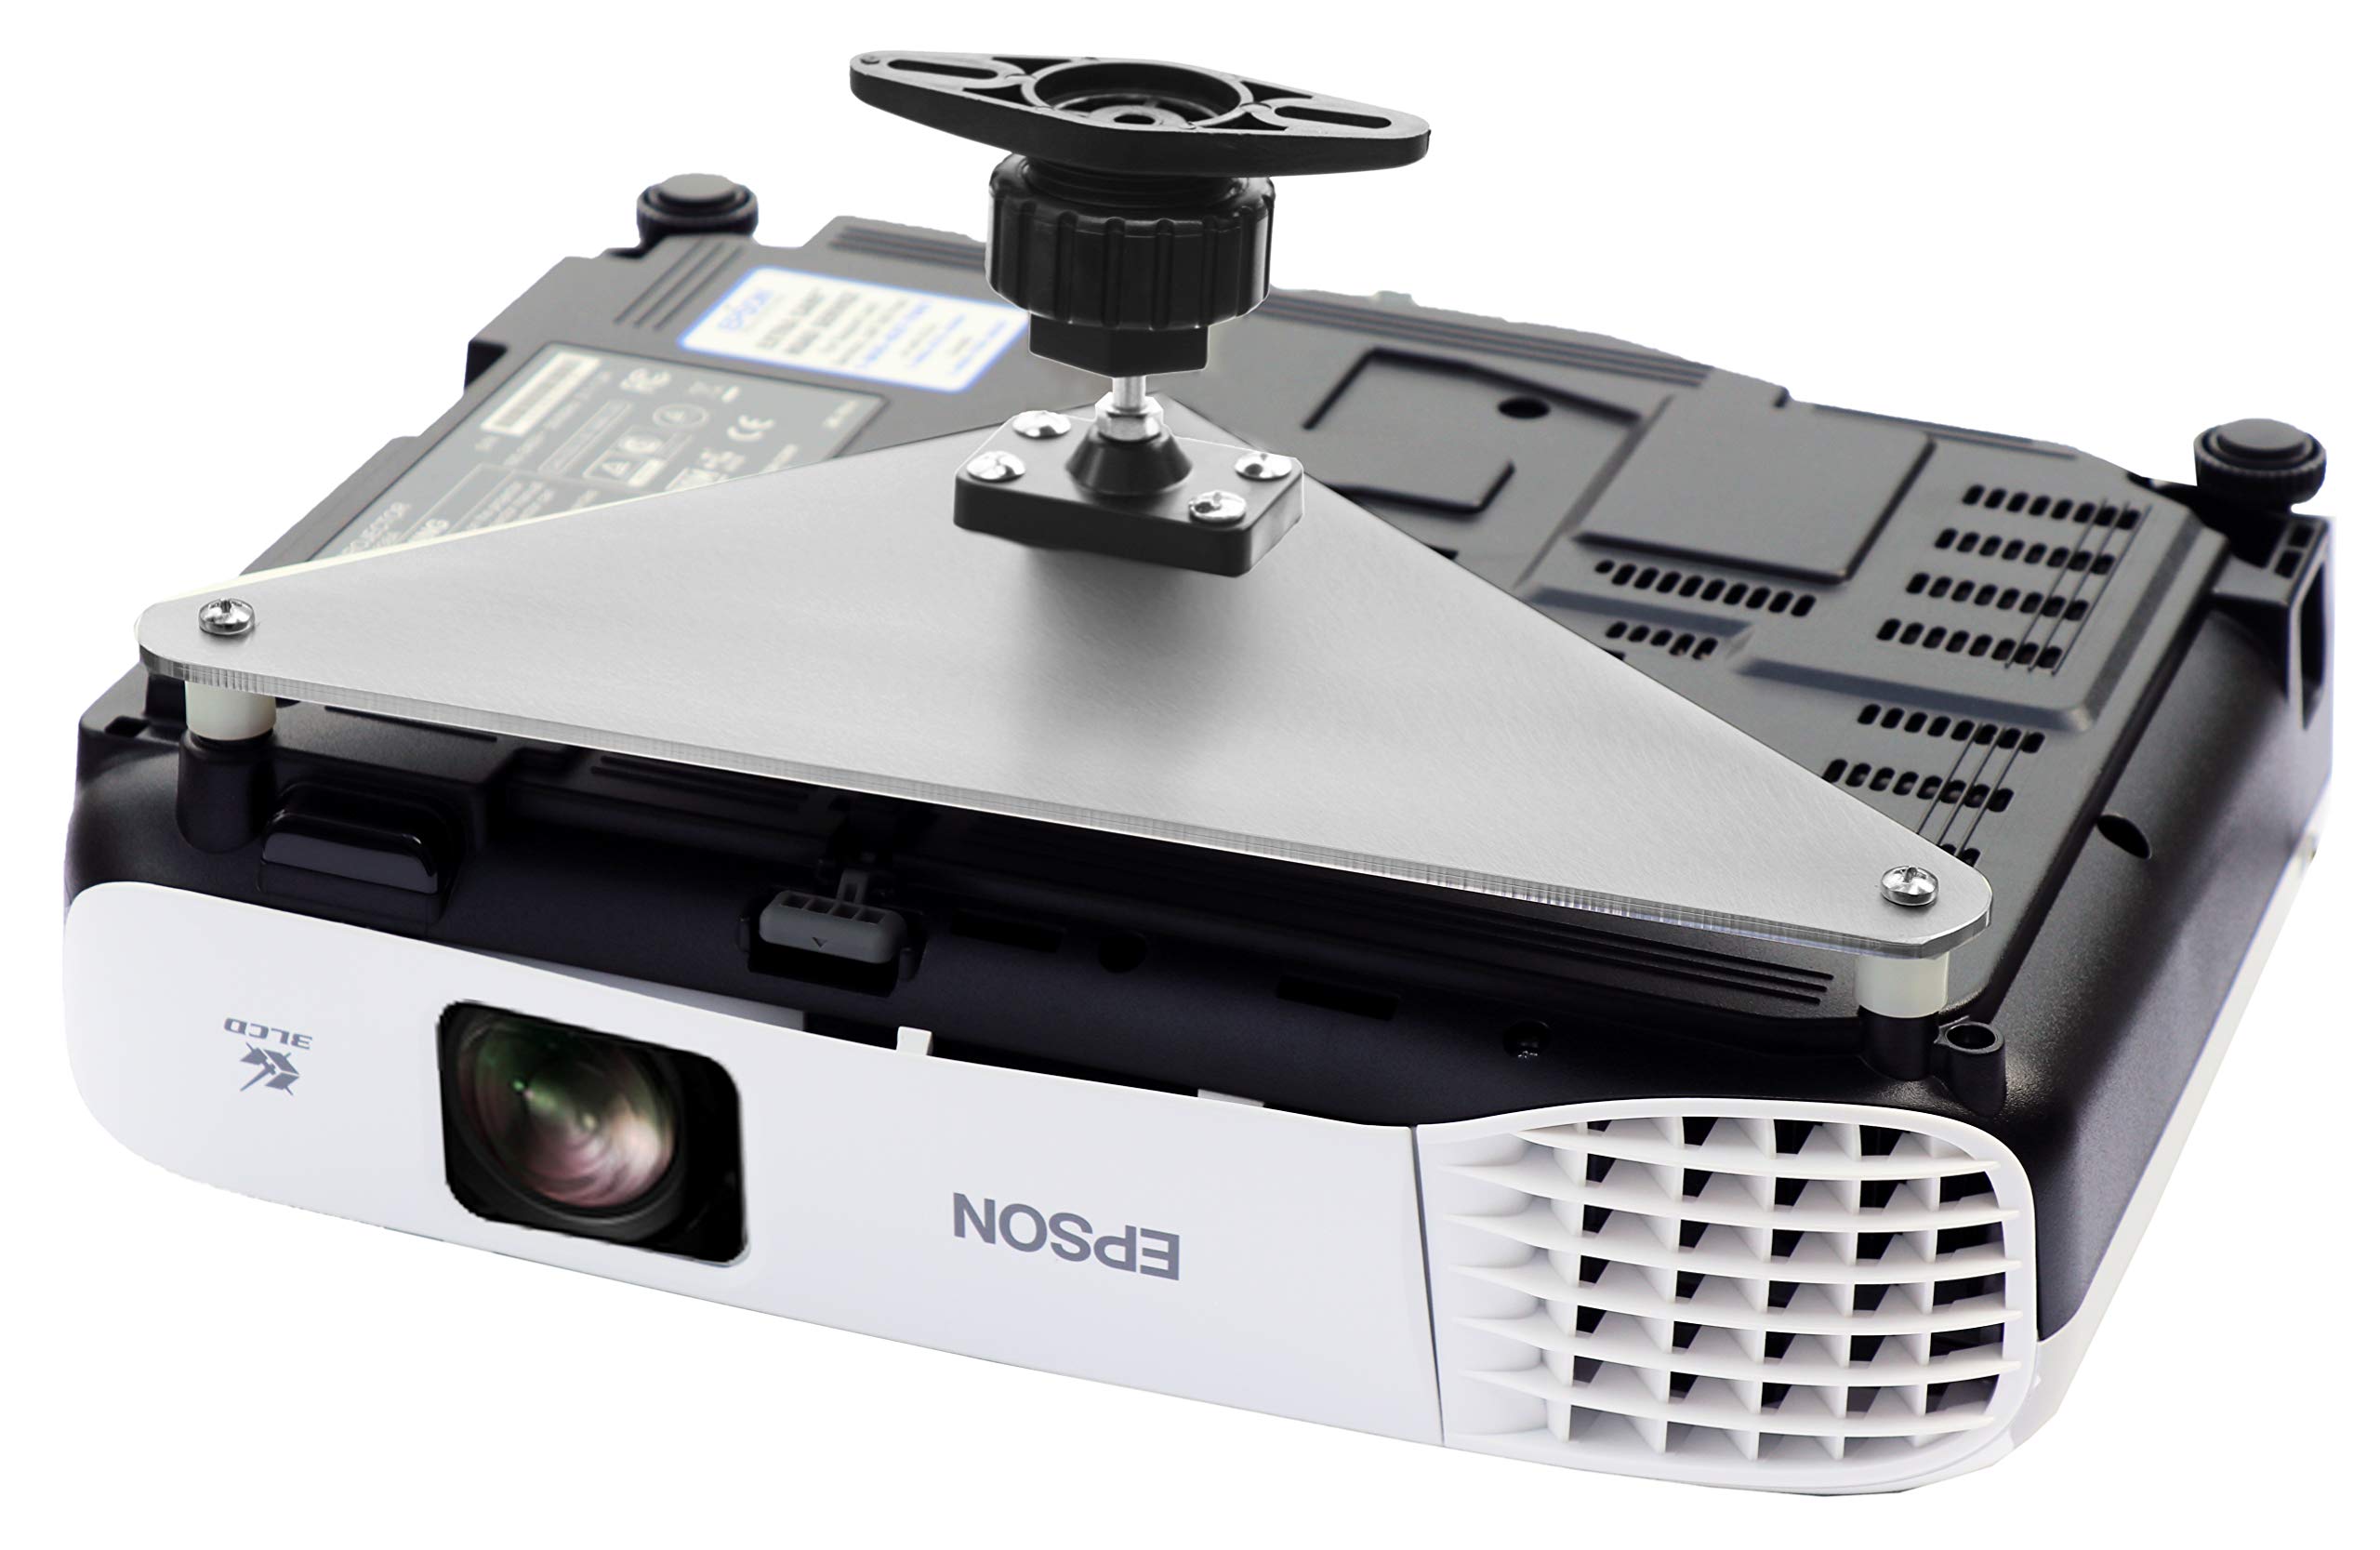
Step 3: Locate the Mounting Holes on the Projector
Locating the mounting holes on the projector is a crucial step in the installation process. These holes are where you will attach the projector mount, securely fastening the projector to the ceiling. Follow these steps to locate the mounting holes:
- Consult the User Manual: Refer to the projector’s user manual or installation guide for detailed information on the location of the mounting holes. The manual will provide specific instructions and diagrams for your projector model, ensuring accurate placement of the mount.
- Inspect the Projector Casing: Examine the projector casing carefully. The mounting holes are usually located on the bottom or top of the projector. Look for small, threaded holes designed to receive screws or bolts for attaching the mount.
- Measure the Distance: Measure the distance between the mounting holes. This will help you determine the appropriate size and spacing for the mounting bracket and ensure a secure fit. Use a tape measure or ruler to measure the distance accurately.
- Confirm the Mounting Hole Pattern: Note the pattern of the mounting holes. Most projectors use a standard mounting hole pattern, such as the universal VESA mount pattern. However, it’s essential to check your projector’s specific hole pattern to ensure compatibility with the mount you have or plan to purchase.
- Mark the Hole Locations: Once you have located the mounting holes, use a pencil or marker to mark their locations on the projector. This will serve as a reference when positioning the mount and drilling holes on the ceiling.
It’s crucial to follow the manufacturer’s instructions and guidelines when locating the mounting holes on your projector. Each projector model may have slight variations in the location and spacing of the mounting holes, so it’s essential to refer to the specific information provided with your projector.
Now that you have located the mounting holes on the projector, you are one step closer to successfully installing your projector to the ceiling. The next step is to mark the mounting holes on the ceiling, which we will cover in the following section.
Step 4: Mark the Mounting Holes on the Ceiling
Once you have located the mounting holes on your projector, the next step is to mark the corresponding positions on the ceiling. Properly marking the mounting holes will ensure accurate placement of the mounting bracket and a secure installation. Follow these steps to mark the mounting holes on the ceiling:
- Position the Projector Mount: Hold the projector mount against the ceiling in the desired location. Align it with the projector mounting holes and ensure it is level and centered according to your preferred positioning. Use a level and measuring tape to ensure accurate alignment.
- Mark the Hole Locations: Using a pencil or marker, carefully mark the center point of each mounting hole on the ceiling. These marks will serve as a guide for drilling the holes and attaching the mounting bracket.
- Double-Check Alignment and Spacing: Before proceeding, double-check the alignment and spacing of the marked hole locations. Ensure that they correspond to the mounting hole locations on the projector and that they are evenly spaced according to the mounting bracket’s requirements.
- Consider Ceiling Joists: If possible, position the mounting holes over ceiling joists for added stability. Use a stud finder or tap on the ceiling to locate the joists. If the marked holes are not directly over joists, you may need to use anchor or toggle bolts for secure installation.
- Finalize the Marks: Once you are confident in the accuracy and alignment of the marked hole locations, go over the marks again to make them more visible and ensure they won’t be accidentally erased or smudged during the installation process.
Taking the time to properly mark the mounting holes on the ceiling is crucial for a successful installation. Accurate marks will make it easier to drill the holes at the correct positions and securely attach the mounting bracket to the ceiling. With this step completed, you are now ready to move on to the next phase: drilling the holes on the ceiling.
Step 5: Drill Holes on the Ceiling
With the mounting holes marked on the ceiling, it’s time to proceed to the next step: drilling holes for attaching the mounting bracket. This step is crucial in ensuring a secure and stable installation of your projector. Follow these steps to drill the holes on the ceiling:
- Gather the Proper Tools: Make sure you have a drill suitable for the ceiling material. Use a drill bit size recommended by the projector mount manufacturer or one slightly smaller than the size of the screws you will be using.
- Put on Safety Gear: Wear safety goggles to protect your eyes from any debris or dust that may be produced while drilling. You may also consider wearing a dust mask if drilling into the ceiling creates a significant amount of dust.
- Position the Drill: Align the drill bit with one of the marked hole locations on the ceiling. Hold the drill perpendicular to the ceiling surface to ensure that the drilled holes are straight.
- Start Drilling: Apply gentle pressure and start drilling slowly at a low speed. Let the drill bit do the work, allowing it to penetrate the ceiling gradually. Avoid forcing the drill or applying too much pressure, as this can damage the ceiling surface.
- Drill to the Appropriate Depth: Drill the holes to the recommended depth, which should be specified by the projector mount manufacturer. This depth will ensure that the screws will securely fasten the mounting bracket without protruding too much from the ceiling.
- Repeat for the Remaining Holes: Once you have drilled the first hole, move on to the next marked hole location and repeat the drilling process. Take your time and ensure that each hole is drilled accurately and to the appropriate depth.
- Clear the Drill Holes: Once all the holes are drilled, use a brush or vacuum cleaner to remove any debris or dust from the holes. Having clean and clear holes will allow for a better connection when attaching the mounting bracket.
Drilling holes on the ceiling may require some caution, especially if you are working on a high ceiling or unfamiliar with using power tools. Take your time, follow safety precautions, and make sure that the drilled holes are accurate and of suitable depth. With the holes drilled, you are now ready to move on to the next step: attaching the mounting bracket to the ceiling.
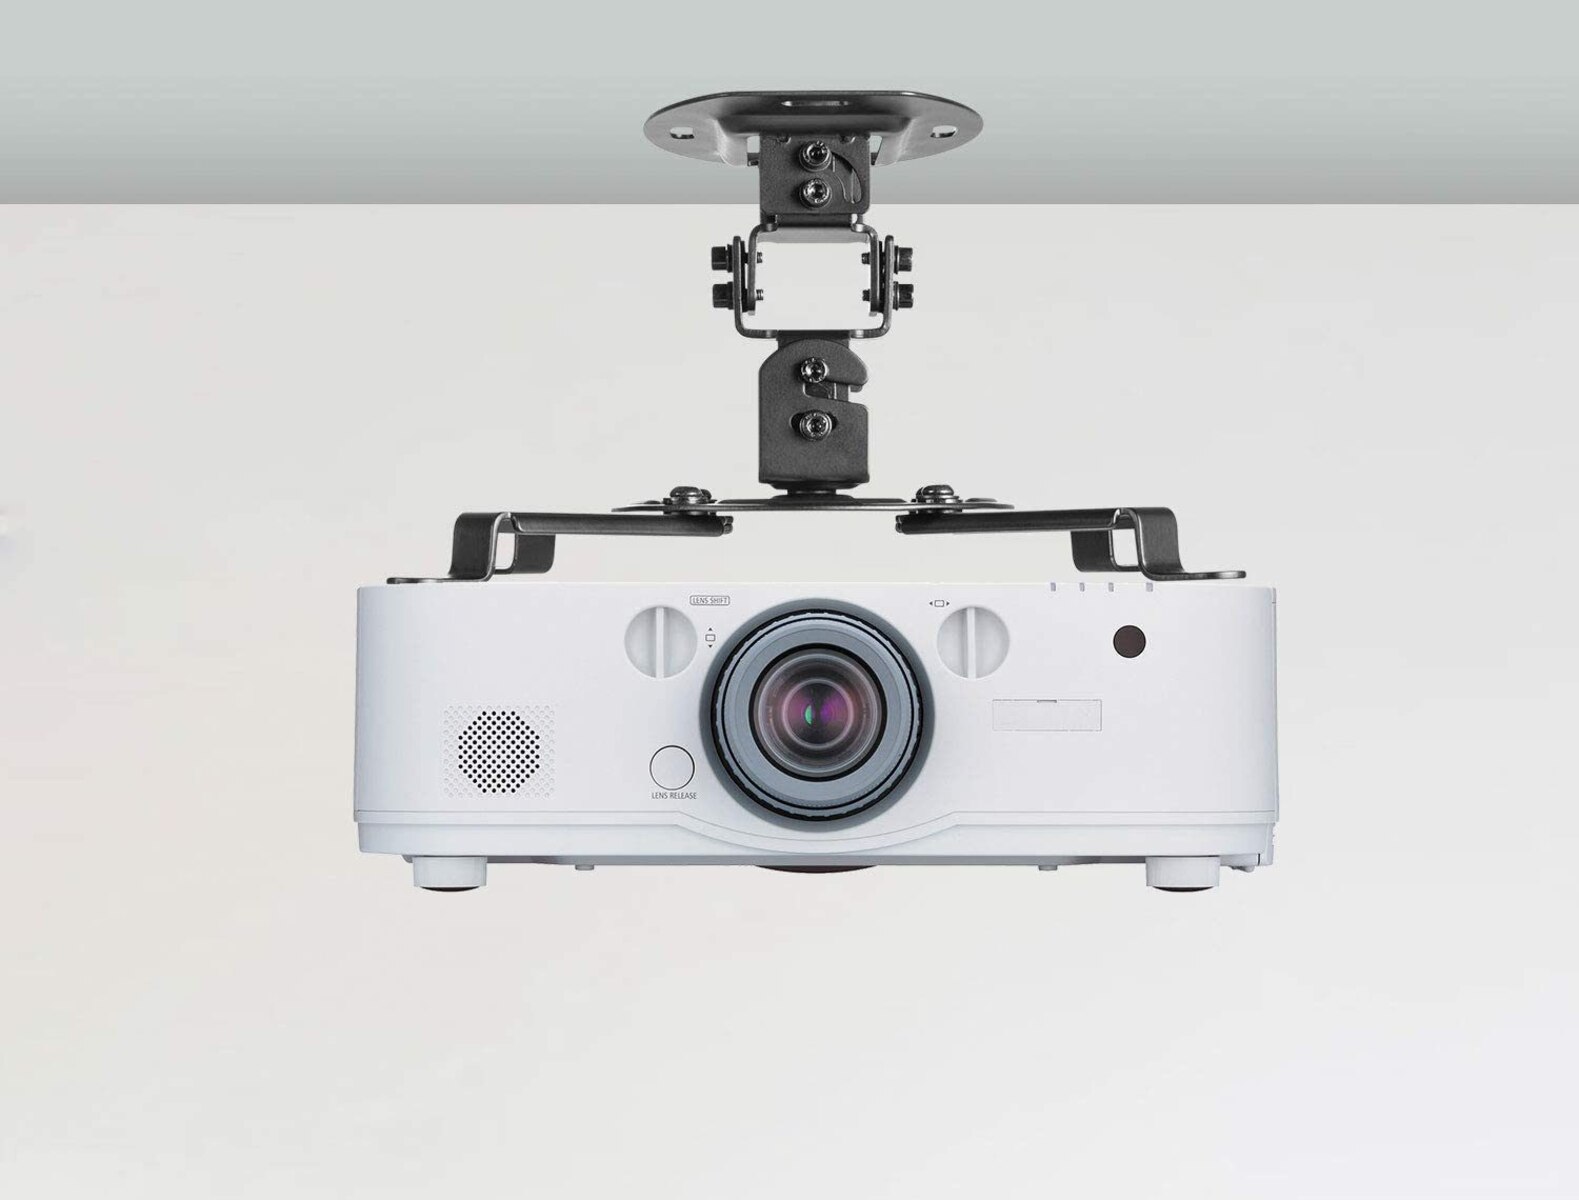
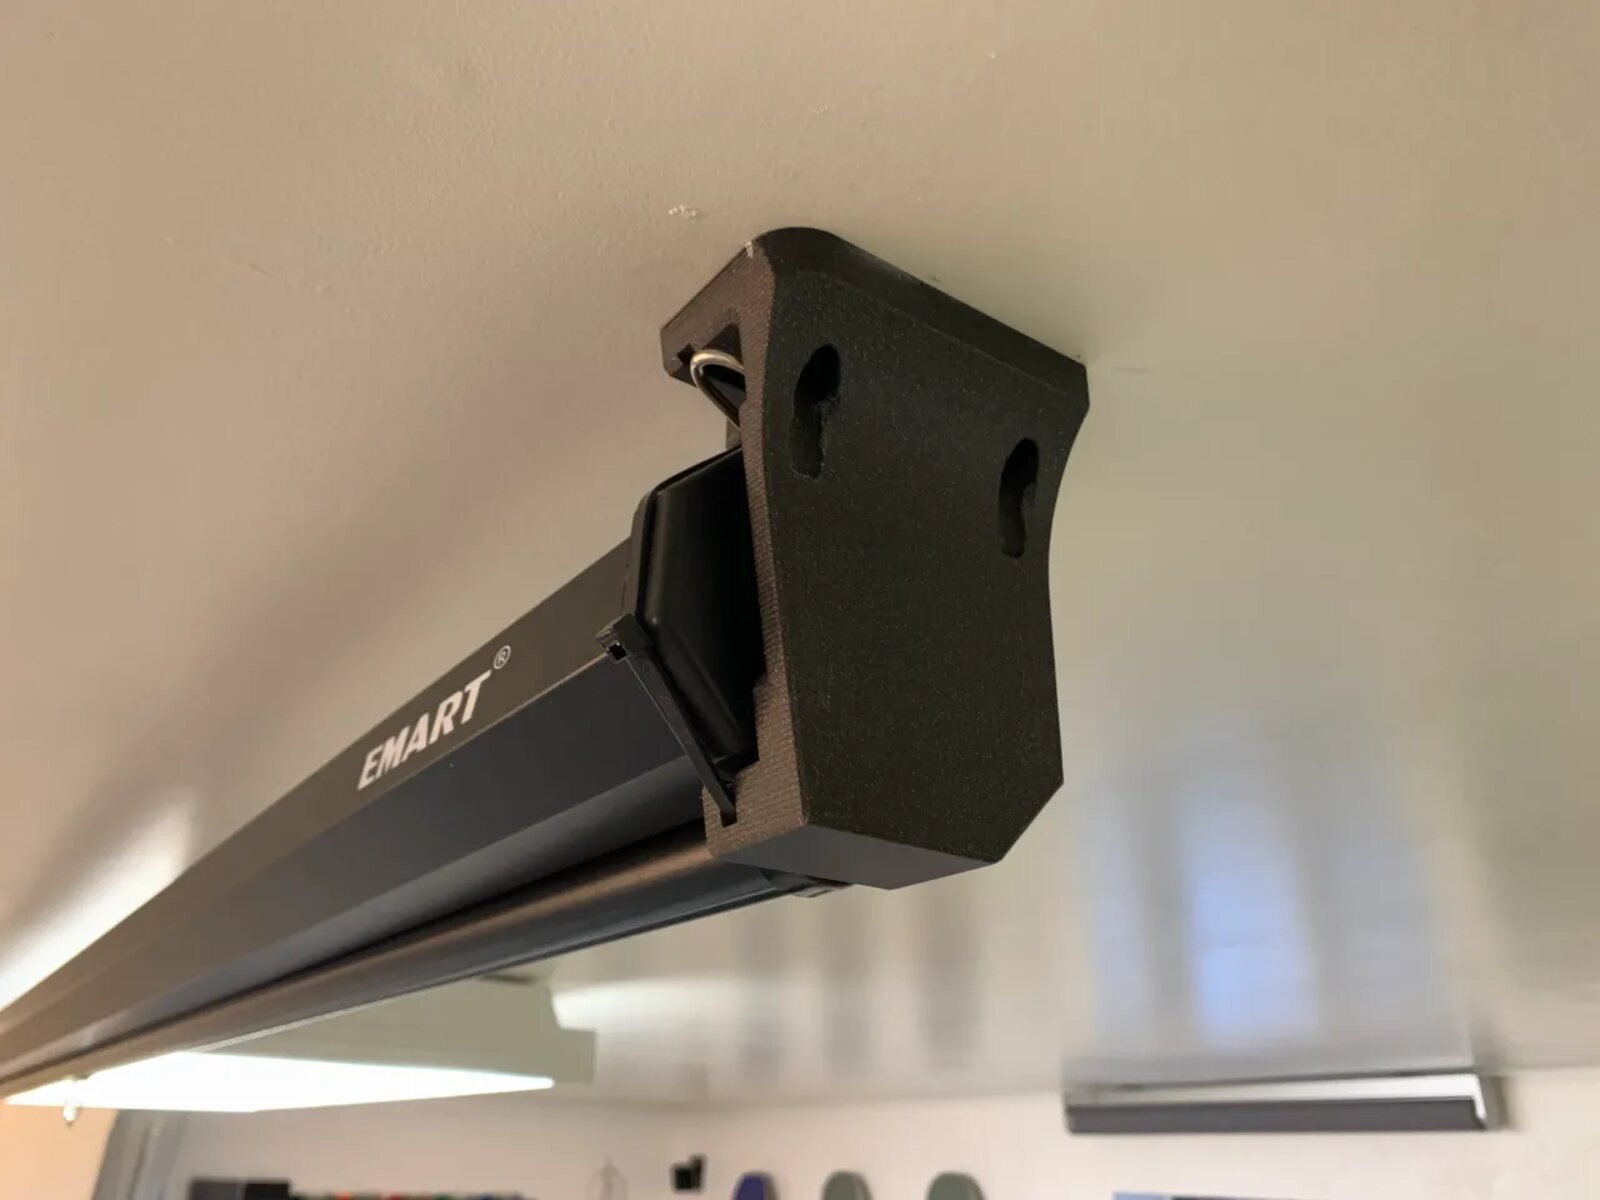
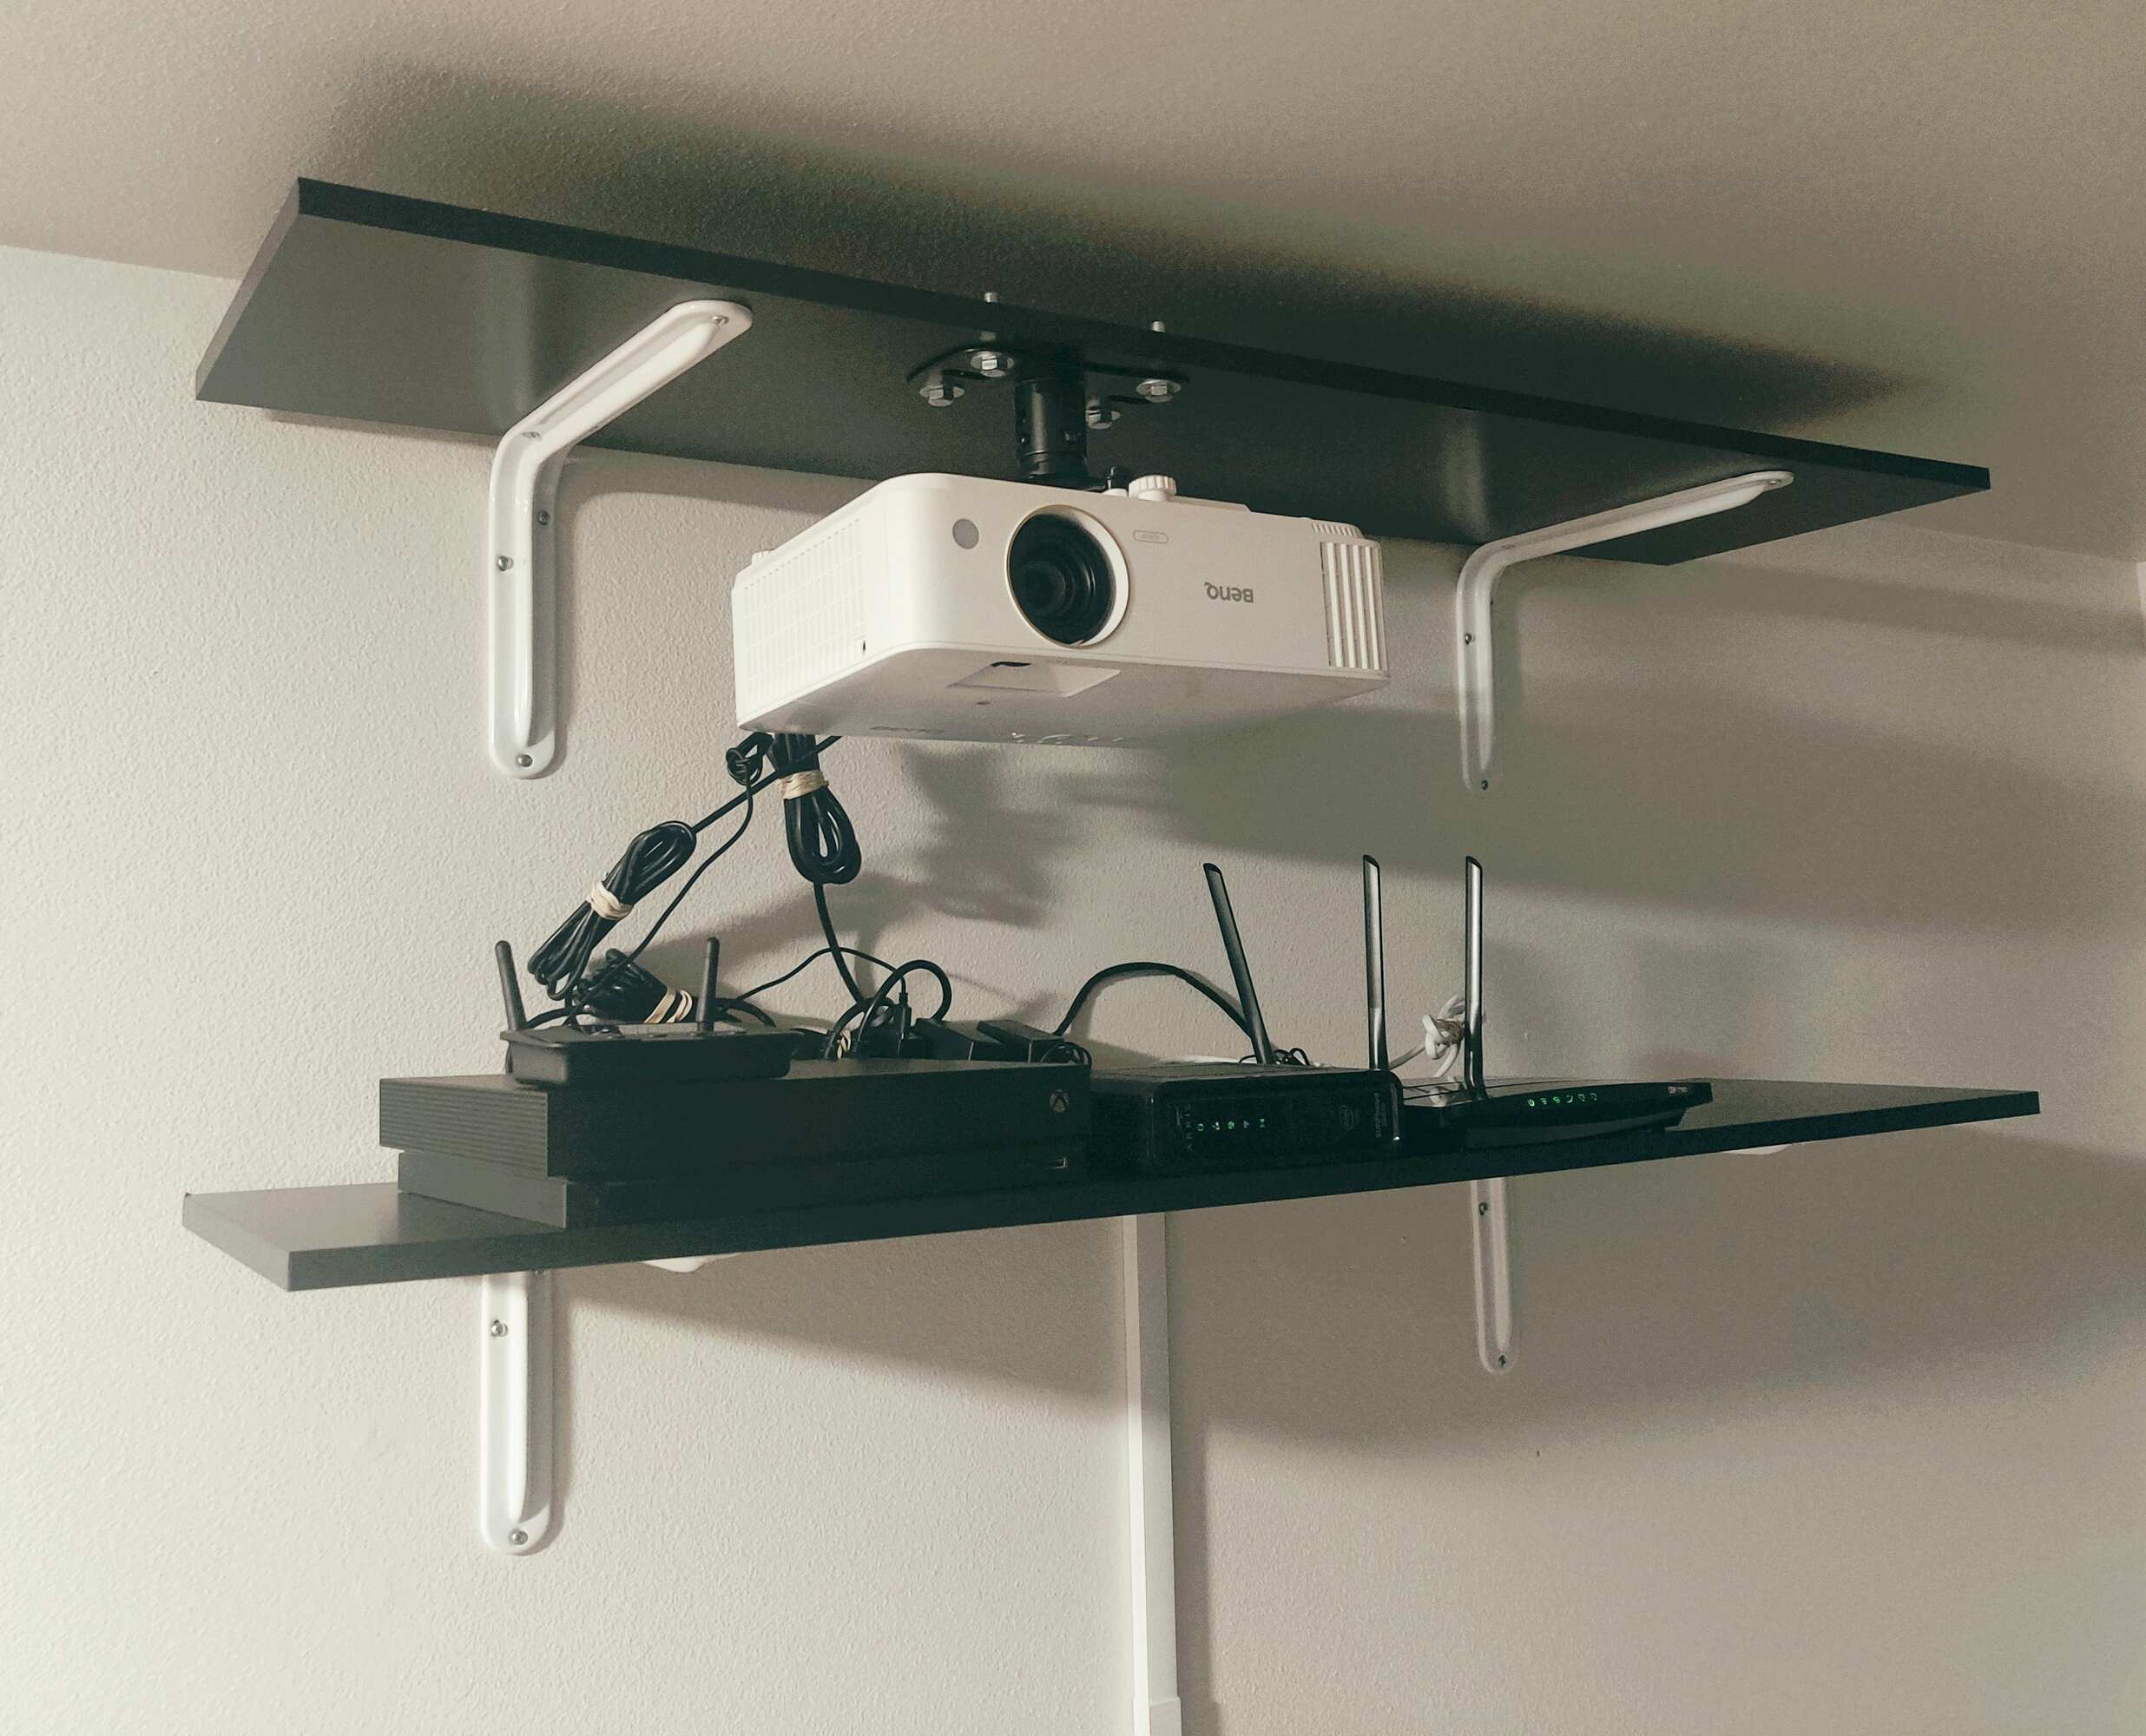
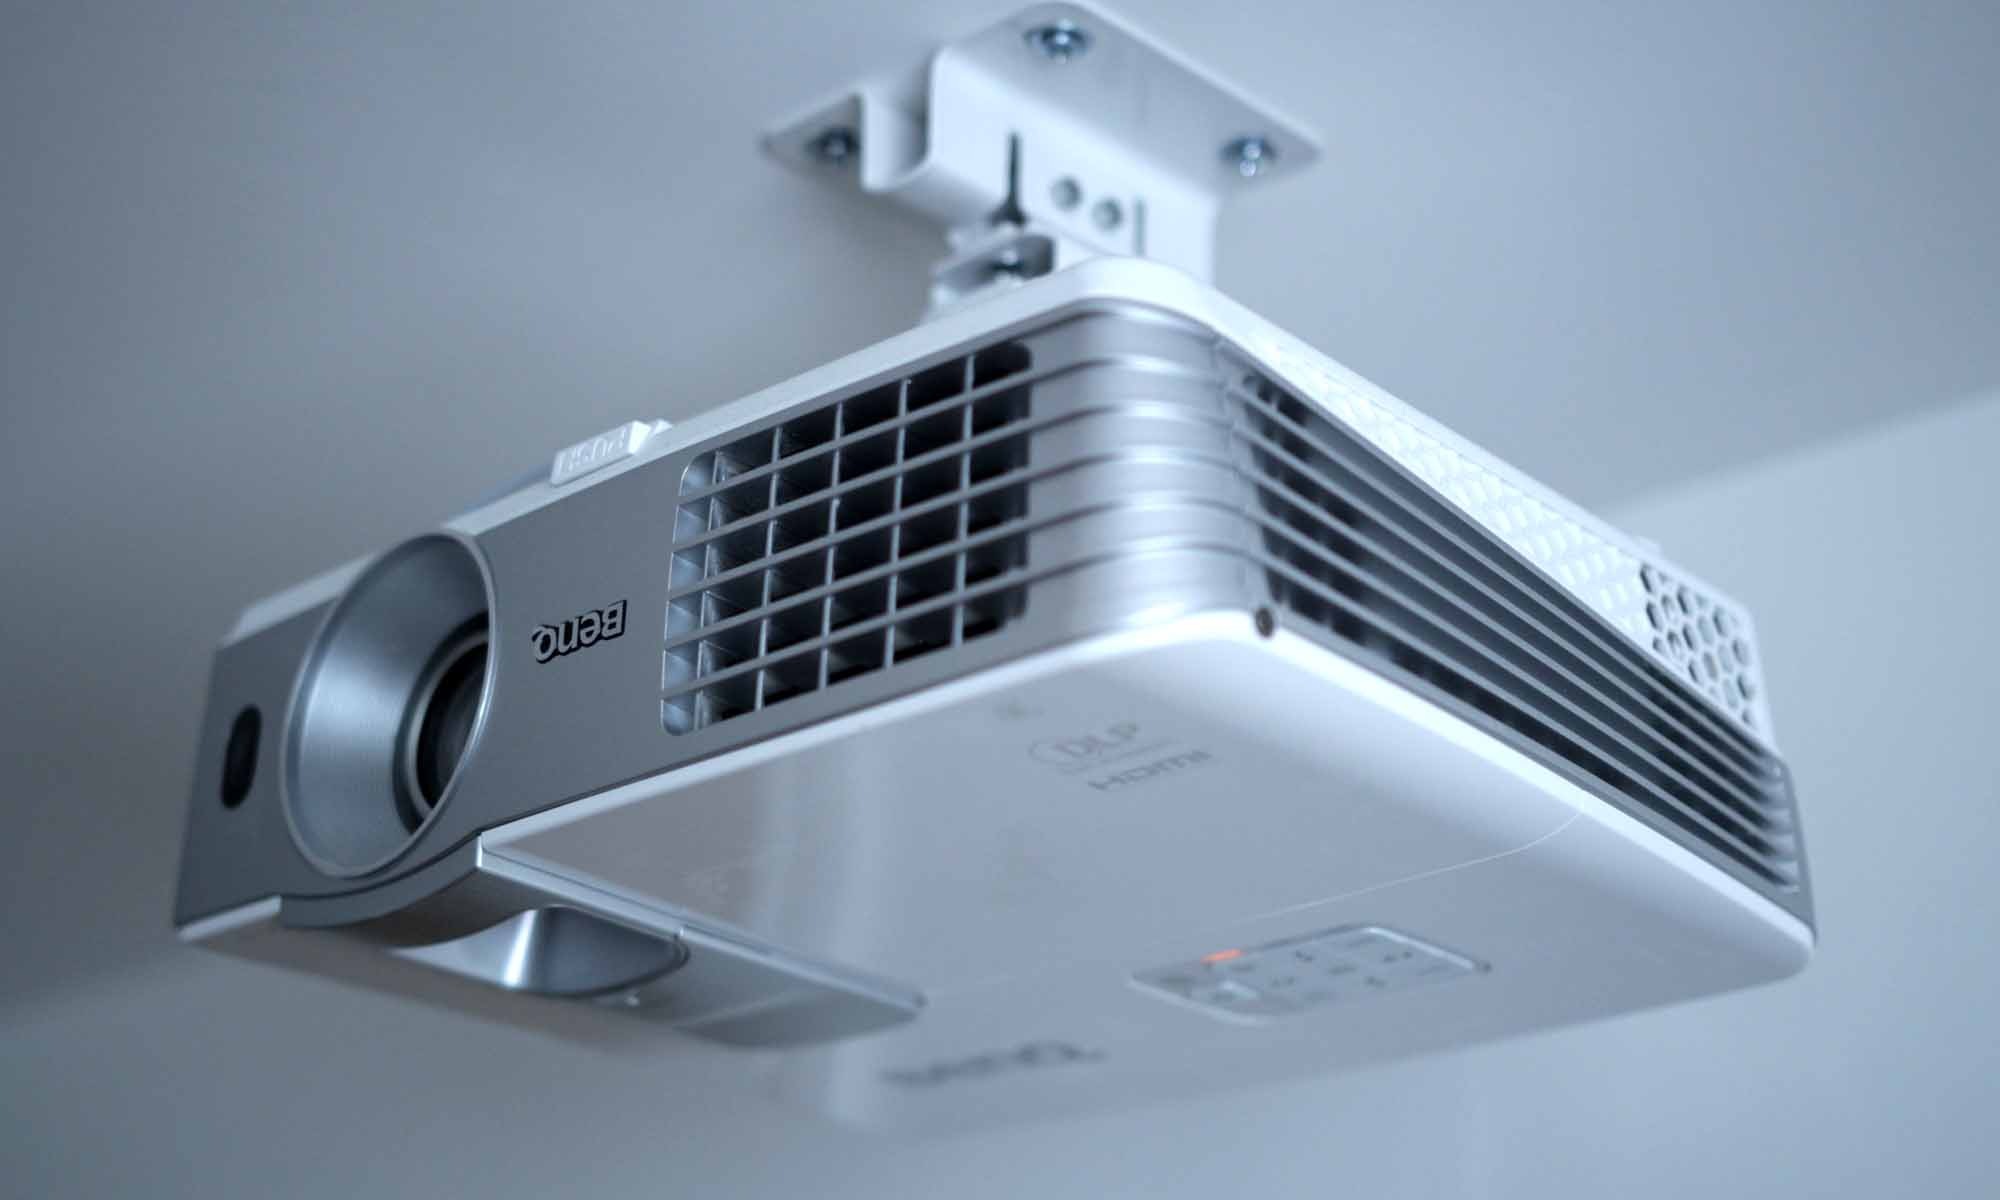
Step 6: Attach the Mounting Bracket to the Ceiling
With the holes drilled on the ceiling, it’s time to move on to the next step: attaching the mounting bracket. This bracket will securely hold your projector to the ceiling, providing a stable and reliable installation. Follow these steps to attach the mounting bracket:
- Position the Mounting Bracket: Hold the mounting bracket against the ceiling, aligning the mounting holes on the bracket with the drilled holes. Ensure that the bracket is centered and level according to your desired projector placement.
- Secure the Bracket: Insert screws or bolts through the holes on the mounting bracket and into the drilled holes on the ceiling. Start by loosely attaching one screw or bolt and then gradually tighten the others. This step will allow for final adjustments and proper alignment of the bracket.
- Check Alignment: Use a level to ensure that the mounting bracket is perfectly aligned and level. Make any necessary adjustments by loosening the screws or bolts slightly and repositioning the bracket. Once it’s level and aligned, tighten all the screws or bolts securely.
- Double-Check Stability: Give the mounting bracket a gentle shake to ensure that it is firmly attached to the ceiling. If there is any wobbling or instability, double-check the screws or bolts to ensure they are tightened securely. Adjust as needed to achieve a stable and secure mount.
- Test the Stability: After attaching the mounting bracket, gently press down on it to ensure that it can support the weight of the projector. The bracket should feel solid and stable, without any shifting or movement. If there are any concerns, refer to the projector and mount manufacturer’s instructions for additional support or reinforcement options.
Attaching the mounting bracket to the ceiling is a critical step to ensure the stability and reliability of your projector installation. Take your time to properly align and secure the bracket, and double-check its stability before proceeding. With the mounting bracket securely attached, you’re now ready to move on to the next step: connecting the projector to the mounting bracket.
Step 7: Connect the Projector to the Mounting Bracket
With the mounting bracket securely attached to the ceiling, it’s time to connect your projector to the bracket. This step will ensure that your projector is properly supported and aligned for optimal viewing. Follow these steps to connect the projector to the mounting bracket:
- Refer to the Projector Manual: Consult the projector manual or installation guide to determine the specific instructions for connecting the projector to the mounting bracket. The manual will provide details on the type of connection method and the necessary hardware or accessories required.
- Position the Projector: Carefully position your projector below the mounting bracket, aligning the mounting holes on the projector with the corresponding holes on the bracket. Take caution not to scratch or damage the projector during this step.
- Attach the Projector to the Bracket: Use the appropriate screws or mounting hardware provided with your projector to attach it to the mounting bracket. Insert the screws through the projector’s mounting holes and tighten them securely into the bracket. Be careful not to overtighten, as this can damage the projector.
- Adjust the Projector Position: Once the projector is attached to the bracket, you might need to make adjustments to its position. Most projector mounts offer tilt, swivel, and rotation adjustments. Use these adjustment mechanisms to align the projector with the screen or desired projection area. Ensure that the projected image is straight and properly aligned.
- Secure the Position: Once you have adjusted the projector to the desired position, use the locking mechanisms or tightening screws on the mount to secure its position. Double-check that the projector is securely locked and does not move or shift. This step will ensure that the projector remains in place during use.
- Connect Cables: Finally, connect the necessary cables from the projector to your video source, such as a laptop, DVD player, or AV receiver. Use HDMI, VGA, or other appropriate cables to ensure a strong and reliable connection. Additionally, connect the power cable to the projector and plug it into a power outlet.
By following these steps, you will successfully connect your projector to the mounting bracket, ensuring a secure and aligned installation. Take care to follow the manufacturer’s instructions and make any necessary adjustments for proper positioning. With the projector connected, you are now ready to move on to the next step: adjusting the projector position and angle for optimal viewing.
Step 8: Adjust the Projector Position and Angle
Now that your projector is connected to the mounting bracket, it’s time to adjust its position and angle for optimal viewing. This step will ensure that the projected image is aligned properly and provides the best viewing experience. Follow these steps to adjust the projector position and angle:
- Power on the Projector: Turn on the projector and ensure that the projected image appears on the screen or desired projection area. This will help you visualize any adjustments needed for proper positioning.
- Use Keystone Correction: If your projector offers keystone correction, use this feature to adjust the image shape and correct any distortion caused by the projection angle. Consult the projector manual for instructions on accessing and adjusting the keystone correction settings.
- Adjust the Tilt: Depending on your screen and seating arrangement, you may need to tilt the projector slightly up or down to achieve a straight and level image. Use the tilt adjustment mechanisms on the mounting bracket to make these adjustments. Use a level to ensure the projected image is straight.
- Swivel for Alignment: If necessary, swivel the projector left or right to align the projected image with the center of your screen or desired projection area. Use a test pattern or image with clear horizontal and vertical lines to aid in alignment.
- Zoom and Focus: Adjust the zoom and focus settings on the projector to achieve a sharp and clear image. Use the projector’s menu or remote control to access these settings. Ensure that the image is focused and not blurry or distorted.
- Check for Overscan: Verify if the projected image is fully within the screen or projection area. Adjust the overscan, if applicable, to fit the entire image without any cropping or cutoff. Most projectors have overscan settings in their menu options.
It’s important to take your time and make small adjustments as needed during this step. Continuously refer to the projected image on the screen or projection area to ensure that it is well-aligned, straight, and properly focused. Once you are satisfied with the projector’s position and angle, you’re ready to move on to the next step: securing all connections.
Step 9: Secure all Connections
Now that you have adjusted the position and angle of your projector, it’s important to secure all the connections to ensure a reliable and stable setup. This step will help prevent any accidental disconnections or interruptions during use. Follow these steps to secure all connections:
- Tighten Cable Connections: Double-check all cable connections, including the HDMI or VGA cables, power cable, and any other audio or video cables connected to the projector. Ensure that they are securely plugged in and tightened to provide a stable and uninterrupted signal.
- Organize Cables: Use cable management solutions, such as cable ties or clips, to keep the cables neat and organized. This will prevent them from dangling or getting tangled, creating a cleaner and safer installation.
- Secure Power Source: Make sure that the power cable is securely plugged in and connected to a power outlet or surge protector. Avoid placing excessive strain on the cable and ensure that it is not in a position where it can be accidentally disconnected or tripped over.
- Fasten Cable Lengths: If cables are too long and create unnecessary slack, consider using cable clips or ties to secure and manage the excess lengths. This will help prevent cables from hanging and potentially interfering with the projection or becoming a safety hazard.
- Inspect for Loose Connections: Check all connection points, such as the projector mount, mounting bracket, and any other accessories or components. Ensure that they are tightly secured and there is no risk of movement or instability.
- Verify Signal and Power: Before finalizing the setup, turn on the projector and the video source to test the signal and power connections. Verify that the projector receives a stable video signal and that there are no issues with power supply or interruptions.
By securing all connections, you minimize the risk of any disruptions or accidents during use. Taking the time to organize and properly fasten cables will also contribute to a cleaner and more professional-looking installation. Once you have ensured that all connections are secure and functioning properly, you’re ready to move on to the final step: testing the projector.
Step 10: Test the Projector
After completing the installation and securing all connections, it’s important to perform a thorough test of your projector to ensure everything is working correctly. This step allows you to verify the image quality, adjust any remaining settings, and make any necessary tweaks for the best viewing experience. Follow these steps to test your projector:
- Power on the Projector: Turn on the projector and allow it to warm up. Check that the power indicator light is on and that the projector is functioning properly.
- Verify the Image: Look at the projected image on the screen or projection area. Ensure that it is sharp, clear, and properly aligned. Adjust the focus, zoom, and any keystone correction as needed to enhance the image quality.
- Test Different Input Sources: Connect various devices, such as laptops, DVD players, or gaming consoles, to the projector and test different input sources. Verify that the projector can display the content from each source without any issues or signal interruptions.
- Check Audio Output: If your projector has built-in speakers or you have connected external speakers, test the audio output. Ensure that sound is being produced and adjust the volume levels accordingly.
- Test Remote Control Functionality: Test the functionality of the projector’s remote control. Make sure that all the buttons respond correctly and that you can navigate through the projector’s menu options smoothly.
- Evaluate Overall Performance: Sit at various viewing positions in the room and assess the overall performance of the projector. Look for factors such as brightness, color accuracy, contrast, and overall picture quality.
- Make Final Adjustments: Based on the test results, make any final adjustments to improve the image quality, audio output, or other settings. Refer to the projector’s manual for instructions on specific adjustments or enhancements.
By thoroughly testing your projector, you can ensure that everything is functioning as expected and make any necessary adjustments for optimal performance. Take your time with the testing process and make note of any issues or areas where further adjustments may be needed. With the projector successfully tested, you’re now ready to sit back, relax, and enjoy your favorite movies, presentations, or games on your perfectly installed ceiling-mounted projector.
Conclusion
Congratulations! You have successfully installed your projector to the ceiling, creating a professional and immersive viewing experience. By following the step-by-step guide, you have learned how to prepare the necessary equipment, determine the ideal projector placement, locate and mark the mounting holes, drill the holes on the ceiling, attach the mounting bracket, connect the projector, adjust the position and angle, secure all connections, and test the projector. The entire process ensures that your projector is securely installed, correctly aligned, and delivering exceptional image quality.
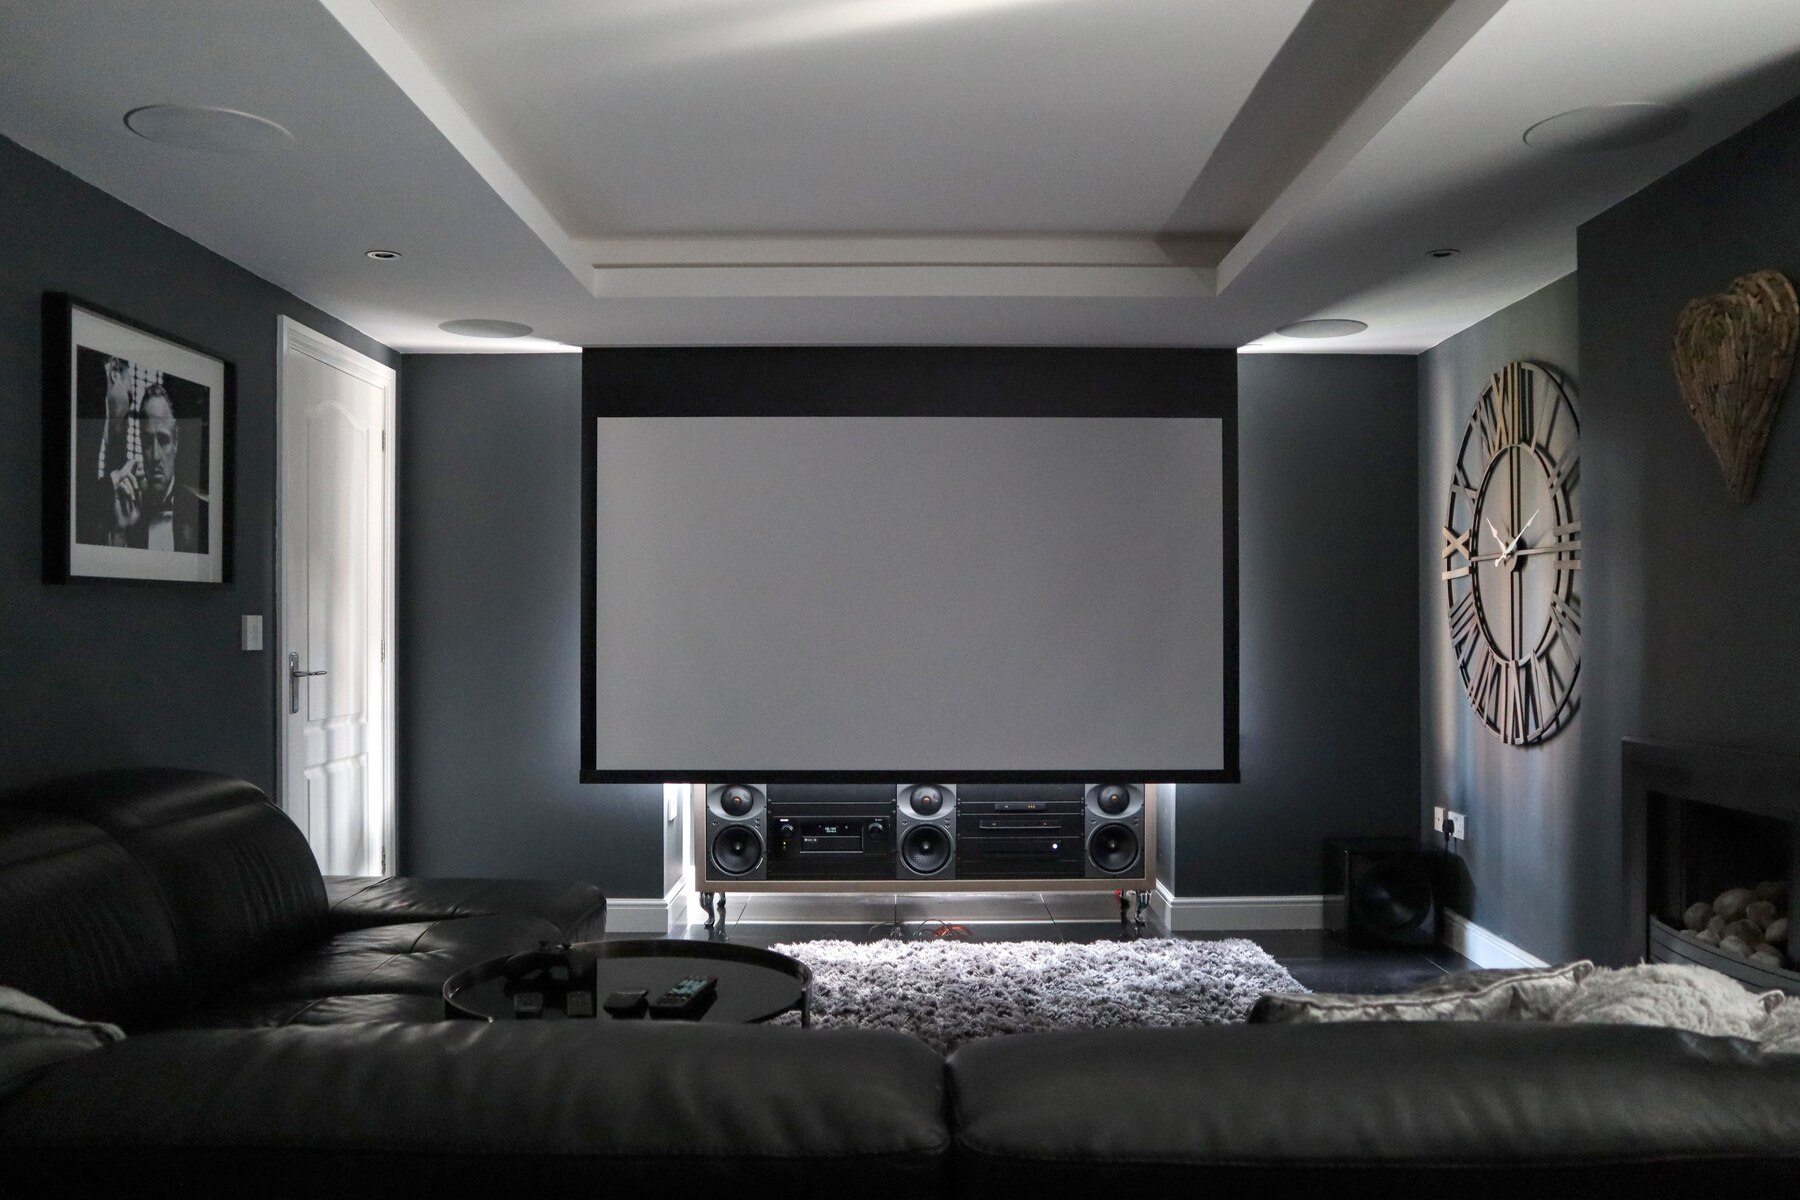
Installing a projector to the ceiling offers numerous benefits, including space-saving, aesthetics, and optimal viewing angles. Whether you’re setting up a home theater, conference room, or any other space, a ceiling-mounted projector enhances the overall functionality and visual appeal.
Remember to refer to the manufacturer’s instructions for your specific projector model throughout the installation process. Each projector may have unique requirements and guidelines that are important to follow for a successful installation.
By taking your time, following each step carefully, and making any necessary adjustments, you can enjoy a flawless projection experience every time you use your ceiling-mounted projector.
Now sit back, relax, and enjoy the exceptional image quality, vibrant colors, and immersive experience that your newly installed ceiling-mounted projector provides!