Introduction
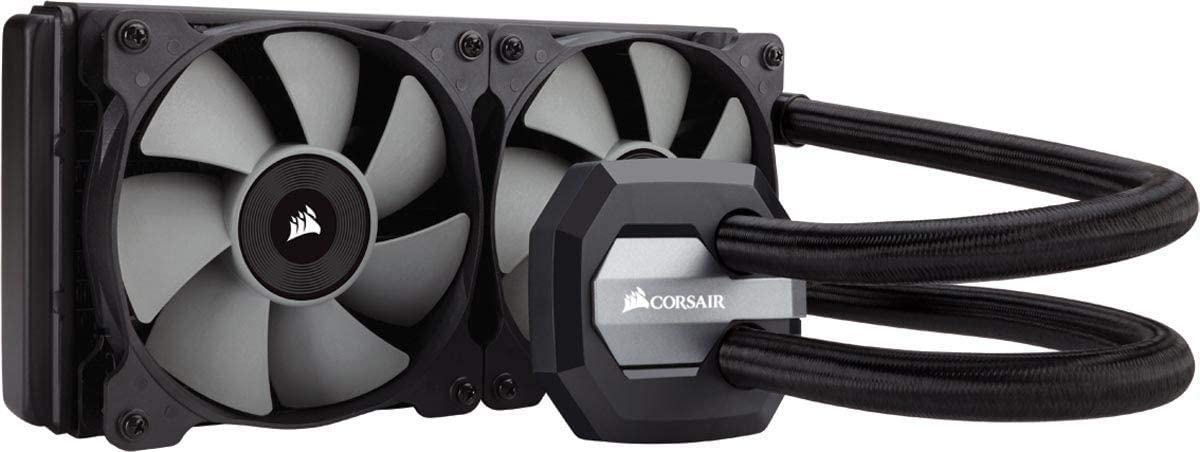
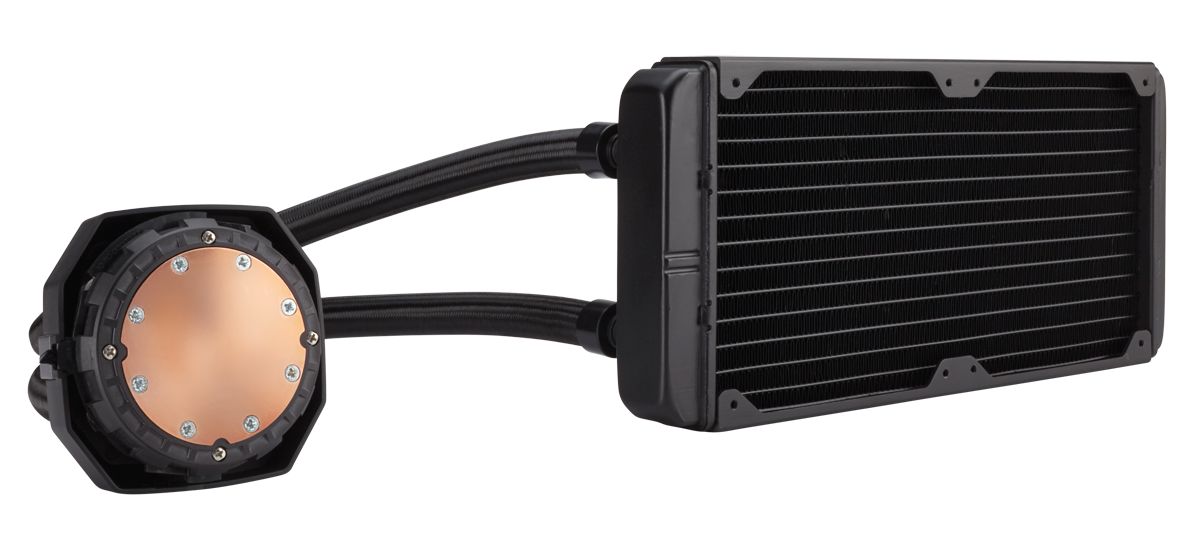
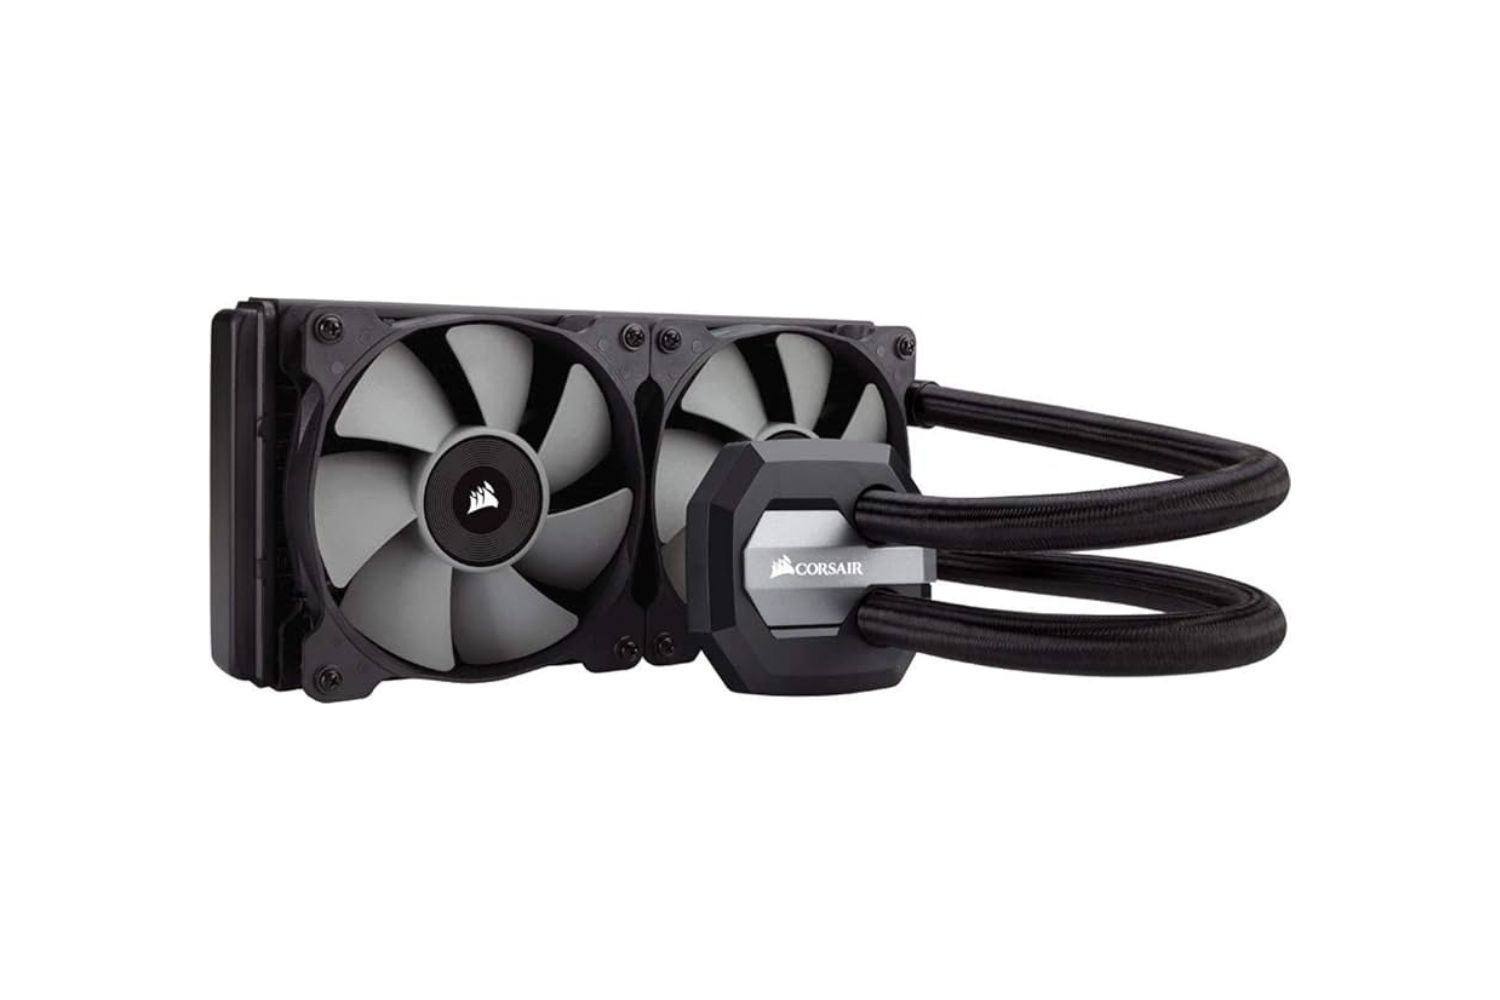
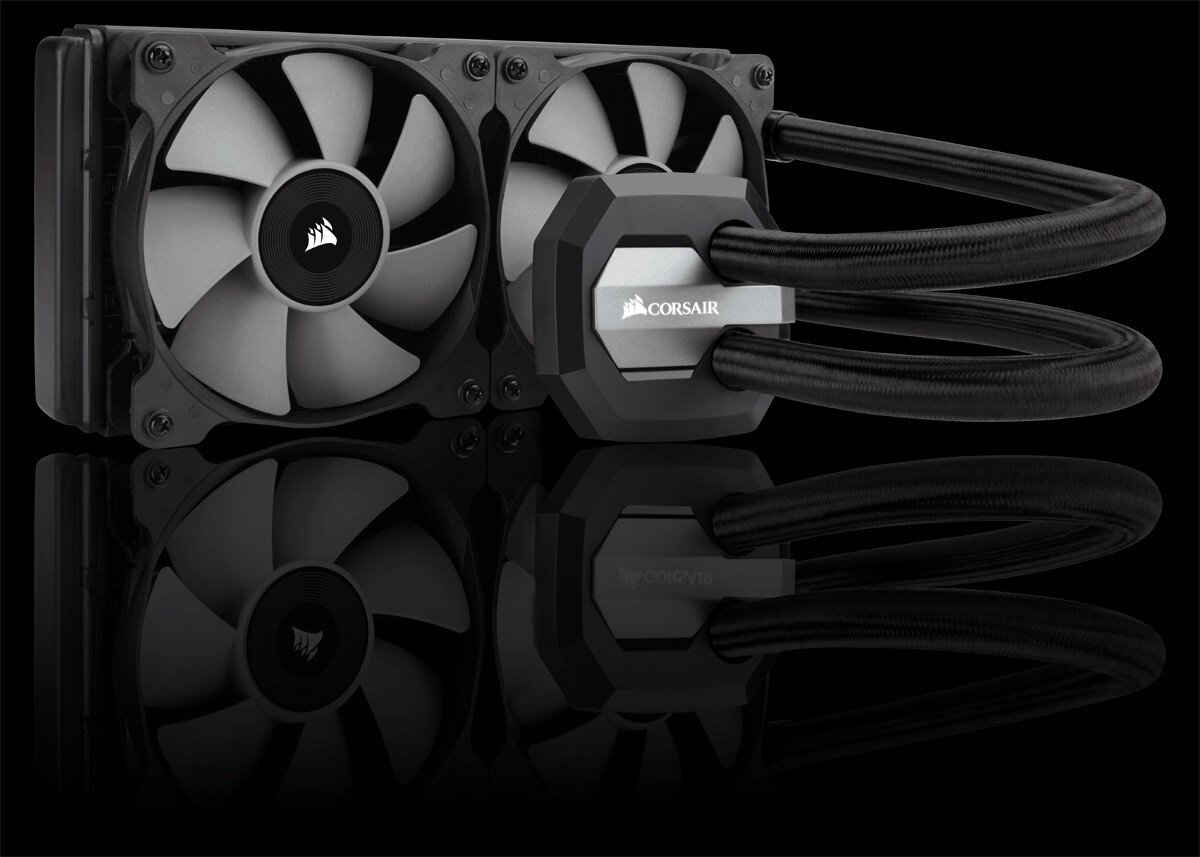
Welcome to our guide on how to install the H100i V2 70.7 CFM Liquid CPU Cooler. If you’re looking to enhance the cooling performance of your computer and optimize its overall efficiency, upgrading to a liquid CPU cooler is an excellent choice.
The H100i V2 is a popular choice among PC enthusiasts and gamers due to its superior cooling capabilities and easy installation process. Whether you’re a beginner or an experienced user, this guide will take you through the step-by-step process of installing the H100i V2, ensuring that your CPU stays cool even under heavy loads.
Before we dive into the installation process, let’s quickly go over the tools and materials you’ll need:
- Phillips screwdriver
- Thermal paste
- Isopropyl alcohol and lint-free cloth (for cleaning purposes)
- Zip ties or Velcro straps (for cable management)
Once you have gathered all the necessary tools and materials, you’re ready to begin the installation process. It’s important to note that every computer setup may have slight variations in terms of case design and motherboard layout. Therefore, while this guide provides a general step-by-step installation process, it’s always a good idea to consult your motherboard’s manual for any specific instructions or differences.
Now that you have a better understanding of what awaits you, let’s move on to the next section, where we will prepare the computer for the H100i V2 installation.
Tools and Materials Needed
Before you start the installation process, it’s important to gather all the necessary tools and materials. Having everything prepared will ensure a smoother and more efficient installation. Here’s a list of what you’ll need:
- Phillips screwdriver: This will be necessary to remove any screws or fasteners during the installation process.
- Thermal paste: You’ll need a small tube of thermal paste to apply between the CPU and the cooler. This helps improve heat transfer and ensures optimal cooling performance.
- Isopropyl alcohol and lint-free cloth: Before applying the thermal paste, it’s important to clean the surface of the CPU thoroughly. Isopropyl alcohol and a lint-free cloth are perfect for this task, as they won’t leave any residue behind.
- Zip ties or Velcro straps: These are useful for cable management, helping to keep your computer’s internals organized and improving airflow.
While these are the essential tools and materials you’ll need, it’s also a good idea to have some additional items on hand, such as a static wristband to prevent static discharge, a clean and well-lit workspace, and the user manual for your computer case and motherboard. These extras will further facilitate a smooth installation process.
Now that you have all the necessary tools and materials ready, it’s time to move on to the next section where we will prepare the computer for the H100i V2 installation.
Preparing the Computer
Before installing the H100i V2 liquid CPU cooler, it’s important to prepare your computer for the installation. This involves a few necessary steps to ensure a clean and safe installation process. Follow the steps below to prepare your computer:
- Power off and unplug your computer: To prevent any accidents or damage, make sure your computer is completely powered off and disconnected from any power source.
- Open your computer case: Depending on your case design, this step may involve removing a side panel or top cover. Refer to your case’s user manual for specific instructions on how to open it.
- Identify the CPU socket: Locate the CPU socket on your motherboard. It is a square socket with pins or contacts inside. Take note of its location as you will need to access it during the installation process.
- Remove the protective cover: If there is a protective cover on the CPU socket, carefully remove it by gently pulling it straight out or following the instructions in your motherboard’s manual.
- Clean the CPU surface: Use isopropyl alcohol and a lint-free cloth to clean the surface of the CPU. This will remove any residual thermal paste or debris, ensuring a clean and optimal contact with the cooler.
- Apply thermal paste: Apply a small amount of thermal paste onto the center of the CPU. The size of a pea is usually sufficient. Spread it evenly using a plastic spreader or the cooler’s built-in applicator.
- Prepare the radiator and CPU block: Take the H100i V2 radiator and CPU block out of their packaging. Ensure that the tubes are untangled and that all necessary connectors are accessible.
By following these steps, you have successfully prepared your computer for the H100i V2 installation. In the next section, we will guide you through the process of installing the radiator onto your computer case. Ensure to take your time and be gentle while handling delicate components.
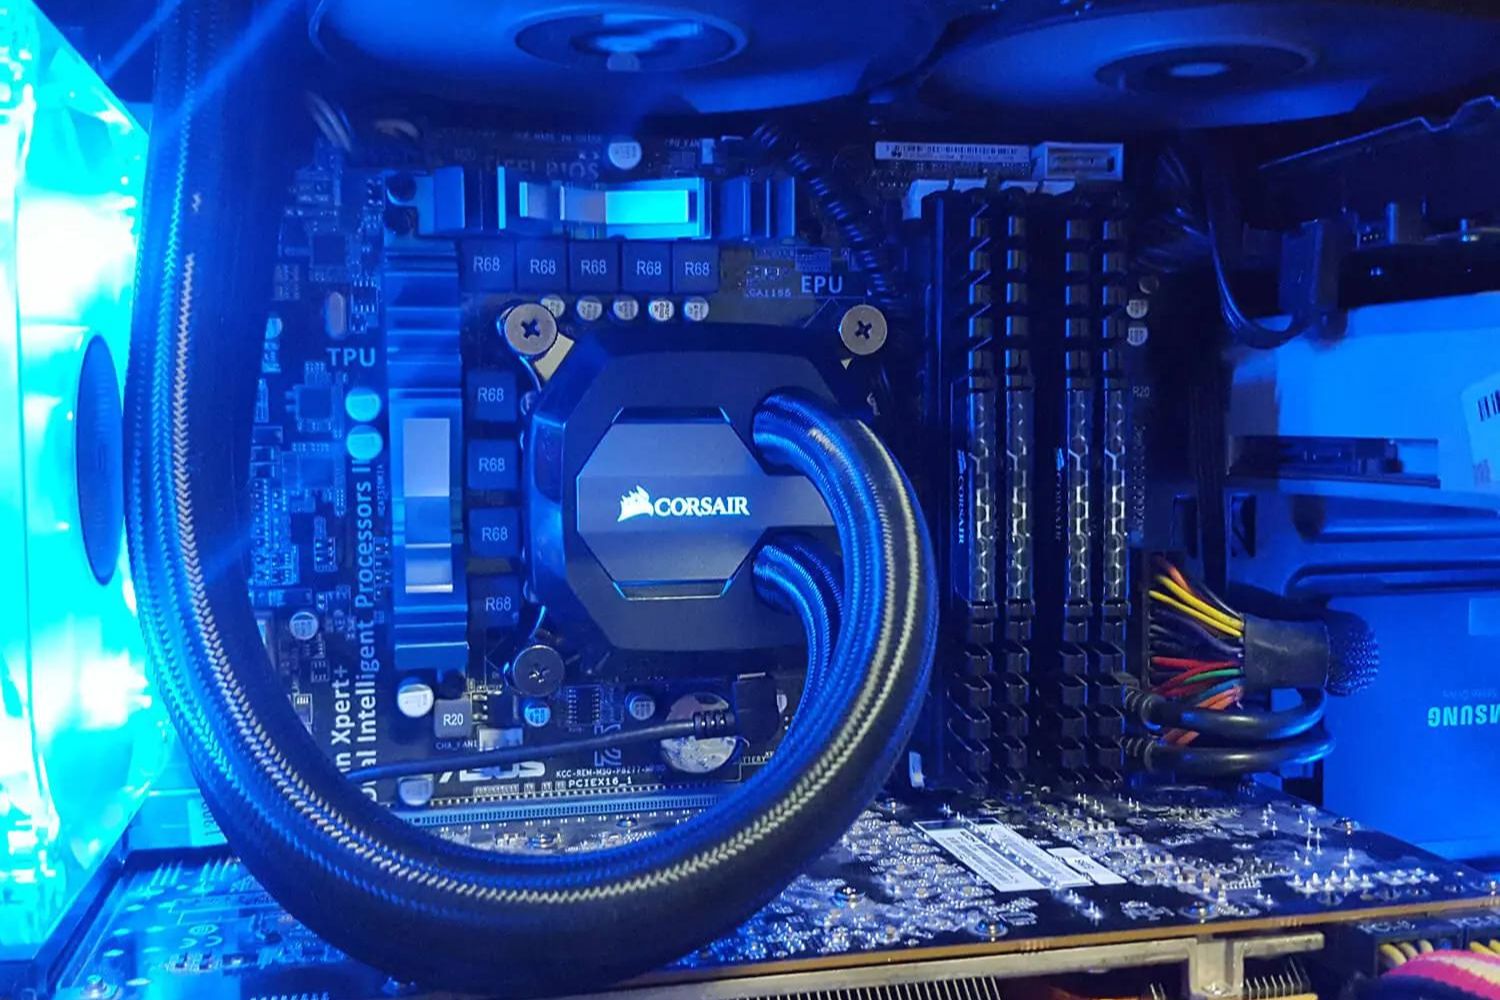
Installing the Radiator
Now that you’ve prepared your computer, it’s time to install the radiator of the H100i V2 liquid CPU cooler. This step is crucial for ensuring optimal cooling performance. Follow the steps below to install the radiator:
- Locate a suitable mounting location: Look inside your computer case for a suitable location to mount the radiator. Typically, this is at the top or rear of the case, where there are enough clearance and support for the radiator.
- Check the radiator orientation: Before mounting the radiator, ensure that you have it positioned in the correct orientation. The tubes should be facing downward, allowing for easier cable management and preventing air bubbles from getting trapped in the system.
- Align the mounting holes: Place the radiator against the mounting location and align the mounting holes on the radiator with the corresponding holes on the case. Make sure it fits snugly and securely.
- Screw in the radiator: Using the provided screws, start screwing in the radiator onto the case. Begin with one screw to hold it in place and then secure the remaining screws. Avoid over-tightening to prevent damage to the radiator or case.
- Connect the radiator fans: Locate the fan headers on the radiator and connect the provided cables from the fans to these headers. Make sure the connections are secure.
- Route the fan cables: Neatly route the fan cables along the case to keep them organized. Use zip ties or Velcro straps to secure the cables and prevent them from interfering with other components.
- Connect the fan cables to the motherboard: Find an appropriate fan header on your motherboard and connect the fan cables to it. Refer to your motherboard’s manual for guidance on fan headers and their locations.
- Double-check the installation: Once everything is connected and secured, double-check the installation. Ensure that the radiator is firmly mounted, the fan cables are properly routed, and the connections to the motherboard are secure.
By following these steps, you have successfully installed the radiator of the H100i V2 liquid CPU cooler. In the next section, we will guide you through the process of installing the CPU block. Take your time and pay attention to the details to ensure a seamless installation process.
Installing the CPU Block
With the radiator successfully installed, it’s time to move on to the next step: installing the CPU block of the H100i V2 liquid CPU cooler. This step is crucial for ensuring proper cooling of your CPU. Follow the steps below to install the CPU block:
- Prepare the CPU block: Ensure that the thermal paste has been applied on the CPU surface. If needed, apply an additional small amount of thermal paste to cover the entire surface.
- Align the CPU block: Position the CPU block onto the CPU socket. Align the mounting holes on the CPU block with the corresponding holes on the motherboard.
- Screw in the CPU block: Using the provided screws, start screwing in the CPU block onto the motherboard. Begin by screwing in one corner lightly, then move to the opposite corner. Gradually tighten the screws in a diagonal pattern to ensure even pressure distribution.
- Double-check the installation: Once the CPU block is securely mounted, double-check the installation to ensure that it is correctly aligned and firmly attached to the CPU socket.
It’s important to note that different motherboards may have slightly different mounting mechanisms for the CPU block. Refer to your motherboard’s manual for any specific instructions or differences during the installation process.
Now that you’ve successfully installed the CPU block of the H100i V2 liquid CPU cooler, it’s time to move on to the next section where we will guide you on connecting the cooler to the motherboard. Take your time and be gentle while handling delicate components.
Connecting the Cooler to the Motherboard
With the CPU block securely installed, it’s time to connect the H100i V2 liquid CPU cooler to the motherboard. This step involves connecting the necessary power and control cables to ensure proper functioning of the cooler. Follow the steps below to connect the cooler to the motherboard:
- Locate the CPU_FAN header: Identify the CPU_FAN header on your motherboard. It is usually labeled and located near the CPU socket. This header provides power to the CPU cooler.
- Connect the CPU block cable: Locate the cable coming from the CPU block of the H100i V2. It should have a connector with multiple pins. Connect this cable to the CPU_FAN header on the motherboard. Ensure that it is aligned correctly and securely connected.
- Connect the USB cable: Locate the USB cable coming from the CPU block of the cooler. It should have a USB connector on one end. Connect this cable to an available USB header on the motherboard. This connection allows for software control and monitoring of the CPU cooler.
- Route and manage cables: Neatly route the cables along the case to keep them organized. Use zip ties or Velcro straps to secure the cables and prevent them from interfering with other components.
Once you have completed these steps, you have successfully connected the H100i V2 liquid CPU cooler to the motherboard. This allows the cooler to receive power and control signals from the motherboard, ensuring optimal cooling performance.
In the next section, we will guide you through the process of installing the fans for the cooler. Pay attention to the details and take your time to ensure a proper installation.
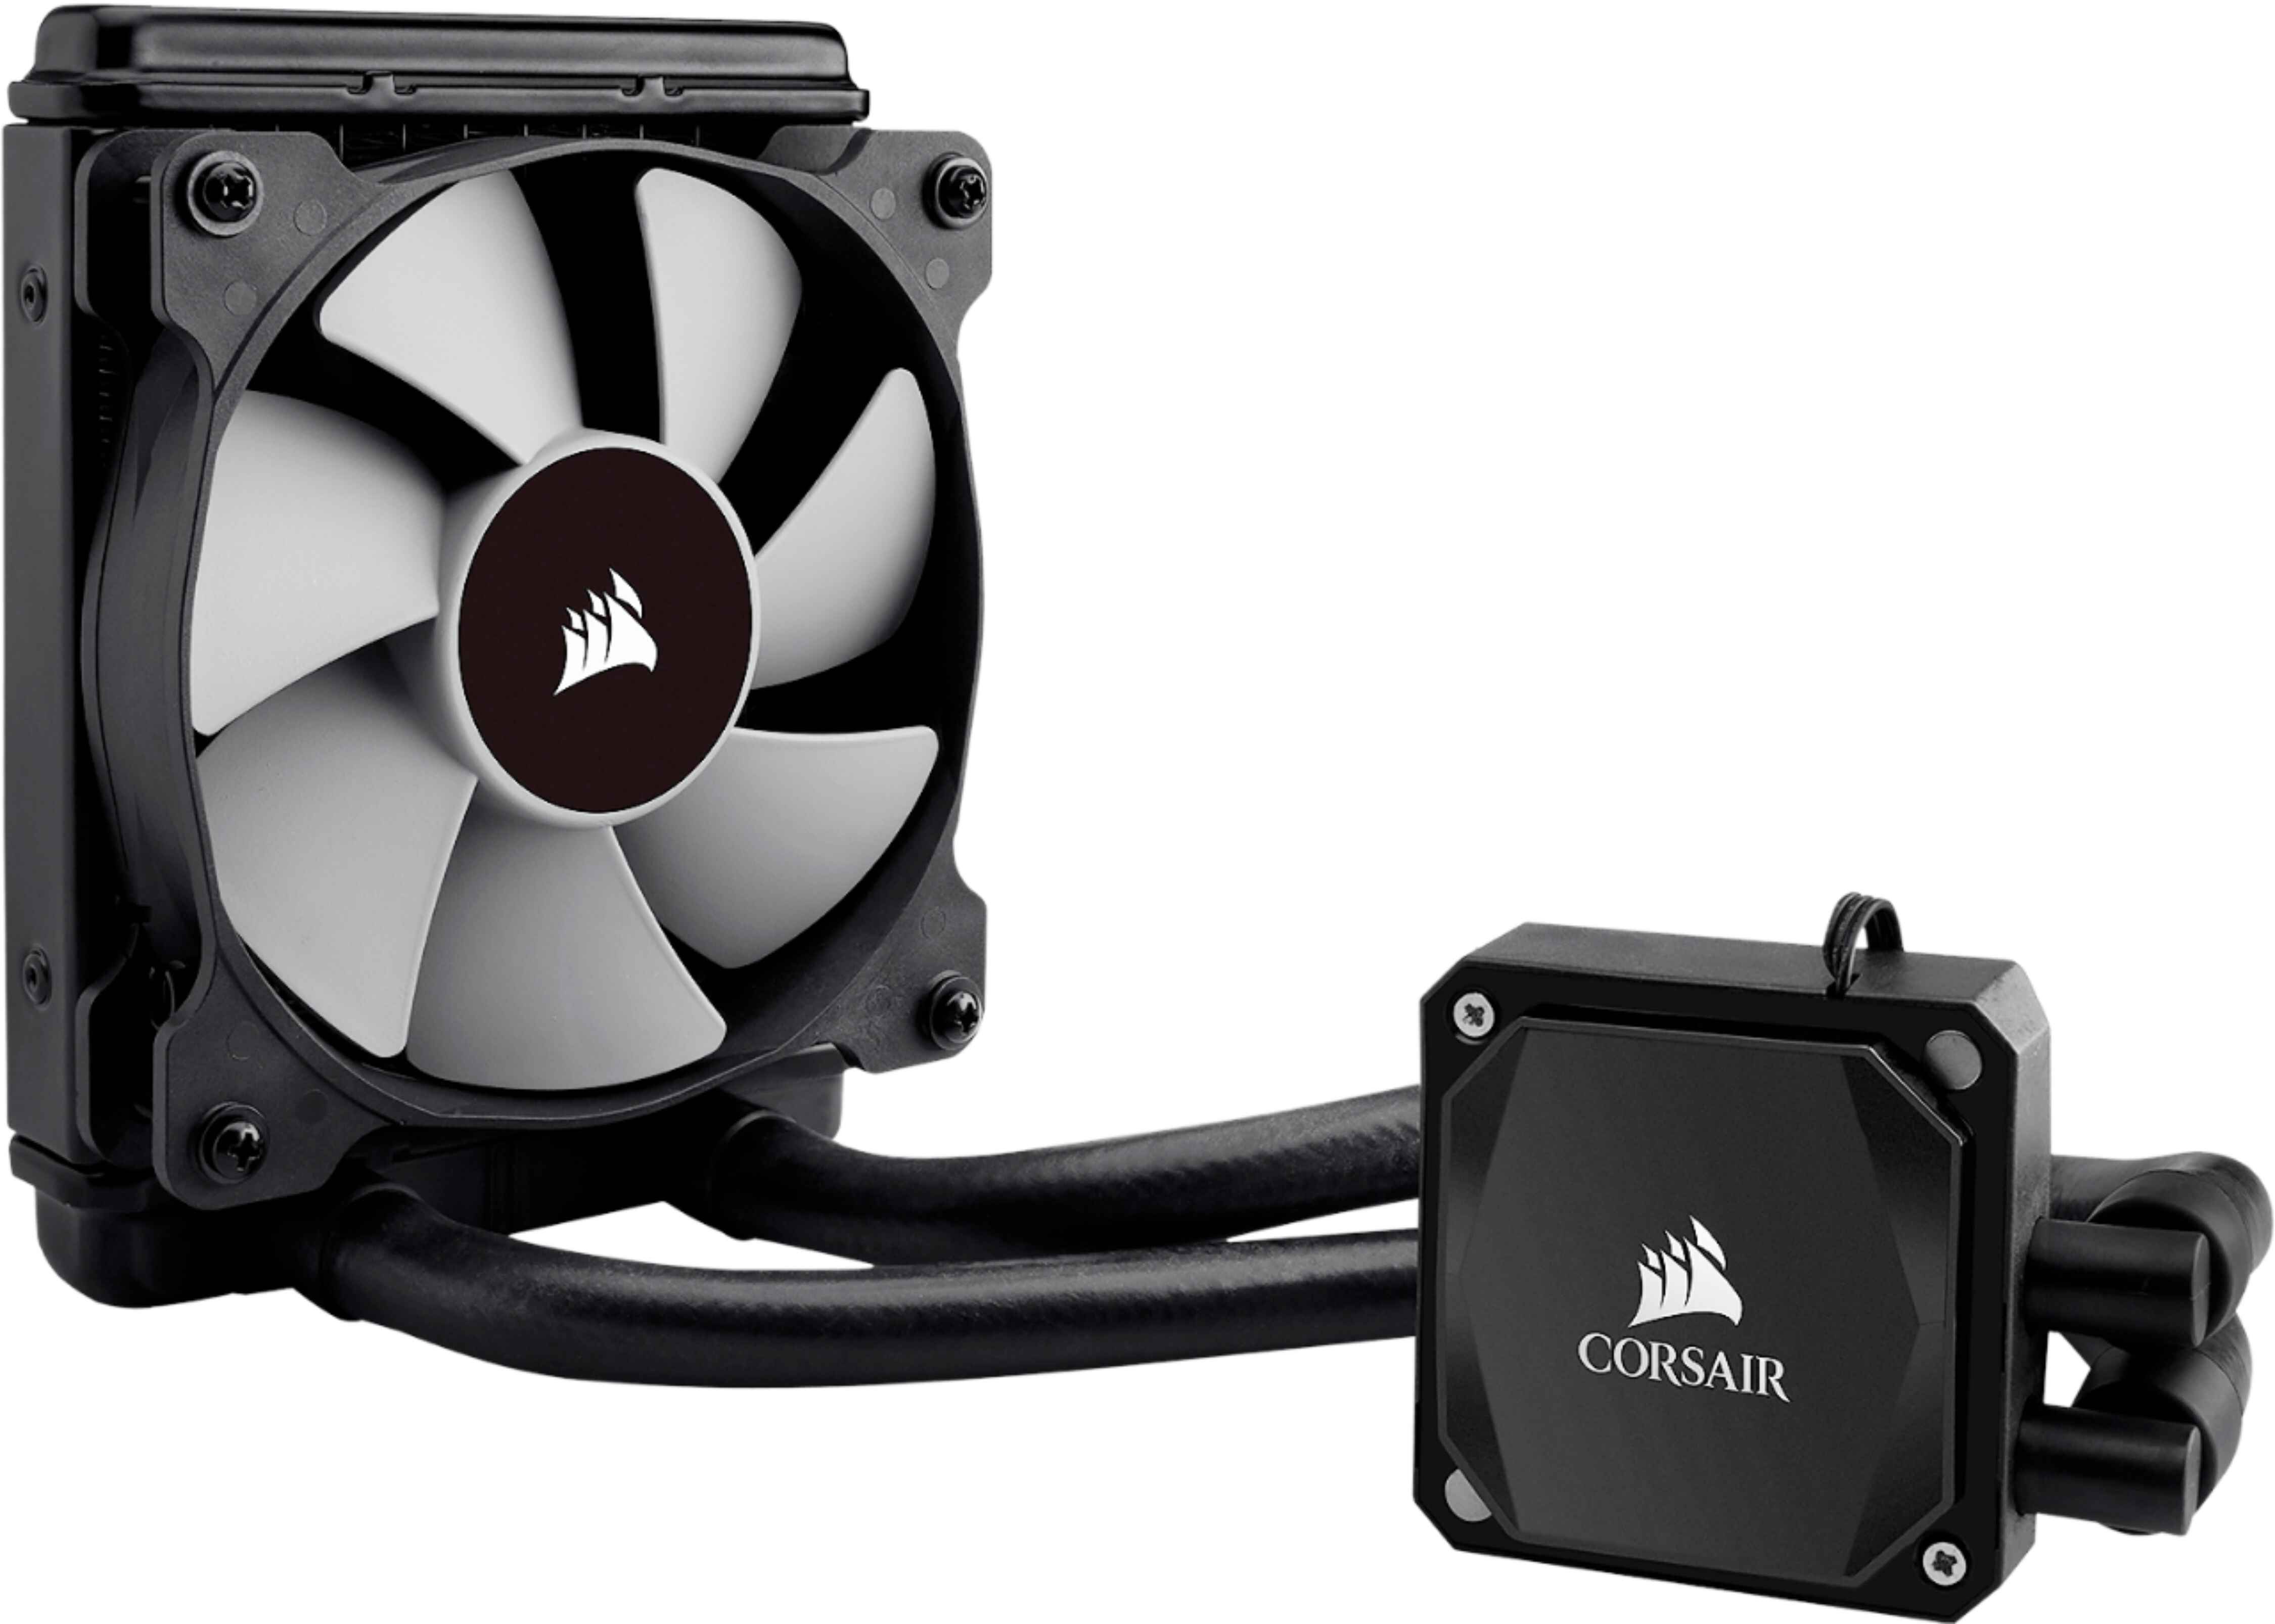
Installing the Fans
Now that the cooler is connected to the motherboard, it’s time to install the fans for the H100i V2 liquid CPU cooler. The fans play a crucial role in keeping the radiator cool by dissipating heat efficiently. Follow the steps below to install the fans:
- Identify the fan mounting points: Locate the fan mounting points on the radiator. These are typically on either side of the radiator, and the number of mounting points depends on the size of the radiator.
- Install the fans onto the radiator: Align the mounting holes on the fans with the corresponding mounting points on the radiator. Insert the screws provided with the cooler through the mounting holes and into the mounting points. Repeat this step for all fans that you want to install.
- Tighten the screws: Use a screwdriver to tighten the screws, ensuring that the fans are securely attached to the radiator. Avoid over-tightening to prevent damage to the fans or radiator.
Once the fans are properly installed on the radiator, it’s time to connect them to the cooler and the power supply. Follow the steps below:
- Locate the fan connectors on the cooler: Identify the fan connectors on the H100i V2 cooler. These connectors are typically labeled “FAN” or “FAN1”, “FAN2”, etc. depending on the number of fans supported by the cooler.
- Connect the fans to the cooler: Take the cables coming from the fans and connect them to the corresponding fan connectors on the cooler. Ensure that the connectors are aligned correctly and securely connected.
- Connect the fans to the power supply: Depending on the type of fan connectors, you can either connect them directly to the motherboard’s fan headers or use fan splitters or adapters to connect them to the power supply. Consult your motherboard’s manual for guidance on fan header locations and their functionalities.
By following these steps, you have successfully installed the fans for the H100i V2 liquid CPU cooler. In the next section, we will guide you on securing the cooler and fans in the computer case. Take your time and ensure that everything is properly installed for optimal cooling performance.
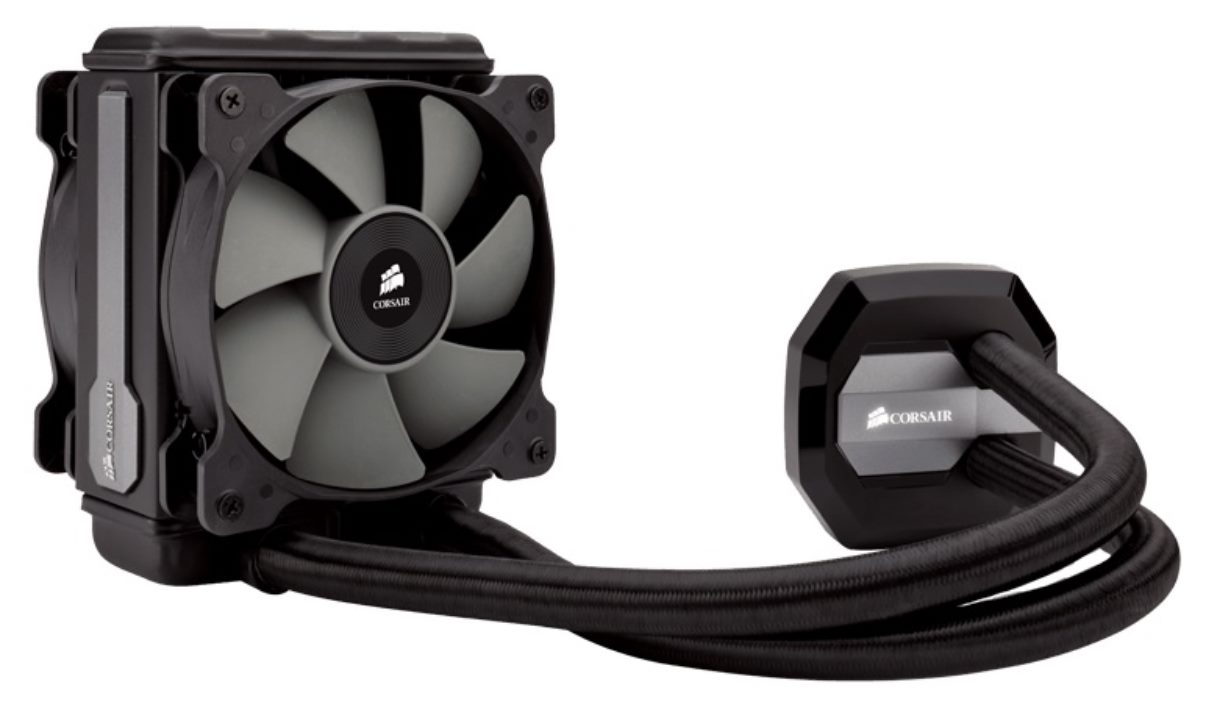
Connecting the Fans to the Cooler and Power Supply
With the fans securely installed on the radiator, the next step is to connect them to the H100i V2 liquid CPU cooler and the power supply. Properly connecting the fans is crucial for their operation and efficient cooling. Follow the steps below to connect the fans:
- Locate the fan connectors on the cooler: Identify the fan connectors on the H100i V2 cooler. These connectors are typically labeled “FAN” or “FAN1”, “FAN2”, etc., depending on the number of fans supported by the cooler.
- Connect the fans to the cooler: Take the cables coming from the fans and connect them to the corresponding fan connectors on the cooler. Ensure that the connectors are aligned correctly and securely connected.
- Connect the fans to the power supply: Depending on the type of fan connectors, you have a few options for connecting the fans to the power supply:
- Motherboard fan headers: If your motherboard has available fan headers, you can connect the fans directly to them. Consult your motherboard’s manual for guidance on fan header locations and their functionalities.
- Fan splitters: If you have more fans than available fan headers on your motherboard, you can use fan splitters to connect multiple fans to a single fan header. This allows you to control all the fans connected to the splitter simultaneously.
- Power supply molex connectors: Alternatively, you can use molex connectors from the power supply to connect the fans directly, bypassing the motherboard. This method provides a constant power supply to the fans but does not allow for fan speed control.
Ensure that all fan connections are secure and aligned correctly. Properly connected fans will ensure optimal cooling performance and prevent any potential issues.
With the fans successfully connected to the H100i V2 cooler and the power supply, the next step is securing the cooler and fans in the computer case. In the following section, we will guide you through this process. Take your time and ensure everything is properly fastened and secure.
Securing the Cooler and Fans
Once the fans are connected and in their proper places, it’s essential to secure the H100i V2 liquid CPU cooler and the fans in the computer case. Properly securing these components ensures stability, reduces vibrations, and helps maintain optimal cooling performance. Follow the steps below to secure the cooler and fans:
- Double-check the radiator screws: Make sure that the screws holding the radiator in place are tightened securely. Ensure that all screws are evenly tightened, but avoid over-tightening to prevent damage to the radiator or the case.
- Secure the CPU block: Ensure that the CPU block is securely fastened to the CPU socket. Double-check the screws and ensure that they are tightened evenly. Be cautious not to overtighten, as it may damage the CPU or the socket.
- Organize fan cables: Take the time to organize and manage the fan cables. Secure them with zip ties or Velcro straps, keeping them tidy and preventing them from interfering with other components or obstructing airflow.
- Confirm proper clearance: Check that there is enough clearance between the radiator, fans, and adjacent components, such as RAM modules or GPU. Ensure that no components are touching or blocking airflow from the fans or obstructing the functionality of the cooler.
- Check for vibrations: Turn on your computer and observe if there are any vibrations or rattling noises from the cooler or fans. If needed, adjust the fan placement or use rubber dampening mounts to reduce vibrations and noise.
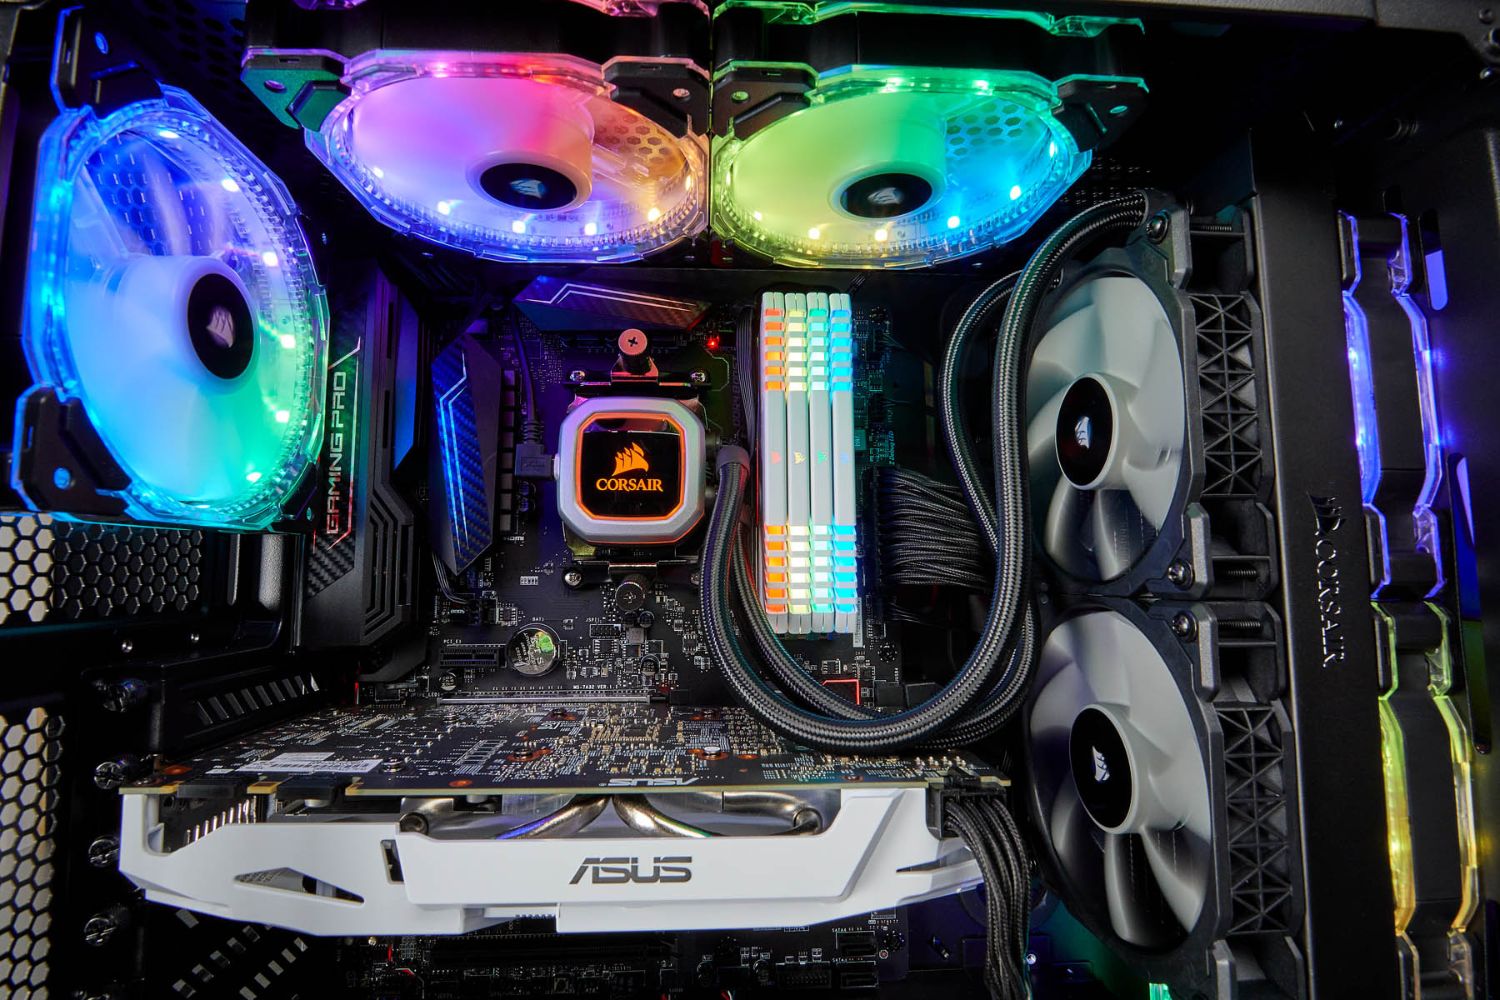
By following these steps, you have successfully secured the H100i V2 liquid CPU cooler and the fans in your computer case. This ensures stability, efficient cooling, and prevents any potential issues from arising.
In the next section, we will discuss testing and troubleshooting the cooler to ensure optimal performance. Take your time and ensure that everything is properly secured and functioning before proceeding.
Testing and Troubleshooting
After securing the H100i V2 liquid CPU cooler and the fans, it’s important to test the installation and troubleshoot any potential issues that may arise. Proper testing ensures that the cooler is functioning correctly and that your CPU is being effectively cooled. Follow the steps below for testing and troubleshooting:
- Power on your computer: Turn on your computer and listen for any unusual noises coming from the cooler or fans. Observe if the fans are spinning and the pump is functioning.
- Monitor temperatures: Use a software monitoring program or the BIOS to monitor the CPU temperatures. Ensure that the temperatures are within acceptable ranges, even under heavy loads or during prolonged usage.
- Check for leaks: Inspect the cooler and all connections for any signs of leaking coolant. Look for any visible fluid or dampness around the CPU block, radiator, or tubing. If you suspect a leak, immediately turn off your computer and address the issue.
- Adjust fan speeds (if necessary): If the fans are too loud or not providing adequate cooling, adjust their speeds using the software control provided with the cooler or through your motherboard’s BIOS settings.
- Recheck cable connections: Double-check all cable connections, ensuring that they are securely attached to their respective headers. Loose connections can lead to malfunctions or improper cooling.
- Address any issues: If you encounter any abnormal temperatures, noises, or other issues, consult the user manual, manufacturer’s website, or online forums for troubleshooting assistance. It’s important to resolve any issues promptly for optimal performance.
By thoroughly testing and troubleshooting the H100i V2 liquid CPU cooler, you can ensure that it is functioning correctly and effectively cooling your CPU. Regular monitoring and maintenance will help maintain the longevity of the cooler and your computer’s performance.
With all the steps completed, you have successfully installed, tested, and troubleshooted the H100i V2 liquid CPU cooler. Enjoy the enhanced cooling performance and efficiency it provides!
Conclusion
Congratulations! You have successfully completed the installation of the H100i V2 70.7 CFM Liquid CPU Cooler. By following the step-by-step instructions in this guide, you have enhanced the cooling performance of your computer and optimized its overall efficiency.
We started by gathering the necessary tools and materials, ensuring that you had everything needed for a smooth installation. Then, we prepared the computer by cleaning the CPU surface and applying thermal paste. Next, we installed the radiator, CPU block, fans, and connected them to the motherboard and power supply.
Once everything was securely installed, we emphasized the importance of properly securing the cooler and fans in the computer case to prevent vibrations and maintain optimal cooling performance. We also discussed the importance of testing and troubleshooting, ensuring that the cooler is functioning correctly and effectively cooling the CPU.
Remember, regular monitoring, maintenance, and addressing any issues promptly will help maintain the longevity of your cooler and ensure your computer’s performance remains at its best.
Thank you for following this guide on how to install the H100i V2 70.7 CFM Liquid CPU Cooler. Enjoy the benefits of improved cooling and optimal performance in your computer!