Introduction
Welcome to our guide on how to insert a micro SD card in the Galaxy S8. The Galaxy S8 is a powerful smartphone with a stunning design and impressive features. One of its key advantages is the ability to expand its storage capacity using a micro SD card. This allows you to store more photos, videos, music, and other files, providing you with additional space to enjoy your favorite content without worrying about running out of storage.
In this step-by-step guide, we will show you the process of inserting a micro SD card into your Galaxy S8. Whether you are a new user or someone who wants to upgrade their storage, this guide will help you seamlessly install your micro SD card and start utilizing the extra storage space it provides.
Before we begin, it is important to note that the process may vary slightly depending on your specific model of the Galaxy S8. However, the general steps remain the same. So, without further ado, let’s get started on inserting your micro SD card into your Galaxy S8.
Step 1: Locate the Micro SD Card Slot
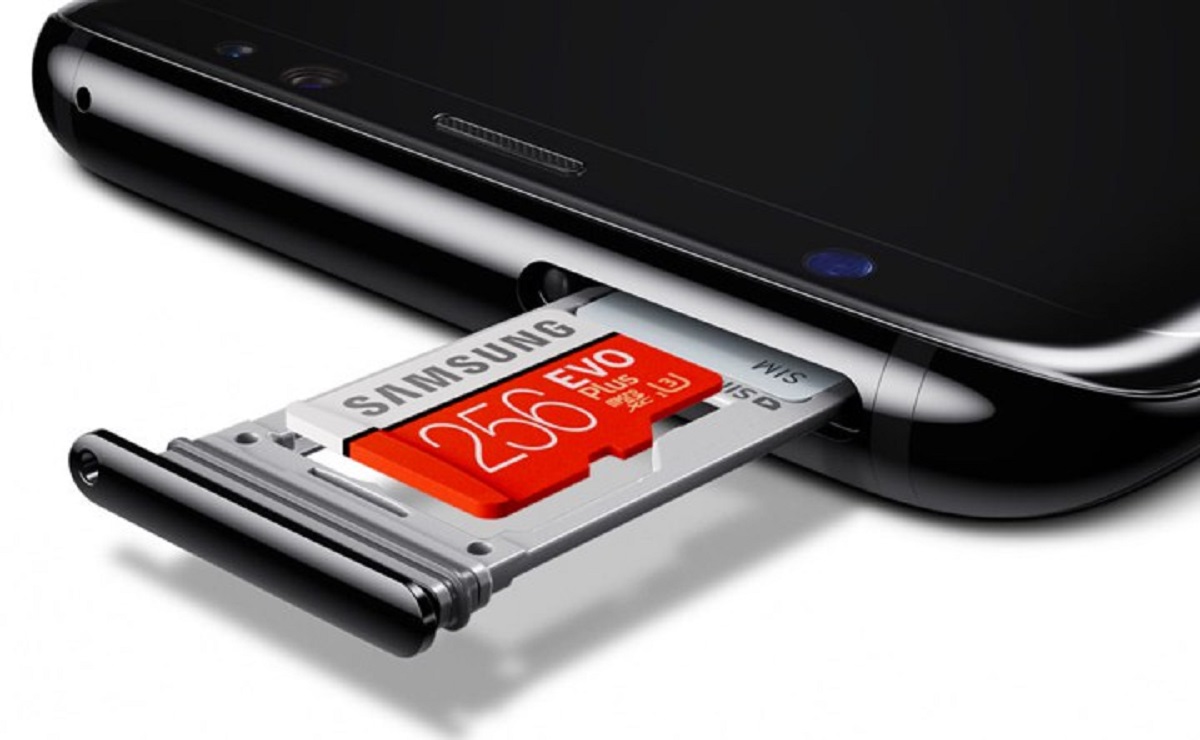
The first step in successfully inserting a micro SD card into your Galaxy S8 is to locate the micro SD card slot. The micro SD card slot is located on the top of the device, on the opposite side of the power button.
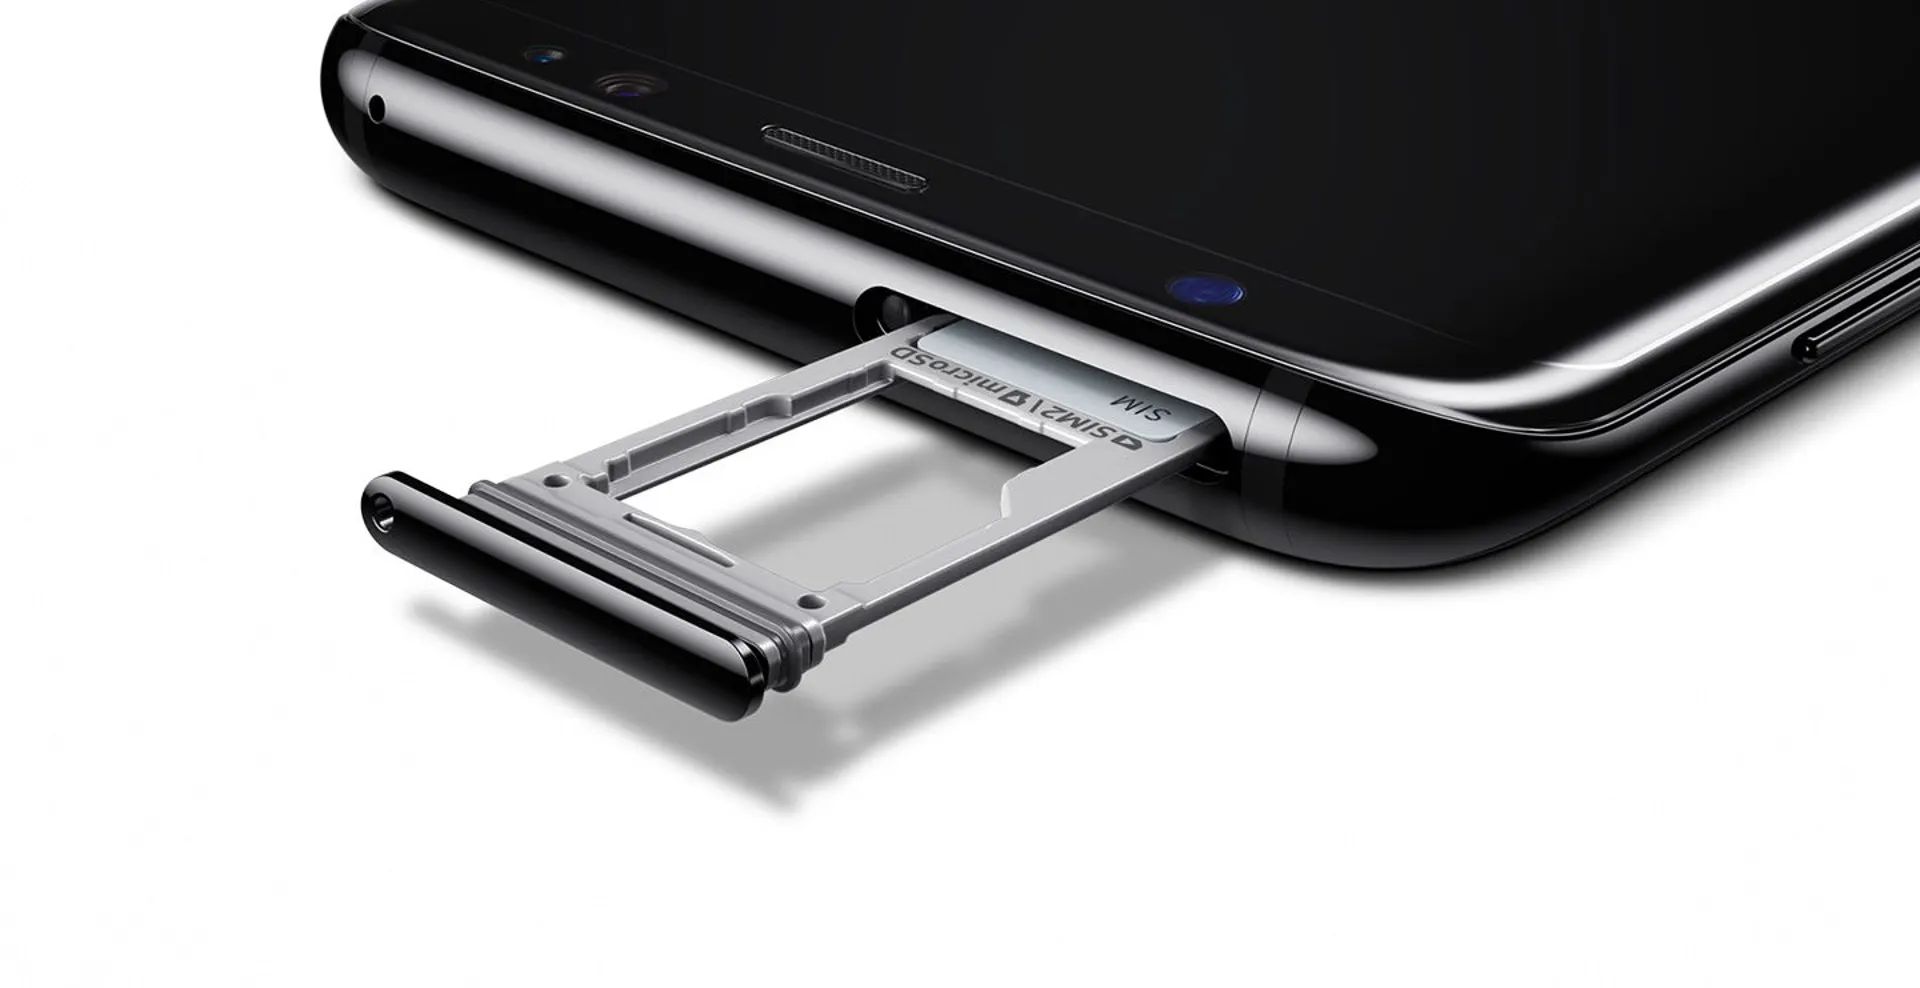
Take a close look at the top edge of your Galaxy S8 and you’ll find a small slot. This slot is covered by a protective cover that blends seamlessly with the phone’s design. To access the micro SD card slot, you will need to use a SIM tray ejection tool or a paperclip to gently push into the small hole beside the slot.
Once the protective cover is released, you will see the micro SD card slot. It is important to note that the Galaxy S8 supports a nano SIM card, which is inserted into a separate slot. The micro SD card slot, on the other hand, is specifically designed for the insertion of a micro SD card only.
Now that you have located the micro SD card slot, it’s time to move on to the next step of preparing the micro SD card for insertion. Make sure to handle the micro SD card with care and avoid touching the metal contacts to prevent any damage.
Step 2: Prepare the Micro SD Card
Before inserting the micro SD card into your Galaxy S8, it is important to prepare the card properly. This involves a few simple steps to ensure that the card is compatible with your device and ready for use.
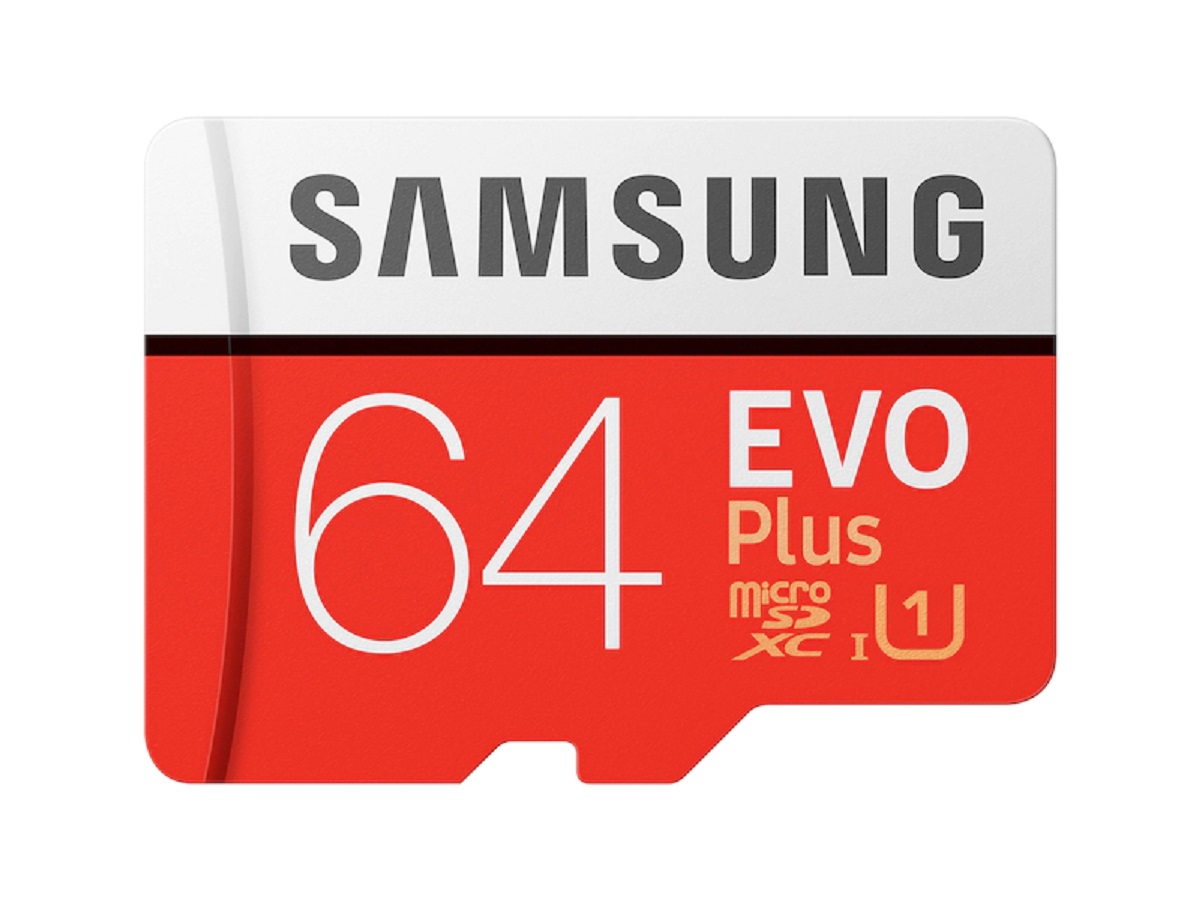
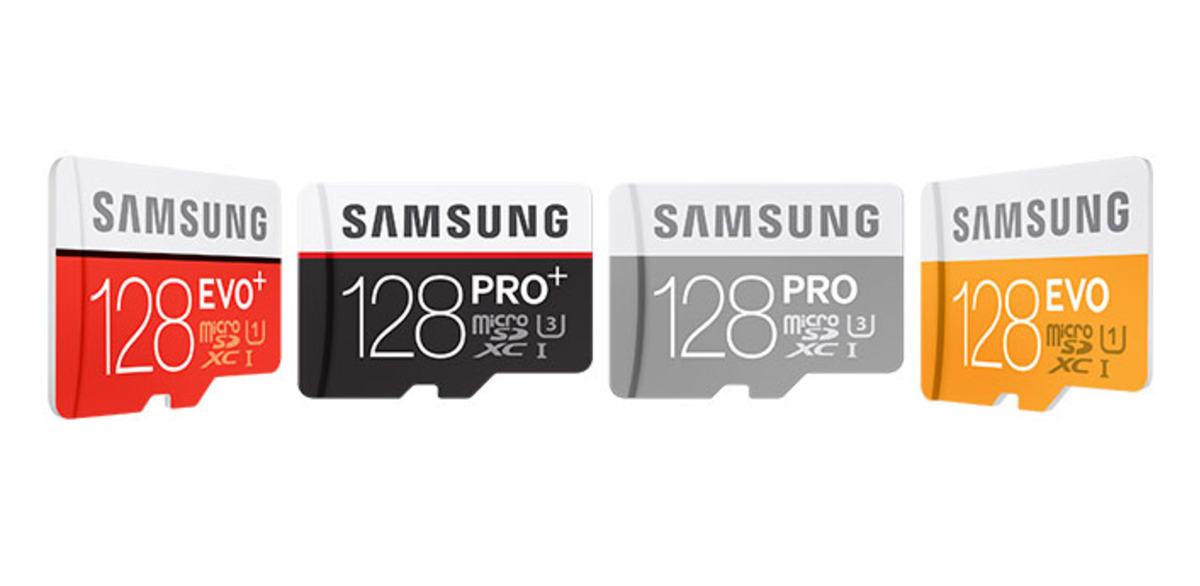
The first thing you need to do is check the capacity and compatibility of the micro SD card. The Galaxy S8 supports micro SD cards up to a certain capacity, typically ranging from 32GB to 512GB. Make sure that the micro SD card you are using falls within this range to ensure optimal performance and compatibility.
Next, you will need to format the micro SD card to a compatible file system. The most commonly supported file systems are exFAT and FAT32. To format the micro SD card, you can use your Galaxy S8 or a computer. If you choose to format the card using your Galaxy S8, go to Settings, then Storage, and select the micro SD card. From there, you can format the card using the on-screen instructions.
If you prefer to format the micro SD card using a computer, insert the card into an SD card reader and connect it to your computer. Open the File Explorer or Finder, locate the SD card, right-click on it, and select Format. Choose either exFAT or FAT32 as the file system and click Start to begin the formatting process.
Formatting the micro SD card will erase all existing data stored on it, so it’s important to make sure that you have backed up any important files before proceeding. Once the formatting process is complete, your micro SD card will be ready for insertion into your Galaxy S8.
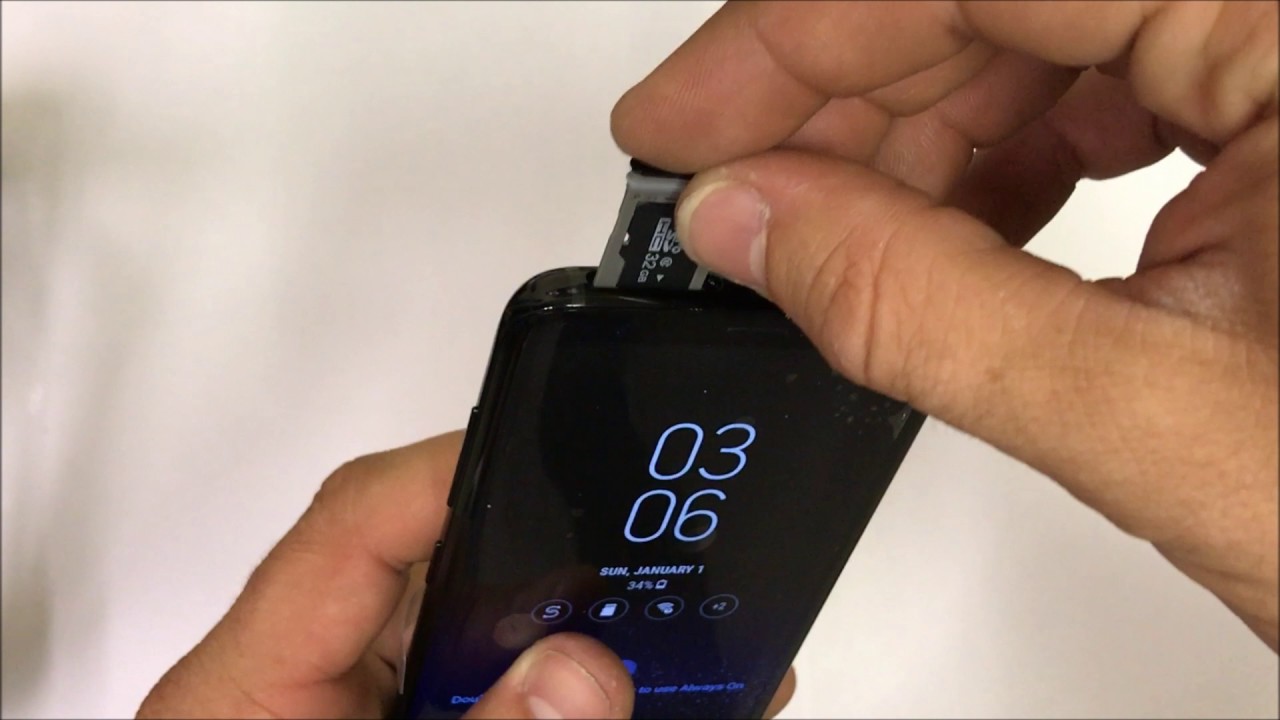
Step 3: Insert the Micro SD Card into the Galaxy S8
Now that you have prepared the micro SD card, it’s time to insert it into your Galaxy S8. Follow these steps to ensure a successful insertion.
- Ensure that your Galaxy S8 is powered off. It’s crucial to turn off the device before inserting or removing a micro SD card to prevent any potential damage.
- Take the micro SD card and align it with the micro SD card slot on the top edge of the device. Make sure the metal contacts on the micro SD card are facing down towards the phone.
- Gently push the micro SD card into the slot until it clicks into place. Be careful not to apply excessive force, as it could damage the card or the slot.
- Once the micro SD card is inserted, replace the protective cover by gently pushing it back into place until it snaps shut. This will ensure that the micro SD card is securely held in position.
Now that you have successfully inserted the micro SD card into your Galaxy S8, you can proceed to the next step of restarting the phone.
Please note that if you ever need to remove the micro SD card in the future, make sure to follow the proper procedure. Power off the device, remove the protective cover, and gently push the micro SD card to release it from the slot. Remember to handle the micro SD card with care and avoid touching the metal contacts.
Step 4: Restart the Phone
After inserting the micro SD card into your Galaxy S8, it is recommended to restart the phone. This allows the device to recognize and configure the newly inserted micro SD card.
- Press and hold the power button on your Galaxy S8 until the power menu appears on the screen.
- Tap on the “Restart” option to initiate the restart process.
- Wait for the device to power off and then power back on. This may take a few moments.
During the restart, the Galaxy S8 will detect the micro SD card and initialize it for use. After the restart is complete, you can proceed to the next step of verifying that the micro SD card is detected correctly.
It’s worth mentioning that restarting the phone after inserting the micro SD card is not mandatory, but it can help ensure a smooth transition and avoid any potential conflicts or issues.
If you encounter any difficulties or the micro SD card is not recognized after the restart, double-check that it has been inserted correctly and the protective cover is securely closed. If the problem persists, you may need to try reinserting the micro SD card or contact customer support for further assistance.
Step 5: Verify the Micro SD Card is Detected
After restarting your Galaxy S8, it is important to verify that the micro SD card is detected and functioning properly. Follow these steps to ensure that the device recognizes the inserted card:
- Unlock your Galaxy S8 by entering your PIN, password, or using the biometric authentication method.
- Swipe down from the top of the screen to access the notification panel.
- Tap on the gear icon in the top right corner to open the Settings menu.
- Scroll down and select “Storage” or “Device Care” (depending on your device’s software version).
- Under the Storage or Device Storage section, you should see the micro SD card listed along with the available storage capacity. This indicates that the micro SD card has been successfully detected by your Galaxy S8.
If you don’t see the micro SD card listed or encounter any error message, it could indicate a problem with the insertion or compatibility of the card. In such cases, try removing and reinserting the card, ensuring that it is properly aligned and securely placed in the slot. If the issue persists, you may need to consult the user manual or contact customer support for further assistance.
Once the micro SD card is confirmed to be detected by your Galaxy S8, you can start utilizing the additional storage space for saving photos, videos, apps, and other files. The micro SD card can be accessed through various apps and the built-in file manager, allowing you to easily manage and transfer files between different storage locations.
Remember to regularly backup your data, including the contents of the micro SD card, to avoid any potential loss in case of device malfunction or card failure. Regularly checking the storage usage and optimizing it can also help ensure smooth performance and prevent any storage-related issues.
Conclusion
Congratulations! You have successfully learned how to insert a micro SD card into your Galaxy S8. By following the steps outlined in this guide, you can expand the storage capacity of your device and enjoy the freedom to store more of your favorite content without worrying about running out of space.
Remember to handle the micro SD card with care and follow the proper procedures for insertion and removal. Always ensure that your device is powered off before making any changes to avoid potential damage.
Once the micro SD card is inserted and recognized by your Galaxy S8, you can take advantage of the additional storage to store more photos, videos, music, and other files. This not only enhances your multimedia experience but also allows for smoother device performance as you free up internal storage.
Periodically check the storage usage on your Galaxy S8 and manage your files efficiently to avoid clutter and optimize the available space. Regularly backing up your data, including the contents of the micro SD card, is also highly recommended to safeguard your files in case of device failure or card malfunction.
With the expanded storage capacity provided by your micro SD card, you can now confidently capture more memories, download more apps, and enjoy endless entertainment on your Galaxy S8!
Thank you for choosing us as your guide. If you have any further questions or need additional assistance, feel free to reach out to our support team. Happy exploring with your newly inserted micro SD card!