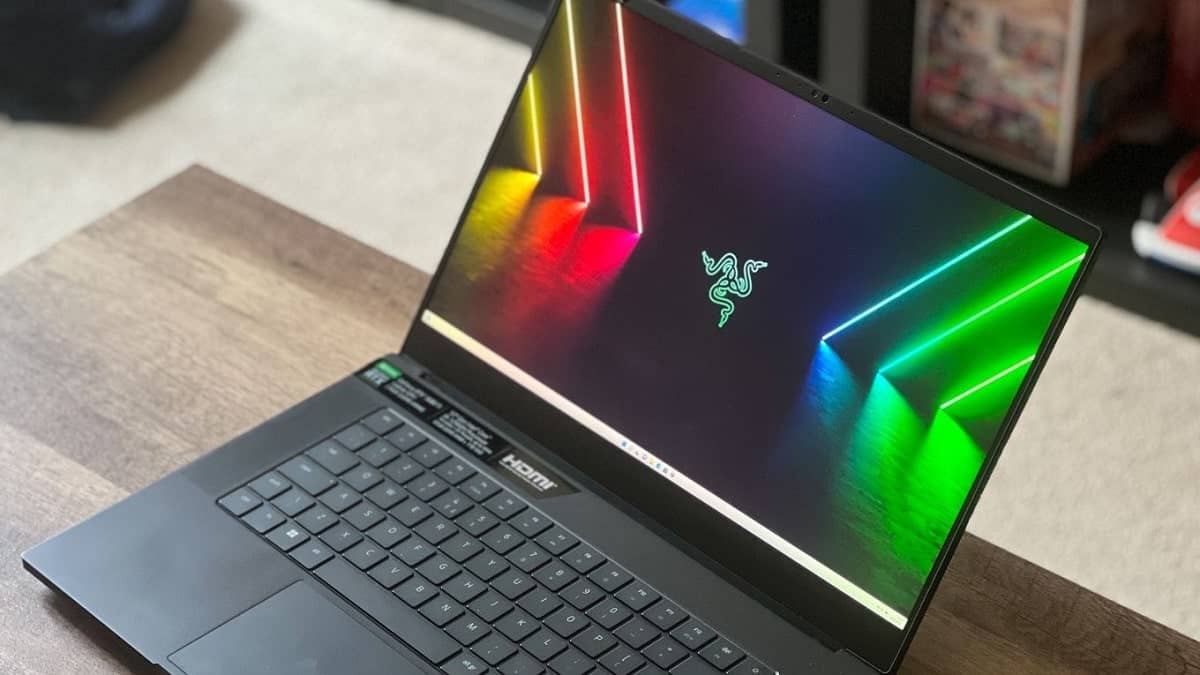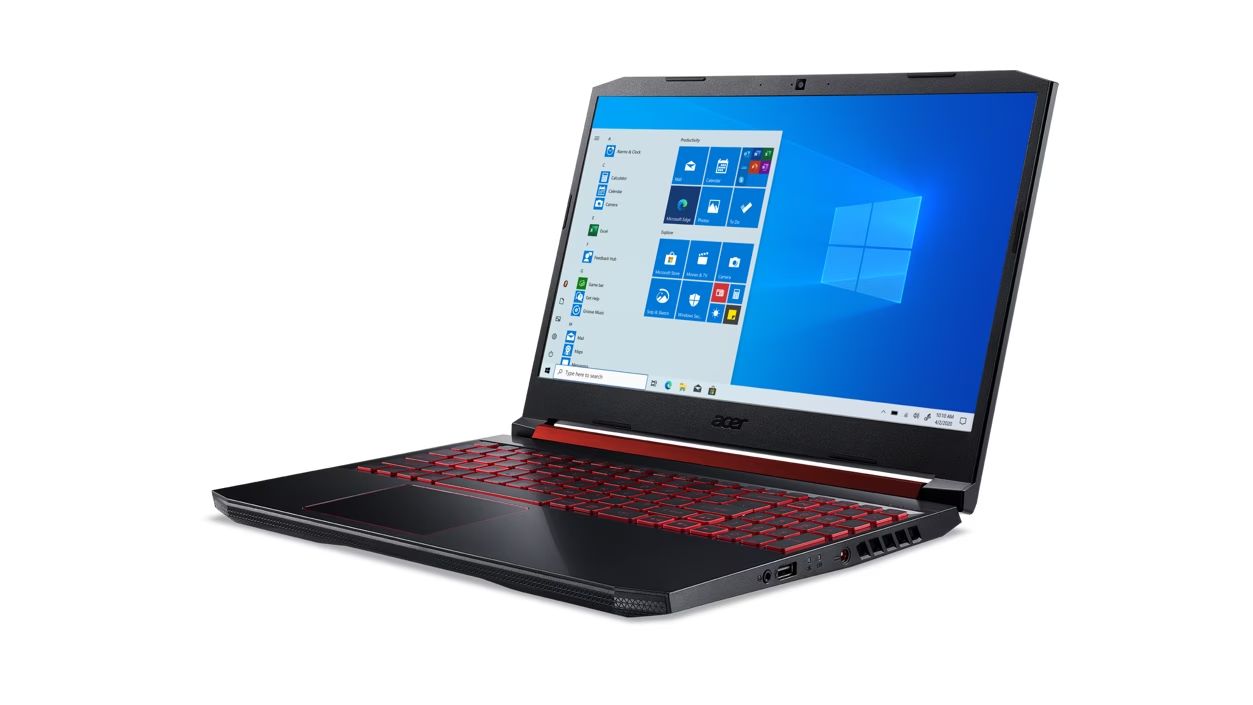
Introduction
Gaming laptops have quickly become the go-to choice for avid gamers who want the freedom to play their favorite titles wherever they go. However, as games become more demanding and complex, it’s not uncommon for gamers to experience a decline in performance over time. If you’ve noticed that your gaming laptop isn’t running as smoothly as it once did, don’t fret. There are several steps you can take to increase its performance and restore it to its former glory.
From cleaning out dust to upgrading key components, optimizing your laptop’s power settings to overclocking your GPU, there are numerous strategies that can help you get the most out of your gaming experience. In this article, we’ll explore some effective methods to boost your gaming laptop’s performance and enhance your overall gameplay. By implementing these techniques, you can enjoy smoother graphics, faster loading times, and reduced lag, allowing you to fully immerse yourself in your favorite virtual worlds.
It’s important to note that while these tips are aimed specifically at laptops, many of them can also be applied to desktop computers. So, whether you’re gaming on a laptop or a desktop, read on to learn how to optimize your gaming experience.
It’s time to give your gaming laptop a performance boost, so let’s dive into the various methods you can employ to improve its capabilities and unleash the full potential of your gaming adventures.
Clean out the dust
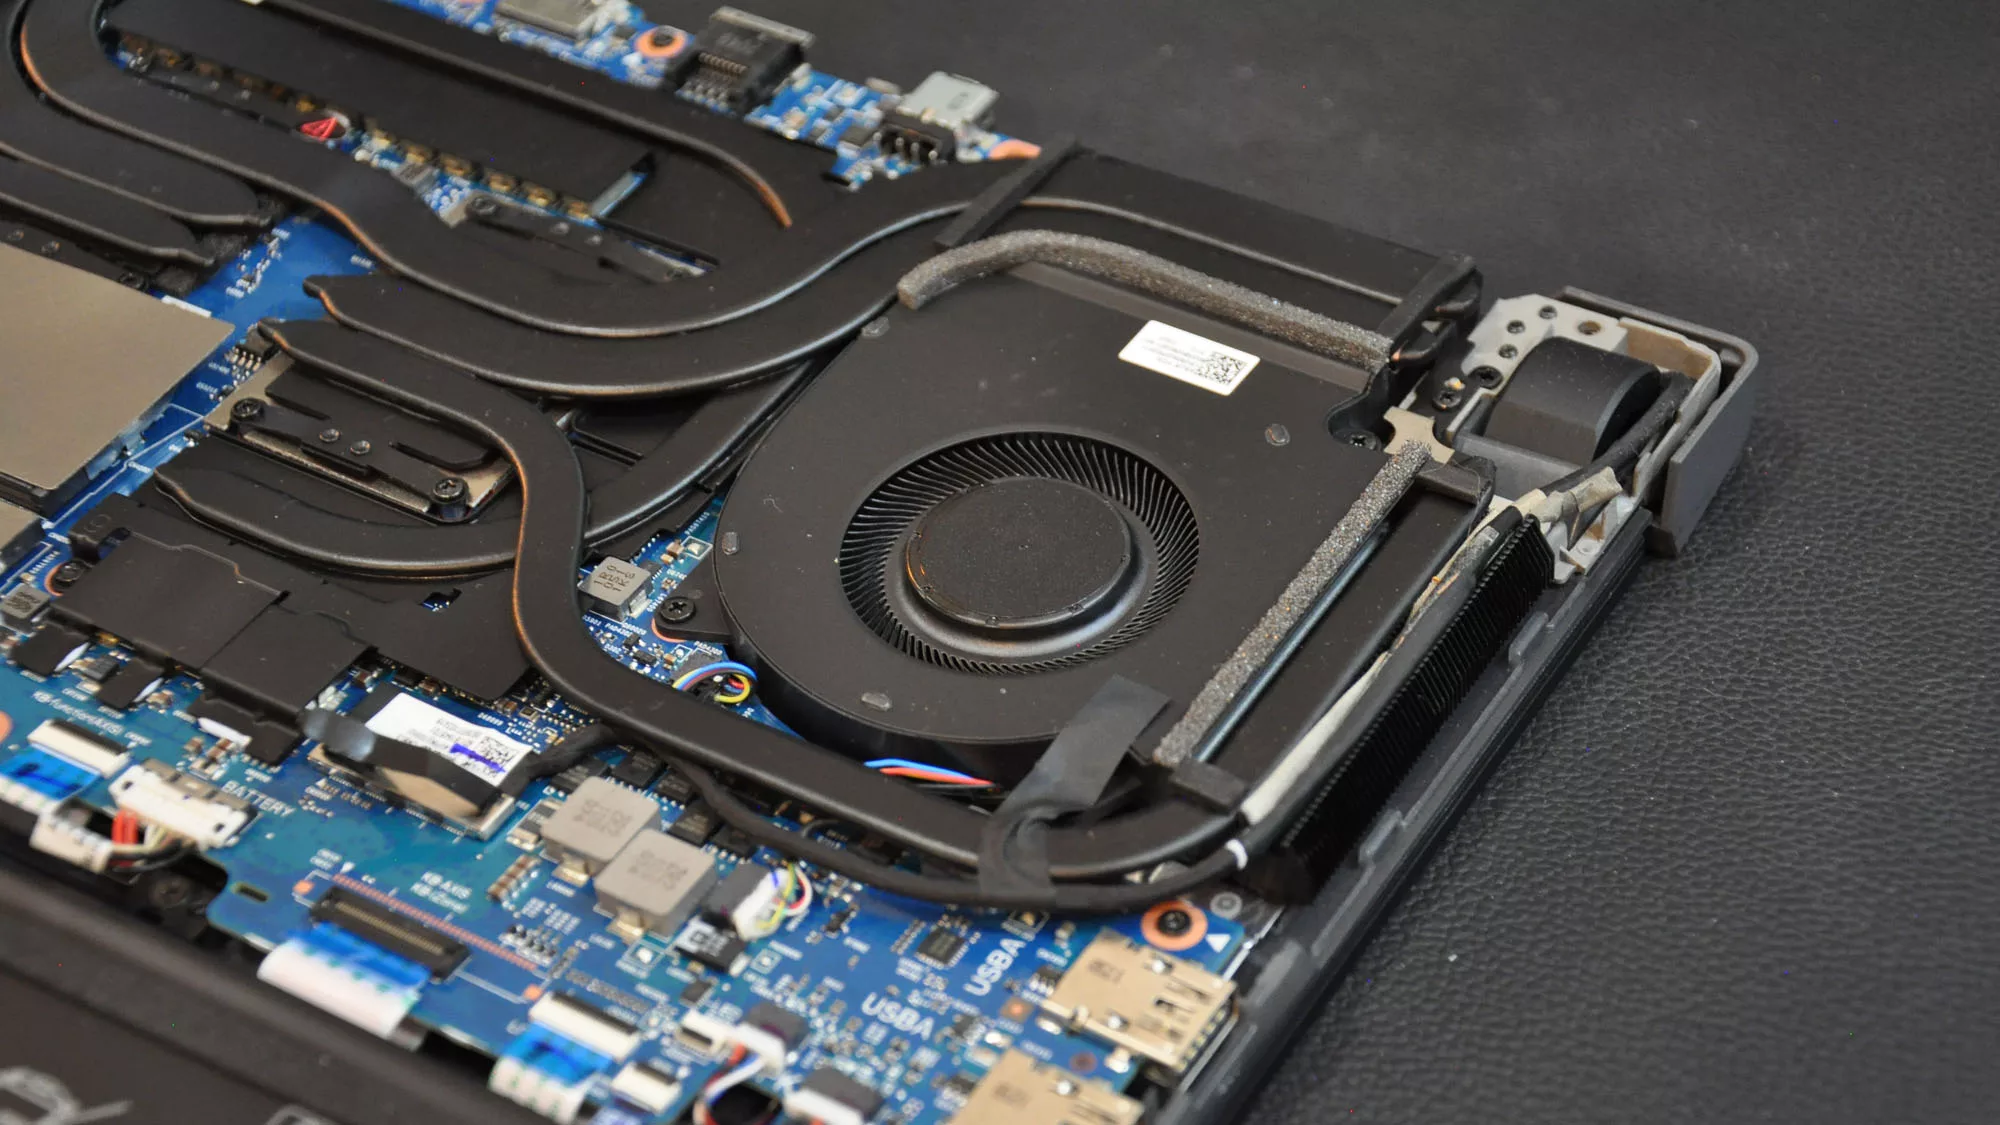
Over time, dust and debris can accumulate inside your gaming laptop, especially in the cooling system. This build-up can obstruct airflow, leading to overheating and a decrease in performance. To combat this, it’s crucial to regularly clean out the dust from your laptop.
Start by shutting down your laptop and disconnecting it from the power source. Using a small screwdriver or a can of compressed air, carefully remove the bottom panel of your laptop to access the internal components. Use the compressed air to blow out any dust or debris from the cooling fans, vents, and heat sinks.
Additionally, you can use a soft brush or a lint-free cloth to gently wipe away any visible dust on the surface of the components. Be sure to pay special attention to the fans, as they are the primary means of cooling your laptop.
Regular cleaning of the cooling system will help keep temperatures down and prevent your laptop from throttling its performance to compensate for the heat. By maintaining a clean and efficient cooling system, you can enjoy smoother gameplay and prolong the lifespan of your gaming laptop.
Update your drivers
Drivers play a crucial role in ensuring that your hardware components and software applications work together seamlessly. Outdated drivers can lead to compatibility issues and performance problems on your gaming laptop. Therefore, it’s essential to regularly update your drivers to optimize your gaming experience.
Start by identifying the components that require driver updates. Graphics cards, sound cards, and network adapters are common components that can benefit from updated drivers. Visit the manufacturer’s website for each component and search for the latest drivers available for your specific model.
Once you’ve downloaded the updated drivers, follow the installation instructions provided by the manufacturer. Typically, this involves running an installer that will guide you through the process. Be sure to restart your laptop after installing the new drivers to ensure that the changes take effect.
Updating your drivers can not only improve compatibility but also enhance performance and fix any bugs or issues that may exist in older versions. By keeping your drivers up to date, you can enjoy smoother gameplay, optimized graphics, and reduced latency.
In addition to updating your drivers manually, you can also use driver update software programs that automatically scan your system and recommend the latest drivers. These programs can save you time and effort, ensuring that your drivers are always up to date.
Remember, regularly updating your drivers is crucial for maintaining the overall performance and stability of your gaming laptop. By staying on top of driver updates, you can ensure that your hardware and software work harmoniously, delivering an optimal gaming experience.
Optimize your power settings
Power settings can have a significant impact on the performance of your gaming laptop. By tweaking these settings, you can strike a balance between performance and power consumption, ensuring that your laptop is running optimally.
Start by accessing the power options on your laptop. On Windows, you can do this by right-clicking on the battery icon in the taskbar and selecting “Power Options.” On macOS, go to System Preferences and navigate to the Energy Saver section.
In the power settings, look for options that allow you to prioritize performance over power savings. For example, you may find a setting called “High Performance” or “Gaming Mode” that boosts your laptop’s performance at the cost of increased power consumption. Selecting this option can provide a noticeable increase in gaming performance.
Alternatively, you can customize your power plan by adjusting individual settings. For instance, you can set the display brightness to a lower level or reduce the timeout for the screen to turn off when idle. Disabling unnecessary background applications and system services can also help conserve system resources and improve overall performance.
It’s important to strike a balance between performance and power consumption based on your needs. Keep in mind that selecting the highest performance settings may lead to a shorter battery life, so consider your power source if you’re gaming on the go.
Experiment with different power settings and monitor the impact they have on your gaming experience. You may find that certain settings provide a noticeable boost in performance, while others may offer a better balance between performance and battery life.
By optimizing your power settings, you can make the most of your gaming laptop’s capabilities, ensuring that it performs at its best while still taking into account power efficiency.
Close unnecessary background processes
When gaming on a laptop, it’s important to ensure that your system resources are dedicated to running the game smoothly. Unnecessary background processes and applications can consume valuable CPU and RAM, causing your gaming laptop to slow down and hinder performance.
Start by opening the Task Manager on your laptop. On Windows, you can do this by right-clicking on the taskbar and selecting “Task Manager.” On macOS, open the Activity Monitor from the Utilities folder in your Applications folder.
In the Task Manager or Activity Monitor, you’ll find a list of running processes and applications. Sort them by CPU or memory usage to identify any resource-intensive programs that are running in the background.
Close any non-essential processes or applications that you don’t need while gaming. This can include web browsers, file syncing services, chat applications, or any other programs that are not directly related to your gaming experience.
Disabling unnecessary startup programs is another way to free up system resources. These are programs that launch automatically when you start your laptop and continue running in the background. You can manage startup programs in the Task Manager or by accessing the System Preferences on macOS.
By closing or disabling unnecessary background processes, you can free up valuable system resources, allowing your gaming laptop to allocate more power to running your game smoothly. This can result in improved frame rates, reduced lag, and an overall better gaming experience.
Keep in mind that some processes may be essential for the normal functioning of your laptop, so exercise caution when closing or disabling them. If you’re unsure about a specific process, it’s best to research it online or consult with a professional.
Take the time to regularly review and close unnecessary background processes to ensure that your gaming laptop is running at its full potential, providing you with the best gaming experience possible.
Overclock your GPU
If you’re looking to squeeze out every last bit of performance from your gaming laptop, overclocking your GPU can provide a significant boost. Overclocking refers to increasing the clock speed of your graphics card, allowing it to process more frames per second and handle more demanding graphics.
Before you start overclocking, it’s important to understand the risks involved. Overclocking your GPU can generate more heat and put additional stress on the component, potentially shortening its lifespan. Ensure that your laptop has a proper cooling system in place and monitor temperatures during the overclocking process.
To overclock your GPU, you’ll need to use specialized software. There are numerous tools available, such as MSI Afterburner, EVGA Precision X, or AMD Radeon Software, depending on the brand of your graphics card.
Start by opening the overclocking software and familiarizing yourself with the settings. It’s recommended to increase the clock speed gradually, making small adjustments and testing the stability and performance after each change.
Be sure to stress test your GPU after overclocking to ensure that it can handle the increased clock speeds without crashing or causing artifacts in the graphics. You can use programs like FurMark or 3DMark to stress test your GPU and monitor its temperature during the test.
Keep in mind that not all GPUs will overclock the same, and the potential for overclocking varies depending on your specific graphics card model. It’s important to research and understand the limits of your GPU before attempting to overclock.
Overclocking can provide a noticeable increase in gaming performance, resulting in smoother gameplay and higher frame rates. However, it should be done with caution and only if you feel comfortable with the process and its potential risks.
If you’re uncomfortable with manually overclocking your GPU, there may be pre-configured overclocking profiles available in the software provided by your graphics card manufacturer. These profiles can offer a relatively safe and straightforward way to boost performance without diving into manual overclocking settings.
Remember to monitor your GPU temperatures and revert any overclocking settings if you notice instability or excessive heat. Safety should always be your top priority when overclocking your GPU.
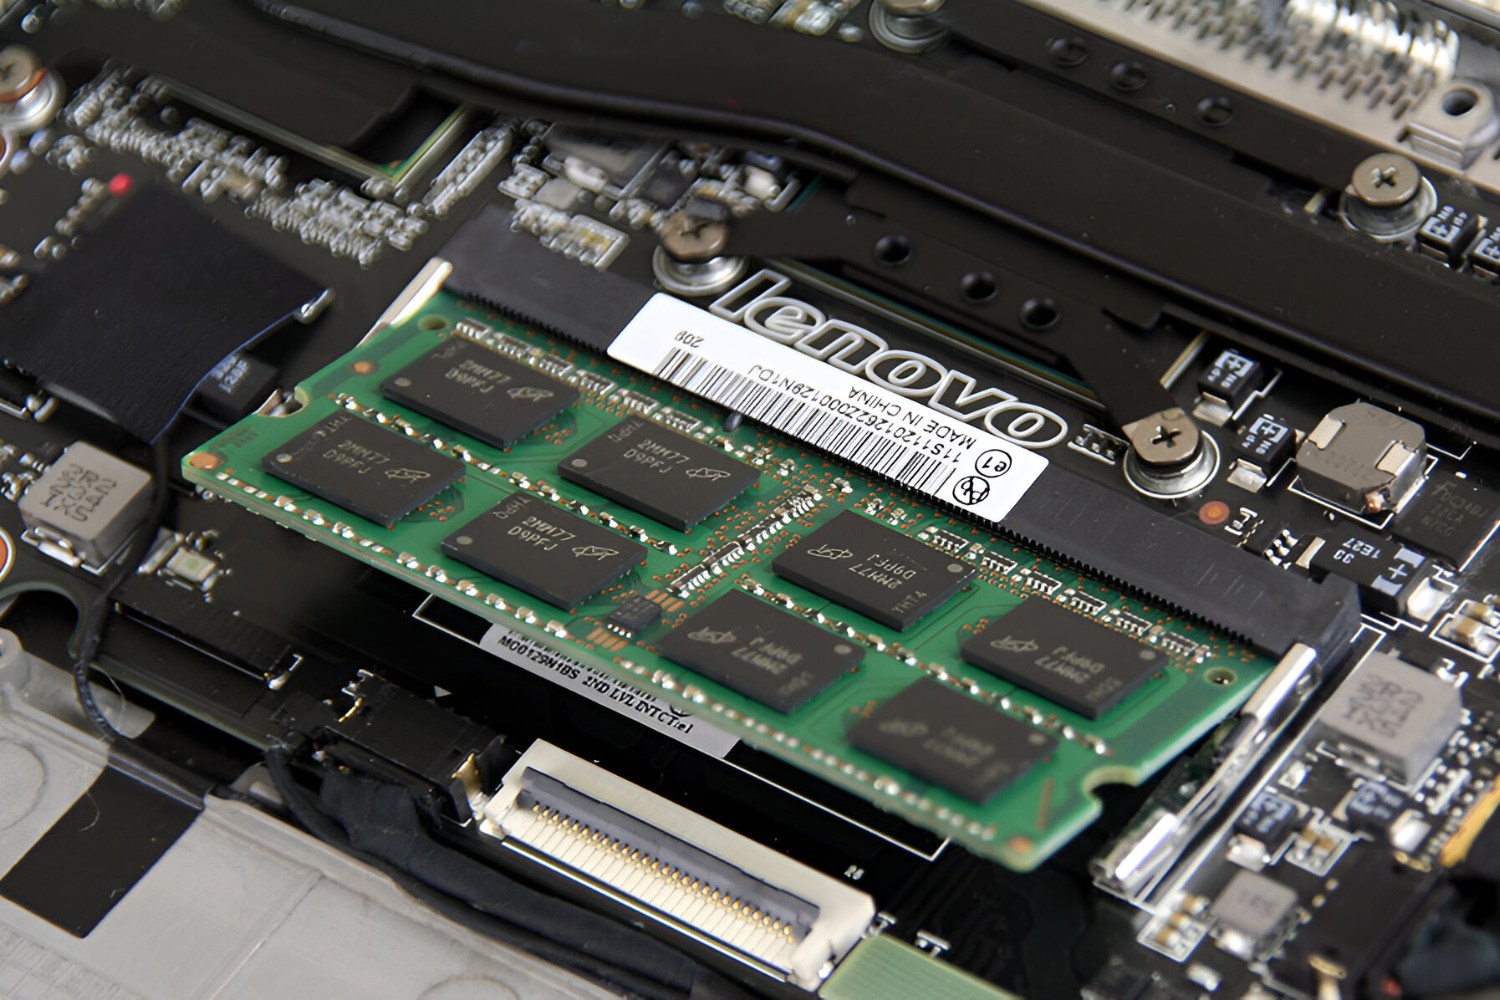
Upgrade your RAM
One of the most effective ways to improve the performance of your gaming laptop is by upgrading your RAM. RAM, or Random Access Memory, is responsible for temporarily storing data that your laptop’s processor needs to access quickly. Upgrading your RAM can provide a significant boost in overall system performance, allowing your laptop to handle more demanding games and applications.
Before upgrading your RAM, it’s important to check the maximum supported RAM capacity of your laptop. Refer to the manufacturer’s website or your laptop’s user manual for this information. Additionally, identify the type and speed of RAM that is compatible with your laptop.
Purchase the appropriate RAM modules based on your laptop’s specifications and ensure that you have the necessary tools to install them. Consult a professional if you’re unsure about the installation process.
To install the new RAM modules, start by shutting down your laptop and disconnecting the power source. Locate the RAM slots on your laptop, which are typically found underneath a panel on the bottom. Insert the new RAM modules carefully and firmly into the slots, making sure they are fully seated. Replace the panel and reconnect the power source.
Once the new RAM modules are installed, power on your laptop and check if it recognizes the increased RAM capacity. You can verify this by accessing the system information or task manager, where you should see the updated RAM size.
With more RAM, your laptop can better handle multiple tasks and applications simultaneously, reducing the chances of slowdowns and improving the overall gaming experience. You may notice faster load times, smoother gameplay, and improved responsiveness in demanding games and software.
It’s important to note that upgrading your RAM alone will not magically transform your laptop into a high-end gaming machine. Other hardware factors, such as the CPU and graphics card, also play crucial roles in determining gaming performance. However, upgrading your RAM can provide a noticeable improvement, especially if your laptop had limited RAM capacity initially.
Consider upgrading your RAM if you frequently experience sluggishness or performance bottlenecks while gaming. It’s a cost-effective way to extend the lifespan of your gaming laptop and enjoy better gaming performance without the need for a complete system overhaul.
Upgrade your storage drive
Upgrading your storage drive can have a significant impact on the performance of your gaming laptop. The storage drive is responsible for storing your operating system, games, and other files. By upgrading to a faster and more efficient storage drive, you can experience faster load times, reduced game lag, and improved overall system responsiveness.
There are two common types of storage drives: hard disk drives (HDDs) and solid-state drives (SSDs). HDDs are the traditional storage drives and typically offer a larger capacity at a lower cost. However, they are slower when it comes to read and write speeds. On the other hand, SSDs are newer and faster, providing improved performance but often at a higher price per gigabyte.
If your gaming laptop currently has an HDD, upgrading to an SSD can be a game-changer. SSDs offer significantly faster data transfer rates, resulting in faster boot times, shorter load times, and quicker installation of games and applications.
To upgrade your storage drive, you’ll need to backup your data and perform a clean installation of your operating system and games onto the new drive. This involves reinstalling your operating system using either a recovery disc or a USB bootable drive. You’ll also need to reinstall your games and applications.
If you’re not comfortable with reinstalling your operating system and games, you can consider cloning your existing drive onto the new drive. Cloning software allows you to create an exact copy of your current drive, including the operating system and all your files. However, this process requires a bit more technical knowledge and may not be suitable for everyone.
Once your new storage drive is installed and your operating system and games are reinstalled, you should notice a significant improvement in overall system performance. Games will load faster, and your system will feel more responsive during gameplay.
Additionally, upgrading to a larger capacity storage drive can allow you to store more games and files without worrying about running out of space. Consider the storage needs of your gaming library and choose a drive that provides ample space for all your games and applications.
Remember to properly dispose of or repurpose your old storage drive once you’ve upgraded to a new one, as it may contain sensitive information. Erase the data thoroughly or physically destroy the drive to protect your personal information.
Upgrading your storage drive is an investment that can greatly enhance your gaming laptop’s performance. With faster load times and improved read and write speeds, you can enjoy a smoother and more enjoyable gaming experience.
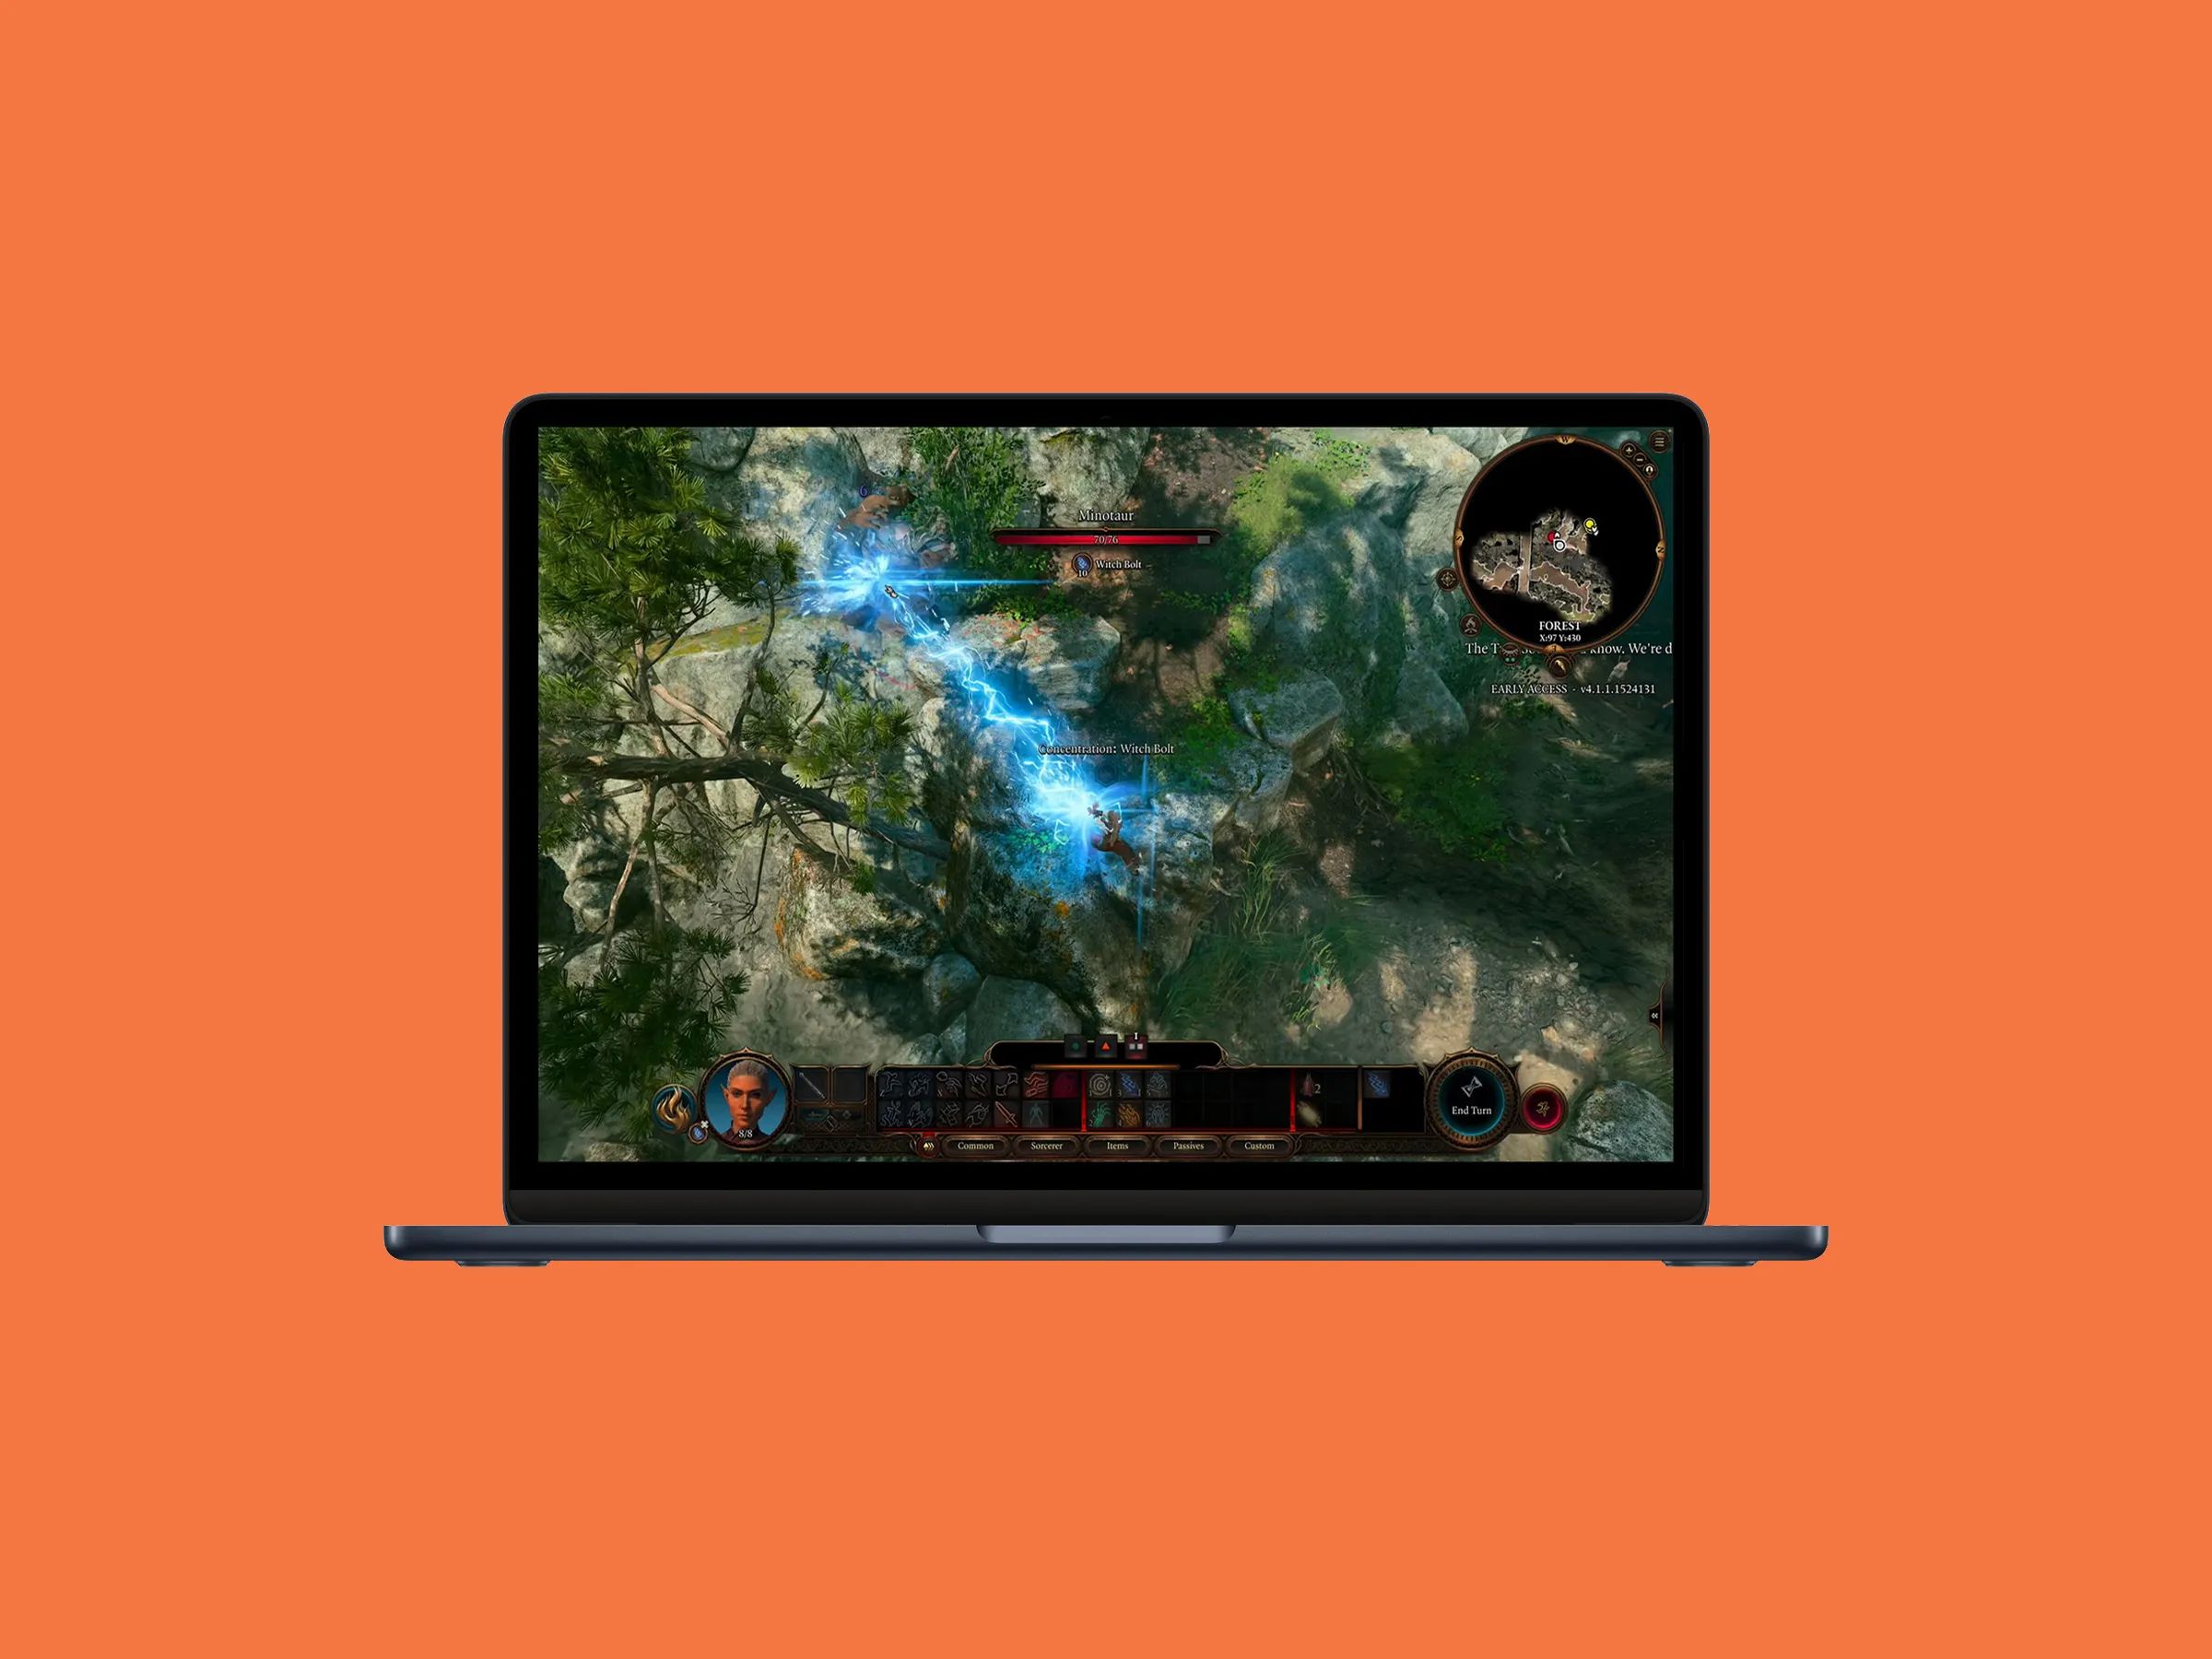
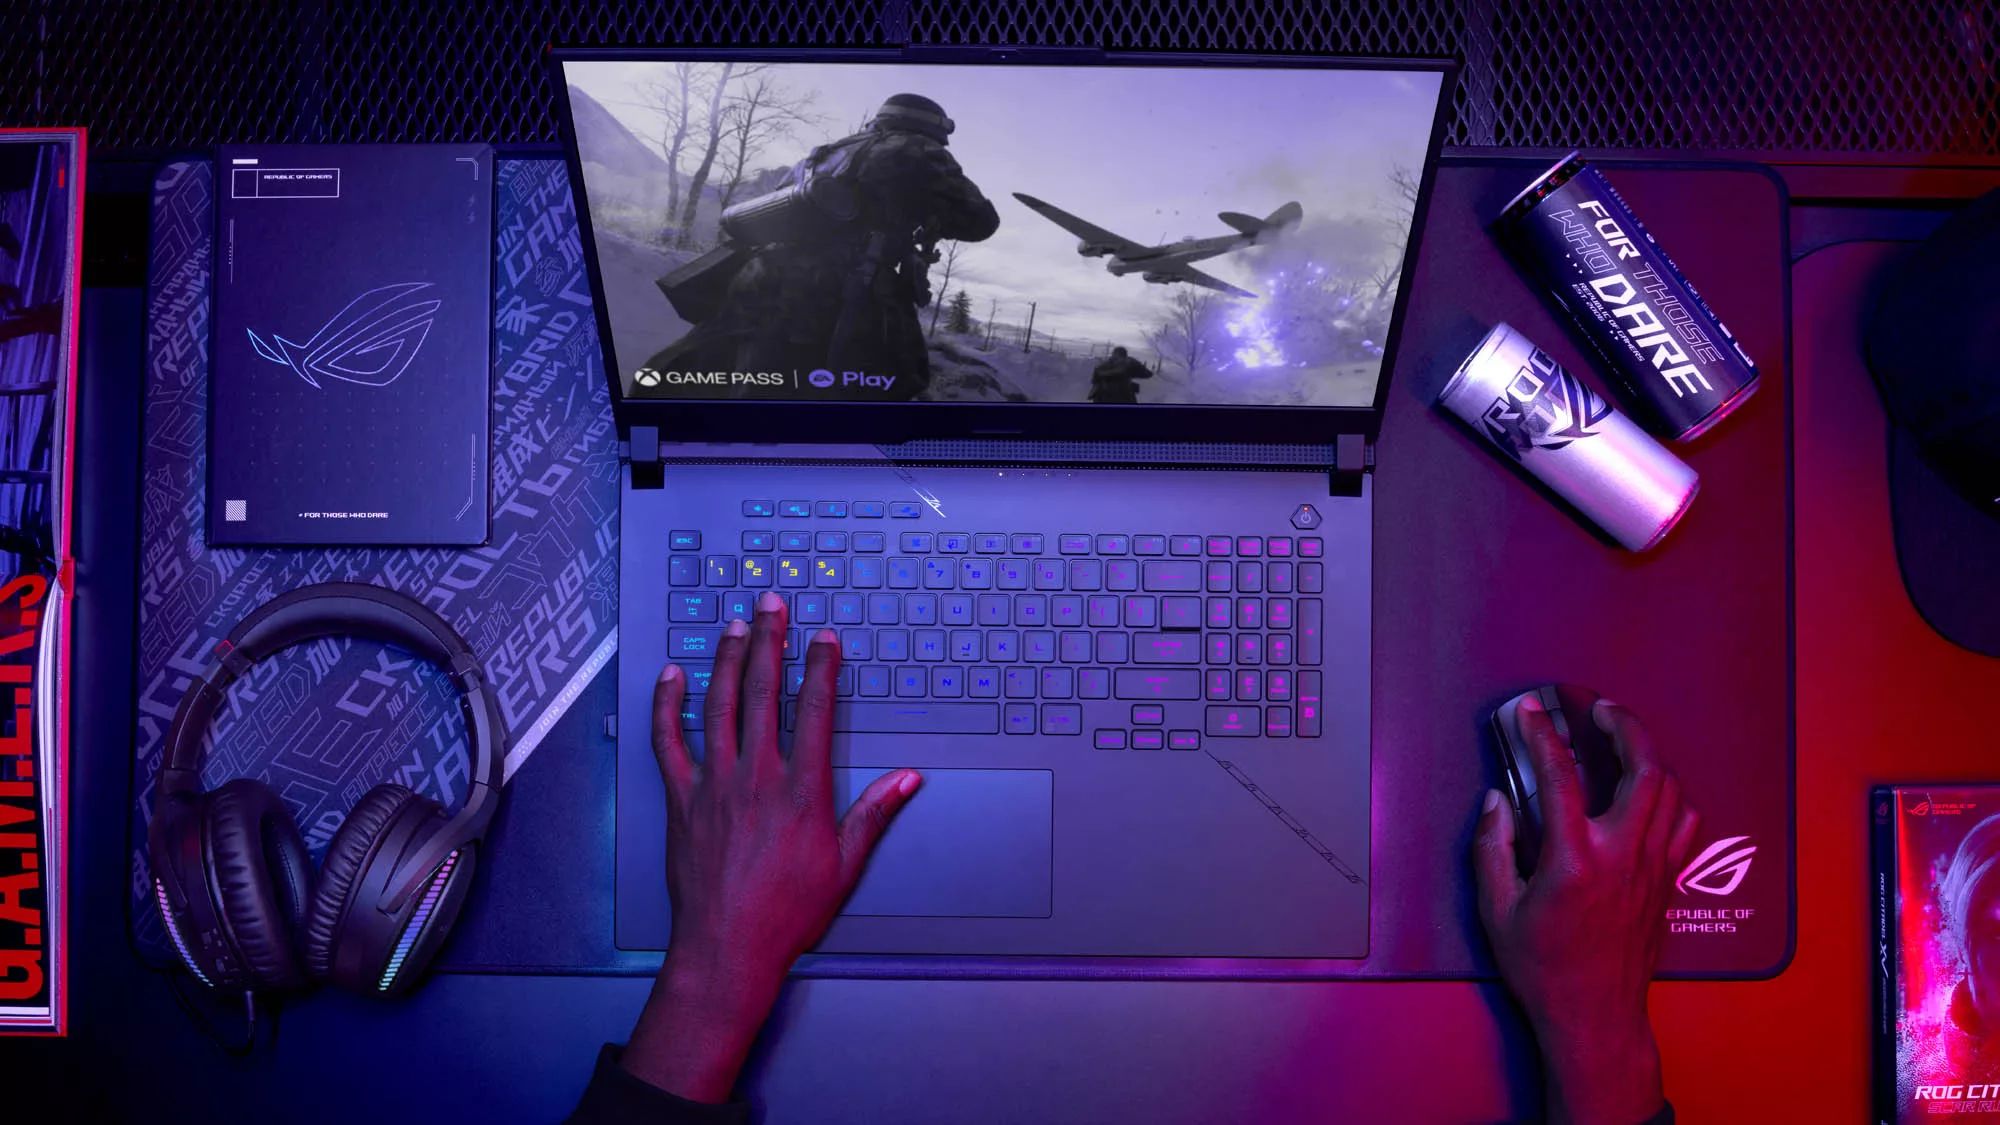
Adjust in-game settings
When it comes to optimizing gaming performance on your laptop, adjusting in-game settings can make a significant difference. Game settings control various visual and performance-related aspects of the game, allowing you to customize the experience based on your laptop’s capabilities.
Start by launching the game and accessing its settings or options menu. Typically, you’ll find a range of settings that you can tweak, such as resolution, texture quality, anti-aliasing, shadows, and effects.
To optimize performance, it’s important to strike a balance between visual quality and smooth gameplay. Lowering graphics settings can significantly improve frame rates and reduce lag, ensuring a more enjoyable gaming experience.
Start by adjusting the resolution. Higher resolutions demand more processing power, so consider lowering the resolution to a level that still provides satisfactory visuals but improves performance. Experiment with different resolutions until you find the sweet spot.
Next, focus on texture quality, shadows, and effects. Lowering these settings can have a noticeable impact on performance. Start with medium or low settings and gradually increase them until you find a balance between visual quality and smooth gameplay.
Anti-aliasing is another setting that affects visuals. It smooths out jagged edges and improves overall image quality but can be demanding on your GPU. Consider lowering or disabling anti-aliasing if you’re experiencing performance issues.
It’s worth noting that different games may have different terminology for settings, so take the time to understand what each setting does and how it relates to performance and visuals.
Once you’ve adjusted the in-game settings, playtest the game and monitor the frame rate and overall performance. If you’re not satisfied with the results, revisit the settings and make further adjustments as needed.
Remember, every game is unique, and what works for one game may not work for others. Take the time to experiment and find the settings that strike the right balance for each game you play on your laptop.
If an individual game lacks advanced graphics settings, consider exploring third-party software or mods that can help you further optimize performance. These tools can provide additional customization options to fine-tune your gaming experience.
By optimizing in-game settings, you can tailor the performance and visuals of each game to your laptop’s capabilities, ensuring a smoother and more enjoyable gaming experience.
Use a cooling pad
Overheating is a common issue that can affect the performance of gaming laptops. As your laptop works hard to handle demanding games, it generates heat that can quickly build up and cause your components to throttle performance. Using a cooling pad is a simple yet effective way to combat overheating and improve the overall performance of your gaming laptop.
A cooling pad is a device that sits underneath your laptop and helps to dissipate heat by providing additional airflow. It typically consists of multiple fans that draw in cool air and expel hot air, helping to keep your laptop’s temperature in check.
To use a cooling pad, simply place it on a flat surface and position your laptop on top of it. Many cooling pads are powered via USB and have an integrated USB hub, allowing you to connect additional peripherals without sacrificing a USB port on your laptop.
The cooling pad will create a cushion of air between your laptop and the surface it’s resting on, providing better airflow and reducing the chances of heat buildup. This can help prevent thermal throttling and maintain consistent performance, particularly during intense gaming sessions.
When choosing a cooling pad, look for one that is compatible with the size of your laptop and provides sufficient cooling power. Some cooling pads also offer adjustable fan speeds or additional features such as adjustable angles for ergonomic positioning.
It’s important to note that while a cooling pad can help improve cooling, it may not completely eliminate overheating issues caused by insufficient airflow or a poorly designed cooling system in your laptop. If overheating problems persist, it’s recommended to consult with a professional or the manufacturer to address the underlying cause.
In addition to using a cooling pad, you can also take other steps to improve the airflow around your laptop. Make sure the vents and fans on your laptop are clean and free from dust and debris. Placing your laptop on a hard, flat surface, such as a desk or table, will also help facilitate better airflow compared to using it on soft surfaces like beds or couches.
By using a cooling pad, you can effectively manage the temperature of your gaming laptop and prevent overheating, ensuring that your components can operate optimally during gaming sessions. This can result in improved performance, reduced thermal throttling, and a more enjoyable gaming experience.
Conclusion
Optimizing the performance of your gaming laptop is crucial to ensure an immersive and enjoyable gaming experience. By implementing the strategies mentioned in this article, you can enhance your laptop’s capabilities and take your gaming to new heights.
Starting with simple steps like cleaning out the dust, updating your drivers, and optimizing power settings can have a noticeable impact on performance. Removing unnecessary background processes and overclocking your GPU can further boost performance, while upgrading your RAM and storage drive can provide substantial improvements.
Adjusting in-game settings allows you to strike the right balance between visual quality and performance, while using a cooling pad helps prevent overheating and maintain consistent performance during intense gaming sessions.
Remember, each gaming laptop is unique, and it’s important to tailor these strategies to your specific hardware and gaming preferences. Experiment, monitor performance, and make adjustments as needed to find the optimal settings and configurations for your laptop.
Lastly, it’s worth noting that technology continues to evolve, and new hardware and software advancements may become available over time. Stay informed about the latest updates and innovations in gaming technology to keep your gaming laptop at its best.
With a well-optimized gaming laptop, you can immerse yourself in the vast worlds of your favorite games, experience smoother graphics, faster load times, and reduced lag. Unlock the full potential of your gaming laptop and elevate your gaming experience to new heights.