Introduction
Do you have a collection of movies on your computer that you’d love to watch on a larger screen? Fortunately, with the advancements in technology, it is now easier than ever to connect your computer to an LED TV and enjoy your favorite movies with superior visuals and audio. Whether you want to host a movie night with friends or simply have a more immersive viewing experience, hooking your computer up to an LED TV is a simple and convenient solution.
While the process may seem daunting at first, it doesn’t have to be. In this guide, we will walk you through the steps to connect your computer to an LED TV using an HDMI cable. This method guarantees high-quality video and audio transmission, ensuring that you get the most out of your movie-watching experience.
Before diving into the steps, it’s important to note that different computers and LED TVs may have slight variations in terms of ports and settings. However, the general principles and steps outlined in this guide should apply to most setups. Additionally, make sure you have the necessary equipment and cables readily available to complete the connection process efficiently.
So, grab your HDMI cable, prepare your movie library, and let’s get started on hooking up your computer to an LED TV for an unforgettable cinematic experience right in the comfort of your living room!
Equipment Needed
Before you begin the process of connecting your computer to an LED TV, there are a few essential equipment and cables you will need. Make sure you have the following items ready:
1. Computer with a video output: Ensure that your computer has a video output port that can be used for connecting to an external display. The most common video output ports are HDMI, DisplayPort, and VGA.
2. HDMI cable: You will need an HDMI cable to establish the connection between your computer and the LED TV. Make sure you have a high-quality HDMI cable that supports the desired resolution and audio capabilities.
3. LED TV: Of course, you’ll need an LED TV with an HDMI input port to complete the setup. Ensure that the TV is turned off before connecting it to your computer.
4. Audio equipment (optional): If you prefer to enhance your audio experience, you can consider connecting external speakers or a home theater system to your LED TV. Depending on your setup, you may need additional audio cables or adapters.
5. Remote control (optional): Some LED TVs come with a remote control that can be used to navigate through the input sources and adjust settings. If your TV has a remote control, keep it handy for convenience.
Once you have gathered all the necessary equipment, you’re ready to move on to the next steps of connecting your computer to the LED TV. Make sure that the HDMI cable you have is of sufficient length to bridge the distance between your computer and the TV, allowing for comfortable positioning and optimal viewing.
Step 1: Determine your computer’s video output
Before you can connect your computer to the LED TV, you first need to identify the type of video output port available on your computer. This will determine the type of cable you will need to establish the connection. Here are the most common video output ports and how to identify them:
1. HDMI port: Look for a small rectangular port labeled “HDMI” on your computer. It is a widely used port that provides high-definition video and audio transmission. HDMI ports are common on modern laptops and desktop computers.
2. DisplayPort: DisplayPort is another popular video output port, especially on newer computers. It has a small rectangular shape with rounded corners and may be labeled as “DP” or “DisplayPort”.
3. VGA port: VGA (Video Graphics Array) is an older video output port that resembles a trapezoid with pins. It is less common on modern computers but may still be found on some older desktops or laptops. The port and the cable have more pins compared to HDMI or DisplayPort.
Once you have identified the video output port on your computer, take note of the type so that you can find the appropriate cable to connect it to the HDMI input on your LED TV. HDMI is the preferred choice as it offers the best quality for both video and audio transmission. However, if your computer only has a DisplayPort or VGA output, you can still connect it to the LED TV using an appropriate converter or adapter.
In the next step, we will guide you through the process of connecting your computer to the LED TV using an HDMI cable. Make sure you have the necessary cable and proceed to the next step with confidence.
Step 2: Connect the computer to the TV using an HDMI cable
Now that you have identified the video output port on your computer, it’s time to establish the physical connection between your computer and the LED TV using an HDMI cable. Follow these steps:
1. Turn off both your computer and the LED TV: Before making any connections, ensure that both devices are turned off. This will prevent any potential damage to the devices and ensure a smooth connection process.
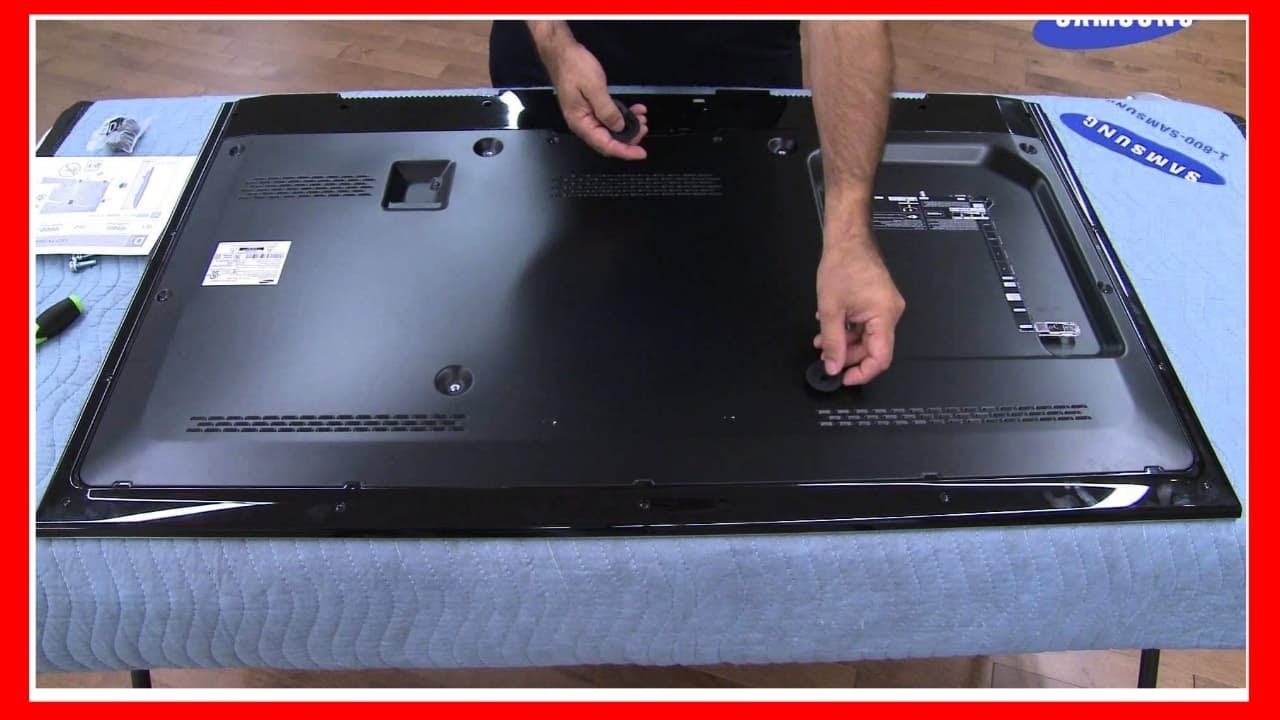
2. Locate the HDMI ports: Take a look at the back or sides of your LED TV to find the HDMI input ports. These ports are usually labeled as “HDMI 1,” “HDMI 2,” and so on. Note which HDMI port you will be using, as you will need to set the appropriate input on the TV later.
3. Connect one end of the HDMI cable to the computer: Insert one end of the HDMI cable into the HDMI output port on your computer. If you are using a laptop, the HDMI port might be located on the side or back of the device. If you are using a desktop computer, the HDMI port is typically found on the back of the tower.
4. Connect the other end of the HDMI cable to the TV: Take the other end of the HDMI cable and plug it into the chosen HDMI input port on the LED TV. Ensure that the connection is secure.
5. Power on both devices: Once the HDMI cable is securely connected, power on both your computer and the LED TV.
6. Select the HDMI input on your TV: Using your TV remote control, select the appropriate HDMI input that corresponds to the HDMI port you connected the cable to. Most modern TVs have an “Input” or “Source” button that allows you to cycle through the available input sources. Keep selecting the HDMI input until you see your computer screen displayed on the TV.
Congratulations! You have successfully connected your computer to the LED TV using an HDMI cable. In the next step, we will guide you through adjusting the display settings on your computer to optimize the viewing experience.
Step 3: Adjust the display settings on your computer
Now that you’ve connected your computer to the LED TV, it’s time to ensure that the display settings are properly adjusted to optimize the viewing experience. Follow these steps to adjust the display settings on your computer:
1. Access the display settings: Depending on your operating system, the process of accessing the display settings may vary slightly. On Windows, right-click on the desktop and select “Display settings” from the context menu. On macOS, go to “System Preferences” and click on “Displays.”
2. Select the correct display: In the display settings window, you should see a visual representation of your computer screen and the connected LED TV. Identify the LED TV display and click on it to select it. This will allow you to make adjustments specific to the connected TV.
3. Set the resolution: Choose the recommended resolution for your LED TV. This information can usually be found in the TV’s user manual or specifications. Selecting the correct resolution ensures that the content is displayed crisply and in the correct aspect ratio.
4. Adjust the screen orientation: Depending on your setup, you may need to adjust the screen orientation on your computer to match the positioning of the LED TV. You can usually choose between landscape (horizontal) and portrait (vertical) modes. Select the appropriate orientation to ensure a proper display.
5. Configure display options: Explore the display settings to customize additional options such as brightness, contrast, color, and scaling. You can fine-tune these settings to enhance the picture quality according to your preferences.
6. Apply the changes: Once you have made the necessary adjustments, click on the “Apply” or “OK” button to apply the changes.
7. Test the display: To ensure that the display settings are correctly configured, play a video or open a movie file on your computer and observe how it appears on the LED TV. If the picture and colors look accurate, and text is legible, then your display settings are properly adjusted.
By following these steps, you can optimize the display settings on your computer to ensure an optimal viewing experience on the connected LED TV. In the next step, we’ll guide you through setting the appropriate input on your LED TV to start enjoying your favorite movies on the big screen.
Step 4: Set the appropriate input on your LED TV
After connecting your computer to the LED TV and adjusting the display settings, it’s time to set the appropriate input on your TV to receive the signal from the computer. Follow these steps to set the input on your LED TV:
1. Locate the input/source button: On your TV remote control, look for a button labeled “Input” or “Source.” This button allows you to cycle through the available input sources on your TV.
2. Switch to the HDMI input: Press the input/source button on your TV remote control to cycle through the available input options. Keep pressing it until you see the HDMI input that you connected the computer to. It may be labeled as “HDMI 1,” “HDMI 2,” or with a similar designation.
3. Confirm the input selection: Once you have selected the HDMI input, press the “OK” or “Enter” button on your remote control to confirm the selection. The LED TV will now be ready to receive the signal from your computer.
4. Check for signal: On your computer, play a video or open a movie file to ensure that the LED TV is receiving the signal properly. If you see the content on the TV screen and hear the audio through the TV speakers (if applicable), then the input has been set correctly.
5. Adjust settings if needed: If the image is not displaying correctly or if the screen appears zoomed in or out, you may need to access the TV’s settings menu and adjust the aspect ratio or scaling options. Refer to your TV’s user manual for more information on how to access and adjust these settings.
Once you have set the appropriate input on your LED TV, you are now ready to enjoy your favorite movies, videos, or any other content from your computer on the big screen. Sit back, relax, and immerse yourself in the cinematic experience that your LED TV provides.
In the next and final step, we’ll conclude the process and summarize the steps you’ve taken to connect your computer to an LED TV for ultimate entertainment.
Step 5: Enjoy the movie on your LED TV
Now that you have successfully connected your computer to the LED TV and set up the display settings, it’s time to sit back, relax, and enjoy your favorite movies on the big screen. Here are a few tips to enhance your movie-watching experience:
1. Choose your preferred media player: Open your preferred media player on your computer and select the movie you want to watch. With the computer connected to your LED TV, the movie will now be played on the larger screen with superior visuals and audio.
2. Adjust the volume: If you have connected external speakers or a home theater system, make sure to adjust the volume levels accordingly for the optimal audio experience. Use either the TV remote control or the audio equipment’s remote control to adjust the volume accordingly.
3. Dim the lights: Create a theater-like ambiance by dimming the lights in the room. This will help focus your attention on the movie and enhance the viewing experience.
4. Control playback: Use the media player controls or your computer keyboard to pause, play, rewind, or fast-forward the movie as desired. If your LED TV supports HDMI-CEC (Consumer Electronics Control), you may even be able to control the playback using your TV remote control.
5. Sit back and enjoy: Find a comfortable spot, sit back, and immerse yourself in the movie-watching experience. Appreciate the stunning visuals, vivid colors, and enhanced audio that your LED TV brings to the table.
Remember to regularly save your progress if you plan on resuming the movie at a later time. Utilize the full capabilities of your LED TV, such as adjusting picture settings, enabling additional audio enhancements, or exploring smart TV apps for additional entertainment options.
With the computer connected to your LED TV, you can now enjoy an immersive movie experience right in the comfort of your own home. Whether it’s a thrilling action movie, a heartwarming romantic comedy, or a gripping drama, your LED TV will transform your living room into a private cinema.
Congratulations! You have successfully connected your computer to an LED TV and unlocked a whole new world of entertainment possibilities. Enjoy your movie marathon, sit back, and have a great time!
Conclusion
Connecting your computer to an LED TV opens up a world of possibilities for enjoying movies, videos, and other content on a larger and more immersive screen. By following the steps outlined in this guide, you can easily hook up your computer to an LED TV using an HDMI cable and enhance your movie-watching experience.
Throughout this guide, we covered the essential equipment needed, including a computer with a video output, an HDMI cable, and an LED TV. We walked you through the process of determining your computer’s video output, connecting it to the TV using the HDMI cable, adjusting the display settings, and setting the appropriate input on your LED TV. Lastly, we highlighted the importance of enjoying your favorite movies on the big screen and provided tips to enhance your viewing experience.
Remember, although the specific steps may vary slightly depending on your computer and TV setup, the general principles discussed in this guide should apply to most setups. Always refer to the user manuals and documentation provided with your devices for more accurate and detailed instructions.
Now, you can transform your living room into a private cinema, inviting friends and family to enjoy a movie night like never before. Experience the immersive visuals, crisp audio, and cinematic atmosphere that your LED TV provides. Don’t forget to experiment with different media players, adjust settings to your preferences, and make the most of your setup.
As technology continues to advance, exploring new ways to enjoy entertainment becomes more accessible. Connecting your computer to an LED TV is just one example of how you can enhance your viewing experience and bring the magic of the big screen into your own home.
So, gather your favorite movies, grab some popcorn, and immerse yourself in the world of big-screen entertainment with the convenience and comfort of your own living room. Happy movie-watching!


