Introduction
In today’s interconnected world, privacy and security are of utmost importance. With the increasing number of cyber threats and data breaches, it is essential to take steps to protect your online presence. One effective way to safeguard your internet activities is by using a VPN (Virtual Private Network). In this article, we will explore how to get a VPN on Android and the benefits it can provide.
A VPN creates a secure and encrypted connection between your device and the internet. It acts as a virtual tunnel, protecting your data from prying eyes and potential hackers. This technology routes your internet traffic through a server located in a different location, making it appear as if you are browsing from that location. This not only enhances your online privacy but also allows you to bypass geo-restrictions and access blocked content.
Android, being the most widely used mobile operating system, offers various options to set up a VPN connection. Whether you want to secure your personal information, access region-restricted content, or browse anonymously, setting up a VPN on your Android device is a straightforward process.
Before diving into the setup process, it is essential to choose a reliable VPN provider that meets your specific needs. There are numerous VPN services available, and selecting the right one can be overwhelming. Factors to consider when choosing a VPN provider include encryption protocols, server locations, connection speed, user-friendly interface, and pricing. It is also crucial to choose a provider that maintains a strong commitment to user privacy and does not log your online activities.
Once you have chosen a VPN provider that aligns with your requirements, you can proceed with setting up the VPN on your Android device. There are two common methods to do so—using a VPN app from the Play Store or manually configuring the VPN settings. Both methods have their benefits and can be chosen based on your preference and technical knowledge.
In the following sections, we will walk you through the step-by-step process of both methods and provide troubleshooting tips for common issues that you may encounter. By the end of this article, you will have a clear understanding of how to get a VPN on Android and be able to enjoy a secure, private, and unrestricted internet experience on your device.
Why use a VPN on Android?
Using a VPN on your Android device offers several key benefits and can greatly enhance your online experience. Let’s explore some of the main reasons why you should consider using a VPN on Android.
1. Enhanced Online Security: One of the primary reasons to use a VPN on Android is to keep your data and online activities secure. By encrypting your internet connection, a VPN protects your sensitive information from hackers, government surveillance, and other prying eyes. This is especially important when using public Wi-Fi networks, which are often insecure and can expose your personal data to potential threats.
2. Privacy and Anonymity: With a VPN on your Android device, you can browse the internet with greater privacy and anonymity. Your IP address is masked, and your online activities are encrypted, making it difficult for anyone to track your browsing habits or identify your location. This is particularly important if you want to prevent advertisers, internet service providers (ISPs), or websites from collecting your personal information.
3. Access Geo-Restricted Content: A VPN allows you to bypass geographic restrictions imposed by certain websites or streaming services. By connecting to a server in a different country, you can access content that is otherwise unavailable in your region. This means you can enjoy your favorite shows, movies, and online services from anywhere in the world, expanding your entertainment options.
4. Secure Remote Access: If you frequently work remotely or need to access company resources while traveling, using a VPN on your Android device is crucial. A VPN provides a secure connection to your company’s network, allowing you to access files, documents, and other confidential information without risking data breaches or unauthorized access.
5. Bypass Censorship: In some regions, internet censorship is prevalent, restricting access to certain websites and services. By using a VPN, you can bypass these restrictions and regain access to the open internet. Whether you are visiting a country with strict online censorship or want to bypass workplace or school restrictions, a VPN enables you to enjoy the internet freely and without limitations.
By using a VPN on your Android device, you can protect your privacy, enhance your security, bypass geographical restrictions, and enjoy a more open and unrestricted internet experience. It is a versatile tool that can benefit both personal and professional use cases. Now that we understand the advantages of using a VPN on Android let’s move forward and explore how to choose the right VPN provider.
Choosing a VPN provider
When it comes to choosing a VPN provider for your Android device, there are several factors you should consider. Here are some important criteria to keep in mind to ensure that you select the right VPN provider that meets your needs:
1. Security and Privacy: The top priority when choosing a VPN provider is the level of security and privacy it offers. Look for providers that use strong encryption protocols like OpenVPN or IKEv2 to protect your data. Additionally, ensure that the provider has a strict no-logs policy, meaning that they do not keep any records of your online activities.
2. Server Locations: The number and location of servers that the VPN provider offers can have an impact on your online experience. Having servers in multiple countries allows you to bypass geo-restrictions and access content from different regions. Additionally, more server options usually means better performance and less crowded connections.
3. Connection Speed: The speed of your VPN connection is crucial for a smooth and enjoyable online experience. Some VPN providers might slow down your internet connection, so it’s essential to choose one that offers fast and reliable speeds. Look for VPN providers that have a good reputation for maintaining fast connections.
4. User-Friendly Interface: A user-friendly interface makes it easier for you to navigate and utilize the VPN on your Android device. Look for VPN providers that offer intuitive and well-designed apps that are compatible with Android. A user-friendly interface ensures that you can quickly connect to the VPN and access the settings and features you need.
5. Customer Support: Good customer support is essential in case you encounter any issues or have questions regarding your VPN service. Check if the VPN provider offers multiple support channels like live chat, email, or phone support. Additionally, look for providers that offer a comprehensive knowledge base or FAQ section to address common queries.
6. Pricing and Payment Options: VPN providers offer a range of pricing plans, so it’s important to consider your budget and the features you need. Take a look at the different pricing tiers and compare them with the features offered. Also, consider the payment options. Some VPN providers accept cryptocurrencies or offer more anonymous payment methods if privacy is a top concern for you.
By considering these criteria, you can choose a VPN provider that aligns with your needs and priorities. It’s important to do thorough research and read reviews from reputable sources to ensure that you select a reputable and reliable VPN provider for your Android device. Once you’ve chosen a VPN provider, you’re ready to proceed with setting up the VPN on your Android device.
Setting up a VPN on Android
Setting up a VPN on your Android device is a straightforward process, and there are two common methods to do so: using a VPN app from the Play Store or manually configuring the VPN settings. Let’s explore both methods in detail:
Method 1: Using a VPN app from the Play Store:
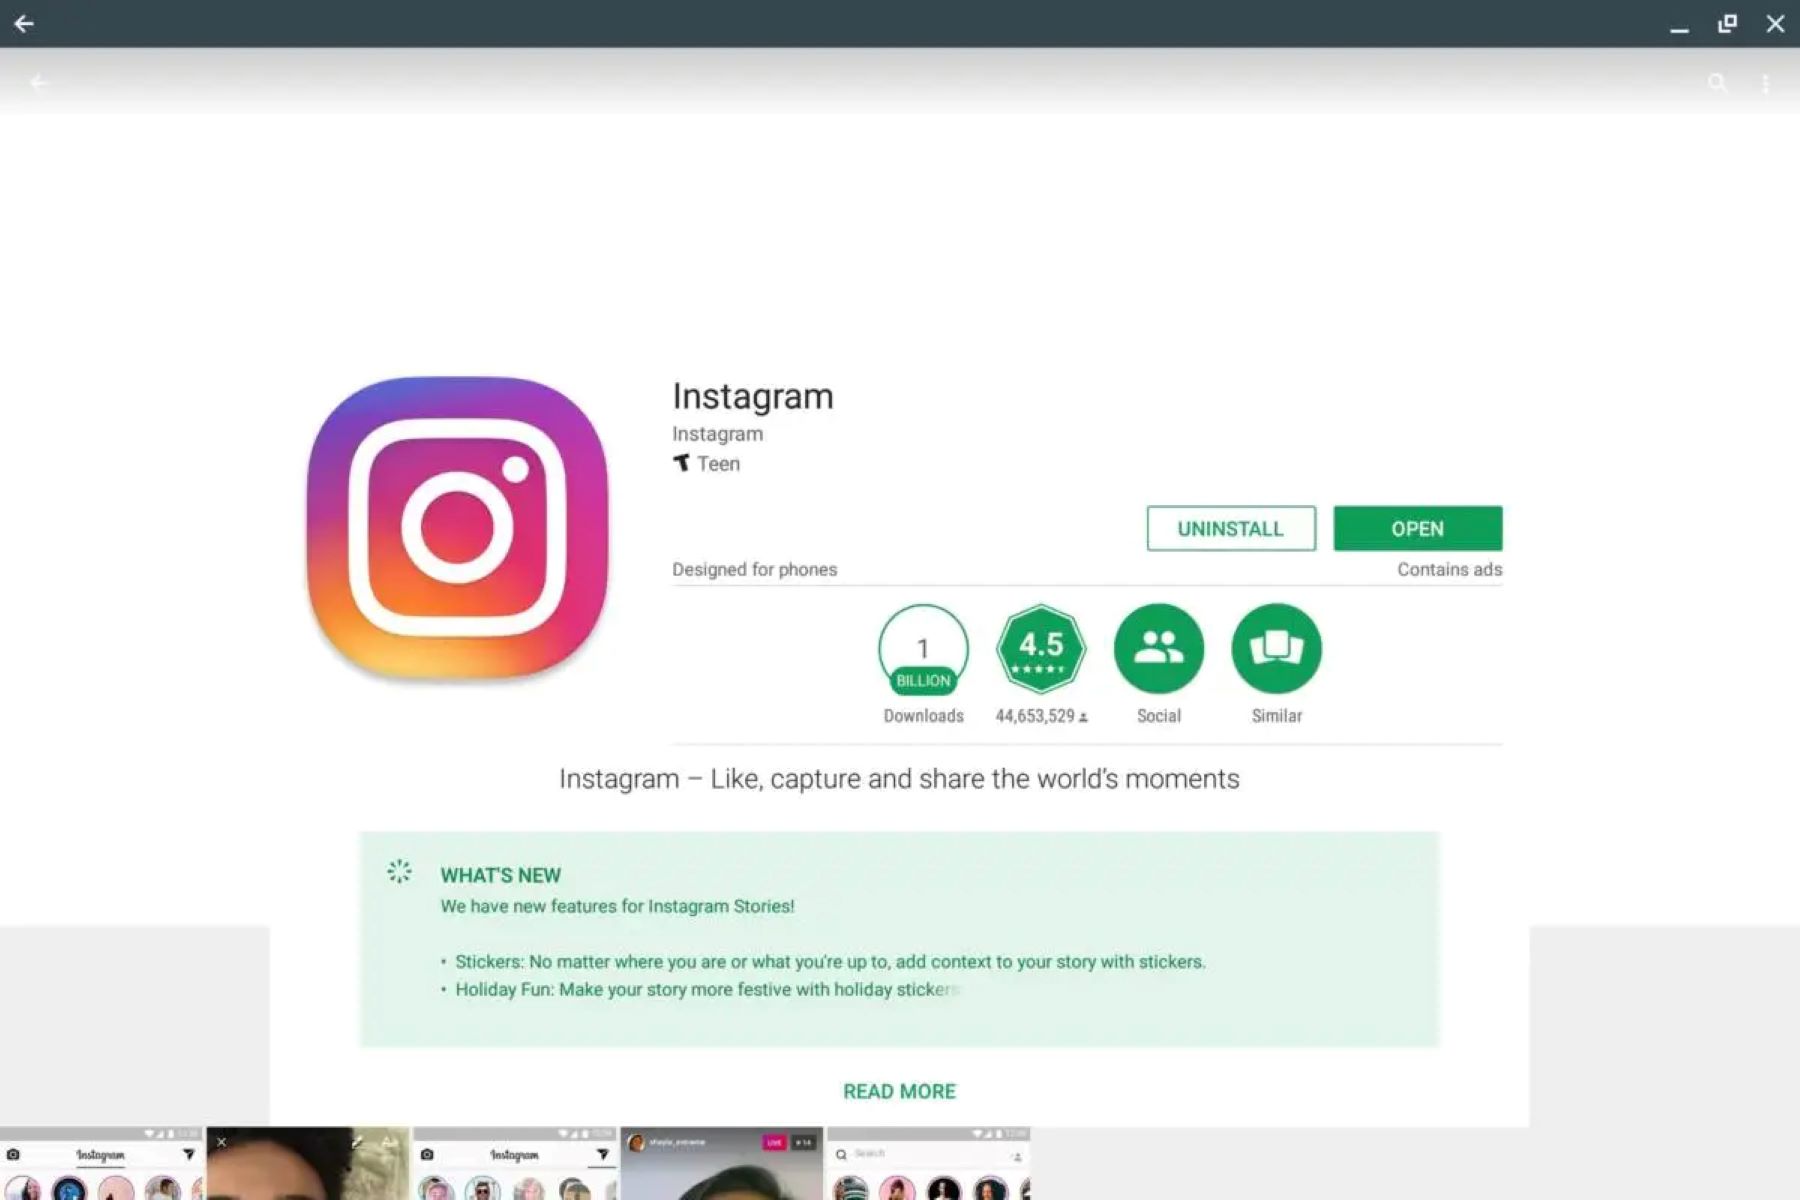
1. Open the Google Play Store on your Android device and search for a VPN app. There are numerous options available, such as ExpressVPN, NordVPN, or CyberGhost, among others.
2. Once you’ve chosen a VPN app, click the “Install” button, and the app will download and install on your device.
3. After the installation is complete, open the VPN app and follow the on-screen instructions to create an account.
4. Once you have an account, log in to the VPN app using your credentials.
5. In the app, you will usually have the option to select a server location. Choose the desired server location and click the “Connect” button.
6. The VPN app will establish a secure connection to the chosen server location, and your Android device will now be protected by the VPN.
Method 2: Manually configuring the VPN settings:
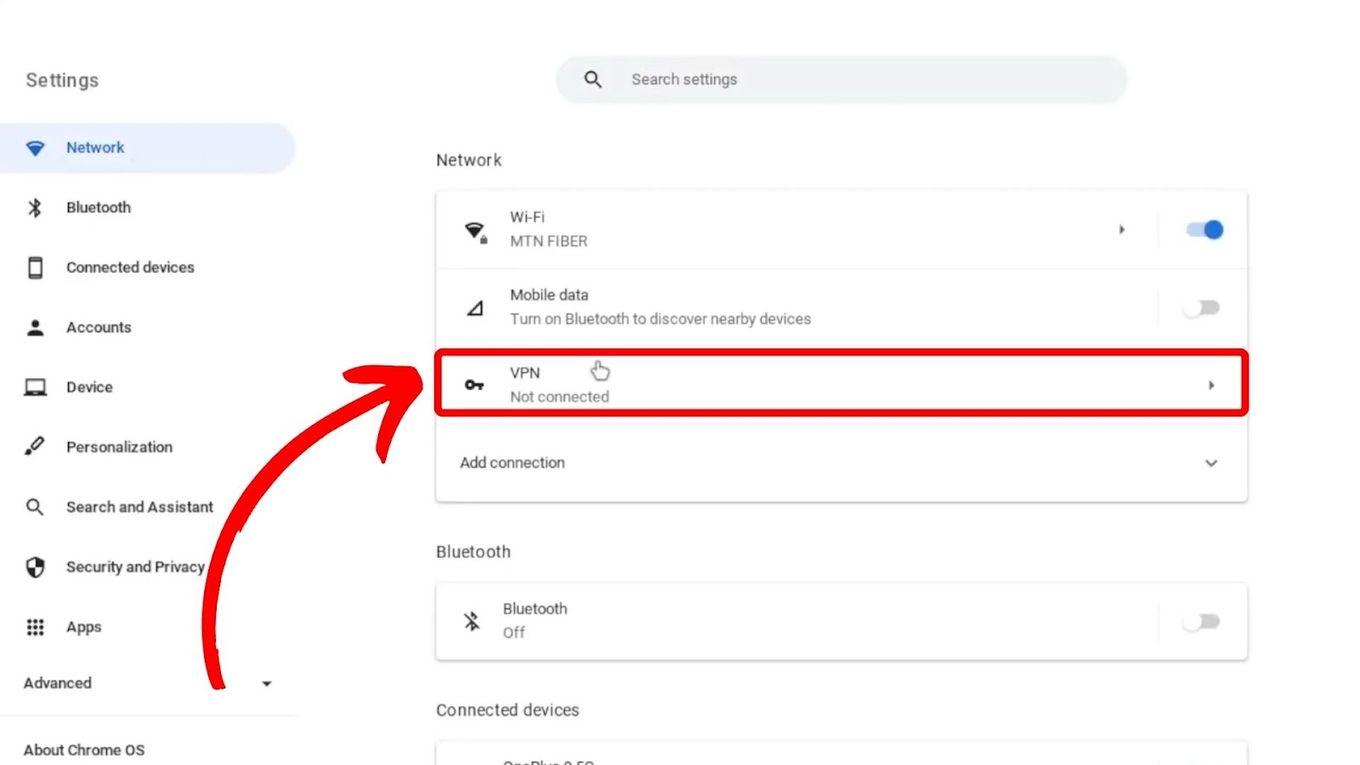
1. Go to the “Settings” app on your Android device.
2. Scroll down and select the “Network & internet” or “Connections” option, depending on your device.
3. Tap on “VPN” and then click the “+” or “Add VPN” button to add a new VPN connection.
4. Enter the necessary information, such as the VPN name and server address. You may need to consult your VPN provider to obtain this information.
5. Select the VPN protocol (such as OpenVPN or IKEv2) and enter any additional settings or authentication details specified by your VPN provider.
6. Once you have entered all the required information, save the VPN settings.
7. To connect to the VPN, go back to the “Settings” app, navigate to “Network & internet” or “Connections,” select “VPN,” and then tap on the VPN connection you created. Enter your VPN credentials if prompted.
8. Your Android device is now connected to the VPN, and your internet connection is protected.
Regardless of which method you choose, once the VPN is set up on your Android device, you can verify the connection by visiting websites like “iplocation.net” or “whatismyip.com” to confirm that your IP address matches the server location you selected.
In the next section, we will discuss how to connect to the VPN on your Android device and troubleshoot common issues that you may encounter during the setup process.
Method 1: Using a VPN app from the Play Store
Using a VPN app from the Play Store is a convenient and user-friendly way to set up a VPN on your Android device. Here are the steps to follow:
1. Open the Google Play Store on your Android device and search for a VPN app. Some popular options include ExpressVPN, NordVPN, CyberGhost, and Surfshark, among others.
2. Once you’ve chosen a VPN app, click the “Install” button, and the app will download and install on your device. This process may take a few moments.
3. After the installation is complete, open the VPN app by tapping on its icon in your app drawer or home screen.
4. You will be prompted to create an account. Follow the on-screen instructions to provide the necessary details and create your account. Some apps may offer a free trial period or a money-back guarantee, allowing you to test their services before committing.
5. Once you have created an account, you can log in to the VPN app using your credentials.
6. In the VPN app, you will usually have the option to select a server location. The available locations may vary depending on the VPN provider. Choose the desired server location based on your needs. For example, if you want to access geo-restricted content from a specific country, select a server located there.
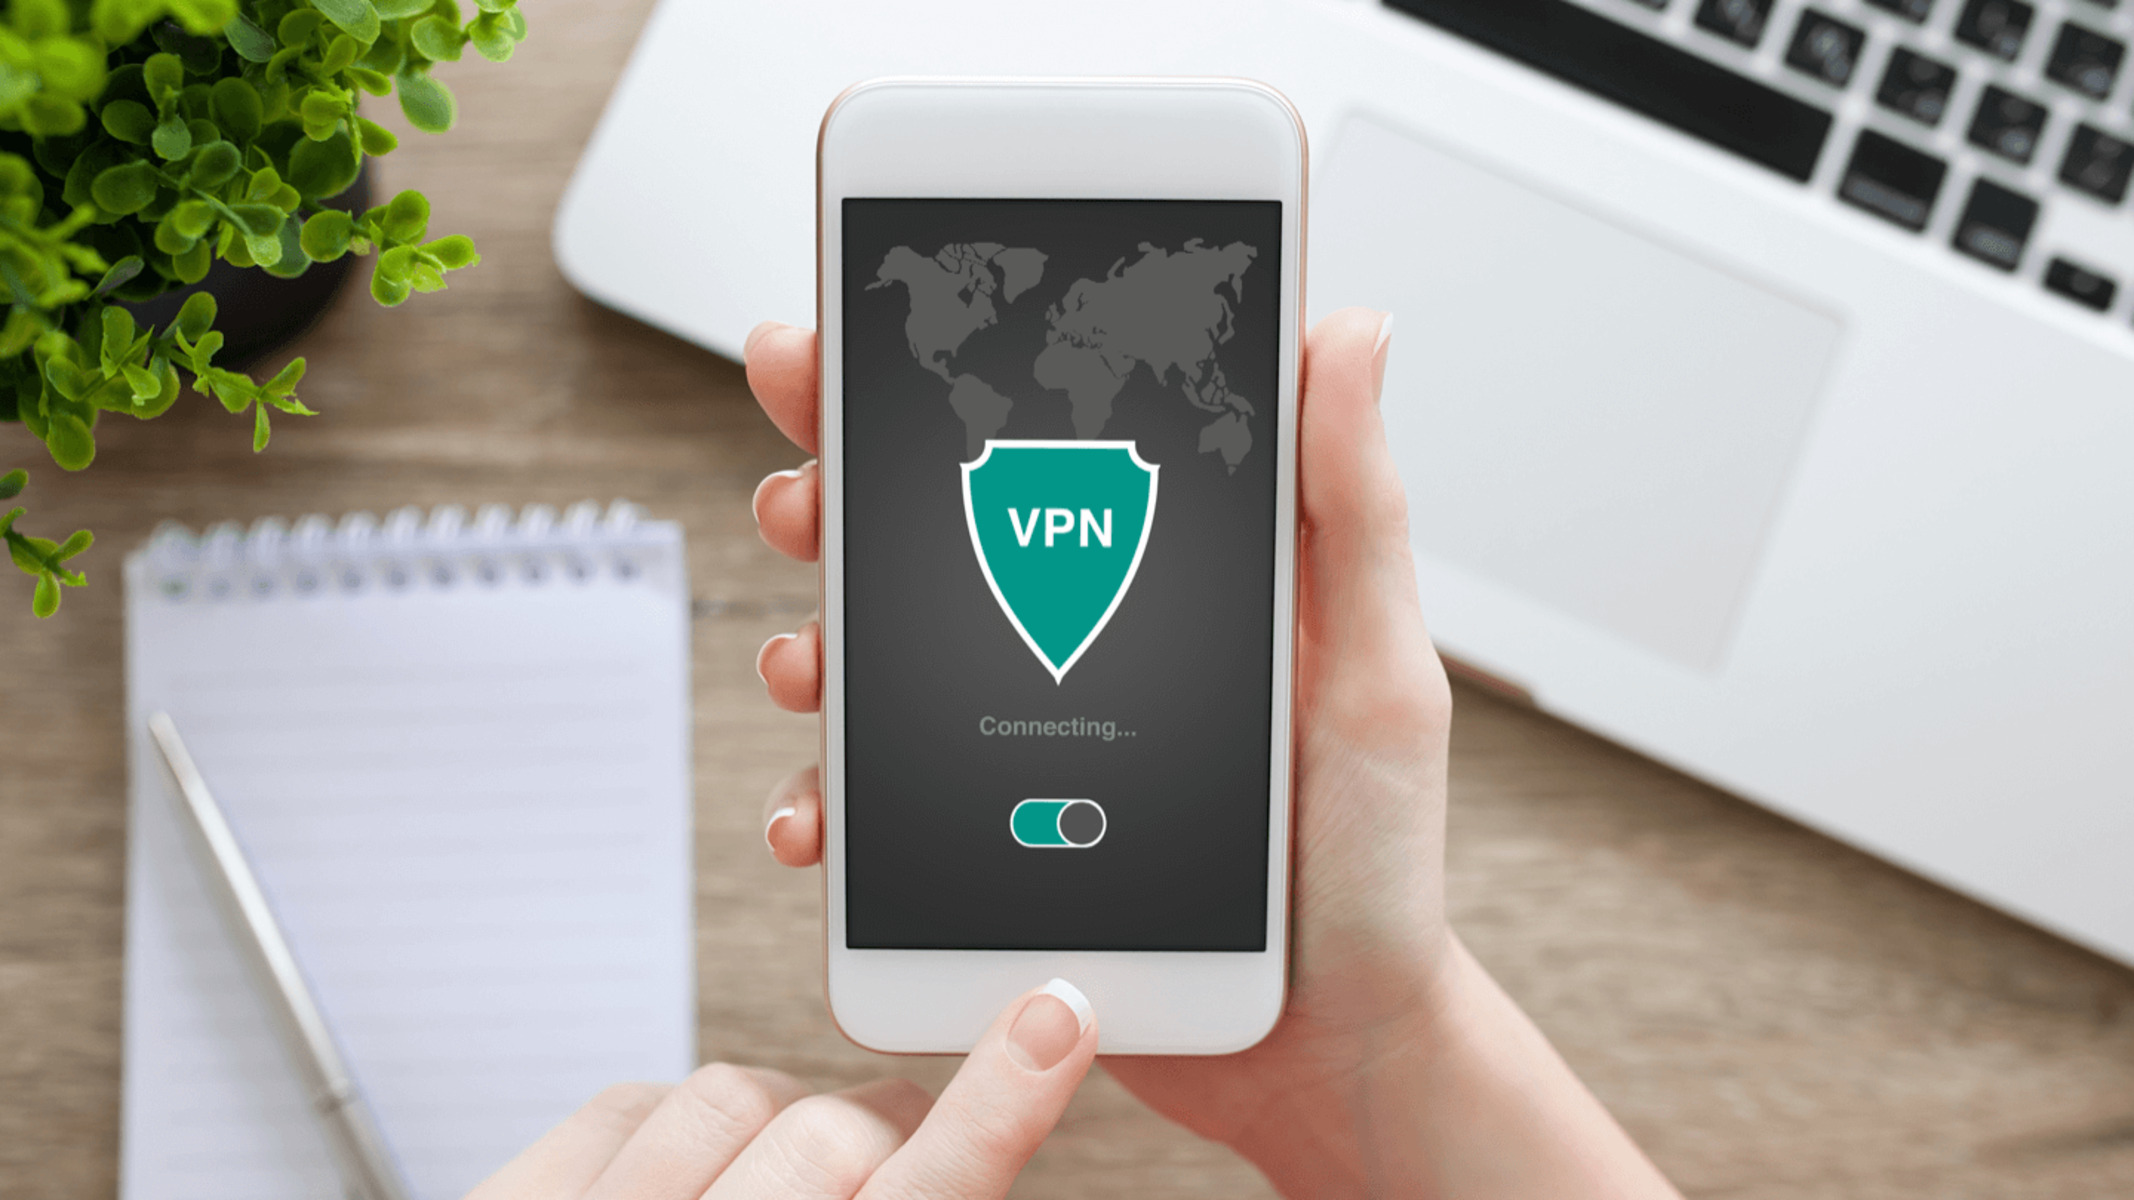
7. Once you have chosen a server location, click the “Connect” or “Start” button to establish a secure VPN connection. The app will handle all the necessary configurations and establish a secure connection between your Android device and the VPN server.
8. You will usually see a notification or an icon in your device’s status bar indicating that the VPN is active and running.
By using a VPN app from the Play Store, you can easily connect to a VPN server with just a few taps. The app will handle all the technical aspects, such as encryption and server selection, making it a convenient option for users who prefer a hassle-free setup process.
It’s worth mentioning that each VPN app may have additional features, settings, and customization options. Explore the app’s interface and settings menu to discover any specific functionalities offered by your chosen VPN provider. This may include features like split tunneling, ad-blocking, or automatic connection on specific networks.
Now that you understand how to set up a VPN using a dedicated app from the Play Store, you can proceed with connecting to the VPN and enjoying a secure and private online experience on your Android device. In the next section, we will explore the second method of manually configuring the VPN settings on your Android device.
Method 2: Manually configuring the VPN settings
If you prefer more control over the VPN setup or your VPN provider doesn’t offer a dedicated app, you can manually configure the VPN settings on your Android device. Follow the steps below to set up a VPN using manual configuration:
1. Go to the “Settings” app on your Android device. You can usually find the Settings app in the app drawer or by swiping down from the top of the screen and tapping on the gear-shaped icon.
2. Scroll down and select the “Network & internet” or “Connections” option. The naming may vary depending on your device’s manufacturer and Android version.
3. Tap on “VPN” and then click the “+” or “Add VPN” button to add a new VPN connection.
4. Fill in the required information for your VPN connection. This includes the VPN name, server address, and VPN protocol. You can obtain these details from your VPN provider. Some providers may also require additional settings, such as authentication methods or proxy configurations.
5. Once you have entered all the necessary information, save the VPN settings by tapping on the “Save” or “OK” button. The new VPN connection will now appear in the VPN settings menu.
6. To connect to the VPN, go back to the “Settings” app, navigate to “Network & internet” or “Connections,” and select “VPN.”
7. Tap on the VPN connection you created to expand its settings.
8. Enter your VPN credentials, which may include a username and password or other authentication details, as specified by your VPN provider.
9. After entering your credentials, tap on the “Connect” or “Start” button to establish a connection to the VPN server. Your Android device will now be connected to the VPN and your internet traffic will be encrypted and routed through the VPN server.
It’s important to note that the exact steps and terminology may vary slightly depending on your Android device’s version and manufacturer. If you encounter any difficulties, refer to your device’s manual or documentation for specific instructions.
After successfully setting up the VPN connection using manual configuration, you can verify the connection by checking the VPN status in the “Settings” app or looking for a key or VPN icon in your device’s status bar. Additionally, you can visit websites like “iplocation.net” or “whatismyip.com” to confirm that your IP address matches the server location you selected.
By manually configuring the VPN settings, you have greater control over the VPN setup process and can customize the connection based on your specific requirements. This method is ideal for users who prefer a more hands-on approach or need to set up a VPN connection without relying on a dedicated app.
Now that we’ve explored both methods of setting up a VPN on Android, it’s time to connect to the VPN and troubleshoot any potential issues. We will address these topics in the upcoming sections.
Connecting to the VPN
After successfully setting up a VPN on your Android device using either a dedicated app or manual configuration, it’s time to connect to the VPN and start benefiting from its features. Here is how you can connect to the VPN on your Android device:
1. Open the “Settings” app on your Android device.
2. Scroll down and select the “Network & internet” or “Connections” option, depending on your device.
3. Tap on “VPN” to access the VPN settings.
4. You will see a list of VPN connections that you have set up on your device. Tap on the VPN connection you want to connect to.
5. If required, enter your VPN credentials, such as a username and password. This may depend on your VPN provider’s authentication settings.
6. After entering your credentials, tap on the “Connect” or “Start” button to initiate the VPN connection.
7. Your Android device will establish a connection to the VPN server. The VPN status will be displayed in the VPN settings, and you may also see a key or VPN icon in your device’s status bar.
Once connected, your internet traffic will be encrypted and securely routed through the VPN server. This ensures that your online activities remain private and protected from prying eyes. Additionally, if you have chosen a different server location with the VPN, you may now be able to access region-restricted content or bypass internet censorship.
To disconnect from the VPN, follow the same steps as above but tap on the “Disconnect” or “Stop” button instead. This will terminate the VPN connection and revert your internet connection to its default settings.
It’s important to note that some VPN apps provide additional features and options within the app itself. For example, you might find features like automatic connection on specific networks, split tunneling to choose which apps use the VPN, or a kill switch to ensure that your internet connection is always protected.
If you experience any issues or connection problems with the VPN, try the following troubleshooting steps:
- Ensure that your internet connection is stable and working properly.
- Double-check your VPN credentials, including the username and password.
- Verify that you have entered the correct server address and VPN settings.
- If using a specific VPN app, check for any available updates and install them.
- Restart your Android device and try connecting to the VPN again.
- If the issue persists, contact your VPN provider’s customer support for further assistance.
By following these steps, you can easily connect to a VPN and enjoy a secure and private online experience on your Android device. Now that you know how to connect to the VPN successfully, let’s move on to the next section to troubleshoot common issues that you may encounter during the setup process.
Troubleshooting common issues
While setting up and using a VPN on your Android device is generally straightforward, you may encounter some common issues along the way. Here are some troubleshooting tips to help resolve these issues:
1. Connection issues: If you are unable to establish a VPN connection, check your internet connection first. Ensure that you have a stable internet connection and try connecting to different Wi-Fi networks or switch to mobile data to see if the issue persists. Restarting your device or the VPN app may also help troubleshoot connection problems.
2. Incorrect credentials: Double-check the VPN credentials you entered, such as the username and password. Mistyped credentials can prevent a successful connection. If you are uncertain about your credentials, reset your VPN account password, or contact your VPN provider for assistance.
3. Incorrect server address: Verify that you have correctly entered the server address provided by your VPN provider. Check for any typos or missing characters. If you are unsure about the server address, consult your VPN provider’s website or contact their customer support.
4. Outdated VPN app: If you are using a dedicated VPN app, ensure that it is up to date. Outdated versions of the app can lead to compatibility issues or may not offer the latest security enhancements. Check the app store for any available updates and install them if necessary.
5. Permission issues: Some VPN apps may require certain permissions to function correctly. Check the app settings and ensure that the necessary permissions are enabled, such as network access or location permissions. Granting these permissions may resolve any connectivity or functionality issues.
6. Firewall or antivirus interference: In some cases, firewall or antivirus software installed on your device may interfere with the VPN connection. Temporarily disable any such software and try connecting to the VPN again. If the issue is resolved, configure the firewall or antivirus settings to allow the VPN connection.
7. VPN provider support: If you have tried the above troubleshooting steps and are still experiencing issues, reach out to your VPN provider’s customer support. They can provide specialized assistance and troubleshoot specific issues related to their VPN service.
Remember that each VPN provider may have its unique troubleshooting recommendations, so consult their documentation or support resources for further guidance. Additionally, staying up to date with the latest Android system updates and keeping your VPN app updated can help prevent compatibility issues and ensure smooth operation.
By utilizing these troubleshooting tips, you can overcome common issues that may arise during the setup or use of a VPN on your Android device. Now that you are equipped with troubleshooting knowledge, you can confidently resolve any potential problems and enjoy a secure and private online experience.
Conclusion
Setting up a VPN on your Android device is essential for maintaining privacy, enhancing security, and accessing restricted content. Whether you choose to use a VPN app from the Play Store or manually configure the VPN settings, the process is relatively straightforward. By following the steps outlined in this article, you can establish a secure VPN connection and enjoy a protected online experience.
Using a VPN on your Android device enables you to encrypt your internet traffic, safeguard your personal information, and bypass geo-restrictions. It provides an extra layer of security, especially when connecting to public Wi-Fi networks. Additionally, a VPN allows you to browse the internet with greater privacy and anonymity by masking your IP address and preventing third parties from tracking your online activities.
When choosing a VPN provider, consider factors such as their security protocols, server locations, connection speeds, user-friendly interface, and commitment to user privacy. By selecting a reputable and reliable VPN provider, you can ensure a seamless and premium VPN experience on your Android device.
Remember to follow the troubleshooting tips provided in this article if you encounter any issues during the setup or use of your VPN. Checking your internet connection, verifying credentials, updating the VPN app, and seeking support from your VPN provider are some of the steps to resolve common problems.
By utilizing a VPN on your Android device, you can protect your online presence, access restricted content, and enjoy a more secure and private internet experience. Whether you use your Android device for personal or professional purposes, a VPN provides the necessary tools to safeguard your information and browse the internet with peace of mind.
Take advantage of the benefits offered by VPN technology and start utilizing it on your Android device today. Stay protected, stay secure, and enjoy the freedom to explore the online world without limitations.