Introduction
Having a Samsung Galaxy S5 means having a powerful camera right at your fingertips. From capturing beautiful landscapes to cherishing precious moments with loved ones, the Galaxy S5 ensures that you never miss a perfect shot. But what happens when you want to transfer those pictures from your smartphone to your computer or other devices?
In this article, we will explore different methods to help you get pictures off your Samsung Galaxy S5. Whether you prefer a wired connection, wireless transfer, using a memory card, or utilizing cloud services, we’ve got you covered. Let’s dive in and discover the various options you have to effortlessly transfer your Samsung Galaxy S5 pictures!
So, whether you’re an amateur photographer looking to back up your shots, or you simply want to free up some space on your phone, we have the solution for you. Let’s explore the multiple ways to get your pictures off your Samsung Galaxy S5.
Connect to a Computer
One of the most straightforward ways to get pictures off your Samsung Galaxy S5 is by connecting it to a computer. Here’s how you can do it:
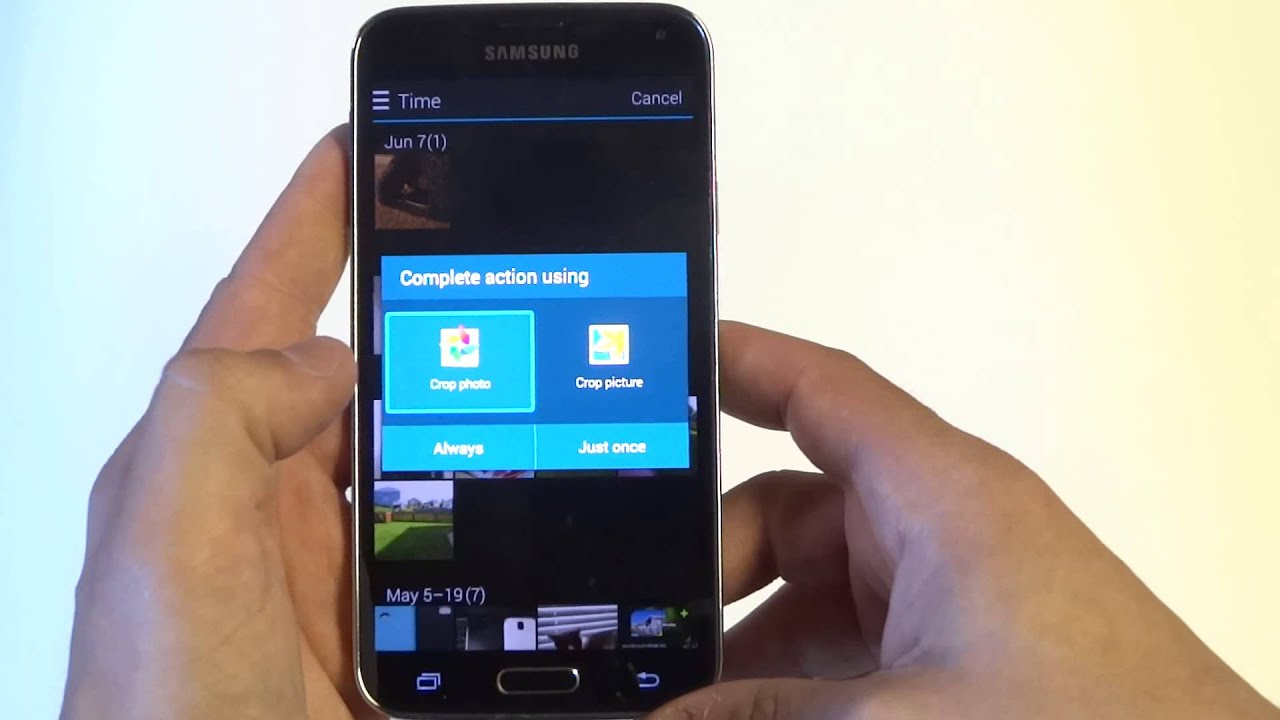
1. Start by connecting your phone to your computer using a USB cable. Make sure to use the appropriate cable for your Galaxy S5.
2. Once connected, your computer should recognize your phone as a storage device. If prompted, choose the option to “transfer files” or “transfer photos.”
3. Open the file explorer on your computer and navigate to the location where your phone is recognized. It is usually displayed as a separate drive, either under “My Computer” on Windows or on the desktop for Mac users.
4. Locate the “DCIM” folder on your Galaxy S5, which stands for “Digital Camera Images.” This is where your phone stores all the photos and videos taken with the camera.
5. Open the “DCIM” folder and find the specific folders containing your pictures. They are usually organized by date or named with a combination of numbers and letters.
6. Once you’ve found the desired pictures, you can copy and paste them to a folder on your computer or drag and drop them directly onto your desktop.
7. After the transfer is complete, safely eject your phone from your computer to avoid any data loss.
Connecting your Samsung Galaxy S5 to a computer is a quick and convenient way to transfer your pictures. It allows you to easily back up your photos, organize them on your computer, or share them with friends and family. Plus, it saves valuable storage space on your phone.
Next, we’ll explore how to get your pictures off your Samsung Galaxy S5 using a USB cable. However, if you prefer a wireless method, you can skip ahead to the section on using Bluetooth.
Use a USB Cable
If you want to transfer pictures from your Samsung Galaxy S5 to another device, using a USB cable is a reliable and straightforward method. Here’s how you can do it:
1. Begin by connecting your Samsung Galaxy S5 to the other device using a USB cable. It could be a laptop, desktop computer, or even a compatible smart TV.
2. After connecting the USB cable to both devices, your Samsung Galaxy S5 will prompt you to select a USB connection mode. Choose the “File Transfer” or “MTP” (Media Transfer Protocol) option.
3. Once your phone is connected and in file transfer mode, the other device should recognize it as a storage device. You may need to give permission on your Galaxy S5 for the connection to proceed.
4. On the other device, open the file explorer or file manager application. Locate and select the connected device, which should be listed under devices or drives.
5. Navigate to the desired folder on your Samsung Galaxy S5 where your pictures are stored. This is typically the “DCIM” folder as mentioned earlier.
6. Select the pictures you want to transfer by either dragging and dropping them onto the destination folder on the other device or by using the copy and paste function.
7. Once the transfer is complete, safely disconnect the USB cable from both devices to avoid any data loss.
Using a USB cable provides a stable and reliable connection for transferring pictures from your Samsung Galaxy S5. Not only can you easily share your photos with other devices, but you can also create backups and free up storage space on your smartphone.
Next, let’s explore the option of using Bluetooth to transfer pictures from your Galaxy S5. This method allows for a wireless transfer, eliminating the need for any cables.
Use Bluetooth
If you prefer a wireless method to transfer pictures from your Samsung Galaxy S5, using Bluetooth is a convenient option. Here’s how you can do it:
1. Start by enabling Bluetooth on both your Samsung Galaxy S5 and the receiving device. This can usually be found in the settings menu, under the “Connections” or “Bluetooth” section.
2. On your Galaxy S5, go to the gallery app and select the pictures you want to transfer. To select multiple pictures, you can tap and hold on one photo and then tap on the others.
3. Once you’ve selected the pictures, tap on the share or send button, often represented by an arrow pointing outwards or a sharing icon.
4. From the sharing options, choose the option to share via Bluetooth. Your Galaxy S5 will then start scanning for nearby Bluetooth-enabled devices.
5. On the receiving device, make sure to accept the incoming Bluetooth connection request from your Samsung Galaxy S5.
6. After the connection is established, the selected pictures will be transferred wirelessly from your Galaxy S5 to the receiving device.
7. Depending on the size and number of pictures, the transfer may take some time. Make sure both devices have sufficient battery levels and remain within close proximity during the transfer process.
Using Bluetooth to transfer pictures is an excellent option when you want to quickly share images with another device wirelessly. However, keep in mind that Bluetooth has a limited range and can be slower compared to other transfer methods. For large batches of pictures or faster transfer speeds, consider alternative methods such as using a USB cable.
Next, we’ll explore how to transfer pictures from your Samsung Galaxy S5 using a memory card. This method allows for easy physical transfer of pictures between devices.
Use a Memory Card
If your Samsung Galaxy S5 supports expandable storage, you can use a memory card to conveniently transfer pictures to another device. Here’s how you can do it:
1. Begin by inserting a compatible memory card into your Samsung Galaxy S5. Ensure that the memory card is properly inserted and recognized by your phone.
2. Open the gallery app on your Galaxy S5 and select the pictures you want to transfer. You can either tap on individual photos or use the select all option if you want to transfer all the pictures.
3. Once you’ve selected the pictures, tap on the share or send button, usually represented by an arrow pointing outwards or a sharing icon.
4. From the sharing options, choose the option to save the pictures to the memory card. You may need to select the specific folder or location on the memory card where you want to save the pictures.
5. After selecting the destination, tap on the save or confirm button to initiate the transfer process. Depending on the size and number of pictures, the transfer may take some time.
6. Once the transfer is complete, remove the memory card from your Samsung Galaxy S5 and insert it into the compatible memory card slot on the receiving device.
7. On the receiving device, use the file explorer or gallery app to navigate to the memory card. Locate the transferred pictures and copy or move them to the desired location on the device.
Using a memory card provides a simple and portable solution for transferring pictures between devices. It allows for easy physical transfer, making it ideal for devices that do not have wireless capabilities or USB connections.
Next, let’s explore how to get pictures off your Samsung Galaxy S5 using a cloud service. This method allows for convenient access to your pictures from various devices.
Use a Cloud Service
If you want to access your pictures from multiple devices and ensure that they are securely backed up, using a cloud service is a great option. Here’s how you can do it:
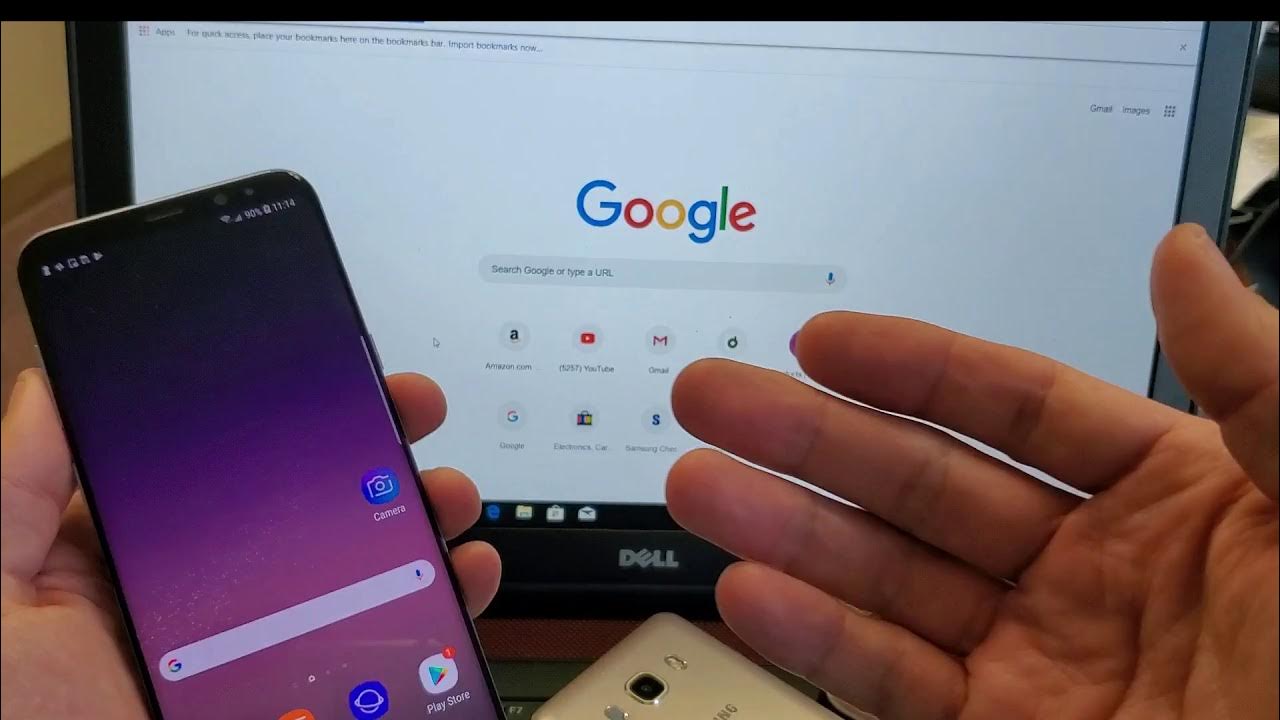
1. Start by signing in or creating an account with a cloud service provider that offers storage and syncing capabilities, such as Google Drive, Dropbox, or OneDrive.
2. Install the corresponding cloud service app on your Samsung Galaxy S5 from the Google Play Store.
3. Open the cloud service app and sign in to your account. Follow the prompts to grant the necessary permissions to access your pictures.
4. Once signed in, you can choose to automatically upload your pictures to the cloud service by enabling the auto-sync or backup feature. This will ensure that any new pictures taken on your Galaxy S5 are backed up to the cloud.
5. To manually upload existing pictures, open the gallery app on your Samsung Galaxy S5 and select the pictures you want to transfer.
6. Tap on the share or send button and choose the option to share via the cloud service app. The app will then upload the selected pictures to your cloud storage.
7. On the receiving device, install the cloud service app and sign in to your account using the same credentials.
8. Once signed in, the cloud service app should automatically sync and download the uploaded pictures to the device. Alternatively, you can navigate to the appropriate folder within the app to access and download the pictures manually.
Using a cloud service provides a convenient way to access and share your pictures across multiple devices. It ensures that your pictures are securely backed up, and you can easily retrieve them whenever needed.
Next, let’s explore how to get pictures off your Samsung Galaxy S5 using a file manager app. This method gives you more control and flexibility over managing your pictures.
Use a File Manager App
If you want more control over managing your pictures and organizing them on your Samsung Galaxy S5, using a file manager app is a versatile option. Here’s how you can do it:
1. Start by installing a file manager app from the Google Play Store on your Samsung Galaxy S5. There are many options available, such as ES File Explorer, Solid Explorer, or File Commander.
2. Once installed, open the file manager app and navigate to the folder where your pictures are stored. This is usually the “DCIM” folder or a specific folder within it.
3. Browse through the folder and select the pictures you want to transfer. You can tap and hold on one photo to initiate the selection mode, and then tap on the other pictures to select them as well.
4. Once you’ve selected the pictures, look for the share or send option within the file manager app. Tap on it to proceed.
5. From the sharing options, choose how you want to transfer the pictures. You can choose to share via email, messaging apps, cloud services, Bluetooth, or any other compatible method available on your device.
6. Follow the prompts and select the appropriate app or method to transfer the selected pictures. Each option may have its own set of instructions to complete the transfer process.
7. Depending on the method you choose, the selected pictures will be transferred to the desired location or device. Follow the specific instructions of the chosen method to complete the transfer successfully.
Using a file manager app gives you more control over how you manage and transfer your pictures. You can easily organize them into folders, rename files, and transfer them to various locations or devices as per your preference.
Now that you have explored various methods to get pictures off your Samsung Galaxy S5, you can choose the most suitable option based on your preferences and requirements. Whether you prefer a wired connection, wireless transfer, using a memory card, or utilizing cloud services, you can effortlessly transfer your pictures and enjoy them on different devices or keep them securely backed up.
Conclusion
Transferring pictures from your Samsung Galaxy S5 to another device is essential for backing up your photos, freeing up storage space, and sharing memorable moments with others. In this article, we explored several methods to help you achieve this effortlessly.
You can connect your Samsung Galaxy S5 to a computer using a USB cable and transfer pictures by simply dragging and dropping them onto your computer. This method provides a reliable and straightforward way to transfer photos.
If you prefer a wireless solution, using Bluetooth allows you to easily transfer pictures from your Galaxy S5 to a compatible device without the need for any cables. However, keep in mind that Bluetooth has a limited range and may be slower for large transfers.
If your Galaxy S5 supports expandable storage, using a memory card is a portable and convenient option. Simply transfer pictures to the memory card and insert it into another device to access your photos.
Utilizing cloud services such as Google Drive, Dropbox, or OneDrive gives you the flexibility to access and share your pictures across multiple devices. With automatic syncing and convenient mobile apps, cloud services ensure that your photos are securely backed up and easily accessible.
For those who prefer more control and organization, using a file manager app allows you to manage and transfer your pictures according to your preferences. This method is perfect for those who want to create custom folders, rename files, and have complete control over their picture transfer process.
By utilizing these different methods, you can transfer pictures from your Samsung Galaxy S5 seamlessly. Choose the method that suits your requirements and preferences, and enjoy your pictures on various devices or keep them securely backed up. So go ahead, explore the different options, and preserve your precious memories with ease.