Introduction
In the world of 3D printing, the Ender 3 is a popular and highly acclaimed printer known for its affordability and impressive print quality. To unleash its full potential, one crucial component you need is an SD card. This tiny storage device plays a significant role in the 3D printing process, allowing you to easily transfer your print files from your computer to the Ender 3 without the need for a constant connection.
However, before you can start using an SD card with your Ender 3, it is essential to properly format it. Formatting ensures compatibility and eliminates any potential file system errors or conflicts that may arise during the printing process.
In this guide, we will walk you through the step-by-step process of formatting an SD card for your Ender 3. Whether you are using a Windows, Mac, or Linux computer, we have got you covered. So, grab your SD card and let’s get started!
What is an SD Card and Why is it Important for Ender 3?
An SD (Secure Digital) card is a small, portable storage device commonly used in digital cameras, smartphones, and other electronic devices. The Ender 3 3D printer is equipped with an SD card slot, allowing users to easily transfer print files to the printer without the need for a direct connection to a computer. Here’s why an SD card is important for your Ender 3:
- Convenience: With an SD card, you can transfer print files from your computer to the Ender 3 and start printing without the hassle of keeping your computer connected. This frees up your computer and allows you to run multiple printers simultaneously.
- Stability: Printing directly from an SD card ensures a stable connection and reduces the risk of interruptions due to computer malfunctions or connection issues. This is especially important for long and complex prints that require uninterrupted operation.
- Portability: An SD card is a compact and portable storage device, making it easy to transport print files between different devices. You can save your print files on an SD card, carry it with you, and easily transfer them to other Ender 3 printers or share them with other users.
- Compatibility: The Ender 3 supports standard SD cards, which are widely available and compatible with various devices. Using an SD card ensures that your print files are in a format that the printer can read and makes the printing process smooth and efficient.
Overall, an SD card offers convenience, stability, portability, and compatibility, making it an essential tool for every Ender 3 user. Now that you understand the importance of an SD card, let’s move on to the steps involved in choosing and formatting the right SD card for your Ender 3.
Step 1: Choosing the Right SD Card for Ender 3
When it comes to choosing an SD card for your Ender 3, there are a few factors to consider. Here are the key points to keep in mind:
- Storage Capacity: The first thing to consider is the storage capacity of the SD card. The Ender 3 supports SD cards with various capacities, ranging from a few gigabytes to multiple terabytes. The choice depends on the size of your print files and your printing needs. If you mainly print small to medium-sized objects, a 16GB or 32GB card should suffice. However, if you frequently print large and complex models, it’s recommended to opt for a higher capacity card to accommodate the larger file sizes.
- Speed Class: The speed class of an SD card refers to its data transfer speed. For the Ender 3, it is recommended to use an SD card with a minimum speed class of 10. This ensures smooth and efficient file transfers, reducing the risk of buffering or delays during printing. Faster speed classes, such as UHS-I or UHS-II, offer increased data transfer rates and can be beneficial for transferring larger files quickly.
- Compatibility: Ensure that the SD card you choose is compatible with the Ender 3. The Ender 3 supports standard SD and SDHC cards. However, it does not support SDXC or high-capacity SD cards by default. To use an SDXC card, you may need to update the firmware of your printer.
- Reliability: It’s important to choose a reliable and reputable brand when selecting an SD card for your Ender 3. Opting for well-known brands with good customer reviews will help ensure the longevity and stability of the card, minimizing the risk of data corruption or loss.
By considering these factors, you can choose an SD card that meets your storage needs, offers fast data transfer speeds, is compatible with your Ender 3 printer, and provides reliable performance. Once you have selected the right SD card, you are ready to move on to the next step: inserting the card into your Ender 3.
Step 2: Inserting the SD Card into Ender 3
Now that you have chosen the right SD card for your Ender 3, it’s time to insert it into the printer. Follow these simple steps to insert the SD card correctly:
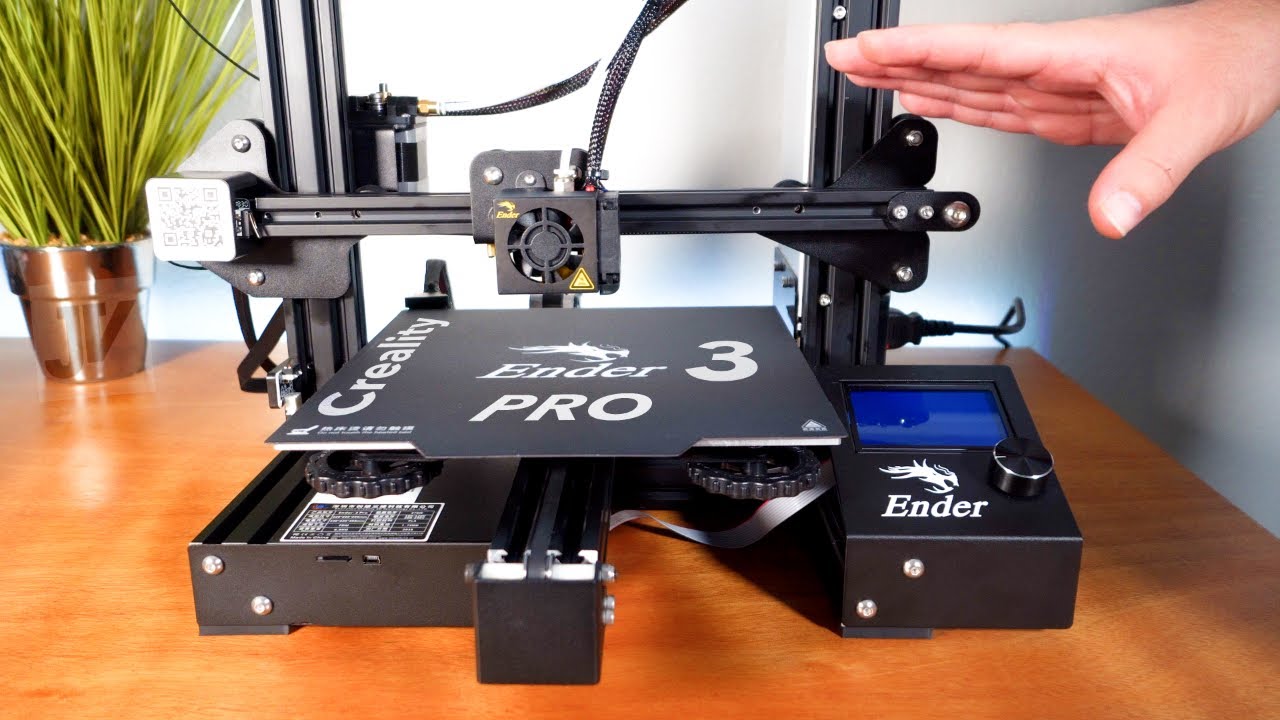
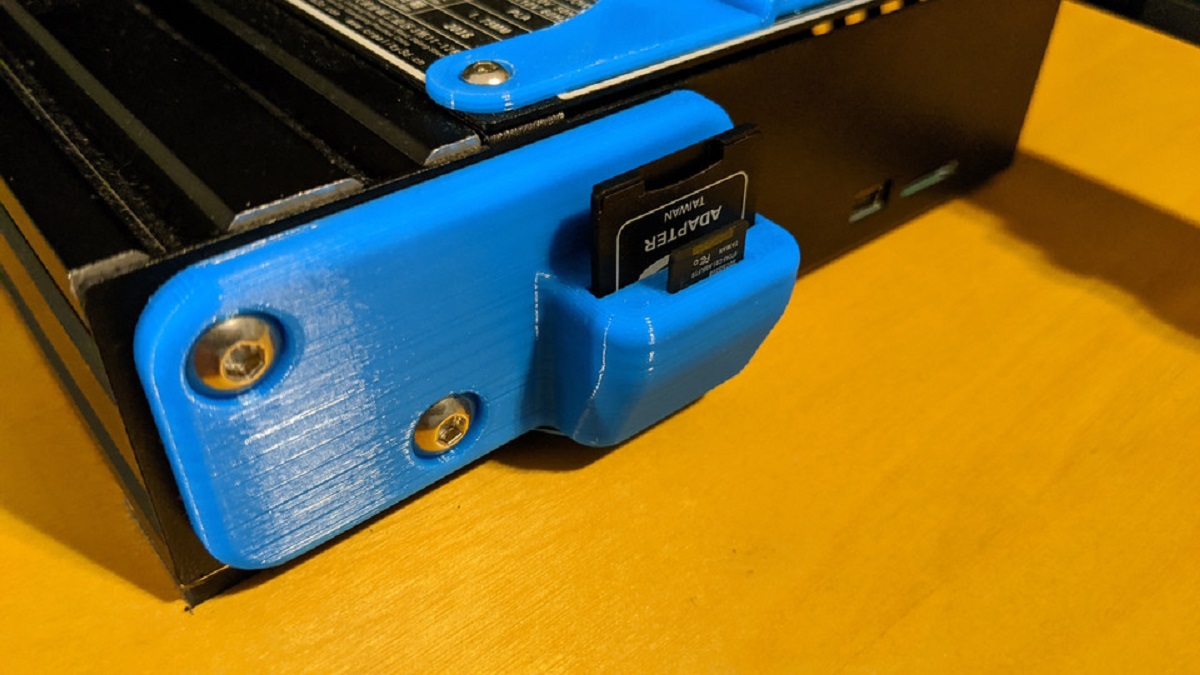
- Locate the SD card slot on your Ender 3. It is usually located on the front of the printer, near the control panel.
- Gently push the SD card into the slot, ensuring that it is inserted all the way until it clicks into place. Make sure to insert it in the correct orientation – the metal connectors on the SD card should be facing downwards, and the label or text on the card should be facing towards you.
- Once the SD card is properly inserted, you can power on your Ender 3 or restart it if it’s already powered on.
That’s it! Your SD card is now successfully inserted into the Ender 3, and it’s ready to be used for transferring print files. The printer will automatically detect the presence of the SD card and allow you to access and select the files for printing from the control panel.
It’s important to note that when inserting or removing the SD card, always handle it with care and ensure that your hands are clean and dry to prevent any damage or contamination. Additionally, avoid removing the SD card while the printer is in operation to prevent any potential disruption or data loss.
Now that the SD card is securely in place, let’s move on to the next step: formatting the SD card on a Windows computer.
Step 3: Formatting the SD Card on Windows
When using an SD card with your Ender 3, it is essential to format it correctly to ensure compatibility and eliminate any potential file system errors. Follow these steps to format the SD card on a Windows computer:
- Connect the SD card to your computer by inserting it into the SD card slot or using an SD card reader.
- Open Windows Explorer or File Explorer by pressing the Windows key + E on your keyboard, or by clicking on the folder icon in the taskbar.
- Locate the SD card drive in the list of available drives. It is usually labeled as “Removable Disk” or “SD Card”.
- Right-click on the SD card drive and select “Format” from the context menu. This will open the Format dialog box.
- In the Format dialog box, you can choose the file system and allocation unit size for the SD card. For the Ender 3, it is recommended to use the FAT32 file system and the default allocation unit size.
- Make sure the “Quick Format” option is checked to speed up the formatting process. Note that quick formatting will delete all data on the SD card, so make sure to back up any important files before proceeding.
- Click on the “Start” button to begin the formatting process. A warning message will appear, informing you that all data on the SD card will be lost. Confirm the action by clicking “OK”.
- Wait for the formatting process to complete. It may take a few moments depending on the size of the SD card.
- Once the formatting is finished, a message will appear indicating that the format was successful. Click “OK” to close the dialog box.
- Safely eject the SD card from your computer by right-clicking on the SD card drive and selecting “Eject” or “Safely Remove” from the context menu.
That’s it! You have successfully formatted the SD card for your Ender 3 on a Windows computer. Now you can safely remove the SD card from your computer and insert it back into your printer. In the next steps, we will cover formatting the SD card on a Mac and Linux computer, so keep reading!
Step 4: Formatting the SD Card on Mac
If you are using a Mac computer to format the SD card for your Ender 3, follow these steps below:
- Insert the SD card into the SD card slot on your Mac or connect it using an external SD card reader.
- Open the “Finder” application by clicking on the Finder icon in the dock or by pressing Command + Space and then typing “Finder”.
- In the Finder window, locate the SD card under the “Devices” section in the sidebar. It is usually labeled with the card’s storage capacity or name.
- Right-click on the SD card and select “Erase” from the context menu.
- A pop-up window will appear, allowing you to choose the format for the SD card. For the Ender 3, select the “MS-DOS (FAT)” format. You can also change the name of the SD card if desired.
- Click on the “Erase” button to start the formatting process. This will erase all the data on the SD card, so make sure to back up any important files before proceeding.
- Wait for the formatting process to complete. It may take a few moments depending on the size of the SD card.
- Once the formatting is finished, a confirmation message will appear. Click “Done” to close the window.
- Safely eject the SD card from your Mac by dragging the SD card icon to the trash or using the eject button next to the SD card name in the Finder sidebar. Wait until the card icon disappears before physically removing the SD card from your computer.
Great job! You have successfully formatted the SD card for your Ender 3 on a Mac. Now you can safely take out the SD card and insert it back into your printer. In the next step, we will cover formatting the SD card on a Linux computer, so keep reading!
Step 5: Formatting the SD Card on Linux
If you are using a Linux computer to format the SD card for your Ender 3, follow these steps:
- Insert the SD card into the SD card slot on your Linux computer or use an external SD card reader.
- Open the terminal window on your Linux computer. You can usually open the terminal by pressing Ctrl + Alt + T or searching for “Terminal” in the applications menu.
- In the terminal, type the command
sudo fdisk -land press Enter. This will list all the available disk drives on your computer, including the SD card. - Identify the SD card in the list based on its size and partition information. It is typically listed as “/dev/sdX” (e.g., /dev/sdb, /dev/sdc, etc.), where “X” represents a letter indicating the specific drive.
- Unmount the SD card by using the command
sudo umount /dev/sdX, replacing “X” with the appropriate drive letter identified in the previous step. This ensures that the SD card is not in use and can be formatted safely. - To format the SD card with the FAT32 file system, use the command
sudo mkfs.vfat /dev/sdX, replacing “X” with the appropriate drive letter. - Confirm the formatting by typing “y” when prompted. This will erase all data on the SD card, so be sure to back up any important files beforehand.
- Wait for the formatting process to complete. This may take a few moments depending on the size of the SD card.
- Once the formatting is finished, you will see a message indicating the success of the process.
- Eject the SD card from your Linux computer by using the command
sudo eject /dev/sdX, replacing “X” with the appropriate drive letter.
Well done! You have successfully formatted the SD card for your Ender 3 on a Linux computer. Now it’s time to safely remove the SD card and insert it back into your printer.
Step 6: Safely Ejecting the SD Card from Your Device
After formatting the SD card for your Ender 3, it is crucial to follow the proper procedure for safely ejecting the SD card from your device. This ensures that all data is written and that there is no risk of data corruption or loss. Here’s how you can safely eject the SD card:
- Ensure that your printer or computer has finished any read or write operations to the SD card. This could include printing a file from the SD card or transferring files from the computer to the SD card.
- On Windows: Right-click on the SD card drive in the File Explorer and select “Eject” from the context menu. Wait for a notification indicating that it is safe to remove the SD card before physically ejecting it from the card slot or card reader.
- On Mac: Locate the SD card icon on the desktop or in Finder’s sidebar. Drag the SD card icon to the trash or right-click on it and select “Eject” from the context menu. Once the SD card icon disappears, it is safe to physically remove the card.
- On Linux: Open the terminal and enter the command
sudo umount /dev/sdX, replacing “X” with the appropriate drive letter. Once the command completes without any errors, it is safe to remove the SD card from the card slot or reader.
It is crucial to wait for the proper notification or command completion before removing the SD card to prevent any potential data loss or damage to the card itself. Mishandling the removal process can lead to corrupted files or a damaged SD card.
Now that you have safely ejected the SD card from your device, you can proceed to insert it back into your Ender 3 and begin transferring and printing your 3D models. You are now ready to fully utilize the capabilities of your printer!
Conclusion
Congratulations! You have successfully learned how to format an SD card for your Ender 3 3D printer. The SD card plays a crucial role in the printing process, enabling you to easily transfer print files from your computer to the printer without the need for a constant connection.
In this guide, we covered the importance of an SD card for the Ender 3, the steps to choose the right SD card, and the process of formatting the SD card on Windows, Mac, and Linux. By selecting the appropriate storage capacity, considering the speed class, ensuring compatibility, and prioritizing reliability, you can make an informed decision when choosing an SD card for your printer.
Remember to handle the SD card with care, insert it properly into the printer, and follow the correct procedures for formatting and ejecting the SD card from your device. These steps will help ensure smooth and successful printing experiences, minimizing any potential issues and maximizing the performance of your Ender 3.
Now armed with this knowledge, you can confidently navigate the world of 3D printing and enjoy the convenience, stability, and portability that an SD card brings to your Ender 3. Happy printing!