Introduction
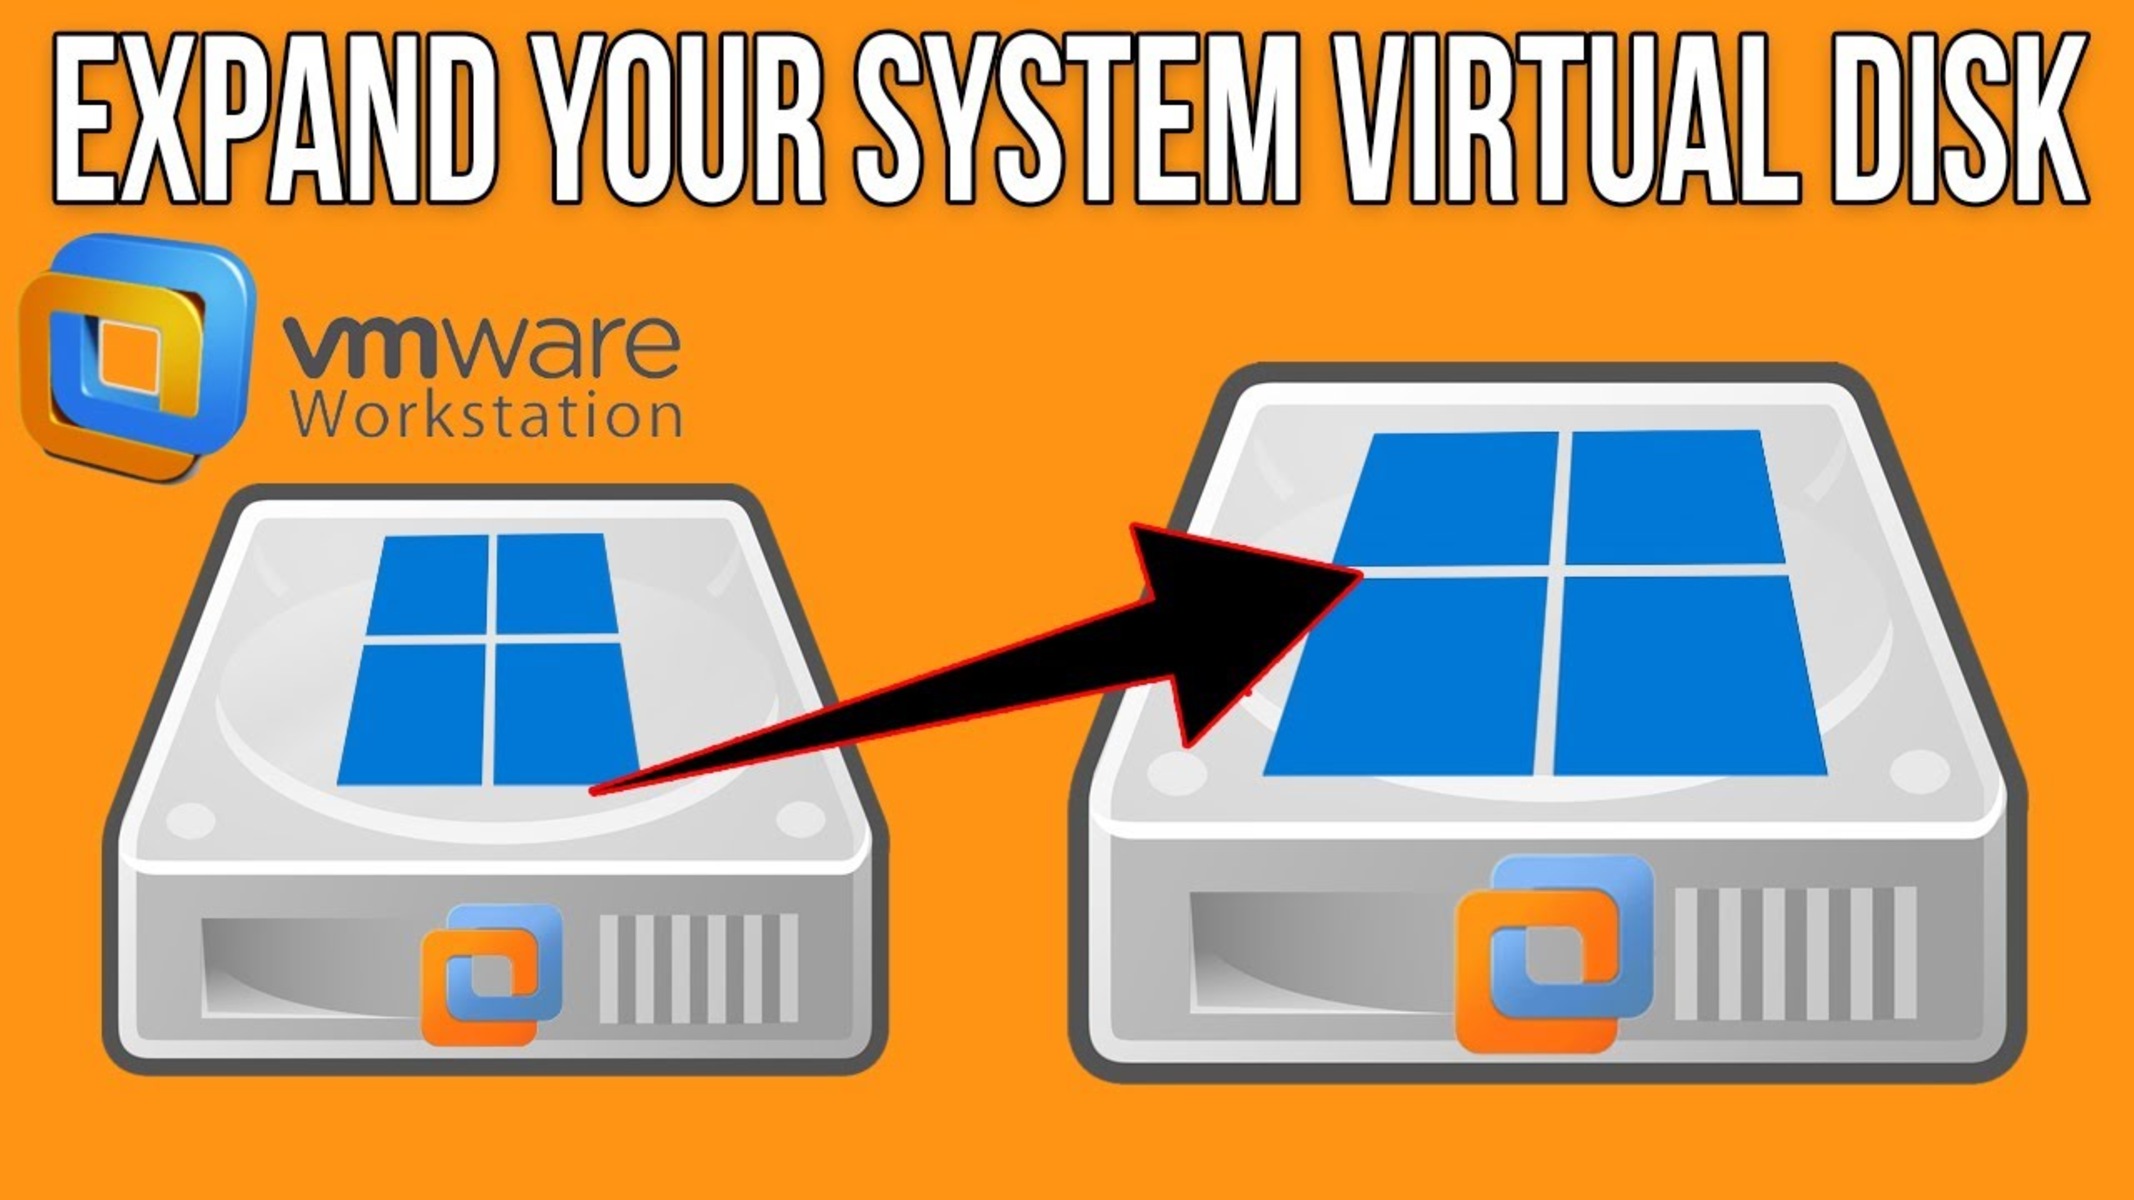
Expanding the virtual machine (VM) in VMware Workstation is a common task for many users. Whether you need to increase the storage capacity for your Windows VM or allocate more resources to meet the growing demands of your applications, expanding the VM can help ensure optimal performance. This guide will take you through the steps of expanding a Windows VM in VMware Workstation, allowing you to seamlessly scale up your virtual environment.
Expanding a Windows VM involves increasing the size of the virtual hard disk and extending the partition within the VM’s operating system. By following these steps, you can effectively allocate more storage space to accommodate your evolving needs without losing any data or disrupting the VM’s functionality.
Before diving into the process, it’s important to note that expanding a VM should only be performed when the VM is powered off. This ensures that there are no active read/write operations on the virtual hard disk, minimizing the risk of data corruption or loss. Additionally, make sure you have administrative access to the Windows VM and that you have a backup of any critical data before proceeding with the expansion process.
In the following sections, we will cover the prerequisites and step-by-step instructions to expand a Windows VM in VMware Workstation. By the end of this guide, you will have the knowledge and confidence to effectively expand your Windows VM and optimize its performance according to your specific requirements.
Prerequisites
Before you start expanding your Windows VM in VMware Workstation, there are a few prerequisites that you need to consider:
- VMware Workstation: Make sure you have VMware Workstation installed on your computer. You can download the latest version from the VMware website and follow the installation instructions.
- Windows VM: Ensure that you have a Windows virtual machine already set up in VMware Workstation. The steps provided in this guide are specific to Windows VMs.
- Administrative Access: To perform disk and partition operations, you need administrative access to the Windows VM. Make sure you have the necessary permissions to modify the VM settings.
- Backup: It is essential to have a backup of your Windows VM and any critical data stored in it. While expanding the VM is generally a safe process, having a backup will protect your data in case of any unexpected issues or accidents.
Once you have met these prerequisites, you are ready to proceed with expanding your Windows VM. It’s important to follow the steps carefully and ensure that you understand the implications of expanding the VM, particularly with regard to disk space allocation and potential data loss. Take your time, make necessary preparations, and proceed with caution to ensure a successful expansion process.
Step 1: Power off the Windows VM
The first step in expanding your Windows VM in VMware Workstation is to power off the virtual machine. It is important to perform this step to ensure that there are no active read/write operations on the virtual hard disk, as expanding the disk while the VM is running can lead to data corruption or loss.
To power off the Windows VM, follow these steps:
- Open VMware Workstation on your computer.
- In the Library tab, locate the Windows VM that you want to expand.
- Right-click on the VM and select “Power” from the context menu.
- Click on “Power Off” to completely shut down the VM.
Wait for the VM to power off completely before proceeding to the next step. It is important to ensure that all processes and operations within the VM have ceased before making modifications to its configuration.
By powering off the Windows VM, you create a safe environment for expanding the virtual hard disk without risking any data corruption. This step sets the foundation for a seamless and successful expansion process.
Step 2: Edit the VM settings
Once you have powered off the Windows VM, the next step is to edit the virtual machine’s settings in VMware Workstation. This allows you to modify the VM’s configuration and allocate more storage space for the virtual hard disk.
To edit the VM settings, follow these steps:
- Open VMware Workstation on your computer.
- In the Library tab, locate the Windows VM that you want to expand.
- Right-click on the VM and select “Settings” from the context menu.
- In the Virtual Machine Settings window, select the “Hardware” tab.
- From the list of hardware devices, select the virtual hard disk you want to expand.
- Click on the “Expand” button to increase the size of the virtual hard disk.
- Specify the new size for the virtual hard disk in gigabytes (GB).
Once you have specified the desired size for the virtual hard disk, click “OK” to save the changes and exit the VM settings dialog.
It is important to note that increasing the size of the virtual hard disk does not automatically allocate the additional storage space to the Windows partition. The expanded space becomes unallocated and needs to be manually extended within the VM’s operating system, which will be covered in the next steps. However, by editing the VM settings and increasing the virtual hard disk size, you have laid the foundation for accommodating more data and applications within the Windows VM.
Step 3: Expand the virtual hard disk
After editing the VM settings and increasing the size of the virtual hard disk, the next step is to expand the actual disk. This process involves allocating the additional storage space to the Windows partition within the virtual hard disk.
To expand the virtual hard disk, follow these steps:
- Open VMware Workstation on your computer.
- Power on the Windows VM that you have edited the settings for.
- Once the VM has fully booted up, log in to the Windows operating system.
- Go to “Start” and open the “Disk Management” tool.
- In the Disk Management window, locate the virtual hard disk that you expanded in the previous step.
- Right-click on the Windows partition within the virtual hard disk and select “Extend Volume”.
- Follow the on-screen instructions to allocate and extend the partition to utilize the newly allocated storage space.
The exact steps may vary slightly depending on the version of Windows you are using. However, the concept remains the same – extending the volume to incorporate the additional storage space.
By expanding the virtual hard disk and extending the Windows partition, you are effectively utilizing the additional storage space and accommodating more data and applications within the Windows VM. This step ensures that the expanded capacity is fully utilized by the operating system, allowing for smoother performance and increased storage capabilities.
Step 4: Extend the partition in Windows
After expanding the virtual hard disk and allocating the additional storage space, the next step is to extend the partition within the Windows operating system to utilize the expanded capacity. This process allows you to effectively increase the storage size for your data and applications.
To extend the partition in Windows, follow these steps:
- Open the Windows VM that you have powered on in VMware Workstation.
- Once the VM has fully booted up and you have logged in, go to “Start” and open the “Disk Management” tool.
- In the Disk Management window, locate the partition that corresponds to the expanded virtual hard disk.
- Right-click on the partition and select “Extend Volume”.
- Follow the on-screen instructions in the Extend Volume Wizard to extend the partition using the newly allocated storage space.
- Specify the amount of additional space you want to add to the partition and complete the wizard.
Depending on your specific Windows version, you may encounter some variations in the steps or the names of the options. However, the general process remains consistent – extending the volume to incorporate the newly allocated storage space.
By extending the partition within the Windows operating system, you are effectively utilizing the expanded storage capacity provided by the virtual hard disk. This step ensures that the additional space is available to store your data, applications, and files within the operating system, allowing for increased productivity and flexibility.
Step 5: Power on the Windows VM
Once you have successfully extended the partition within the Windows operating system, the final step is to power on the Windows VM in VMware Workstation. By doing so, you can verify that the expansion process was completed successfully and ensure that the VM is functioning as expected with the increased storage capacity.
To power on the Windows VM, follow these steps:
- Open VMware Workstation on your computer.
- In the Library tab, locate the Windows VM that you have expanded and edited the settings for.
- Right-click on the VM and select “Power On” from the context menu.
- Wait for the Windows VM to fully boot up and log in to the operating system.
- Once you have logged in, navigate to “My Computer” or “This PC” to verify the increased storage capacity.
- Check the properties of the drive or partition that you expanded to confirm that the total size has been increased.
If you see the increased storage capacity reflected in the properties of the drive or partition, congratulations! You have successfully expanded your Windows VM in VMware Workstation. The additional storage space can now be utilized to accommodate your data, applications, and files within the VM.
By powering on the Windows VM and verifying the expansion process, you can ensure that the virtual machine is functioning optimally with the increased storage capacity. This final step marks the completion of the expansion process, allowing you to make full use of the expanded virtual environment.
Conclusion
Expanding a Windows VM in VMware Workstation is a straightforward process that allows you to increase the storage capacity and optimize the performance of your virtual environment. By following the steps outlined in this guide, you can seamlessly expand the virtual hard disk, extend the partition within the Windows operating system, and effectively utilize the additional storage space.
Throughout this guide, we covered the essential steps involved in expanding a Windows VM, including powering off the VM, editing the VM settings, expanding the virtual hard disk, extending the partition in Windows, and powering on the VM to verify the expansion. By adhering to these steps and taking the necessary precautions, you can successfully expand your Windows VM without risking data corruption or loss.
Remember to always have a backup of your VM and critical data before proceeding with any modifications to ensure that your information is safeguarded. Additionally, ensure that you have administrative access to the Windows VM and that VMware Workstation is installed on your computer.
Expanding your Windows VM provides you with the flexibility to accommodate growing storage needs and optimize the performance of your virtual environment. Whether you need to allocate additional space for applications, store large files, or enhance the overall performance of your VM, following the steps outlined in this guide will help you achieve your objectives.
By expanding your Windows VM in VMware Workstation, you can ensure that your virtual environment remains efficient and capable of meeting your evolving needs. So go ahead, follow these steps, and enjoy the benefits of an expanded and optimized Windows VM.


