Introduction
When it comes to installing software from a DVD onto an All-In-One PC, it may seem like a daunting task, especially if you’re not familiar with the process. However, with the right guidance, it can be a straightforward and hassle-free experience.
Whether you’re a student looking to install educational software, a professional needing a specific tool for work, or simply someone wanting to explore new applications, this guide will walk you through the step-by-step process of downloading software from a DVD onto your All-In-One PC.
An All-In-One PC combines the power of a desktop computer with the convenience of a monitor, making it a popular choice for users who prefer a sleek and efficient setup. With a built-in DVD drive, you can easily install software directly from a DVD without the need for any external devices or complicated procedures.
In this article, we will take you through the necessary steps to successfully download software from a DVD to an All-In-One PC. From inserting the DVD to following the installation prompts, you’ll learn how to navigate the process with ease.
Whether you’re a tech-savvy individual or a beginner, this guide aims to provide clear and concise instructions so that you can start using your desired software in no time. So, let’s get started and explore the process of downloading software from a DVD to your All-In-One PC!
Step 1: Insert the DVD into the DVD drive
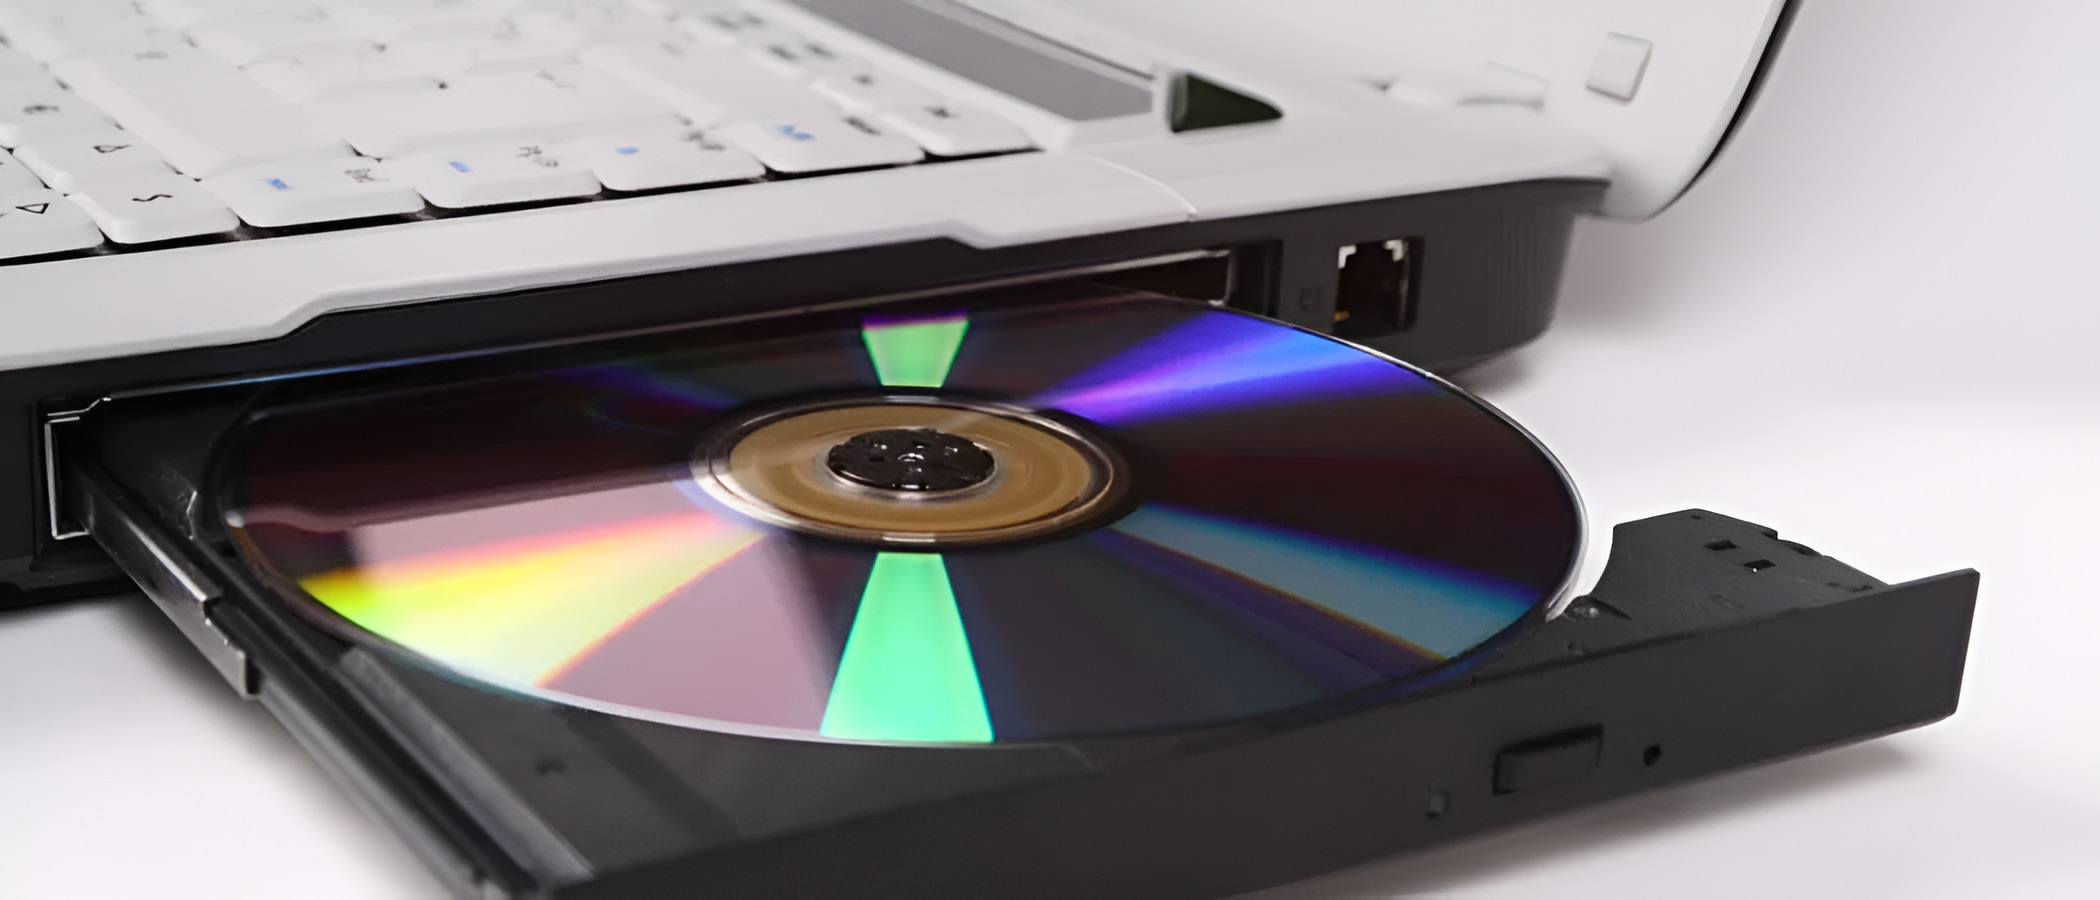
The first step in downloading software from a DVD to an All-In-One PC is to insert the DVD into the DVD drive. The location of the DVD drive may vary depending on the specific model of your All-In-One PC, but it is usually located on the side or front of the monitor.
Take the DVD that contains the software you want to install and gently insert it into the DVD drive, ensuring that it is placed correctly and securely. Give it a moment to be recognized by the PC.
Once inserted, you may hear the DVD drive spinning as it reads the contents of the DVD. At this point, you are ready to move on to the next step of the installation process.
It is important to handle the DVD with care to avoid any scratches or damages that could prevent it from being read properly. Ensure your hands are clean and free of any substances that could cause smudging or damage to the DVD surface.
In some cases, the DVD drive may have a button or an eject lever that allows you to insert and remove DVDs more easily. If your All-In-One PC has this feature, you can use it to safely insert and remove the DVD without having to push it into the drive manually.
It is essential to note that if your All-In-One PC does not have a built-in DVD drive, you will need to consider alternative methods of installing the software, such as using an external DVD drive or transferring the files from the DVD to a USB drive.
With the DVD successfully inserted into the DVD drive, you are now ready to proceed to the next step, which involves opening the File Explorer to locate the DVD drive on your All-In-One PC.
Step 2: Open the File Explorer
Once you have inserted the DVD into the DVD drive of your All-In-One PC, the next step is to open the File Explorer. The File Explorer is a built-in file management application in Windows that allows you to navigate through the files and folders on your computer.
To open the File Explorer, you can use one of the following methods:
- Click on the File Explorer icon located on the taskbar at the bottom of the screen.
- Press the Windows key + E on your keyboard.
- Right-click on the Start button and select File Explorer from the context menu.
Any of these methods will open the File Explorer, allowing you to proceed with the next step of locating the DVD drive.
Alternatively, you can also open the File Explorer by clicking on the Start button and typing “File Explorer” in the search bar. Once you see the File Explorer app in the search results, click on it to open.
When the File Explorer window appears on your screen, you will notice that it displays various locations and folders on the left-hand side. These locations include Quick Access, This PC, Network, and more.
Now that you have successfully opened the File Explorer, it’s time to move on to the next step and locate the DVD drive that contains the software you want to install.
Step 3: Locate the DVD drive in File Explorer
Now that the File Explorer is open on your All-In-One PC, it’s time to locate the DVD drive that contains the software you want to install. The DVD drive will be listed as a separate device under the “This PC” or “Computer” section in the File Explorer.
To find the DVD drive, follow these steps:
- On the left-hand side of the File Explorer window, click on the “This PC” or “Computer” option. This will display a list of drives and devices connected to your All-In-One PC.
- Look for a drive labeled with the DVD icon or the name of the DVD. This is your DVD drive that contains the software installation files. The drive label may vary depending on the specific DVD and the software it contains.
If you cannot find the DVD drive under the “This PC” or “Computer” section, there are a few things you can try:
- Make sure the DVD is properly inserted into the DVD drive of your All-In-One PC. Check if the DVD drive is functioning correctly by inserting a different DVD or CD.
- Refresh the File Explorer window by pressing the F5 key on your keyboard or right-clicking anywhere in the File Explorer window and selecting “Refresh”.
- If you are still unable to locate the DVD drive, there may be a compatibility issue or a problem with the DVD drive. In such cases, you may need to seek technical assistance or consider using alternative installation methods.
Once you have successfully located the DVD drive in the File Explorer, you are now ready to proceed to the next step, which involves opening the DVD drive to access the software installation files.
Step 4: Double-click on the DVD drive to open it
Now that you have located the DVD drive in the File Explorer, the next step is to double-click on it to open the DVD drive and access the software installation files. Opening the DVD drive will allow you to view the contents of the DVD and navigate through the files and folders.
To open the DVD drive, follow these steps:
- In the File Explorer window, locate the DVD drive under the “This PC” or “Computer” section.
- Double-click on the DVD drive icon or its name to open it. Alternatively, you can right-click on the DVD drive and select “Open” from the context menu.
After double-clicking on the DVD drive, a new File Explorer window will open, displaying the contents of the DVD. You will see a list of files and folders associated with the software installation.
It’s important to note that the contents of the DVD may vary depending on the software you are installing. Some software may have a single EXE (executable) file, while others may contain multiple files and folders.
Take a moment to browse through the files and folders in the DVD drive to familiarize yourself with its contents. Look for the main installation file or any setup files that are required to install the software onto your All-In-One PC.
With the DVD drive successfully opened and the software installation files visible, you are now ready to proceed to the next step, which involves locating and double-clicking on the software installation file to initiate the installation process.
Step 5: Find the software installation file
After opening the DVD drive in the File Explorer, the next step is to locate the software installation file. This file is typically labeled as “setup.exe” or “install.exe” and is responsible for initiating the installation process of the software onto your All-In-One PC.
To find the software installation file, follow these steps:
- Within the DVD drive’s File Explorer window, look for a file with a name similar to “setup.exe” or “install.exe”. This is the main installation file for the software.
- If you cannot find a specific installation file, look for any files or folders with names related to the software. These may include terms such as “install”, “setup”, or the name of the software itself.
- If you are still having trouble locating the software installation file, refer to any documentation or guidelines that came with the DVD. They may provide specific instructions about the location of the installation file.
Once you have identified the software installation file, you are ready to move on to the next step, which involves double-clicking on the installation file to begin the software installation process.
It’s important to note that the software installation file may be located directly in the root of the DVD, or it may be nested within folders. If the installation file is inside a folder, double-click on the folder to access its contents and locate the installation file.
Take a moment to double-check the file you have selected for installation. Ensure that it corresponds to the software you intended to install and that it is the latest version provided on the DVD.
Once you have successfully found the software installation file, it’s time to proceed to the next step, where you will double-click on the file to initiate the software installation process.
Step 6: Double-click on the software installation file
With the software installation file located in the DVD drive, it’s time to initiate the installation process. Double-clicking on the installation file will launch the software installer and allow you to start installing the desired software onto your All-In-One PC.
To double-click on the software installation file, follow these steps:
- In the File Explorer window, navigate to the location of the software installation file.
- Double-click on the installation file to launch the software installer. Alternatively, you can right-click on the installation file and select “Open” or “Run” from the context menu.
After double-clicking on the installation file, the software installer will start. Depending on the software, you may be presented with an installation wizard or a prompt asking for your permission to run the installer.
Follow the on-screen instructions provided by the software installer. These instructions may include accepting the software license agreement, choosing the installation location, and configuring any additional settings.
Pay attention to any prompts or options presented during the installation process. You may be given the choice to customize the installation, select specific components, or configure advanced settings.
It’s important to read through the installation prompts carefully and make any necessary selections according to your preferences. Be sure to select the appropriate options and settings that align with your requirements.
Once you have completed the installation prompts, the software installer will begin installing the software onto your All-In-One PC. Depending on the size of the software and the performance of your computer, the installation process may take a few minutes.
During the installation, it’s recommended to avoid interrupting the process or shutting down your All-In-One PC. Doing so may result in an incomplete or corrupted installation.
Once the installation is complete, you may be prompted to restart your computer. Follow any remaining instructions provided by the software installer.
With the software successfully installed on your All-In-One PC, you are now ready to explore and utilize its features. Enjoy using your newly installed software!
Step 7: Follow the on-screen prompts to install the software
After double-clicking on the software installation file in the previous step, you will be presented with a series of on-screen prompts. These prompts will guide you through the installation process and allow you to customize certain aspects of the software installation.
To successfully install the software, follow these steps:
- Read the on-screen prompts carefully. They may include important information about the software, its features, and any system requirements.
- Click on the “Next” or “Install” button to proceed with the installation process. This will typically be the first prompt you encounter.
- Review the software license agreement, if presented. It is essential to read and understand the terms and conditions of the software usage before proceeding. Accept the agreement if you agree with the terms.
- Choose the installation location for the software. In most cases, the installer will suggest a default location. However, you may have the option to select a different directory or drive. If you’re unsure, it’s generally safe to go with the default location.
- Select any additional components or features you want to include in the installation. Some software may offer extra features or plugins that you can choose to install or leave out.
- Configure any advanced settings, if available. This may include choosing the language, setting up shortcuts, or selecting specific options to customize the software behavior.
- Click on the “Next” or “Install” button to initiate the installation process. Depending on the software’s size and complexity, the installation may take a few moments to complete.
While the software is being installed, it’s important to avoid interrupting the process or shutting down your All-In-One PC. Doing so may result in an incomplete or corrupted installation.
Once the installation is complete, you will typically see a prompt indicating the successful installation of the software. Some installers may require you to restart your computer to finalize the installation. Follow any remaining instructions provided by the installer.
After restarting, you can usually find the newly installed software in the Start menu or on the desktop, depending on the specific software and your customization choices during the installation process.
Congratulations! You have successfully installed the software onto your All-In-One PC. Take some time to explore the features and settings of the software and start utilizing its functionality.
Conclusion
Installing software from a DVD onto an All-In-One PC may seem daunting, but by following the step-by-step guide outlined in this article, you can navigate the process with ease and successfully install the desired software.
Starting with the simple task of inserting the DVD into the DVD drive, you learned how to open the File Explorer and locate the DVD drive. From there, you double-clicked on the DVD drive to access the software installation files.
With the software installation file in hand, you double-clicked on it to initiate the installation process. Following the on-screen prompts, you carefully navigated through the installation wizard, made necessary selections, and completed the installation.
Remember to read the software license agreement, choose the installation location, and consider any additional components or advanced settings along the way. These steps ensure a smooth and tailored installation experience.
With the software successfully installed on your All-In-One PC, you are now ready to explore its features and functionality. Whether it’s educational software, productivity tools, or entertainment applications, your All-In-One PC is now equipped with the software you need.
Keep in mind that while this guide focused on installing software from a DVD, alternative methods such as using an external DVD drive or transferring files to a USB drive can also be considered if your All-In-One PC does not have a built-in DVD drive.
Installing software is an essential part of getting the most out of your All-In-One PC. With the knowledge and steps provided in this guide, you can confidently install a wide range of software and expand the capabilities of your computer.
Now that you have mastered the process of downloading software from a DVD to an All-In-One PC, you can dive into exploring new applications, enhancing your productivity, or enjoying your favorite multimedia experiences.
So, go ahead and start installing the software of your choice. Unleash the potential of your All-In-One PC and make the most of its capabilities!