Introduction
Windows 10 is a versatile operating system that offers a range of customization options to suit individual preferences. One such customization feature is the ability to disable the trackpad, allowing for a more comfortable and efficient computing experience. Whether you prefer using an external mouse or have a personal preference for disabling the trackpad, Windows 10 provides several methods to accomplish this.
In this article, we will explore various methods you can use to disable the trackpad on your Windows 10 device. From keyboard shortcuts to device manager settings, you’ll find a solution that works best for you. We’ll also discuss the use of third-party software for more advanced trackpad management.
Many users find disabling the trackpad useful when they are using an external mouse, as it prevents accidental cursor movements and unwanted clicks. Moreover, disabling the trackpad can also be helpful for individuals with accessibility needs who rely on alternative input methods, such as touchscreens or specialized pointing devices.
Please note that the availability of these methods may depend on your specific device and trackpad driver. It’s important to follow the instructions carefully and make sure you are using the most suitable method for your particular setup.
Method 1: Using the Keyboard Shortcut
One of the quickest and easiest ways to disable the trackpad on your Windows 10 device is by using a simple keyboard shortcut. This method works on most laptops and notebooks that have a dedicated function key or a combination of keys specifically designed for trackpad control.
To disable the trackpad using the keyboard shortcut, follow these steps:
- Locate the function key on your keyboard that has a touchpad icon. This key is usually labeled with a picture of a trackpad or a touchpad.
- Press and hold the “Fn” key (typically located in the bottom row of the keyboard) and simultaneously press the function key that corresponds to the trackpad icon. On many laptops, this is the “F7” key, but it may vary depending on your device. Look for the function key that has a touchpad symbol on it.
- After pressing the key combination, you should see an on-screen notification or indicator confirming that the trackpad is now disabled. The exact appearance of the notification may vary depending on your device manufacturer and trackpad driver.
To re-enable the trackpad using the same keyboard shortcut, simply repeat the above steps. Press and hold the “Fn” key and simultaneously press the function key corresponding to the trackpad icon. The on-screen notification should indicate that the trackpad is now enabled.
This method is particularly useful when you need to quickly disable or enable the trackpad without navigating through menus or settings. However, please note that the keyboard shortcut may vary depending on your specific laptop or notebook model. Consult your device’s user manual or manufacturer’s website for more information on the correct keyboard shortcut to use.
Method 2: Using Device Manager
If the keyboard shortcut method doesn’t work or is not available on your Windows 10 device, you can disable the trackpad by using the Device Manager. The Device Manager is a built-in Windows tool that allows you to manage and control hardware devices connected to your computer.
To disable the trackpad using the Device Manager, follow these steps:
- Press the Windows key + X key combination on your keyboard to open the Power User menu. From the menu, select Device Manager to launch the Device Manager window.
- In the Device Manager, locate and expand the category named Mice and other pointing devices. This category contains all the pointing devices, including the trackpad, connected to your computer.
- Right-click on the trackpad entry and select Disable device from the context menu. A confirmation dialog will appear to confirm the action.
- Click Yes to confirm the disable command. The trackpad should now be disabled, and you will no longer be able to use it for input.
If you ever want to re-enable the trackpad, follow the same steps above, but instead of selecting Disable device in step 3, choose Enable device from the context menu. This will reactivate the trackpad, and you’ll be able to use it again.
Using the Device Manager is a reliable method to disable the trackpad, as it allows you to have more control over your hardware devices. Keep in mind that the exact naming and appearance of options in the Device Manager may vary depending on your specific device and driver version. If you’re unsure about the trackpad entry, consult your device manufacturer’s website or support documentation for more guidance.
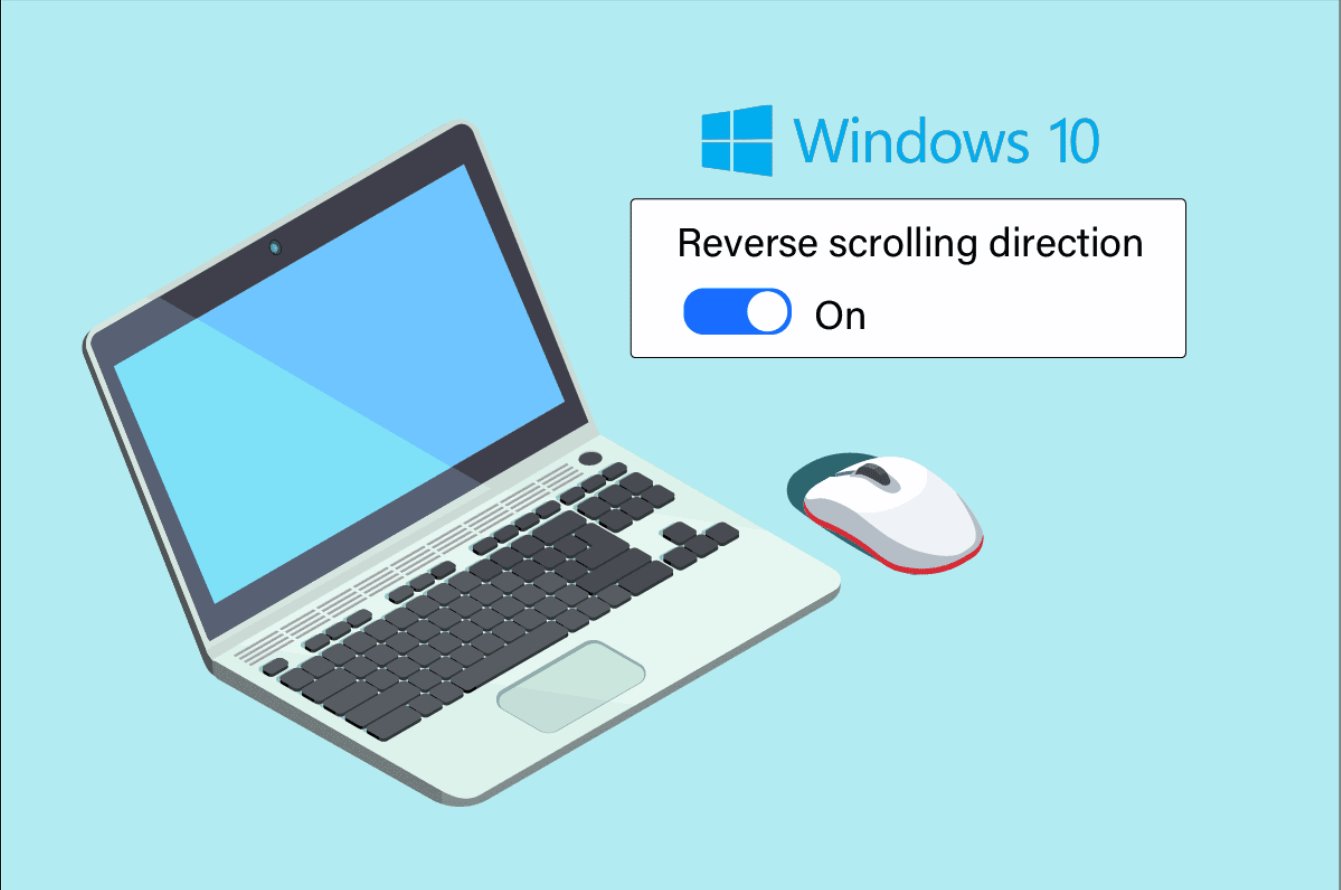
Method 3: Using Settings
Windows 10 provides a user-friendly interface in the Settings app that allows you to customize various aspects of your device, including the trackpad settings. By using the Settings method, you can easily disable the trackpad without the need for additional software or complicated steps.
To disable the trackpad using the Settings app, follow these steps:
- Press the Windows key + I key combination on your keyboard to open the Settings app. Alternatively, you can click on the Start menu and choose Settings from the list.
- In the Settings app, click on Devices to open the device-related settings options.
- From the left sidebar, select Touchpad. This will display the touchpad settings on the right panel.
- Under the Touchpad section, you will find an option named Touchpad toggle or a similar option that allows you to enable or disable the touchpad.
- Toggle the switch to the Off position to disable the trackpad. Once disabled, the trackpad will no longer respond to touch or gestures.
If you ever want to enable the trackpad again, follow the same steps above, but toggle the switch to the On position.
Using the Settings app to disable the trackpad provides a straightforward and easily accessible method for customization. The specific options and naming may vary slightly depending on your device manufacturer and configuration. If you are unable to locate the touchpad settings in the Settings app, refer to your device’s manual or support documentation for more information.
Method 4: Using Third-Party Software
If the built-in methods mentioned earlier do not suit your needs, or if you require more advanced trackpad management, you can explore third-party software options. Several software applications are available that offer enhanced trackpad control and customization beyond what is provided by Windows 10.
When considering third-party software, it’s essential to choose a reputable application from a trusted source. Here are a few popular options:
- Touchpad Blocker: Touchpad Blocker is a lightweight and straightforward utility that allows you to temporarily disable the trackpad while typing. This prevents accidental cursor movements and provides a seamless typing experience.
- TouchFreeze: TouchFreeze is a utility designed to prevent unintended cursor movement when typing by automatically disabling the trackpad while you are typing. It re-enables the trackpad a short time after you stop typing.
- External Mouse Software: Some manufacturers of external mouse devices provide software that allows you to customize trackpad settings and disable it when an external mouse is connected. These software options often offer extensive customization options for trackpad behavior and gestures.
To use third-party software to disable the trackpad, follow these steps:
- Download and install the desired third-party software from a reputable source. Make sure to choose an option compatible with your Windows 10 version and trackpad hardware.
- Launch the software and navigate to the settings or preferences section related to trackpad control.
- Locate the option to disable the trackpad and enable it according to your preference. The specific steps may vary depending on the software you choose.
Third-party software options can provide additional features and customization options that may not be available through the built-in Windows methods. However, always exercise caution when downloading and installing software from the internet to ensure it does not contain any malicious programs. It’s recommended to research and read reviews about the software before installing it on your device.
Conclusion
Disabling the trackpad on your Windows 10 device can be a beneficial customization option, whether you prefer using an external mouse or have specific accessibility needs. In this article, we explored four different methods to disable the trackpad, each offering its own advantages and suitability for different situations.
Using the keyboard shortcut is a quick and convenient method for temporarily disabling the trackpad, ideal for situations where you need instant control without navigating through menus. If this method doesn’t work for your device or if you prefer more granular control, using the Device Manager provides a reliable solution to enable or disable the trackpad.
The Settings app in Windows 10 offers an intuitive interface for trackpad customization, allowing you to easily and effectively disable the trackpad. However, for those who require advanced features and customization options, third-party software can provide a wider range of functionalities beyond what is offered by Windows.
Remember, the availability and effectiveness of these methods may vary depending on your specific device and trackpad driver. It is essential to consult your device’s user manual or manufacturer’s website for detailed instructions or troubleshooting steps tailored to your device.
By utilizing these methods, you can personalize your Windows 10 experience and optimize your workflow. Whether you’re a power user, a student, or someone with specific accessibility needs, disabling the trackpad can greatly enhance your computing experience.
Take the time to explore these methods and find the one that best fits your requirements. With the ability to easily disable the trackpad, you can enjoy a more comfortable and efficient computing experience on your Windows 10 device.