Introduction
Welcome to our guide on how to disable the touch screen on your Android tablet. If you find yourself in a situation where you need to temporarily or permanently turn off the touch functionality of your tablet, we’ve got you covered. Whether you want to prevent accidental touches while watching a movie, playing a game, or handing over your tablet to a child, disabling the touch screen can be a useful feature.
Many Android tablets come equipped with a touch screen as the primary means of interaction. While this provides great convenience and ease of use in most cases, there are situations where you may prefer to disable the touch screen temporarily to avoid unintended actions or to extend the battery life. By disabling the touch screen, you can take control of when and how it responds to touch input.
In this step-by-step guide, we will walk you through the process of disabling the touch screen on your Android tablet. We will demonstrate how to access the settings menu, locate the accessibility options, disable touch screen functionality, and confirm that the touch screen has been successfully disabled. Please note that the exact steps may vary slightly depending on the make and model of your tablet, but the general procedure should be similar across most Android devices.
By following these instructions, you’ll have the ability to conveniently disable and enable the touch screen functionality on your Android tablet whenever you need. So, let’s get started and learn how to disable the touch screen on your Android tablet.
Step 1: Access the Settings Menu
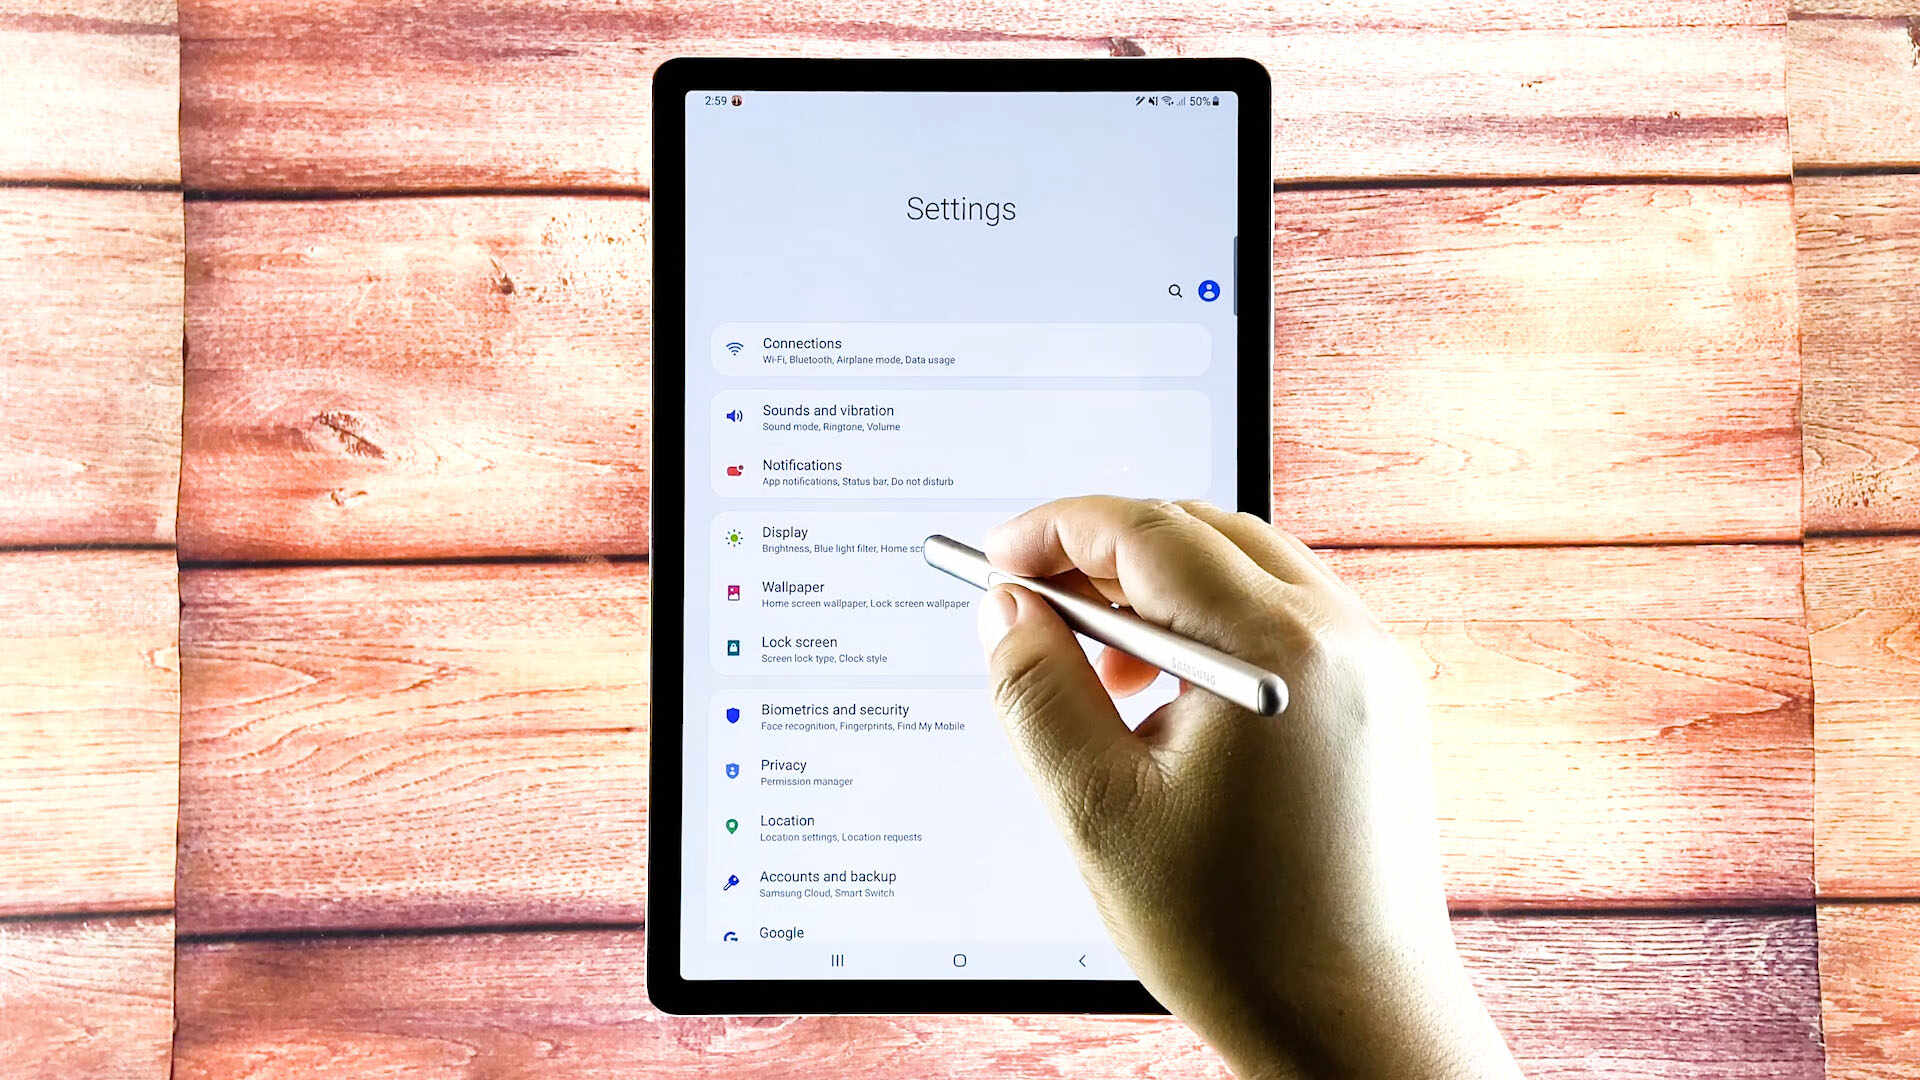
To begin the process of disabling the touch screen on your Android tablet, you’ll need to access the settings menu. The settings menu is where you can customize various aspects of your device’s functionality, including disabling the touch screen.
Here’s how you can access the settings menu on most Android tablets:
- Unlock your tablet and navigate to the home screen. This may involve swiping or entering your device’s passcode, depending on your security settings.
- Look for the “Settings” app icon. It is usually represented by a gear or cogwheel. Tap on the icon to open the settings menu.
- Once inside the settings menu, you will see a list of options categorized by different sections. Depending on the version of Android you have and the manufacturer of your tablet, the layout of the settings menu may vary. Look for the section that contains the accessibility settings.
Accessing the settings menu is the first step towards disabling the touch screen on your Android tablet. In the next step, we will guide you through locating the accessibility options, where you can further customize the touch screen functionality on your device.
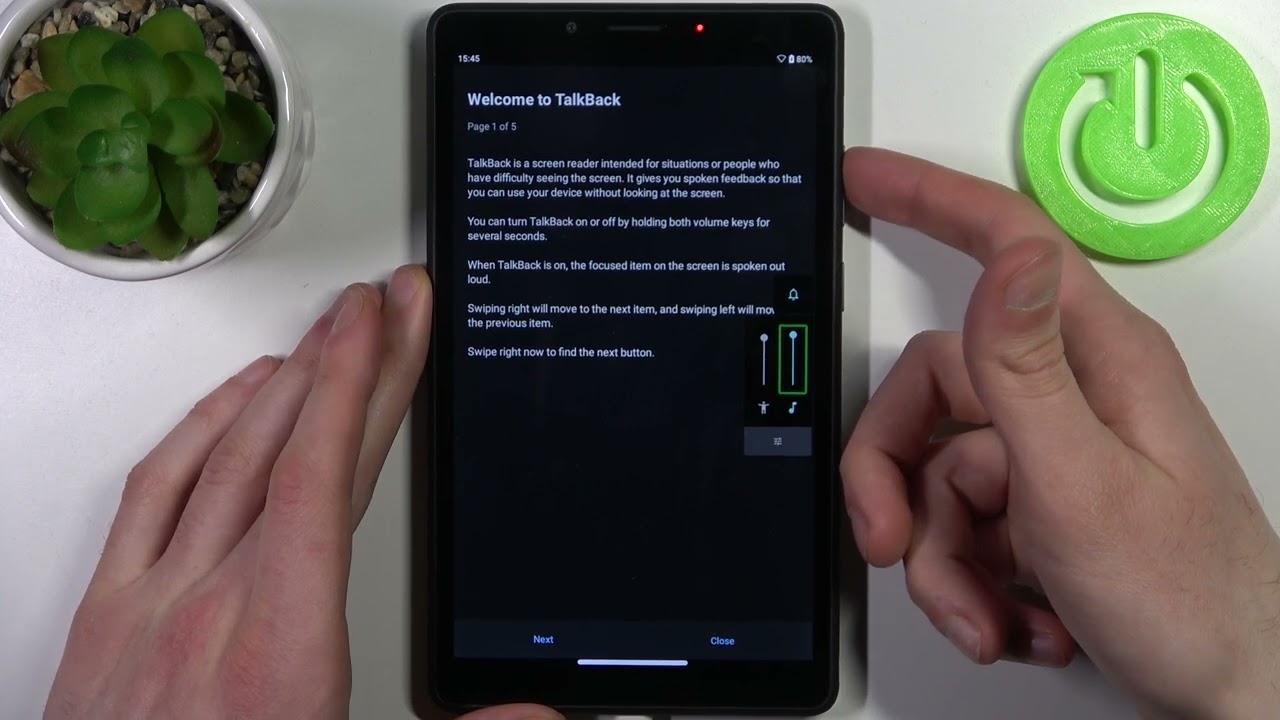
Step 2: Locate the Accessibility Options
Once you have accessed the settings menu on your Android tablet, the next step is to locate the accessibility options. The accessibility settings contain various features that allow you to customize how your device interacts with touch input, including the ability to disable the touch screen.
Here’s how you can find the accessibility options on most Android tablets:
- Within the settings menu, scroll down or navigate to the “Accessibility” section. It is usually located near the bottom of the settings menu, but the exact placement may differ based on your tablet model and Android version.
- Tap on the “Accessibility” option to access the accessibility settings.
Once you are in the accessibility settings menu, you will find a range of features designed to improve the usability and accessibility of your tablet. This includes options for vision, hearing, dexterity, and interaction. Depending on the Android version and manufacturer, the layout and organization of these settings may vary, so take a moment to familiarize yourself with the options available.
In the next step, we will guide you through the process of disabling the touch screen functionality on your Android tablet using the accessibility options. This will allow you to regain control over touch input and prevent any accidental or unwanted actions on your device.
Step 3: Disable Touch Screen Functionality
Now that you have accessed the accessibility options on your Android tablet, it’s time to disable the touch screen functionality. This process will vary slightly depending on your tablet’s manufacturer and Android version, but the general steps should be similar across most devices.
Follow these instructions to disable the touch screen on your Android tablet:
- Within the accessibility settings menu, scroll or navigate to find the option related to touch input or touch screen functionality. The exact wording may vary, but common terms include “Touch” or “Touch Screen” settings.
- Tap on the appropriate option to access the touch input settings.
- Look for the toggle or switch that allows you to disable the touch screen. This may be labeled as “Disable Touch Screen” or something similar.
- Once you’ve located the toggle or switch, tap on it to disable the touch screen functionality.
After following these steps, you have successfully disabled the touch screen functionality on your Android tablet. This means that any touch input will no longer register on the screen, giving you control over when and how the device responds to touch.
It’s worth noting that disabling the touch screen can be helpful in various situations, such as when watching a movie or playing a game without interruption from accidental touches. However, it’s recommended to re-enable the touch screen when not needed to maintain the full functionality of your tablet.
In the next step, we will guide you through confirming and testing the disabled touch screen to ensure it is functioning as desired.
Step 4: Confirm and Test the Disabled Touch Screen
After disabling the touch screen on your Android tablet, it’s crucial to confirm that the changes have taken effect and test the disabled touch screen to ensure it is functioning as desired. This step will help you verify that the touch screen is indeed disabled and that you have full control over touch input on your device.
Here’s how you can confirm and test the disabled touch screen on your Android tablet:
- Exit the settings menu and return to the home screen of your tablet.
- Try tapping and swiping across the screen with your finger or a stylus. Since you have disabled the touch screen, you should not see any response or action on the screen as you interact with it.
- If you have a physical navigation button or trackpad on your tablet, you can use it to navigate through the user interface and access different apps and functions. This will further confirm that the touch screen is indeed disabled.
By following these steps, you can ensure that the touch screen functionality on your Android tablet has been disabled successfully. If you encounter any issues or if the touch screen remains responsive despite disabling it, you may need to revisit the accessibility settings and double-check the options to disable touch input.
Remember, it’s important to re-enable the touch screen functionality when desired to fully utilize all the features and capabilities of your Android tablet. Disabling the touch screen should only be done when necessary to prevent accidental touches or to conserve battery life.
Congratulations! You have successfully learned how to disable the touch screen on your Android tablet. With this knowledge, you can now take control of touch input on your device and tailor it to your specific needs and preferences.
Conclusion
In this guide, we have walked you through the steps to disable the touch screen on your Android tablet. By accessing the settings menu, locating the accessibility options, disabling touch screen functionality, and confirming the changes, you now have the ability to control when and how your tablet responds to touch input.
Disabling the touch screen can be beneficial in various scenarios, such as preventing accidental touches while watching a movie or playing a game, or when handing over your tablet to a child. It can also help conserve battery life by minimizing unnecessary touch interactions.
It’s important to note that the exact steps and terminology may vary slightly depending on your tablet’s make and model, as well as the version of Android you are using. However, the general process outlined in this guide should be applicable to most Android tablets.
Remember, disabling the touch screen is a personal choice, and it’s recommended to re-enable it when not needed to fully utilize the functionality of your tablet. Additionally, if you encounter any issues or if the touch screen remains responsive despite disabling it, please consult the manufacturer’s documentation or support resources for further assistance.
We hope this guide has provided you with the necessary steps and information to disable the touch screen on your Android tablet. Enjoy the flexibility and control that comes with customizing your device to suit your specific needs and preferences.