Introduction
Welcome to this guide on how to delete text messages on Android. Whether you need to clear clutter from your messaging app or want to protect your privacy by permanently removing sensitive conversations, this article will provide you with various methods to accomplish your goal.
Text messages are an integral part of our daily communication, but over time, they can accumulate and take up valuable storage space on our devices. Moreover, there may be instances where we need to delete certain messages due to various reasons, such as wanting to free up storage, maintain a tidy inbox, or avoid potential privacy breaches.
This guide will walk you through different methods to help you delete text messages on your Android device. From deleting individual messages to clearing entire conversations, using third-party apps for bulk deletion, or employing scheduled backups to automatically delete messages, you’ll find the method that best suits your needs.
It’s important to note that some methods may permanently delete messages, so it’s crucial to take the necessary precautions if you have any valuable information or important conversations stored in your messages.
In the following sections, we will explore these methods in more detail, providing step-by-step instructions and tips to ensure a smooth experience. So, let’s get started and learn how to effectively manage and delete text messages on your Android device!
Why Delete Text Messages?
Text messages have become a fundamental part of our daily communication, allowing us to stay connected with family, friends, colleagues, and clients. However, there are several reasons why you may need to delete text messages from your Android device:
- Privacy and Security: Deleting text messages can be essential for maintaining your privacy and security. Whether it’s personal information, sensitive conversations, or confidential details, removing messages can prevent unauthorized access or potential privacy breaches.
- Storage Space: Over time, text messages can accumulate and take up valuable storage space on your device. By regularly deleting unnecessary messages, you can free up storage and ensure that your device operates smoothly.
- Organizational Purposes: Deleting text messages can help keep your messaging app organized. By removing old and irrelevant conversations, you can find important messages more easily and maintain a clutter-free inbox.
- Maintaining Performance: Text message threads with a large number of messages can cause your messaging app to slow down. By deleting messages, you can improve the performance of your messaging app and prevent any lag or crashes.
- Personal Preference: Sometimes, you may simply want to remove certain messages or conversations from your device. It could be to create a fresh start, remove reminders of a past event or relationship, or simply to declutter and minimize distractions.
It’s important to note that while deleting messages can help protect your privacy and free up storage, you should always exercise caution when deleting text messages. Make sure you review the content of the messages before deleting them to avoid accidentally deleting important information.
Now that we understand the importance of deleting text messages, let’s explore different methods to effectively remove them from your Android device.
Method 1: Deleting Individual Text Messages
If you want to delete specific text messages from your Android device, you can easily do so by following these steps:
- Open the messaging app on your Android device. This is usually the “Messages” app, but it may vary depending on the device and messaging app you use.
- Navigate to the conversation containing the text message you want to delete.
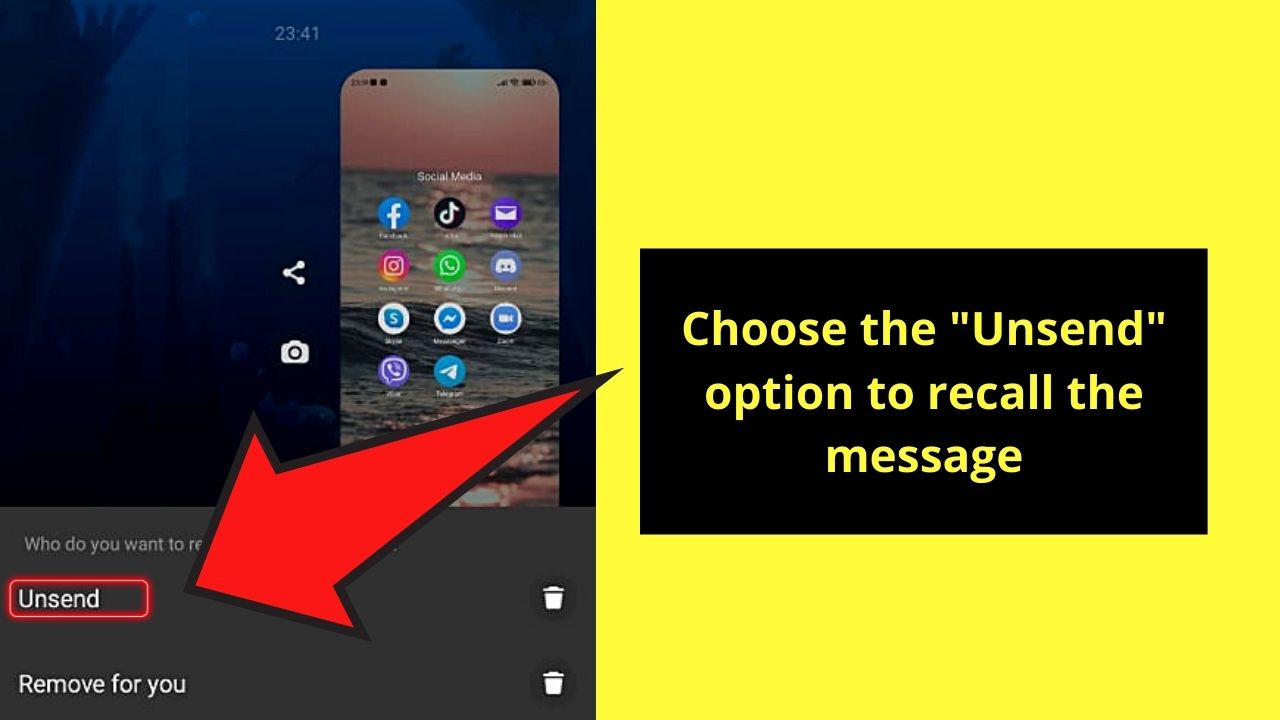
- Tap and hold on the specific message you want to delete. This will bring up a menu with various options.
- Select the “Delete” option from the menu. Depending on the messaging app you use, the option may also be labeled as “Remove,” “Trash,” or represented by a trash bin icon.
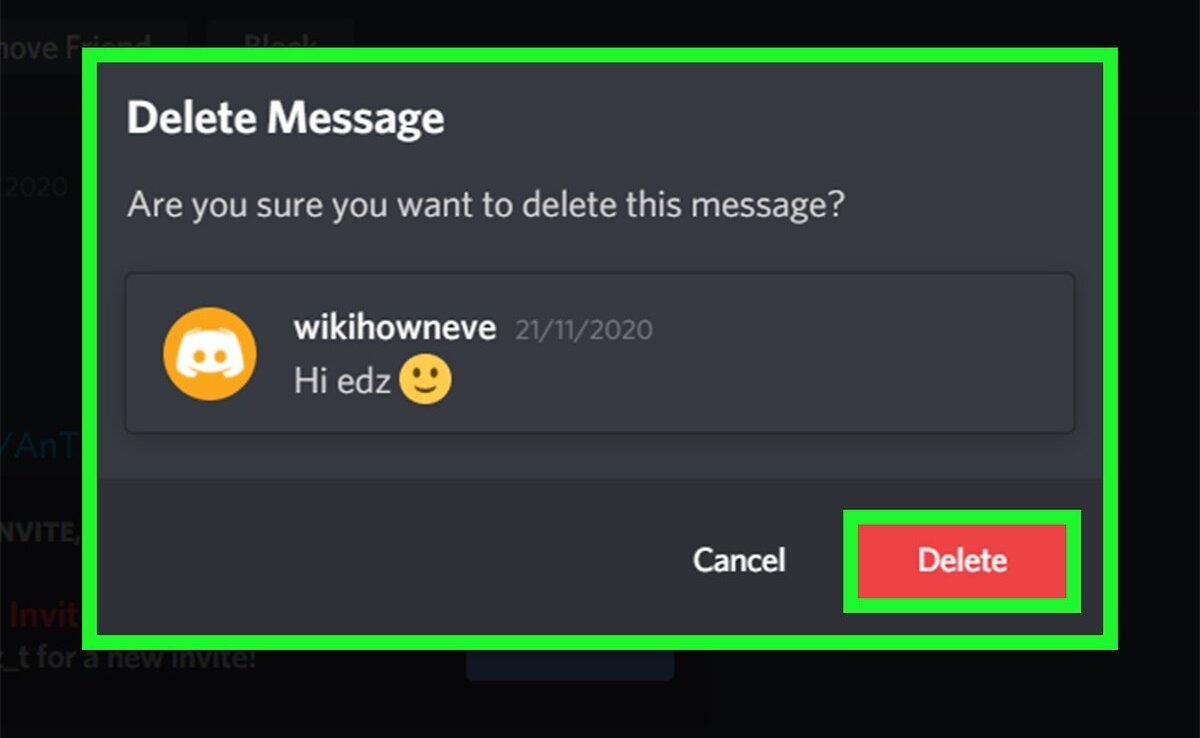
- Confirm your action when prompted. Please note that this action is irreversible, and once you delete the message, it cannot be recovered.
If you want to delete multiple individual text messages, you can repeat steps 3 to 5 for each message you wish to remove.
Keep in mind that deleting individual text messages is a manual process and may not be practical if you have a large number of messages to delete. In such cases, you may want to consider other methods to clear entire conversations or use third-party apps for bulk deletion.
This method allows you to selectively remove specific messages, which can be useful when you only want to delete certain parts of a conversation or want to get rid of outdated or irrelevant messages.
Now that you know how to delete individual text messages, let’s explore other methods to delete entire conversations or use third-party apps for bulk deletion.
Method 2: Clearing Entire Conversations
If you prefer to delete entire conversations instead of individual text messages, you can follow these steps to clear conversations from your Android device:
- Open the messaging app on your Android device.
- Navigate to the conversation you want to delete.
- Look for options to manage the conversation. This can be an ellipsis (…) icon, a menu button, or a long-press gesture on the conversation itself.
- Select the option to “Delete” or “Clear” the conversation. The specific wording may vary depending on the messaging app you use.
- Confirm your action when prompted. Be aware that clearing a conversation will permanently delete all messages within it, and they cannot be recovered.
By clearing entire conversations, you can remove all messages and free up storage space on your device. This method is particularly useful when you want to get rid of multiple conversations or remove old and outdated messages.
It’s important to note that some messaging apps may offer additional options when clearing conversations. For example, you may have the option to clear all conversations at once or selectively clear specific conversations while keeping others intact. Explore the settings and options within your messaging app to find the best method that suits your needs.
If you want to keep certain conversations but remove specific messages within them, you may need to resort to the previous method of deleting individual text messages.
Now that you know how to clear entire conversations, let’s move on to exploring third-party apps that can help with bulk deletion of text messages.
Method 3: Using Third-Party Apps for Bulk Deletion
If you have a large number of text messages to delete or want more advanced options for managing and deleting messages, you can consider using third-party apps specifically designed for bulk deletion. These apps provide additional features and flexibility for efficiently removing multiple messages at once. Here’s how you can use third-party apps for bulk deletion:
- Visit the Google Play Store on your Android device and search for “SMS delete” or “message cleaner” apps.
- Read reviews, check ratings, and compare the features of different apps to find one that suits your needs.
- Download and install the third-party app of your choice.
- Open the app and grant necessary permissions, if prompted.
- Explore the app’s interface and follow the provided instructions to select and delete multiple text messages. Depending on the app, you may be able to filter messages based on specific criteria, such as time range, sender, or keywords.
- Review your selections and confirm the deletion process. Once again, be aware that bulk deletion is irreversible, and deleted messages cannot be recovered.
- Allow the app to perform the deletion process, which may take some time depending on the number of messages selected.
Using third-party apps for bulk deletion can save you time and effort, especially if you have a large number of messages to remove. These apps often come with additional features like message backup, advanced filtering options, and automatic deletion schedules.
Remember to choose a reputable app from a trusted developer to ensure the privacy and security of your messages. Read user reviews and check app permissions before installing any third-party app on your device.
Now that you know how to use third-party apps for bulk deletion, let’s explore another method that enables automatic deletion of messages with scheduled backups.
Method 4: Automatically Deleting Messages with Scheduled Backups
If you want to automate the process of deleting text messages on your Android device, you can utilize the functionality of scheduled backups. This method allows you to schedule regular backups of your messages and automatically delete them from your device. Here’s how you can set up automatic deletion with scheduled backups:
- Go to the settings of your messaging app or your device’s system settings.
- Look for the “Backup & Restore” or “Chat Settings” option. The location may vary depending on your device and messaging app.
- Enable the backup feature and set up a schedule for automatic backups. Depending on the messaging app, you may have options like daily, weekly, or monthly backups.
- Check if there is an option to automatically delete messages after a backup. This setting may be labeled as “Delete messages after backup” or something similar.
- Configure the automatic deletion settings according to your preference. You may be able to choose whether to delete all messages or only older ones.
- Save your settings and exit the backup settings menu.
With automatic deletion and scheduled backups, you can ensure that your messages are regularly backed up and removed from your device to free up storage space. This method is particularly useful for those who want to maintain a clean inbox without the need for manual deletion.
It’s important to note that the availability and specific steps for setting up scheduled backups may vary depending on your messaging app or device’s operating system. If your messaging app or device does not provide this feature, you can consider using third-party apps specifically designed for automated message backup and deletion.
Now that you know how to automatically delete messages with scheduled backups, let’s explore another method using SMS backup and restore apps.
Method 5: Using SMS Backup and Restore Apps
If you want a comprehensive solution for managing and deleting text messages on your Android device, you can consider using SMS backup and restore apps. These apps provide advanced features for creating backups, restoring messages, and selectively deleting text messages. Here’s how you can use SMS backup and restore apps:
- Visit the Google Play Store on your Android device and search for “SMS backup and restore” apps.
- Read reviews, check ratings, and compare the features of different apps to find one that meets your requirements.
- Download and install the SMS backup and restore app of your choice.
- Open the app and follow the provided instructions to create a backup of your text messages. This typically involves selecting the desired backup location, such as cloud storage or local storage.
- Once the backup is complete, explore the app’s interface to view and manage your messages.
- Most SMS backup and restore apps allow you to selectively delete messages. You can usually do this by selecting the messages you want to delete and choosing the delete option within the app.
- Confirm the deletion process when prompted. As always, be aware that deleting messages is irreversible and cannot be undone.
Using SMS backup and restore apps provides you with a range of options for managing and deleting your text messages. In addition to creating backups and deleting messages, these apps often offer features like message organization, search functionality, and the ability to export messages in different formats.
Before using an SMS backup and restore app, ensure that you choose a reputable app from a trusted developer. Check user reviews, permissions, and security features to protect your privacy and the integrity of your messages.
Now that you have learned about using SMS backup and restore apps, let’s move on to the final method of permanently deleting text messages with data eraser apps.
Method 6: Deleting Text Messages Permanently with Data Eraser Apps
If you need to delete text messages from your Android device permanently and ensure that they cannot be recovered, you can utilize data eraser apps. These apps are specifically designed to securely delete sensitive data, including text messages, from your device. Here’s how you can use data eraser apps to delete text messages permanently:
- Visit the Google Play Store on your Android device and search for “data eraser” or “secure deletion” apps.
- Read reviews, check ratings, and compare the features of different apps to find a trustworthy data eraser app.
- Download and install the data eraser app of your choice.
- Open the app and follow the provided instructions to select the data you want to permanently delete. In this case, choose the option to erase text messages.
- Depending on the app, you may have additional options such as selecting specific conversations, setting erasure algorithms, or performing multiple passes for added security.
- Review your selections and confirm the deletion process. Proceed with caution, as this action permanently deletes the selected text messages and they cannot be recovered.
- Allow the data eraser app to perform the deletion process, which may take some time depending on the number of messages selected.
Data eraser apps provide an added layer of security by ensuring that deleted text messages cannot be recovered through conventional means. These apps use advanced algorithms and methods to overwrite the deleted data, making it virtually impossible to retrieve.
It’s important to note that data eraser apps may require root access or specific permissions for complete data deletion, including text messages. Additionally, using data eraser apps can result in the permanent loss of other data if not used carefully. Therefore, it’s recommended to create backups of important data before using these apps.
Now that you know how to delete text messages permanently with data eraser apps, you have a comprehensive understanding of different methods to manage and delete text messages on your Android device.
Conclusion
Managing and deleting text messages on your Android device is a crucial aspect of maintaining privacy, freeing up storage space, and organizing your messaging app. In this guide, we explored various methods to help you accomplish these goals effectively.
We started by understanding why deleting text messages is important. Whether it’s to protect your privacy and security, free up storage space, maintain organizational purposes, or simply a personal preference, there are several reasons to delete text messages from your Android device.
We then discussed different methods for deleting text messages, including deleting individual messages, clearing entire conversations, using third-party apps for bulk deletion, automatically deleting messages with scheduled backups, utilizing SMS backup and restore apps, and permanently deleting messages with data eraser apps.
By using these methods, you can easily manage and delete text messages based on your specific needs and preferences. Whether you want to remove specific messages, clear multiple conversations, automate the deletion process, or ensure permanent deletion for sensitive information, there’s a method available for you.
Remember to exercise caution when deleting messages, especially when using methods that permanently delete data. Always review your selections, create backups if necessary, and be aware that deleted messages cannot be recovered.
Now that you’ve learned the different methods for deleting text messages on Android, you can take control of your messaging app and ensure a tidy, secure, and efficient communication experience.


