Introduction
Welcome to our comprehensive guide on how to delete McAfee from Windows 11. McAfee is a popular antivirus software that provides protection against various security threats. While it may be effective in safeguarding your computer, there can be instances where you might want to remove it completely. This could be due to personal preference, compatibility issues, or the need to switch to a different antivirus program.
Removing McAfee from your Windows 11 system requires a few simple steps, and we will walk you through each one of them. It is essential to follow these steps carefully to ensure a smooth and complete removal of the software.
Before we proceed, it is important to note that uninstalling McAfee will remove all its associated files, folders, and settings from your computer. Therefore, if you have any important data or customization tied to the McAfee software, make sure to back it up beforehand.
In this guide, we will cover the process of removing McAfee using the Windows 11 Control Panel, utilizing the McAfee Removal Tool, and checking for any remaining traces of the software. By the end of this guide, you will have a clear understanding of how to delete McAfee from your Windows 11 system.
Now, let’s get started with the first step of the removal process, which is opening the Control Panel.
Step 1: Open Control Panel
To begin the process of removing McAfee from your Windows 11 system, you need to first open the Control Panel. The Control Panel is a centralized hub that allows users to make changes to various settings and features of their computer.
Here’s how you can open the Control Panel in Windows 11:
- Click on the “Start” button located at the bottom left corner of your screen. You can also press the “Windows” key on your keyboard to open the Start menu.
- In the Start menu, you will see a search bar. Type “Control Panel” into the search bar.
- As you type, the search results will populate. Click on the “Control Panel” application to open it.
Alternatively, you can also open the Control Panel by following these steps:
- Right-click on the “Start” button.
- In the context menu that appears, select the “Control Panel” option.
Once you have successfully opened the Control Panel, you will be presented with a window that displays various categories and subcategories of settings that you can modify.
Now that you have accessed the Control Panel, you are ready to proceed to the next step, which is uninstalling McAfee from your system. Stay tuned!
Step 2: Uninstall McAfee
Now that you’ve opened the Control Panel, it’s time to uninstall McAfee from your Windows 11 system. The uninstallation process varies slightly depending on the version of McAfee you have installed. Follow these steps to remove McAfee:
- In the Control Panel window, locate and click on the “Programs” or “Programs and Features” option. This will display a list of all the programs installed on your computer.
- Scroll through the list and find McAfee. Click on it to select it.
- Once McAfee is selected, you will see an “Uninstall” or “Change” button at the top of the window. Click on it.
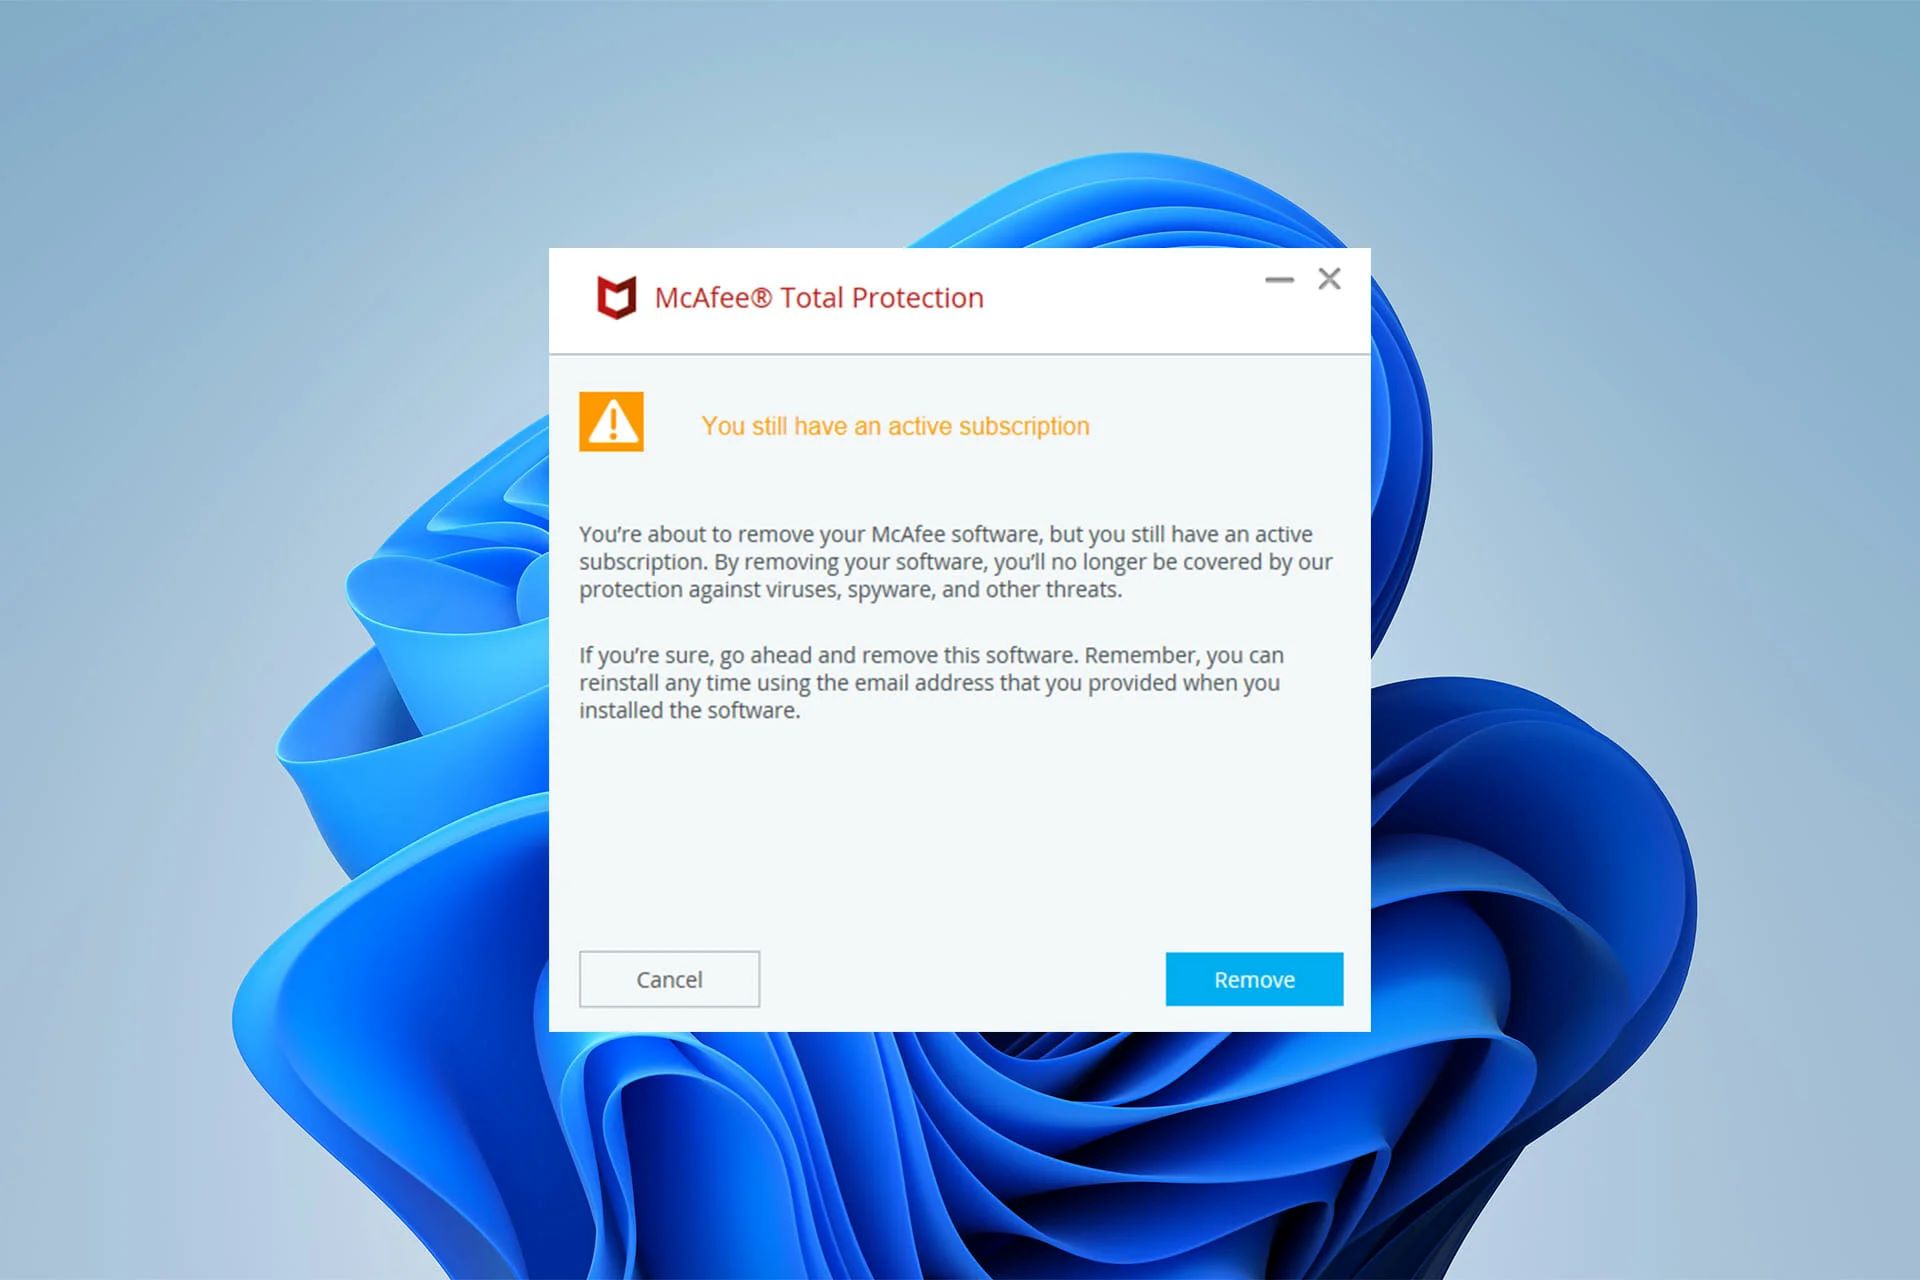
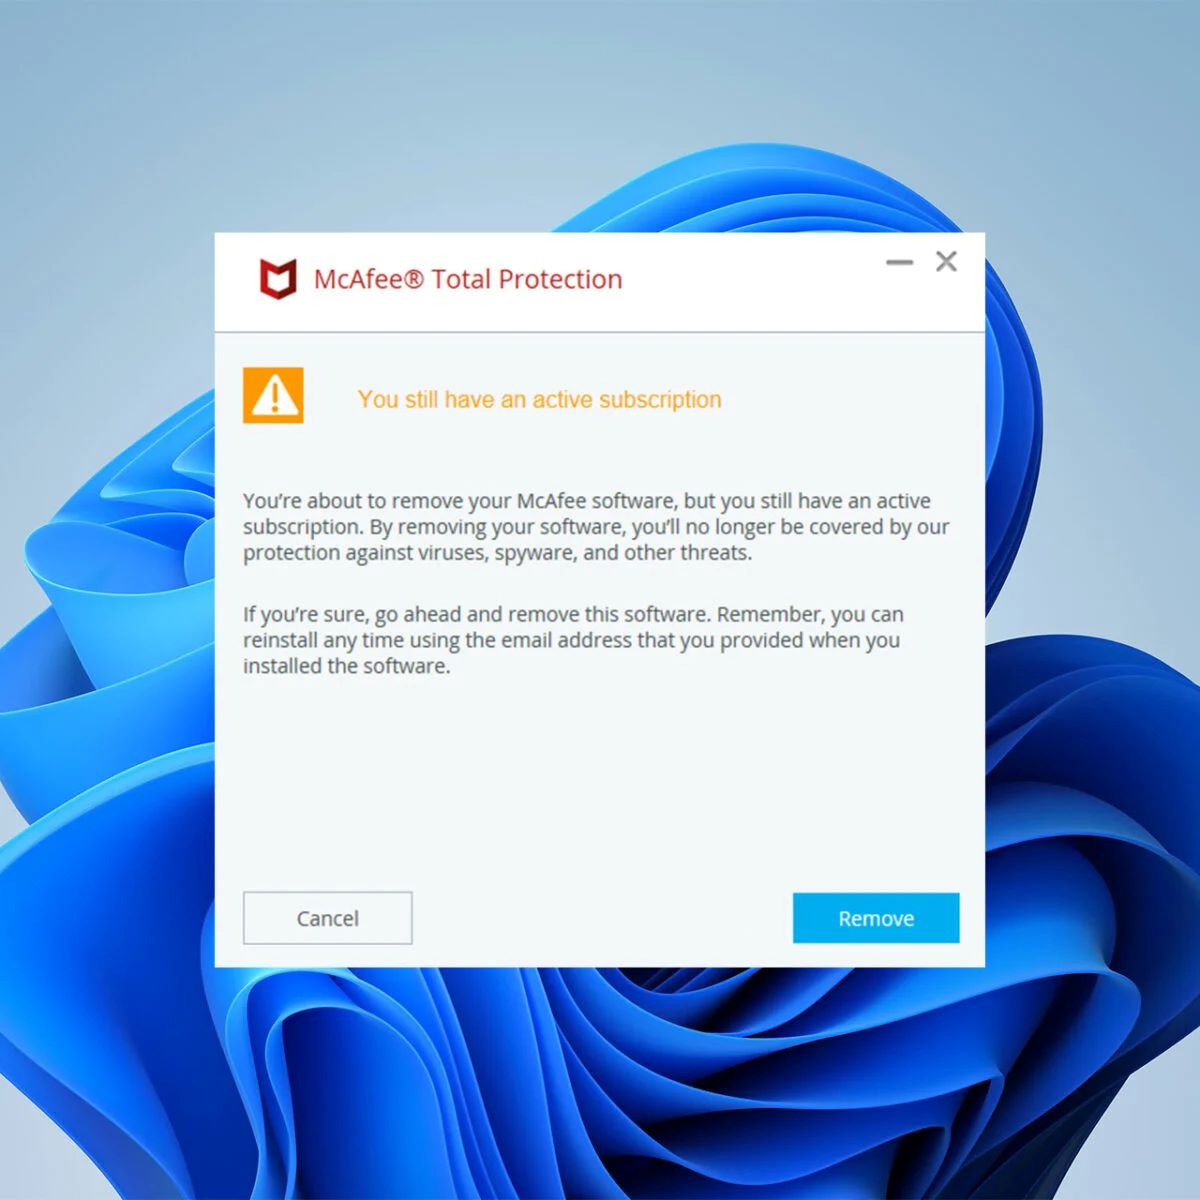
- A confirmation prompt may appear asking if you want to allow the McAfee software to make changes to your computer. Click “Yes” to proceed.
- Follow the on-screen instructions provided by the McAfee uninstaller. This may involve selecting specific components to uninstall or confirming the removal process.
- After the uninstallation process is complete, restart your computer to ensure that all remaining traces of McAfee are removed.
Note that the uninstallation process may take some time, depending on the size of the McAfee software and your system’s performance. It is normal for the uninstallation process to temporarily impact your computer’s speed and performance.
Once your computer has restarted, McAfee should no longer be present on your Windows 11 system. However, there may still be some residual files and folders related to McAfee that need to be removed. We will address this in the next step.
Now that you have successfully uninstalled McAfee, let’s move on to the next step, which involves using the McAfee Removal Tool to ensure complete removal of the software. Keep reading!
Step 3: Use McAfee Removal Tool
To ensure a thorough removal of McAfee from your Windows 11 system, it is recommended to use the McAfee Removal Tool. This tool is specifically designed to clean up any leftover files, folders, and registry entries that may still be present after the standard uninstallation process. Here’s how you can use the McAfee Removal Tool:
- Visit the official McAfee website and navigate to the McAfee Removal Tool download page.
- Download the appropriate version of the McAfee Removal Tool for your Windows 11 system.
- Once the download is complete, locate the downloaded file and double-click on it to run the tool.
- You may be prompted to grant administrator privileges. Click “Yes” to proceed.
- Read and accept the End User License Agreement (EULA) to continue.
- The McAfee Removal Tool will scan your system for any remaining McAfee files and components.
- Once the scan is complete, you will be presented with a list of detected McAfee remnants. Review the list and ensure that all McAfee-related items are selected for removal.
- Click on the “Remove” or “Clean” button to initiate the removal process.
- Wait for the McAfee Removal Tool to complete the removal process. This may take some time depending on the size and complexity of your McAfee installation.
After the McAfee Removal Tool has finished its job, it is recommended to restart your computer to ensure all remaining traces of McAfee are completely removed.
Using the McAfee Removal Tool helps to eliminate any potential remnants that may have been left behind during the standard uninstallation process. This ensures a clean and thorough removal of McAfee from your Windows 11 system.
With the successful utilization of the McAfee Removal Tool, we have eliminated the bulk of the McAfee software. However, there may still be some residual files and folders that need to be manually removed. We will address this in the next step. Keep reading!
Step 4: Remove McAfee Files and Folders
After using the McAfee Removal Tool to remove the main components of McAfee from your Windows 11 system, there may still be some residual files and folders that need to be manually deleted. These remnants could include configuration files, logs, or other associated data. Follow these steps to remove McAfee files and folders:
- Open File Explorer by right-clicking on the “Start” button and selecting “File Explorer” from the context menu.
- Navigate to the following locations one by one and manually delete any remaining McAfee-related files and folders:
- C:\Program Files (or Program Files x86)\McAfee
- C:\ProgramData\McAfee
- C:\Users\YourUsername\AppData\Local\McAfee
- C:\Users\YourUsername\AppData\Roaming\McAfee
- Empty the Recycle Bin to permanently delete the McAfee files and folders.
Please note that the above file paths may vary depending on your specific system configuration and the version of McAfee installed on your computer. Ensure that you are deleting only the McAfee-related files and folders to avoid unintentionally removing other important system files.
Removing these residual files and folders helps ensure a complete cleanup of McAfee from your Windows 11 system. By doing so, you eliminate any potential leftover data that could interfere with the performance of your computer or cause conflicts with other antivirus software.
Now that you have removed the majority of the remaining McAfee remnants from your system, let’s proceed to the final step – checking for any hidden traces of McAfee to ensure a thorough removal. Read on!
Step 5: Check for any Remaining Traces of McAfee
Even after uninstalling McAfee, using the McAfee Removal Tool, and deleting residual files and folders, there might still be some hidden traces of McAfee left on your Windows 11 system. These traces could be registry entries, startup processes, or other system configurations. To ensure a thorough removal, follow these steps to check for any remaining traces:
- Press the “Windows” key + “R” on your keyboard to open the Run dialog box.
- Type “regedit” in the Run dialog box and press Enter. This will open the Windows Registry Editor.
- In the Registry Editor window, navigate to the following location:
HKEY_LOCAL_MACHINE\SOFTWARE\McAfee - If you find any keys or entries related to McAfee in this location, right-click on them and select “Delete” to remove them.
- Next, navigate to the following location:
HKEY_CURRENT_USER\Software\McAfee - Again, delete any McAfee-related keys or entries in this location.
- Close the Registry Editor once you have finished removing the McAfee-related entries.
- Open Task Manager by right-clicking on the taskbar and selecting “Task Manager” from the context menu.
- In the Task Manager window, go to the “Startup” tab.
- If you see any McAfee-related entries in the list, right-click on them and select “Disable” to prevent them from running on startup.
By checking the Windows Registry and disabling any remaining McAfee-related startup processes, you ensure a more complete removal of McAfee from your Windows 11 system. Removing these traces helps to prevent any potential conflicts or interference with other security software you may choose to install in the future.
With the completion of this step, you have successfully performed a thorough removal of McAfee from your Windows 11 system. Congratulations!
Conclusion
Congratulations! You have successfully learned how to delete McAfee from your Windows 11 system. Removing McAfee can be necessary for various reasons, such as personal preference or the need to switch to a different antivirus program. By following the steps outlined in this guide, you have ensured a thorough and complete removal of the software.
In this guide, we covered the following steps:
- Opening the Control Panel to access the necessary settings.
- Uninstalling McAfee using the Programs and Features option.
- Using the McAfee Removal Tool to clean up any residual files and components.
- Manually removing any remaining McAfee files and folders.
- Checking the Windows Registry and disabling any remaining traces of McAfee.
By diligently following these steps, you have successfully removed McAfee from your Windows 11 system, ensuring a clean and optimized computing environment.
Remember, when removing any antivirus software, it is crucial to have an alternative security solution in place to protect your computer from potential security threats. Make sure to install and activate a trusted antivirus program after removing McAfee to maintain a secure system.
Thank you for following this guide. We hope it has been helpful in assisting you through the process of deleting McAfee from your Windows 11 system. If you have any further questions or concerns, feel free to seek assistance from technical support or refer to McAfee’s official documentation. Happy computing!


