Introduction
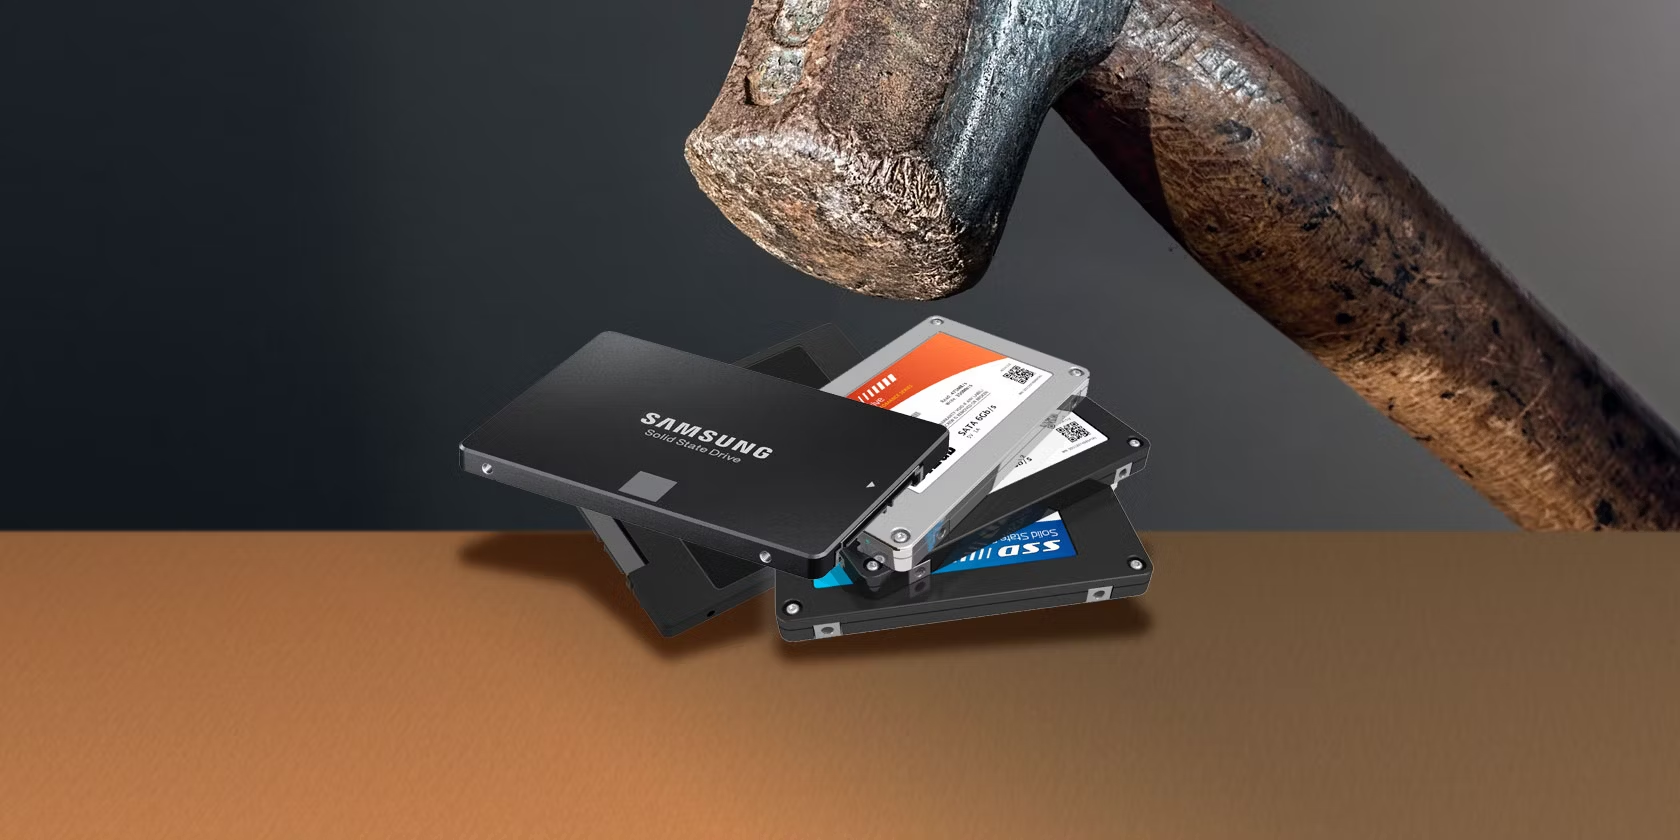
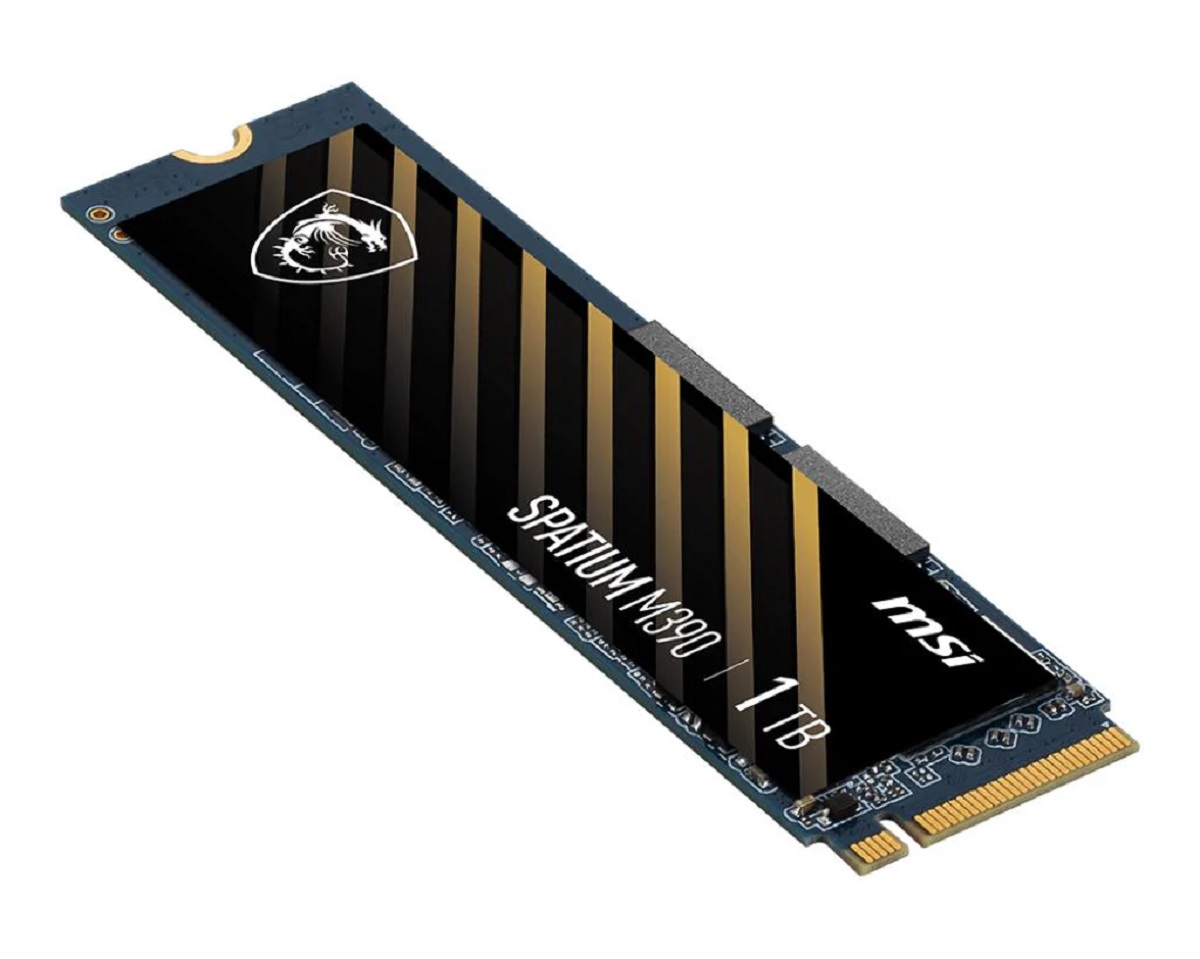
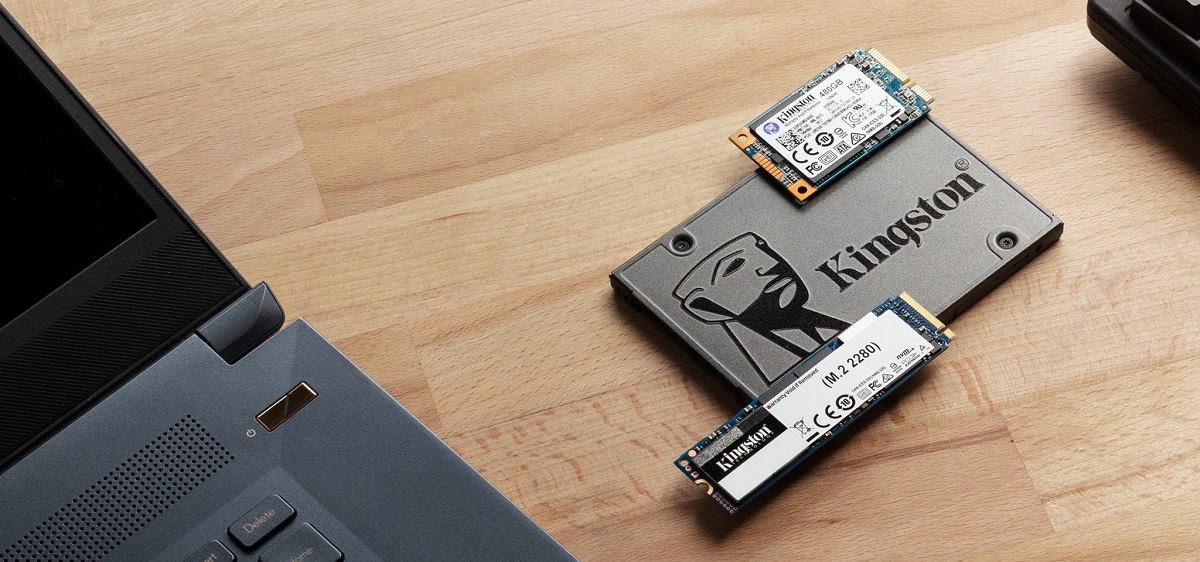
In today’s digital age, we rely heavily on solid-state drives (SSDs) to store and access our valuable data. These high-performance storage devices offer faster read and write speeds, improved durability, and increased energy efficiency compared to traditional hard disk drives (HDDs). However, just like any other storage device, there comes a time when we need to delete files from our SSDs.
Deleting files from SSDs may seem like a straightforward task, but there are some considerations and techniques that need to be understood to ensure your data is permanently and securely deleted.
In this article, we will explore the various methods of deleting files from SSDs. Whether you are looking to free up storage space, protect sensitive information, or prepare the SSD for disposal or resale, understanding these methods will help you make informed decisions.
We will discuss the differences between SSDs and HDDs, and why it is important to approach file deletion on SSDs with caution. Additionally, we will delve into the three primary methods of deleting files from SSDs:
- Method 1: Permanently deleting files using Windows
- Method 2: Securely erasing SSDs with third-party tools
- Method 3: Formatting SSDs for complete deletion
By the end of this article, you will have a comprehensive understanding of how to delete files from your SSDs while maintaining data security and maximizing the lifespan of your storage device.
Understand SSDs
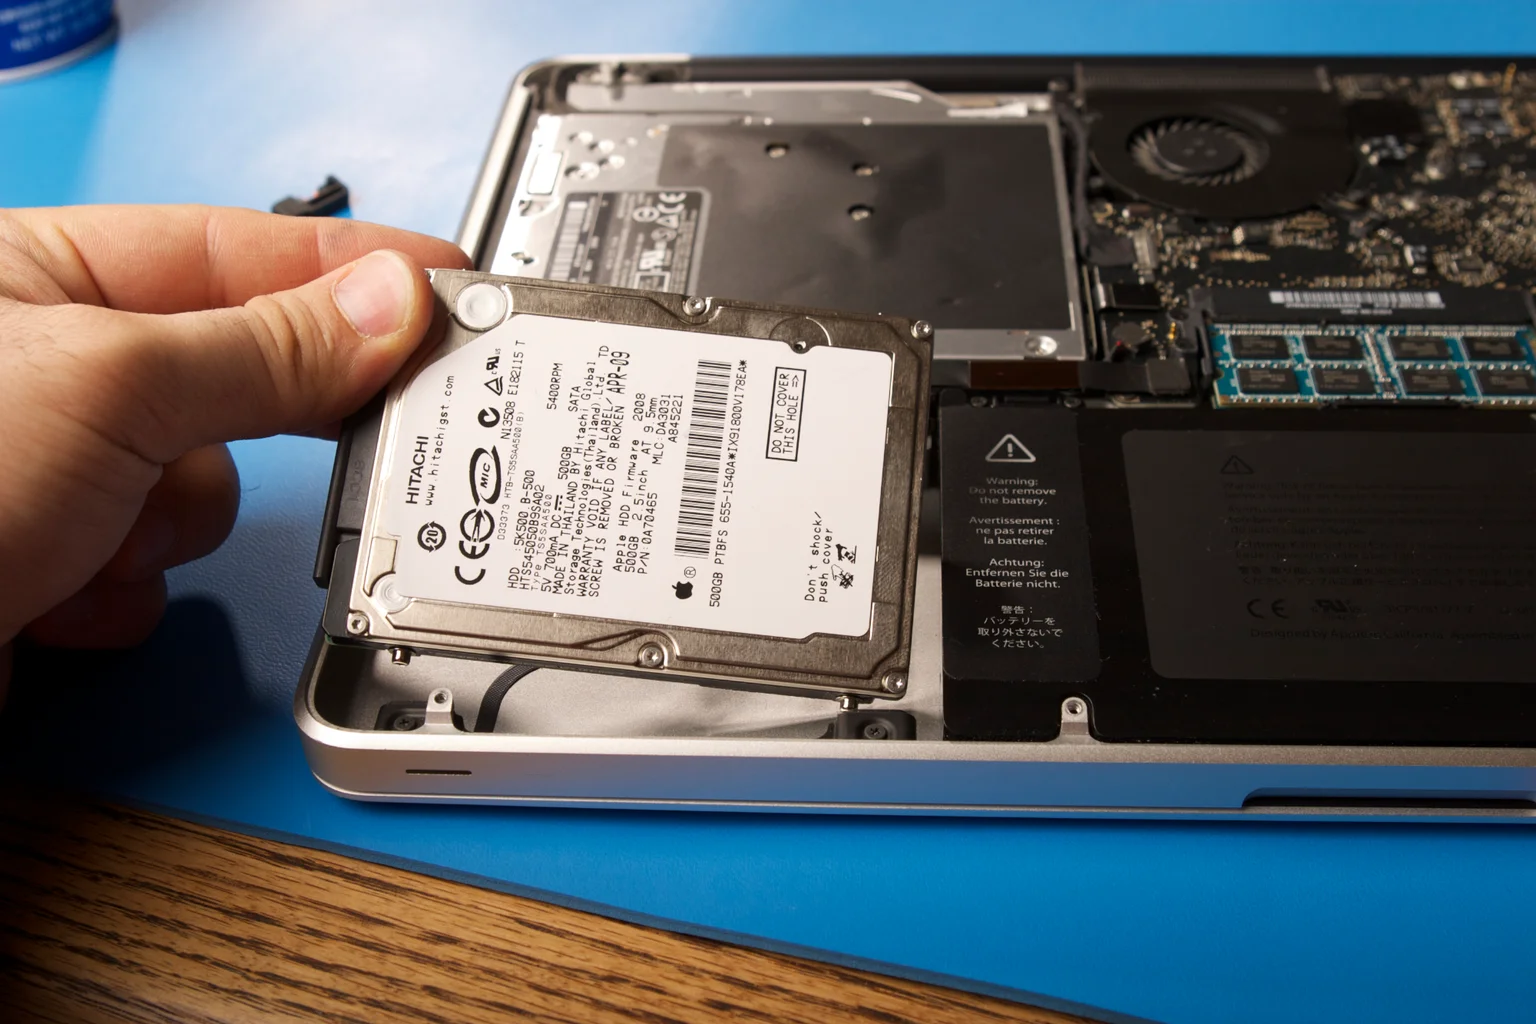
Before we delve into the methods of deleting files from SSDs, it’s important to have a basic understanding of how SSDs work and how they differ from traditional HDDs. SSDs are a type of non-volatile storage device that uses flash memory to store data electronically. Unlike HDDs, SSDs do not have any moving mechanical parts, which makes them faster, quieter, and more resistant to physical damage.
SSDs consist of multiple NAND flash memory chips, which are organized into cells that store binary data in the form of electrical charges. These cells are further grouped into pages, blocks, and planes. When you delete a file on an SSD, the data is not immediately erased from the cells; instead, the reference to the file is removed from the file system, and the space it occupied is marked as available for new data to be written. This is known as “trimming.”
However, due to the nature of how SSDs write and erase data, the trimming process is not sufficient to permanently delete files. The data may still remain on the SSD until it is overwritten by new data. This poses a potential security risk, as sensitive files could be recovered using specialized software.
Furthermore, SSDs have a limited number of write cycles before they begin to degrade. Each time data is written to a cell, it goes through an “erase” cycle, which gradually wears down the cell and reduces its lifespan. Therefore, it’s important to minimize unnecessary writes to your SSD to prolong its life and maintain performance.
Now that we have a basic understanding of how SSDs function, let’s explore the considerations you should keep in mind before deleting files from your SSD.
Considerations before Deleting Files from SSD
Before you dive into deleting files from your SSD, there are a few important considerations to keep in mind. These considerations will help you make informed decisions and ensure that your data is securely and permanently deleted.
1. Backup your important data: Before proceeding with any file deletion process, it’s crucial to back up any important files or documents. Mistakes happen, and you don’t want to accidentally delete something that you may need in the future. Take the time to create a backup of your data on an external storage device or cloud-based service.
2. Evaluate the sensitivity of your data: Consider the sensitivity of the files you wish to delete. If you have files containing personal information, financial records, or any confidential data, you’ll want to ensure that they are securely erased. This will prevent unauthorized access to your sensitive information.
3. Choose the appropriate deletion method: Depending on your goals and requirements, different methods of deleting files from SSDs may be more suitable than others. While some methods focus on simply deleting the file references, others provide secure erasure by overwriting the data with random information. Assess your needs and choose the method that aligns with your goals.
4. Consider potential impact on SSD lifespan: As mentioned earlier, SSDs have a limited number of write cycles before they start to degrade. Each time data is written, it reduces the lifespan of the SSD. With that in mind, be mindful of unnecessary write operations. Deleting large amounts of data or frequently reinstalling the operating system may have an impact on the SSD’s overall lifespan.
5. Securely erase if disposing or selling: If you plan to dispose of or sell your SSD, it’s essential to securely erase all data. Simply deleting files or formatting the drive may not be sufficient, as data recovery techniques may still retrieve sensitive information. Ensure you follow appropriate methods to securely erase the SSD and protect your privacy.
By considering these factors, you can confidently proceed with the deletion process, knowing that you have taken the necessary precautions to protect your data and optimize the performance and lifespan of your SSD.
Method 1: Permanently Deleting Files Using Windows
Windows provides built-in features that allow you to permanently delete files from your SSD. While the traditional “Delete” key or right-clicking and selecting “Delete” may remove the file from your file explorer, it doesn’t guarantee permanent deletion. Instead, let’s explore a simple yet effective method to ensure your files are securely deleted.
Step 1: Select the file(s) you want to delete: Navigate to the location of the file(s) you wish to delete on your SSD. You can select multiple files by holding down the CTRL key while clicking on each file.
Step 2: Press Shift + Delete: Instead of using the regular “Delete” key, hold down the Shift key and press the “Delete” key. This action bypasses the Recycle Bin and permanently deletes the file(s) from your SSD immediately.
Step 3: Confirm the deletion: A prompt will appear asking if you want to permanently delete the file(s). Confirm your decision by selecting “Yes.” Once you proceed, Windows will permanently remove the selected file(s) from your SSD without the possibility of recovery through normal methods.
Note: While this method does provide a quick way to permanently delete files using Windows, it’s important to remember that the data may still be recoverable using specialized data recovery software. If you have sensitive or confidential information that you want to ensure cannot be recovered, consider using more robust methods discussed later in this article.
Using this method, you can conveniently delete files from your SSD without the need for any additional software. However, if you require a more thorough and secure deletion process, let’s explore Method 2: Securely erasing SSDs with third-party tools.
Method 2: Securely Erasing SSDs with Third-Party Tools
If you need to securely erase files from your SSD to ensure they cannot be recovered, using specialized third-party tools is a recommended approach. These tools provide advanced features and algorithms designed specifically for secure data deletion on SSDs. Here’s how you can securely erase your SSD using third-party tools:
Step 1: Research and select a reliable tool: There are several third-party tools available that specialize in secure data deletion for SSDs. Research and choose a reputable tool that suits your needs. Some popular options include CCleaner, Eraser, and Secure Eraser.
Step 2: Download and install the tool: Visit the official website of the tool you have chosen and download the installation file. Follow the on-screen instructions to install the tool on your computer.
Step 3: Launch the tool and select the SSD: Open the tool and navigate to the section or feature dedicated to secure data deletion. Select your SSD from the list of available drives. Exercise caution and ensure you are selecting the correct SSD, as the data erased will be irrecoverable.
Step 4: Choose the secure deletion method: The tool should provide different algorithms or methods for secure data deletion. Choose the method that suits your requirements, usually referred to as “Secure Erase” or “Secure Delete.” These methods overwrite the deleted file with random data, making it extremely difficult or impossible to recover.
Step 5: Initiate the secure erase process: Once you have selected the method, initiate the secure erase process. This may take some time depending on the size of your SSD and the number of files being securely erased. Be patient and let the tool complete the process.
Step 6: Verify the secure erase: After the secure erase process is complete, you can verify its effectiveness by attempting to recover any of the deleted files using data recovery software. If the secure erase process was successful, the files should not be recoverable.
By using specialized third-party tools, you can ensure a more thorough and secure deletion of files from your SSD. Make sure to choose a reputable tool and follow their instructions carefully to achieve optimal results.
Next, let’s explore Method 3: Formatting SSDs for complete deletion.
Method 3: Formatting SSDs for Complete Deletion
If you want to completely delete all data on your SSD, including the operating system and all files, formatting the SSD is an effective method. Formatting will erase all data and restore the SSD to its original state. Follow these steps to format your SSD:
Step 1: Back up your important data: Before proceeding with the formatting process, ensure that you have backed up all important files and data that you want to keep. Formatting will permanently erase all data on the SSD.
Step 2: Access Disk Management in Windows: In Windows, right-click on the Start button and select “Disk Management” from the menu. This will open the Disk Management tool, which allows you to manage and format disk drives.
Step 3: Locate and select the SSD to be formatted: In the Disk Management window, locate your SSD from the list of available drives. Right-click on the SSD and choose the “Format” option.
Step 4: Select the formatting options: A dialog box will appear where you can customize the formatting options. You can choose the file system (such as NTFS or exFAT), allocation unit size, and volume label. Ensure that you leave the “Perform a quick format” option selected for a faster formatting process.
Step 5: Start the formatting process: Once you have selected the desired options, click the “OK” button to start the formatting process. Windows will warn you once again that all data on the SSD will be deleted. Confirm the process by clicking “OK.”
Step 6: Wait for the formatting to complete: The formatting process may take some time, depending on the size of your SSD. Do not interrupt the process or turn off your computer while formatting is in progress.
Step 7: Verify the formatting: After the formatting process is complete, you can access your SSD to confirm that all data has been deleted. The SSD will appear as a clean, empty storage device.
It’s important to note that formatting the SSD will not provide secure deletion or prevent data recovery using specialized software. If your goal is to securely erase sensitive data, it is recommended to use one of the methods discussed earlier in this article.
With the SSD formatted, you now have a fresh drive ready for use. You can install a new operating system, restore your backed-up files, or repurpose the SSD as needed.
Before we conclude, let’s recap the main methods we discussed for deleting files from your SSD.
Conclusion
Deleting files from SSDs requires careful consideration to ensure the permanent and secure removal of data. Understanding the differences between SSDs and HDDs, and the impact of file deletion on SSDs’ lifespan, is crucial to making informed decisions.
We explored three main methods for deleting files from SSDs:
- Method 1: Permanently deleting files using Windows: This method provides a quick way to delete files from SSDs by bypassing the Recycle Bin. However, it may not guarantee complete data removal.
- Method 2: Securely erasing SSDs with third-party tools: Utilizing specialized third-party tools can ensure secure data deletion by overwriting the files with random data. This method is especially suitable for confidential or sensitive information.
- Method 3: Formatting SSDs for complete deletion: Formatting your SSD will erase all data and bring it back to its original state. However, this method does not guarantee secure deletion and may not prevent data recovery.
It is essential to select the appropriate method based on your specific needs, such as data sensitivity and the ultimate disposal or reuse of the SSD. Backing up important data and understanding the potential impact on the SSD’s lifespan are crucial considerations before initiating any deletion process.
Remember that for maximum data security, it is recommended to employ secure erasure methods, such as those provided by third-party tools, when dealing with sensitive information on SSDs.
By following these guidelines, you can confidently delete files from your SSD while maintaining data security, optimizing performance, and maximizing the lifespan of your storage device.
Thank you for reading, and we hope this article has provided you with valuable insights into the different methods of deleting files from SSDs.


