Introduction
Welcome to this step-by-step guide on how to crimp Cat6 Ethernet cable. If you’re looking to set up a reliable and high-speed network connection, crimping your own Ethernet cables can save you time and money. Whether you’re a tech enthusiast or just a DIY enthusiast, this article will walk you through the process of crimping Cat6 Ethernet cables in a simple and efficient way.
Having a properly crimped Cat6 Ethernet cable is essential for achieving optimal performance in your network setup. By crimping your own cables, you have control over the quality of the connections, ensuring solid and secure connections throughout your network. Plus, it’s a valuable skill to have for anyone working with networking setups or even for home projects.
In this guide, we will cover the tools and materials needed, as well as the step-by-step process of crimping Cat6 Ethernet cable. By following these instructions carefully, you’ll be able to create custom Ethernet cables that meet your specific requirements.
Before we dive into the detailed steps, it’s worth mentioning that crimping Cat6 cables requires a basic understanding of the Ethernet cable anatomy and the ability to handle small wiring components. However, don’t worry if you’re new to this – we’ll explain everything you need to know along the way.
So, without further ado, let’s gather our tools and materials, and get ready to crimp our own Cat6 Ethernet cables!
Tools and Materials Needed
Before you can start crimping your Cat6 Ethernet cables, make sure you have the following tools and materials ready:
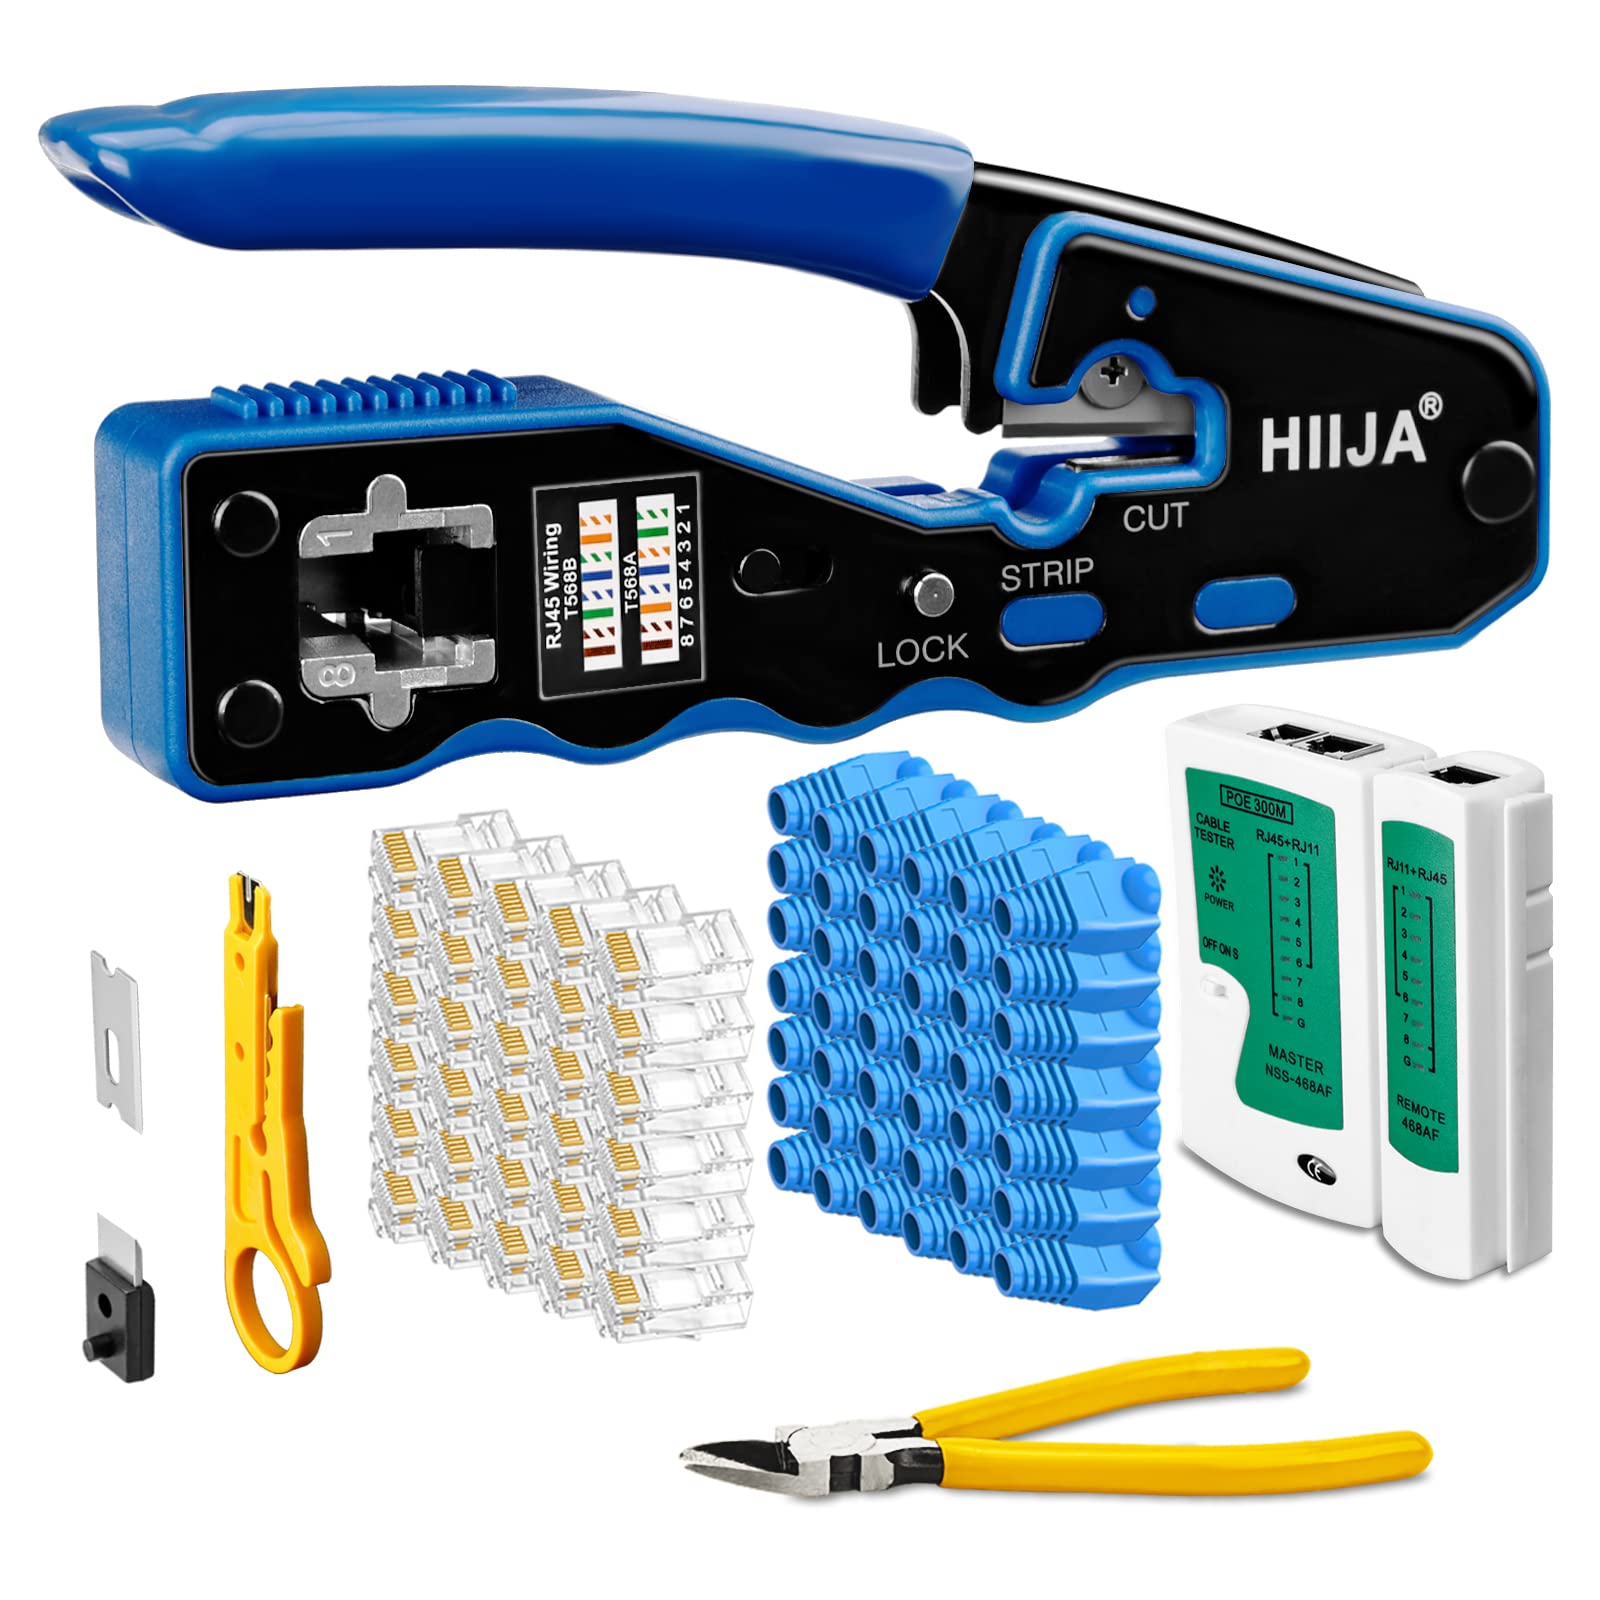
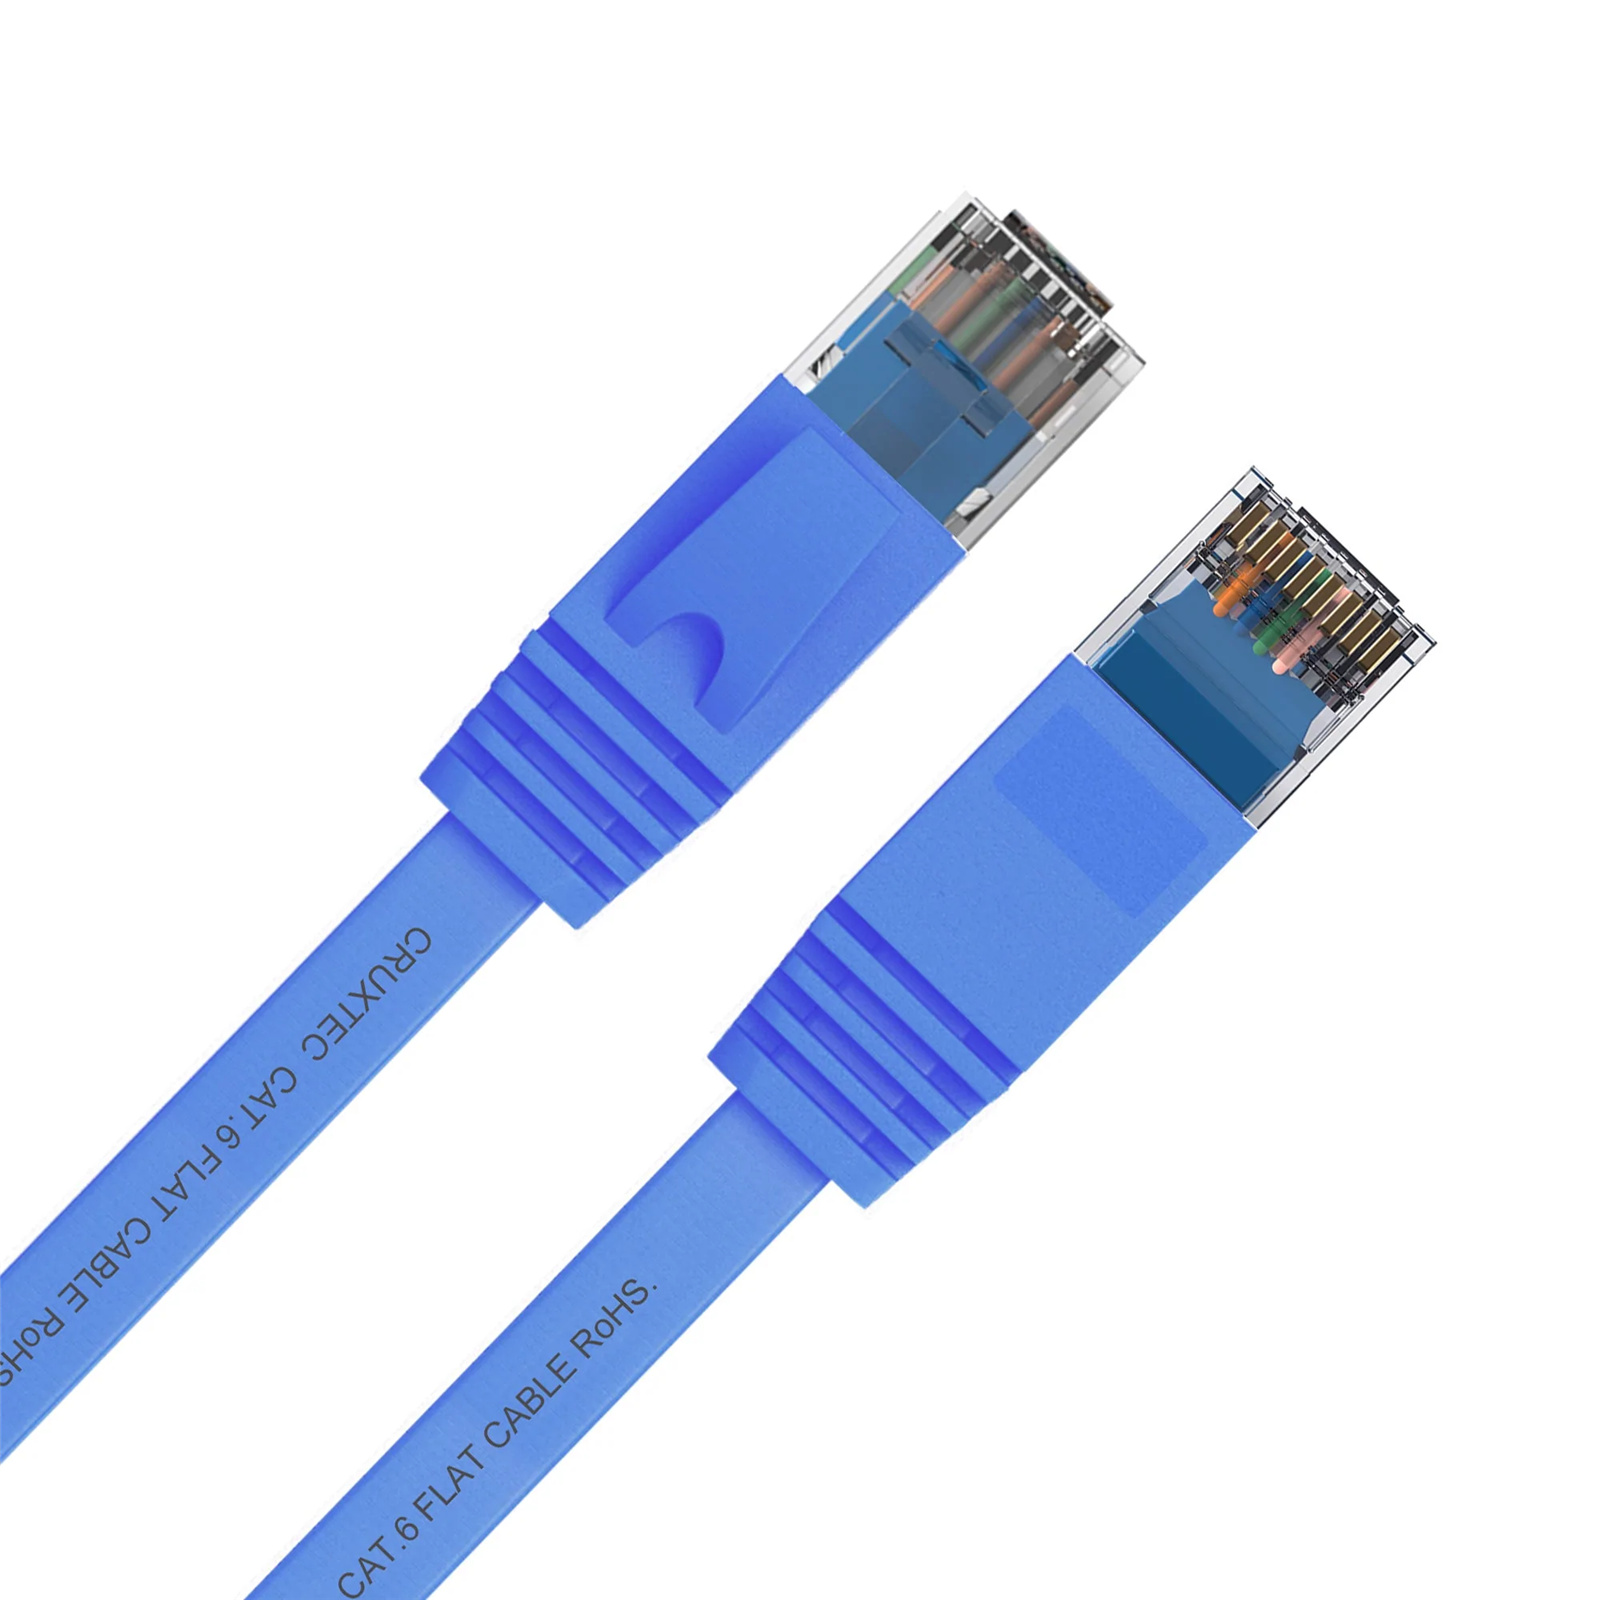
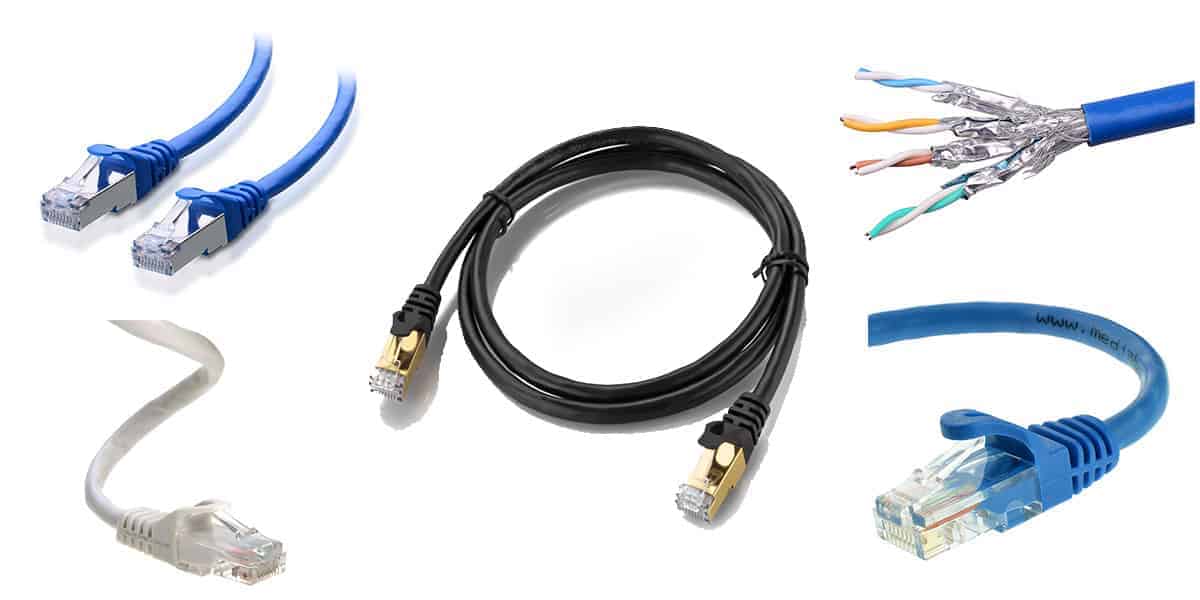
- Quality Cat6 Ethernet Cable: Purchase a spool or pre-cut lengths of Cat6 Ethernet cable. It’s important to use Cat6 cable specifically for its higher bandwidth capabilities.
- Ethernet Cable Connectors (RJ45): Get high-quality RJ45 connectors that are compatible with Cat6 cables. Look for connectors with gold-plated contacts for optimal performance.
- Ethernet Cable Tester: An Ethernet cable tester will come in handy to ensure your crimped cables are functioning correctly. It helps identify any wiring issues, such as crossed wires or faulty connections.
- Wire Strippers: Use wire strippers with the ability to strip the outer jacket of the cable without damaging the inner wires. Look for adjustable wire strippers that can handle different cable gauges.
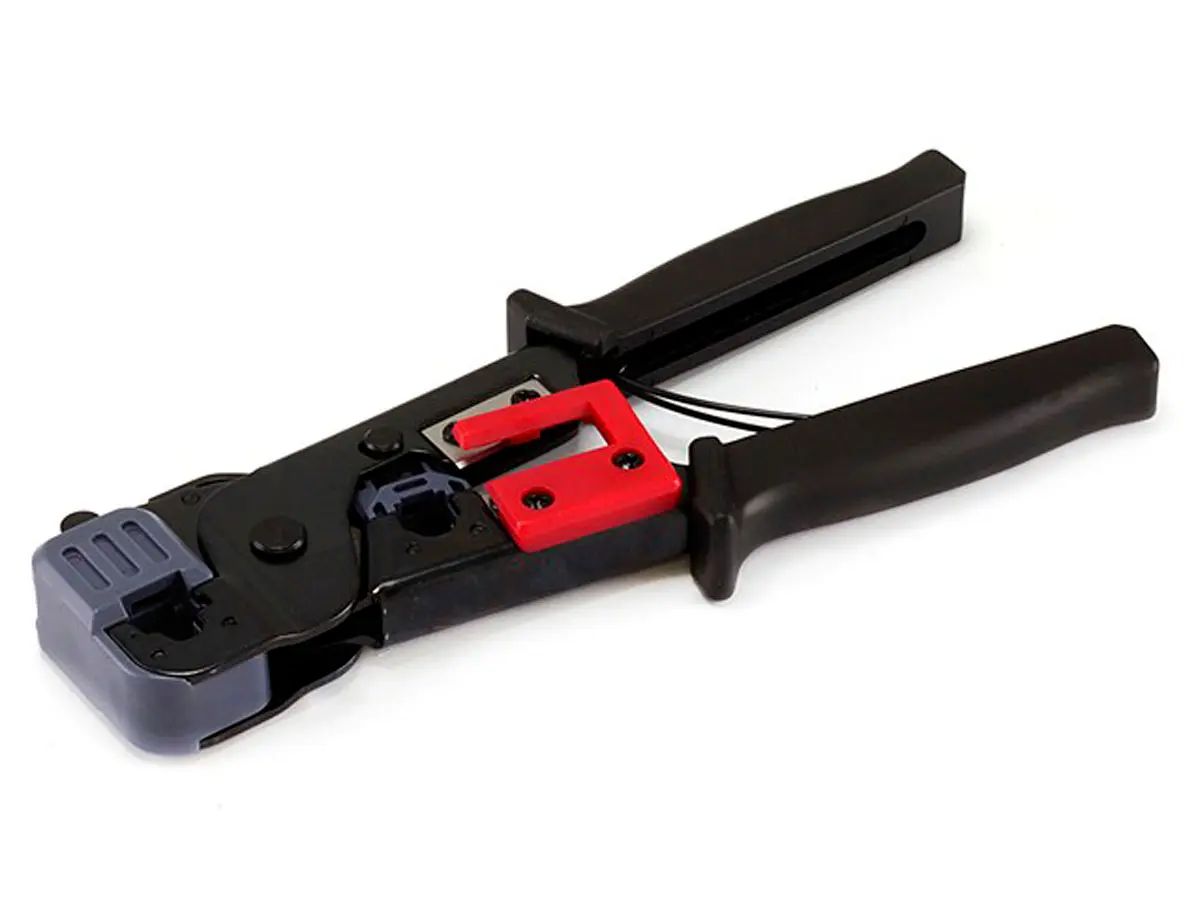
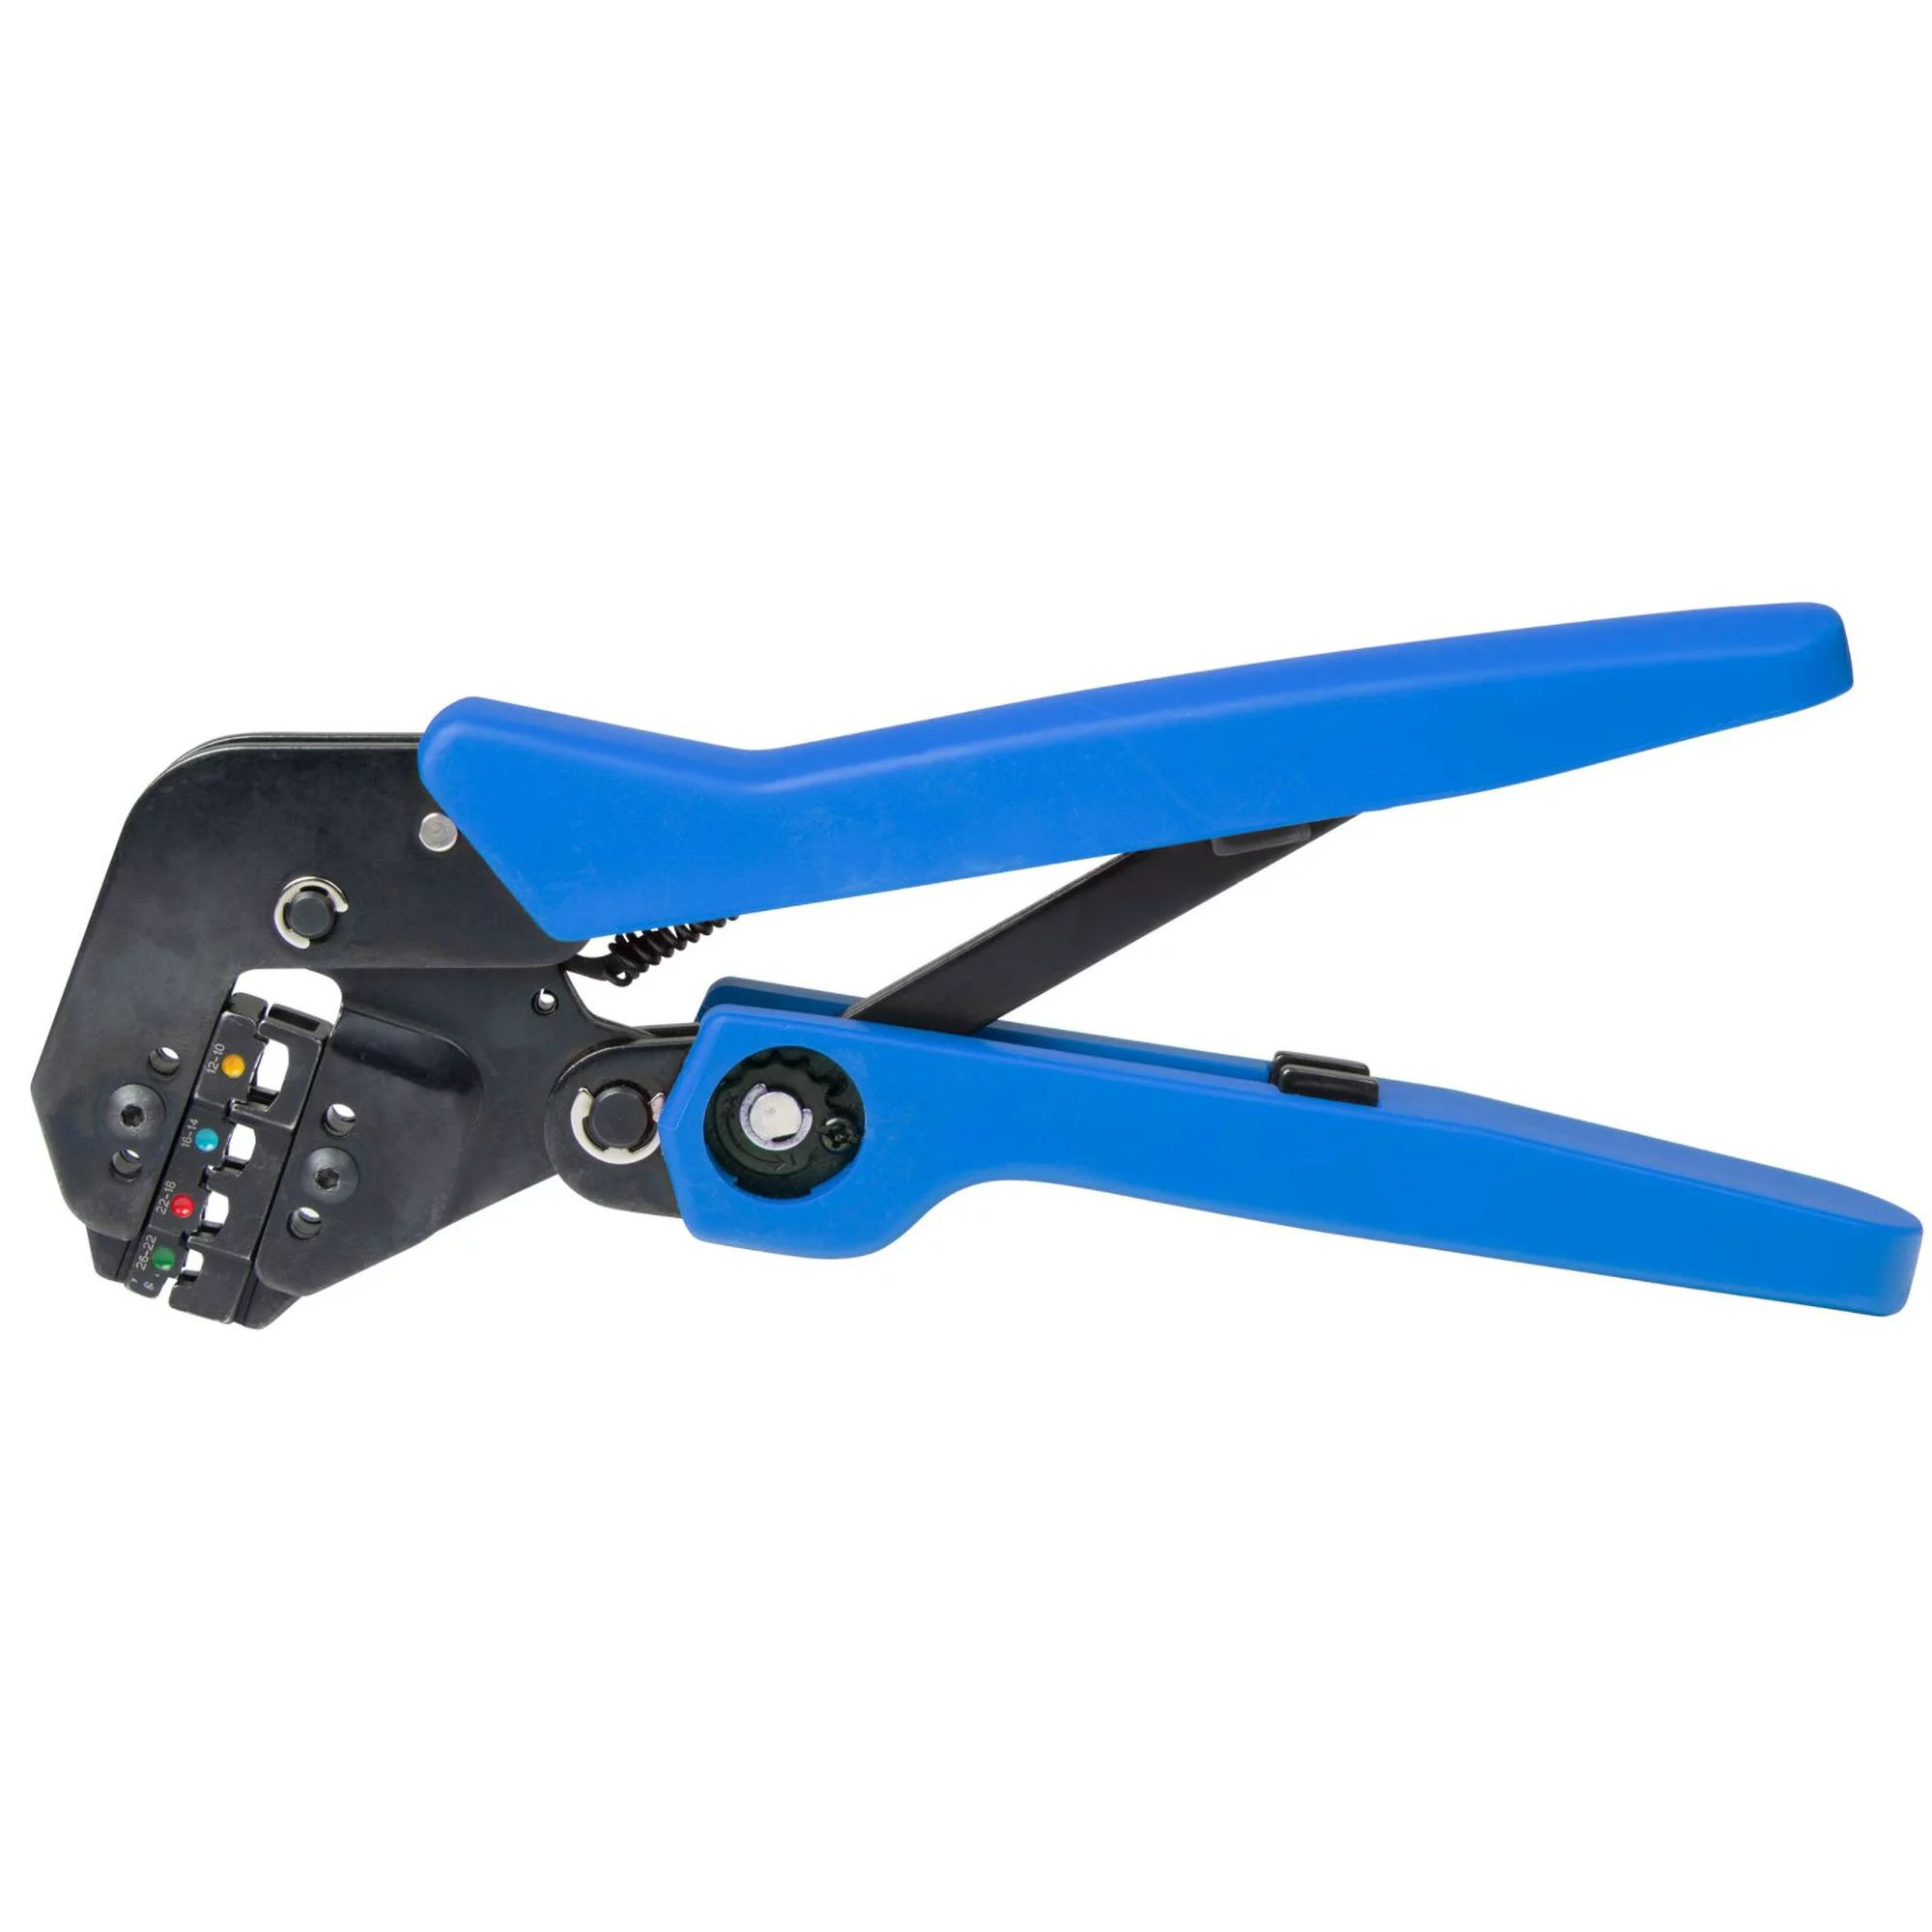
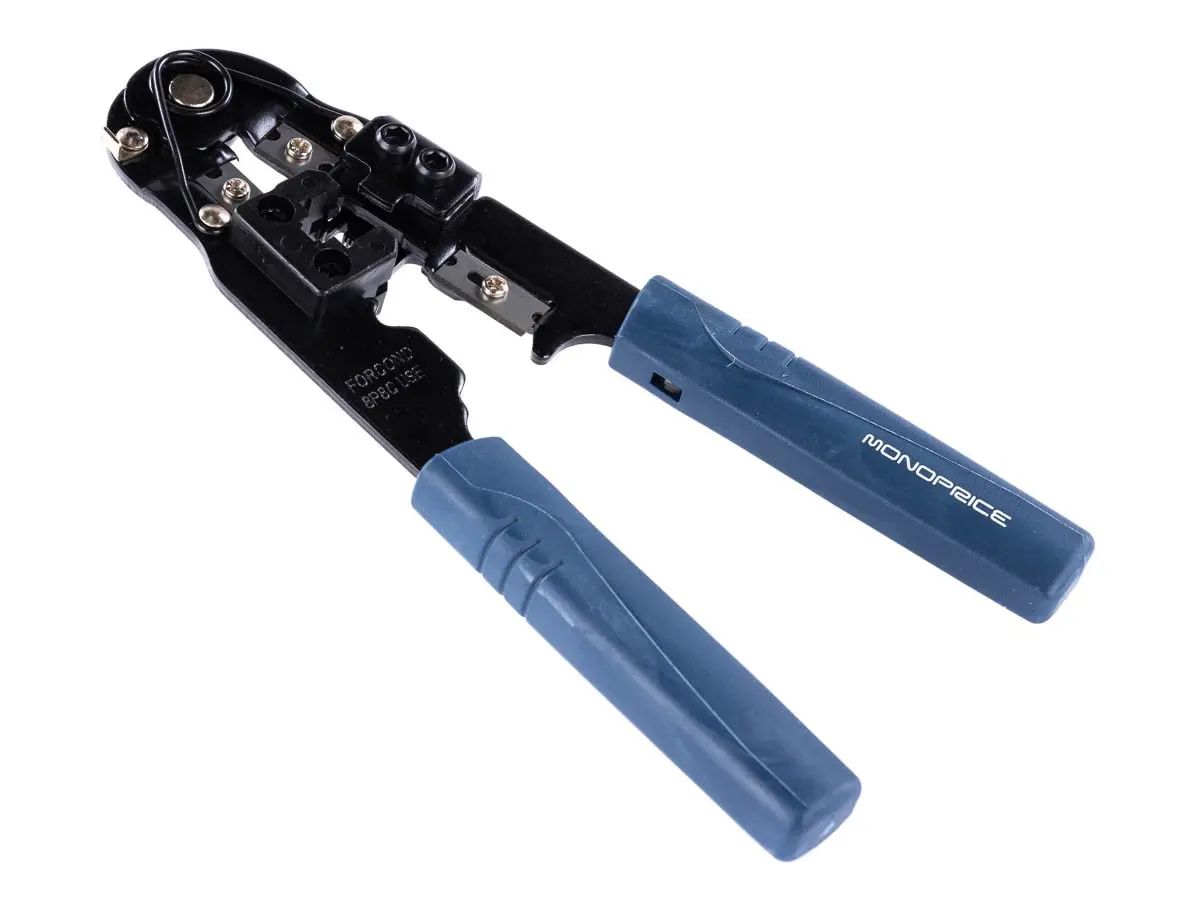
- Cable Crimper: Invest in a good-quality cable crimper designed for RJ45 connectors. A reliable crimper will ensure a secure and professional connection.
- Scissors or Cable Cutter: To trim the excess cable length after crimping, have a pair of scissors or cable cutter on hand.
- Marker or Label Maker: It’s useful to have a marker or label maker to mark the cables for identification purposes. This step can save you time and headaches when troubleshooting or organizing your network.
These tools and materials are essential for the crimping process. Ensure that you have everything ready before you start, as it will make the process smoother and more efficient.
Now that we have our tools and materials prepared, let’s move on to the step-by-step instructions on how to crimp Cat6 Ethernet cable.
Step 1: Preparation
Before we start crimping the Cat6 Ethernet cable, it’s important to make sure we have a clean and organized workspace. This will help ensure accuracy and efficiency throughout the process. Follow these preparatory steps:
- Clean Work Area: Clear any clutter and create a clean, well-lit workspace. This will help prevent any accidental damage to the cable or connectors.
- Gather Tools and Materials: Ensure that you have all the necessary tools and materials mentioned in the previous section readily available. This will save you from constantly searching for items during the crimping process.
- Measure and Cut: Determine the desired length of the Ethernet cable and cut it accordingly. Be sure to leave a few extra inches to account for any errors or adjustments during the crimping process.
- Labeling: If you’re making multiple cables or need to identify specific connections, use a marker or label maker to mark the cables. This will make it easier to identify and troubleshoot connections in the future.
- Untangle the Cable: Take a moment to untangle the cable, ensuring that the wires within are smooth and free from any knots or tangles. This will make it easier to work with during the stripping and arranging process.
By taking the time to prepare your workspace and gather all the necessary tools and materials, you’ll set yourself up for a smoother and more efficient crimping process. Now that everything is ready, we can move on to the next step: stripping the cable.
Step 2: Strip the Cable
Now that our workspace is ready and the necessary tools are prepared, it’s time to strip the outer jacket of the Cat6 Ethernet cable. Stripping the cable exposes the individual wires inside, allowing us to arrange and crimp them properly.
Follow these steps to strip the cable:
- Measure and Mark: Measure approximately 1.5 inches (3.8 cm) from the end of the cable and mark it with a marker or use the built-in cable stripper gauge, if your wire strippers have one.
- Insert and Twist: Insert the marked end of the cable into the wire stripper’s cutting slot or blade. Gently twist the cable a few times to break through the outer jacket without damaging the wires inside.
- Strip the Jacket: Hold onto the cable firmly and pull the wire stripper towards the uncut portion of the cable while applying slight pressure. Move the stripper in a circular motion to ensure a clean cut all around the cable. The outer jacket should come off, exposing the inner twisted pairs.
- Inspect and Trim: Inspect the exposed wires and ensure that none of the inner wires have been damaged during the stripping process. If any wires are frayed or cut, carefully trim them with wire cutters.
It’s crucial to be careful during the stripping process to avoid damaging the delicate wires inside. Take your time and ensure a clean and precise cut, as this will affect the quality and reliability of the final connection.
With the cable successfully stripped, we’re now ready to move on to the next step: untwisting the pairs.
Step 3: Untwist the Pairs
After stripping the outer jacket of the Cat6 Ethernet cable, it’s time to untwist the twisted pairs inside. Untwisting the pairs allows us to separate and arrange the individual wires in the correct order for crimping.
Follow these steps to untwist the pairs:
- Identify the Pairs: Inside the cable, you’ll find four twisted pairs of wires. Each pair consists of two differently colored wires, usually with a solid color and a striped color. The pairs are typically arranged in the following order: blue and white/blue, orange and white/orange, green and white/green, and brown and white/brown.
- Untwist the Pairs: Taking one pair at a time, gently untwist the wires by holding onto the cable close to the end and carefully pulling each pair apart. Avoid untwisting the wires too far, as a small amount of twist helps maintain signal integrity.
- Straighten the Wires: Once the pairs are untwisted, use your fingers or a small tool to straighten each wire. Straightening the wires will make it easier to arrange them in the correct order later on.
It’s important to handle the wires with care during this step to avoid damaging or kinking them. Take your time and be gentle when untwisting and straightening the pairs.
With the pairs untwisted and the wires straightened, we’re now ready to move on to the next step: arranging the wires in the correct order.
Step 4: Arrange the Wires
Once the pairs of wires inside the Cat6 Ethernet cable are untwisted, the next step is to arrange them in the correct order. Proper wire arrangement ensures that the Ethernet cable functions optimally and effectively transmits data signals.
Follow these steps to arrange the wires:
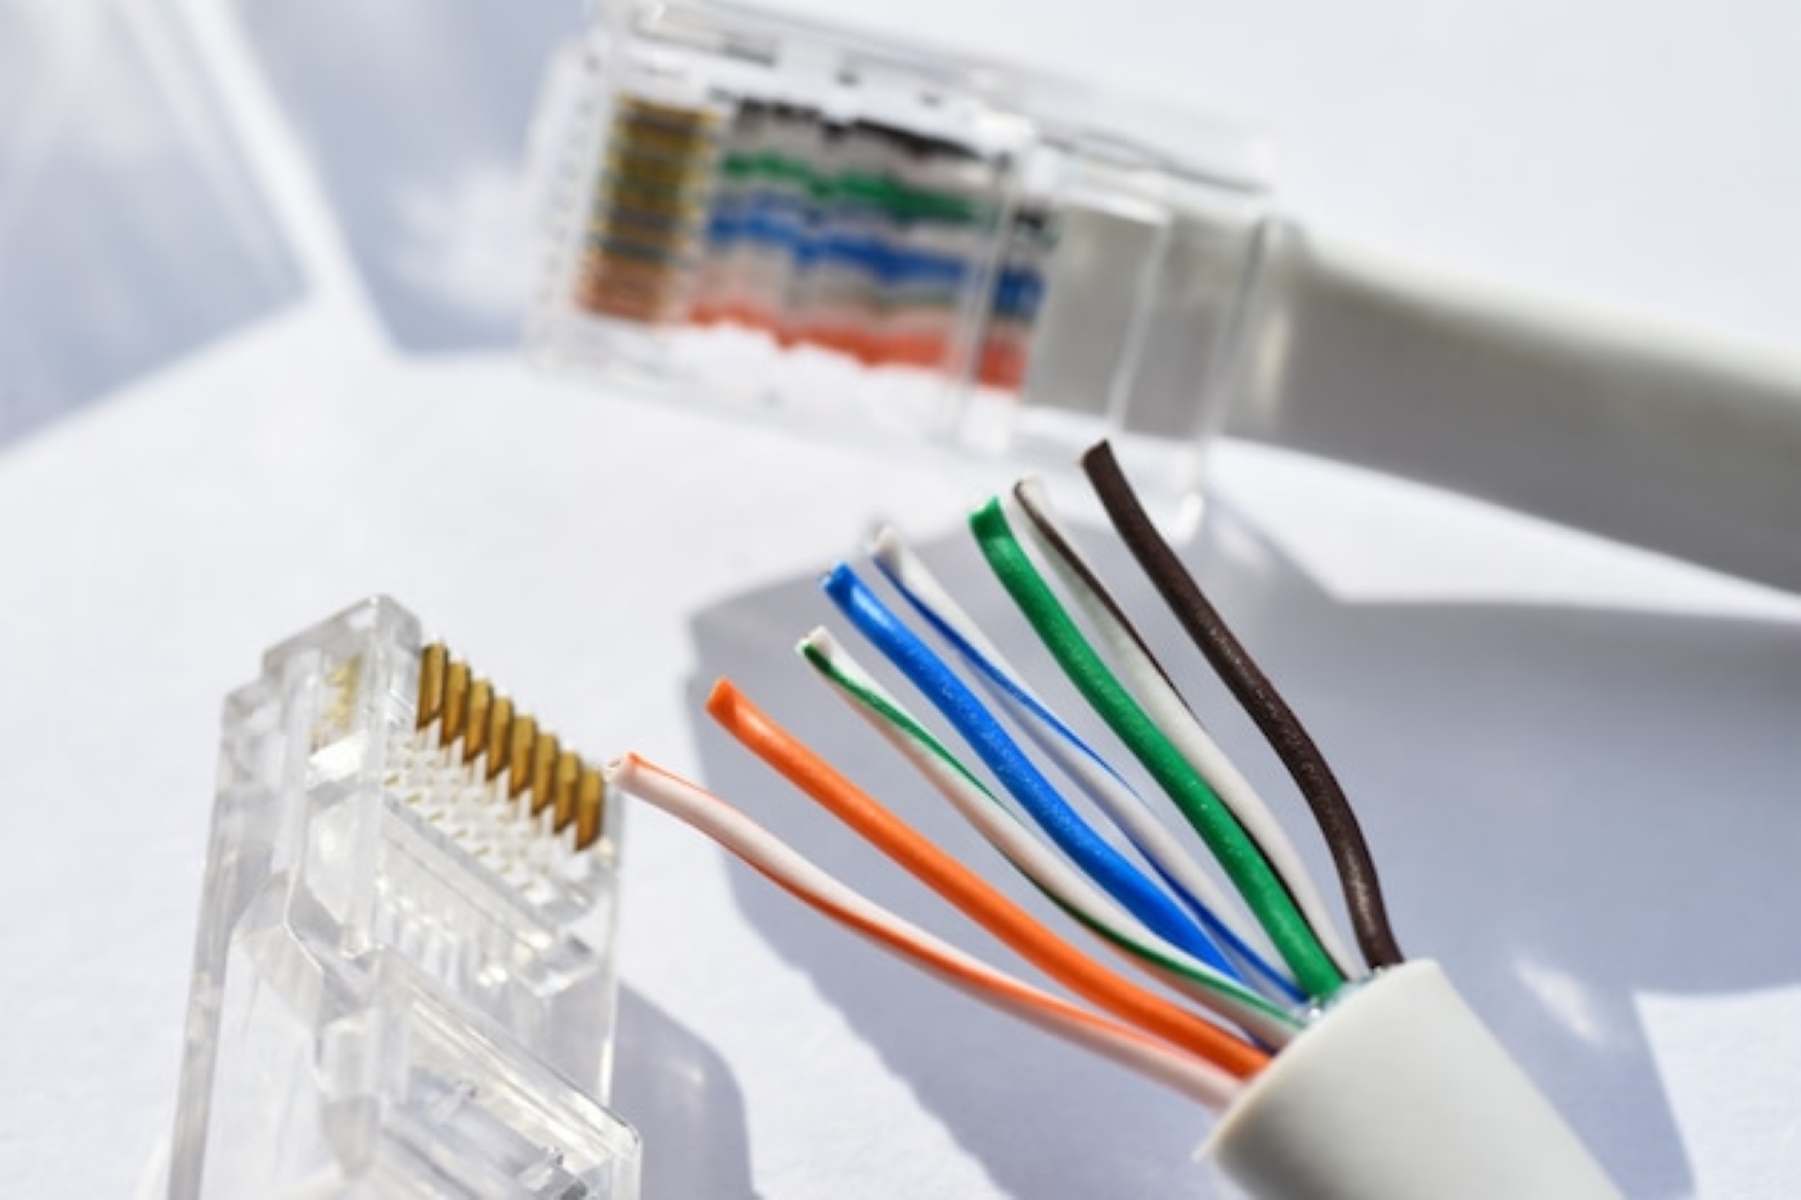
- Refer to the Wiring Diagram: Use a wiring diagram specific to the type of Ethernet cable you are crimping. The most common wiring standard for Cat6 cables is the T568B standard, which arranges the wires in the following order: white/orange, orange, white/green, blue, white/blue, green, white/brown, and brown.
- Align the Wires: Hold the untwisted wires between your thumb and index finger, aligning them in the correct order as per the wiring diagram. Make sure the wires are parallel and extend past the end of the cable jacket by about 0.5 inches (1.3 cm) to ensure proper contact with the connector.
- Straighten and Flatten: Use your fingers to straighten and flatten the wires along their length. This will help ensure they fit neatly into the channels of the connector without any overlaps or crossovers.
Take your time to carefully arrange the wires in the correct order and ensure they are straight and aligned properly. A well-arranged set of wires will result in a stronger and more reliable connection.
With the wires neatly arranged, we can now move on to the next step: trimming the wires to the correct length.
Step 5: Trim the Wires
After arranging the wires in the correct order, it’s important to trim them to the appropriate length. Trimming the wires ensures that they fit snugly into the Ethernet cable connector during the crimping process.
Follow these steps to trim the wires:
- Measure and Mark: Use a ruler or the built-in wire cutter gauge to measure approximately 0.5 inches (1.3 cm) from the end of the wires. Mark this length with a marker or use the wire stripper’s cutting slot as a guide.
- Cut to Length: Using a sharp pair of wire cutters, carefully cut the wires at the marked length. Make sure to cut them cleanly to avoid any frayed ends.
- Inspect the Length: After trimming the wires, visually inspect them to ensure they are all the same length. This will help maintain consistent contact when inserting them into the Ethernet connector.
Taking the time to trim the wires accurately will ensure a proper and secure connection when crimping the Ethernet cable. It’s essential to have all the wires cut to the same length for a neat and professional appearance.
With the wires trimmed and ready, we can now proceed to the next step: inserting the wires into the connector.
Step 6: Insert the Wires into the Connector
With the wires trimmed to the correct length, it’s time to insert them into the Ethernet connector. This step ensures that each wire makes proper contact with the connector’s pins, allowing for a reliable and secure connection.
Follow these steps to insert the wires into the connector:
- Hold the Connector: Take the Ethernet connector and hold it with the clip facing down and the pins facing up. Ensure that the connector is oriented in the correct direction.
- Insert the Wires: Starting with the white/orange wire, carefully insert each wire into its respective channel within the connector. Ensure that each wire goes into its designated slot, following the wiring diagram or the color-coding on the connector itself.
- Push the Wires: Use your thumb or a small tool to push the wires down firmly into the connector. Make sure the wires go all the way in and make proper contact with the connector’s pins.
- Check Alignment: Double-check that the wires are aligned properly and seated securely in their respective slots. Any misalignment or loose wires could affect the overall performance of the Ethernet cable.
Be careful while inserting the wires to avoid bending or damaging them. Take your time to ensure that each wire is inserted correctly and securely into the connector.
With the wires successfully inserted into the connector, we can move on to the next step: crimping the connector to secure the wires in place.
Step 7: Crimp the Connector
After inserting the wires into the Ethernet connector, the next step is to crimp the connector. Crimping permanently secures the wires in place, ensuring a strong and reliable connection between the wires and the connector’s pins.
Follow these steps to crimp the connector:
- Hold the Connector: Take the connector with the wires inserted and place it into the appropriate slot on the cable crimper. Ensure that the connector is positioned correctly, with the clip facing down and the pins facing up.
- Crimp the Connector: Squeeze the handle of the cable crimper firmly and evenly to apply pressure to the connector. The crimper will cut through the insulation and crimp the connector onto the cable simultaneously. Be sure to exert enough pressure to create a secure hold, but avoid squeezing too hard and damaging the connector.
- Release the Crimper: Once you have applied sufficient pressure, release the handle of the cable crimper and remove the crimped Ethernet cable from the slot. Give it a gentle tug to check if it is securely attached.
It’s important to crimp the connector using a proper crimping tool to ensure a secure and professional connection. Avoid using alternative methods like pliers or household tools, as they may not provide the necessary precision and quality.
With the connector successfully crimped, we can move on to the final step: repeating the process for the other end of the cable.
Step 8: Repeat for the Other End of the Cable
Once you have successfully crimped one end of the Cat6 Ethernet cable, it’s important to repeat the same process for the other end. This ensures that both ends of the cable have properly crimped connectors, allowing for a complete and functional Ethernet connection.
Follow these steps to repeat the crimping process for the other end of the cable:
- Prepare the Cable: Measure, strip, untwist, arrange, and trim the wires on the other end of the cable following the previous steps we discussed.
- Insert and Crimp the Connector: Insert the trimmed wires into the Ethernet connector, making sure they are seated securely in their respective slots. Use the cable crimper to crimp the connector onto the cable, applying even pressure as before.
- Inspect the Connection: After crimping, visually inspect the connector to ensure it is securely attached and that the wires are properly aligned. Give the connector a gentle tug to confirm it is firmly connected to the cable.
By repeating the crimping process for the second end of the cable, you ensure a complete and functional Ethernet cable ready to be used in your network setup.
With both ends of the Cat6 Ethernet cable crimped, you’ve successfully completed the crimping process. Now, you can test your newly crimped cables using an Ethernet cable tester to verify their functionality and performance.
Remember, practice makes perfect, so don’t be discouraged if your first attempts are not perfect. With time and experience, you will become more proficient in crimping Ethernet cables.
Conclusion
Crimping your own Cat6 Ethernet cables is an essential skill for anyone looking to set up a reliable and high-speed network connection. By following the step-by-step guide outlined in this article, you have learned how to crimp Cat6 Ethernet cables with precision and accuracy.
We started by preparing our workspace and gathering the necessary tools and materials. With a clean and organized setup, we moved on to stripping the cable, untwisting the pairs, arranging the wires, trimming them to the correct length, and inserting them into the connector. Finally, we crimped the connectors securely in place. Along the way, we emphasized the importance of attention to detail and proper technique to ensure optimal performance.
By crimping your own Cat6 Ethernet cables, you have the advantage of creating custom cables that perfectly fit your network setup. This allows for better organization, flexibility, and cost savings compared to using pre-made cables. Additionally, understanding the process of crimping cables gives you the ability to troubleshoot and repair connections should any issues arise in the future.
Remember to test your crimped cables using an Ethernet cable tester before implementing them into your network to ensure a proper connection and performance. With practice, your crimping skills will improve, and you will become more efficient in creating reliable Ethernet cables.
Now that you have gained the knowledge and skills required to crimp Cat6 Ethernet cables, you are ready to embark on your own networking projects. Whether it’s setting up a home network, connecting devices in an office, or undertaking more complex network installations, your ability to crimp your own cables will be an invaluable asset.
So, go ahead and start crimping! Enjoy the satisfaction of creating your own custom Ethernet cables and achieving optimal performance in your network setups.