Introduction
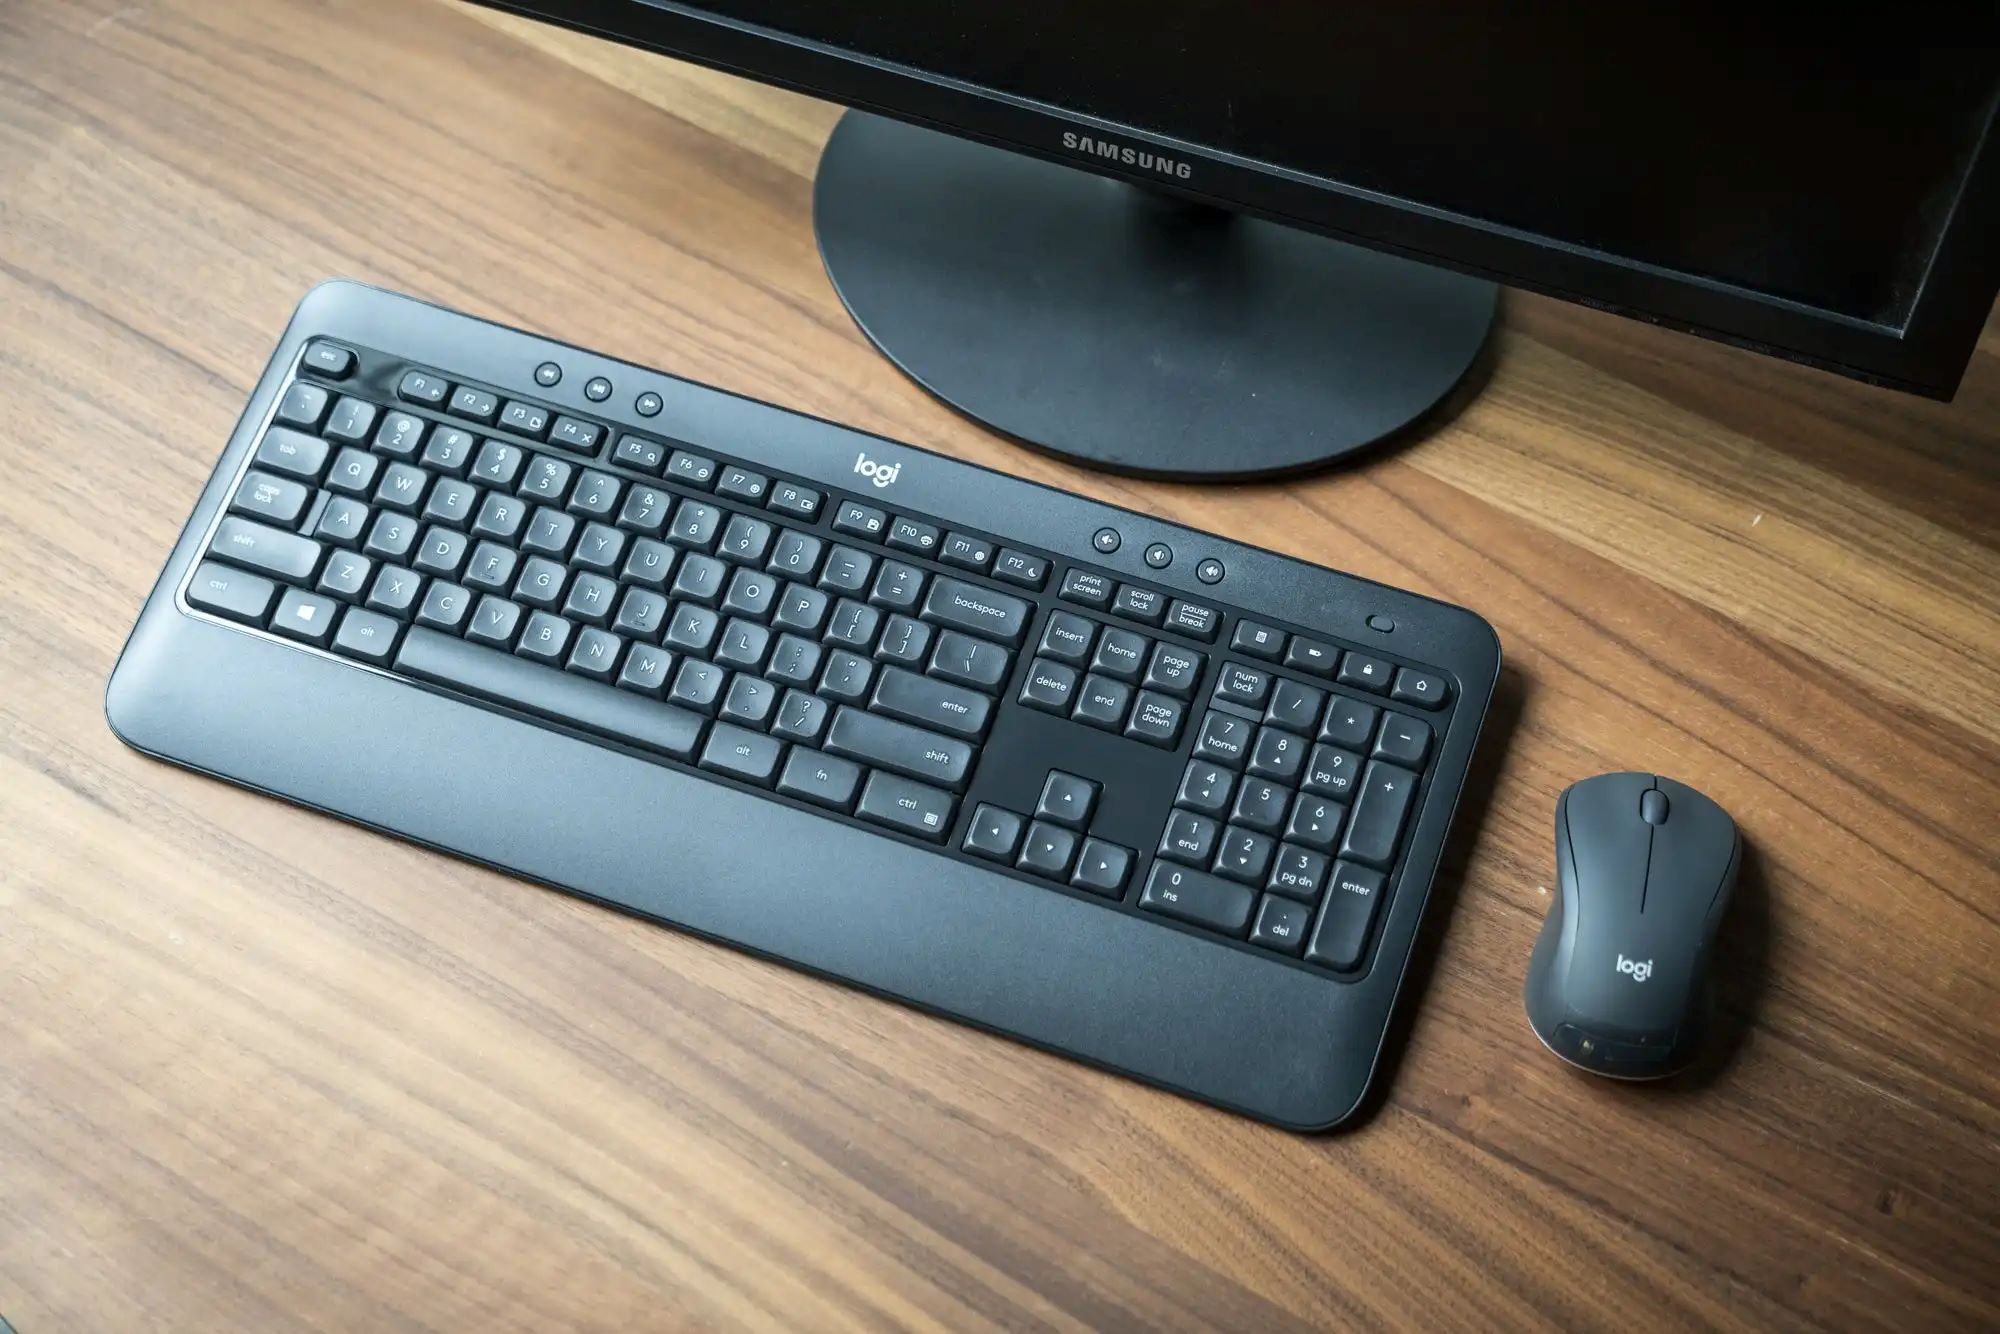
Wireless technology has revolutionized the way we interact with our computers, and one of the most convenient advancements has been the introduction of wireless mice and keyboards. No longer confined by cords and cables, these devices offer freedom of movement and a clutter-free workspace.
If you’re new to the world of wireless peripherals or need a refresher on how to connect your wireless mouse and keyboard, you’re in the right place. In this article, we’ll guide you through the step-by-step process of connecting your wireless mouse and keyboard to your computer.
Whether you’re upgrading to a new set of wireless devices or setting up your first wireless setup, we’ve got you covered. We’ll walk you through the compatibility checks, pre-connection preparations, the actual connection process, and troubleshoot common connection issues that may arise.
By the end of this guide, you’ll have the confidence to connect your wireless mouse and keyboard hassle-free and enjoy the freedom and convenience they offer in your daily computer usage.
Step 1: Checking the Compatibility of the Mouse and Keyboard
Before connecting your wireless mouse and keyboard, it’s essential to ensure that they are compatible with your computer. Here are a few essential compatibility checks:
- Operating System Compatibility: Confirm that your mouse and keyboard are compatible with the operating system of your computer. Most wireless peripherals are designed to work with popular operating systems such as Windows, macOS, and Linux. Check the manufacturer’s website or product documentation for specific compatibility information.
- Wireless Technology: Verify the wireless technology used by the mouse and keyboard. The most common wireless technologies are Bluetooth and USB wireless receivers. Determine the type of wireless connection your computer supports and select peripherals accordingly.
- USB Port Availability: Check if your computer has available USB ports to connect the wireless receiver. Some keyboards and mice come with a USB receiver that needs to be plugged into a USB port for the wireless connection to work. If your computer has limited USB ports, consider using a USB hub to expand the number of available ports.
- Battery Requirements: Ensure you have the necessary batteries for your wireless mouse and keyboard. Most wireless devices use AA or AAA batteries. Check the manufacturer’s instructions to determine the battery type and how to properly install them in your wireless peripherals.
- Driver Installation: In some cases, you may need to install specific drivers or software provided by the manufacturer to ensure proper functionality. Visit the manufacturer’s website and download the appropriate drivers if needed.
By taking the time to check the compatibility of your mouse and keyboard with your computer, you’ll avoid potential issues during the connection process and ensure a smooth experience with your wireless peripherals.
Step 2: Preparing the Mouse and Keyboard for Connection
Before connecting your wireless mouse and keyboard to your computer, it’s important to prepare the devices for the connection process. Follow these steps to ensure a successful setup:
- Remove the Battery Tab: If your wireless devices come with a battery tab to preserve battery life during shipping, make sure to remove it. Look for a small plastic tab, usually located at the bottom or inside the battery compartment of the mouse and keyboard. Pull it out gently to activate the devices.
- Insert Batteries: If your wireless mouse and keyboard require batteries, insert them into the designated battery compartments. Follow the correct polarity as indicated by the markings inside the compartments. Ensure that the batteries are properly inserted to power the devices.
- Power Switch: Some wireless mice and keyboards have a power switch to conserve battery life when not in use. Locate the power switch and turn it on to activate the devices. If there is no power switch, the devices may automatically turn on once batteries are inserted.
- Pairing Button: In some cases, your wireless mouse and keyboard may require manual pairing with the computer. Look for a pairing button or switch on either the receiver or the devices themselves. Press and hold the pairing button for a few seconds to initiate the pairing process.
- LED Indicators: Wireless peripherals often have LED indicators to display the connection status and battery level. Check the user manual for the specific meaning of LED colors or blinking patterns. Ensure that the LED indicators on both the receiver and the devices are functioning properly.
By following these preparation steps, you’ll ensure that your wireless mouse and keyboard are ready to be connected and will have a smooth pairing process with your computer.
Step 3: Connecting the Wireless Mouse and Keyboard to the Computer
Once you have prepared your wireless mouse and keyboard, it’s time to connect them to your computer. Follow these steps to establish the connection:
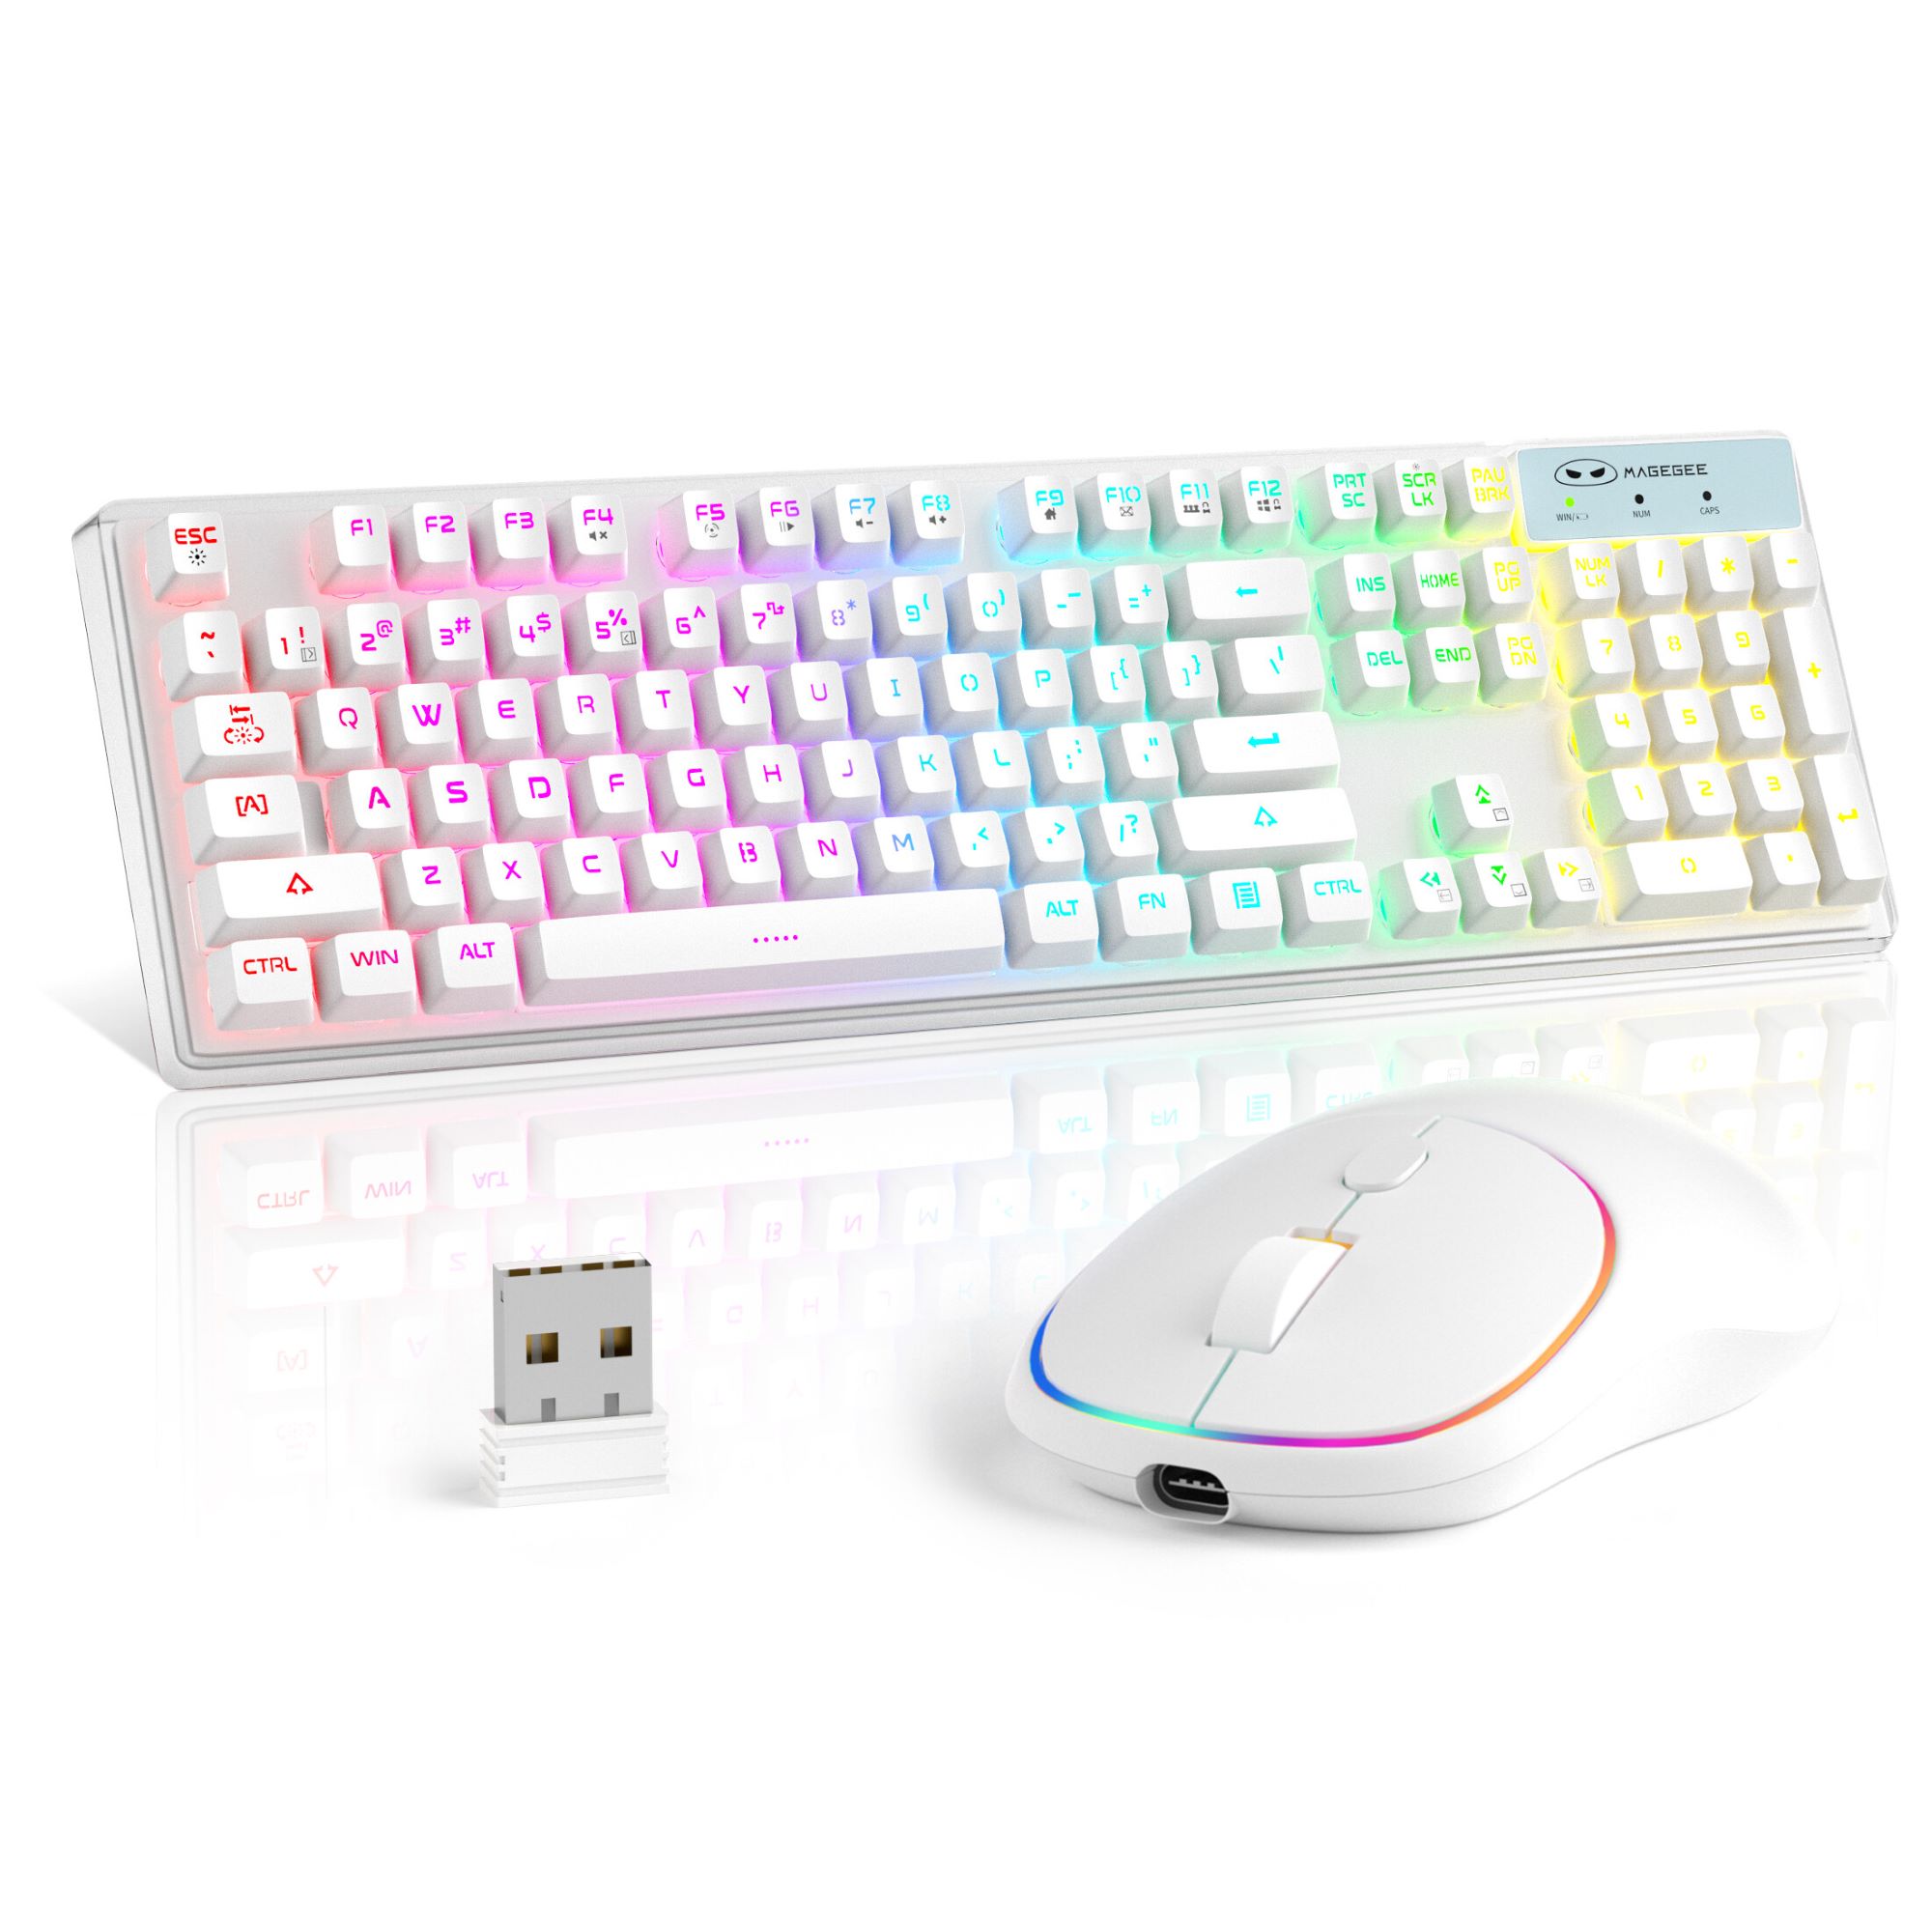
- Locate the Wireless Receiver: If your wireless mouse and keyboard use a USB wireless receiver, locate the receiver and ensure it is plugged into an available USB port on your computer. Position the receiver in a convenient location where it has a clear line of sight with the mouse and keyboard.
- Turn on the Mouse and Keyboard: Ensure that your wireless mouse and keyboard are turned on and activated. If they have a power switch, ensure that it is in the “On” position. If they automatically turn on when batteries are inserted, skip this step.
- Automatic Connection: In most cases, the wireless mouse and keyboard should automatically connect to the computer after turning them on and plugging in the receiver. Wait for a few moments to give the devices time to establish the connection.
- Manual Connection: If the devices do not connect automatically, you may need to manually establish the connection. Look for a connect or pair button on the receiver or devices. Press and hold the appropriate button for a few seconds until the LED indicators on both the receiver and devices indicate a successful connection.
- Confirmation: Once the connection is established, you should be able to move the mouse cursor and type on the keyboard. Test the functionality of both the mouse and keyboard to ensure they are working properly.
It’s important to note that the exact connection process may vary depending on the brand and model of your wireless mouse and keyboard. Refer to the manufacturer’s instructions for any specific instructions or troubleshooting steps.
Step 4: Pairing the Wireless Mouse and Keyboard
After connecting your wireless mouse and keyboard to your computer, it’s time to pair them to ensure they communicate properly. Follow these steps to pair your devices:
- Check the User Manual: Refer to the user manual or manufacturer’s instructions to determine the specific pairing process for your wireless mouse and keyboard. Different models may have different steps, so it’s important to follow the instructions provided.
- Put Devices in Pairing Mode: Most wireless mice and keyboards have a dedicated pairing button or switch that needs to be activated. Press the pairing button on the mouse or keyboard, usually located on the underside, for a few seconds until the LED indicator starts blinking. This will put the device in pairing mode.
- Initiate Pairing on the Computer: Go to your computer’s settings or control panel and navigate to the Bluetooth or Devices section. Click on the “Add Device” or “Pair” button to start the pairing process.
- Select the Mouse and Keyboard: Your computer will scan for available devices. Once the mouse and keyboard are detected, select them from the list of available devices. The computer will attempt to establish a connection with the selected devices.
- Enter Pairing Code (if required): Some wireless mice and keyboards may require entering a pairing code to establish a secure connection. If prompted, enter the code displayed on the screen using the keyboard and press Enter.
- Confirmation: Once the pairing process is complete, your computer should display a confirmation message, indicating that the wireless mouse and keyboard are successfully paired. Test both devices to ensure they are functioning properly.
Pairing instructions may vary based on the brand and model of your wireless mouse and keyboard. If you encounter any issues during the pairing process, refer to the manufacturer’s instructions or contact their support for further assistance.
Step 5: Troubleshooting Common Connection Issues
Even with careful preparation and following the steps outlined above, you may encounter certain connection issues with your wireless mouse and keyboard. Here are some common problems and their potential solutions:
- No Response: If your mouse or keyboard is not responding, check the batteries and ensure they are properly installed. Try replacing the batteries if necessary.
- Interference: Other wireless devices, such as Wi-Fi routers or cordless phones, can interfere with the signal of your mouse and keyboard. Move these devices away from your computer or try using your wireless peripherals in a different location.
- Range Issues: If you experience connectivity problems when your mouse or keyboard is a certain distance away from the receiver, try moving closer to the receiver or repositioning it for better signal reception.
- Driver Issues: Ensure that you have the latest drivers or software installed for your wireless mouse and keyboard. Visit the manufacturer’s website to download and install the appropriate drivers if needed.
- Re-Pairing: If the connection is lost or unstable, try re-pairing the mouse and keyboard to the receiver. Follow the pairing steps outlined in the previous section to establish a new connection.
- USB Port Issues: If the receiver is plugged into a USB hub or extension, try connecting it directly to a USB port on your computer. Faulty USB hubs or extensions can cause connectivity problems.
- Restart the Computer: Sometimes, a simple computer restart can resolve connectivity issues. Restart your computer and check if the mouse and keyboard are functioning properly afterwards.
- Seek Technical Support: If you have tried all troubleshooting steps and are still experiencing issues, reach out to the manufacturer’s technical support for further assistance. They may be able to provide specific solutions based on the model of your wireless mouse and keyboard.
By troubleshooting common connection issues, you can overcome obstacles and enjoy a seamless experience with your wireless mouse and keyboard.
Conclusion
Connecting a wireless mouse and keyboard to your computer is a straightforward process that offers convenience and flexibility in your daily computer usage. By following the steps outlined in this guide, you can successfully connect your wireless peripherals and enjoy a tangle-free workspace.
Remember to check the compatibility of your mouse and keyboard with your computer, prepare the devices for connection, and follow the specific pairing instructions provided by the manufacturer. If you encounter any issues, refer to the troubleshooting section for potential solutions.
Wireless technology has made it easier than ever to work and navigate your computer without the limitation of cables. Embrace the freedom that wireless peripherals offer and enhance your productivity.
Now that you have the knowledge and tools to connect your wireless mouse and keyboard, go ahead and enjoy the flexibility, convenience, and improved workflow they bring to your computer experience.


