Introduction
Connecting your Surface Pro to an external monitor can greatly enhance your productivity and provide a larger viewing space for work or entertainment. Whether you want to extend your display, mirror it, or use the external monitor as your primary screen, the process is relatively simple and straightforward.
In this article, we will guide you through the steps to connect your Surface Pro to a monitor. We will cover the necessary cables, ports, and settings, as well as troubleshoot common issues that may arise.
By following our instructions, you’ll be able to set up a dual-monitor or extended display configuration, enhancing your multitasking capabilities and overall computing experience.
Before we dive into the steps, it’s essential to note that the specific instructions might vary slightly depending on the Surface Pro model you own and the monitor you are connecting to. However, the general principles and concepts outlined in this article should apply to most setups.
So, if you’re ready to connect your Surface Pro to a monitor and unlock the full potential of your device, let’s get started with Step 1: Checking the ports on your Surface Pro and monitor.
Step 1: Check the ports on your Surface Pro and monitor
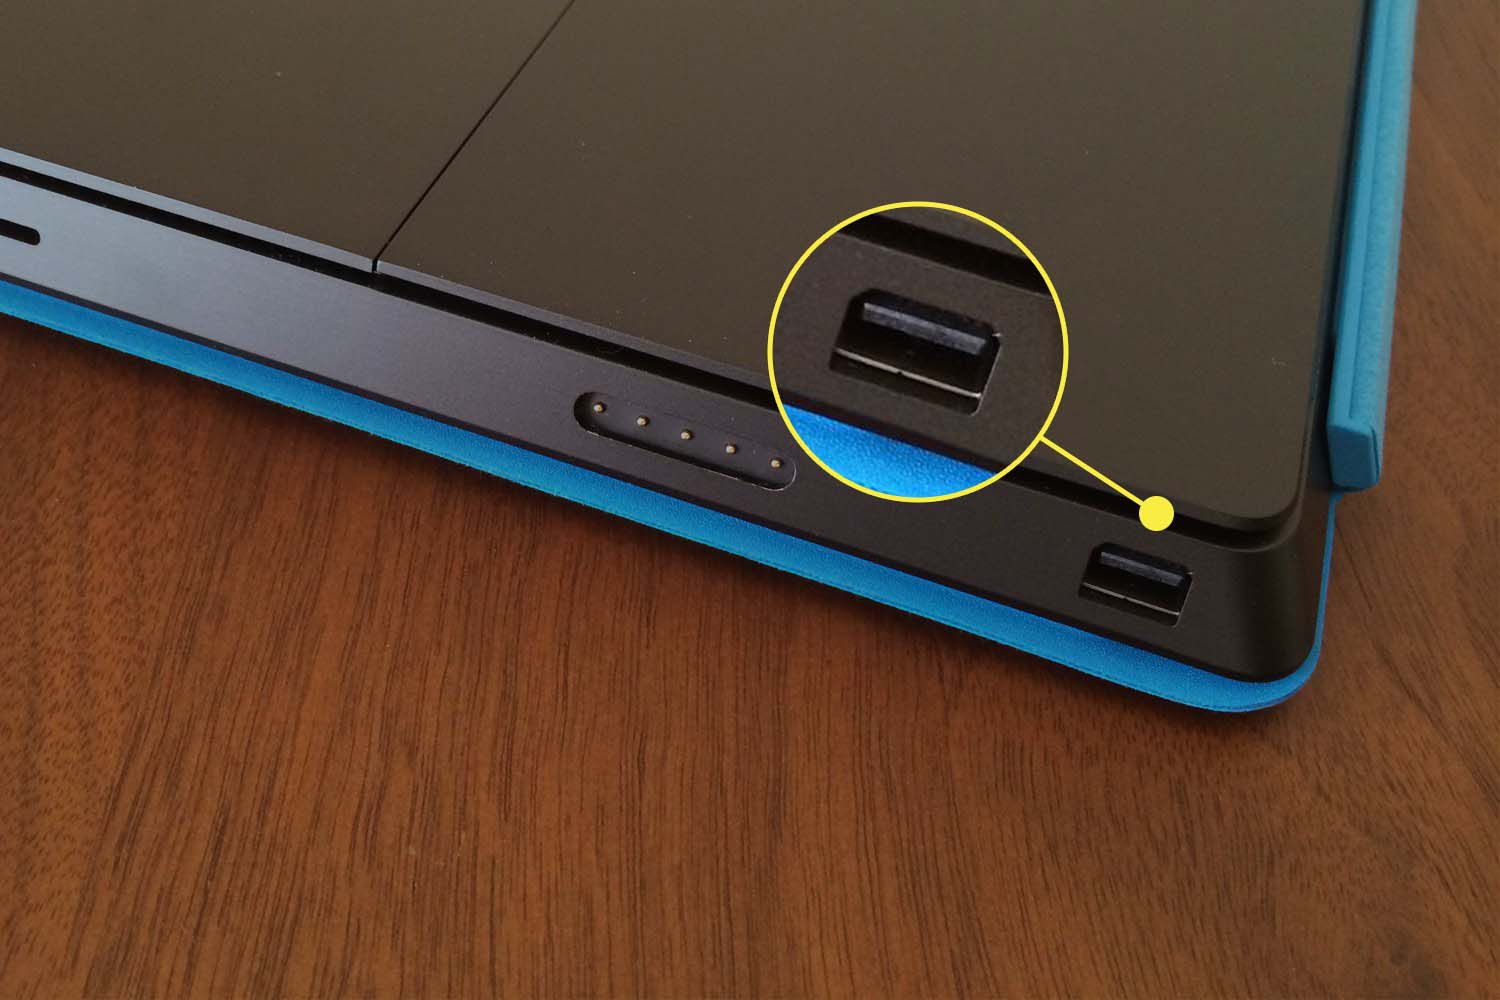
Before you begin the process of connecting your Surface Pro to a monitor, the first step is to verify the ports available on both your Surface Pro and the monitor you intend to connect.
On your Surface Pro, you’ll typically find a variety of ports, including a USB-C port, a Mini DisplayPort, and a Surface Connect port. These ports may vary depending on the specific model of your Surface Pro. Take a moment to locate the ports on your device.
Next, inspect your monitor for the available ports. Most modern monitors will offer HDMI, DisplayPort, or DVI ports. Older monitors might have VGA ports. It’s important to identify the port compatibility between your Surface Pro and the monitor to ensure a successful connection.
Once you have identified the ports on both devices, make note of the specific port types. For example, if your Surface Pro has a USB-C port, you may need an adapter or cable to connect it to a monitor with an HDMI or DisplayPort interface.
It’s worth mentioning that the availability of ports may vary depending on your Surface Pro model. Therefore, it is recommended to consult the user manual or Microsoft’s official website for detailed specifications.
In the next step, we’ll guide you in choosing the right cable to connect your Surface Pro to the monitor based on the ports available.
Step 2: Choose the right cable
Now that you have identified the ports on your Surface Pro and monitor, it’s time to select the appropriate cable to establish the connection between the two devices.
The type of cable you need will depend on the available ports and their compatibility. Here are some common scenarios:
- If both your Surface Pro and the monitor have an HDMI or DisplayPort, the easiest option is to use an HDMI or DisplayPort cable to connect them. This type of cable delivers high-quality video and audio signals.
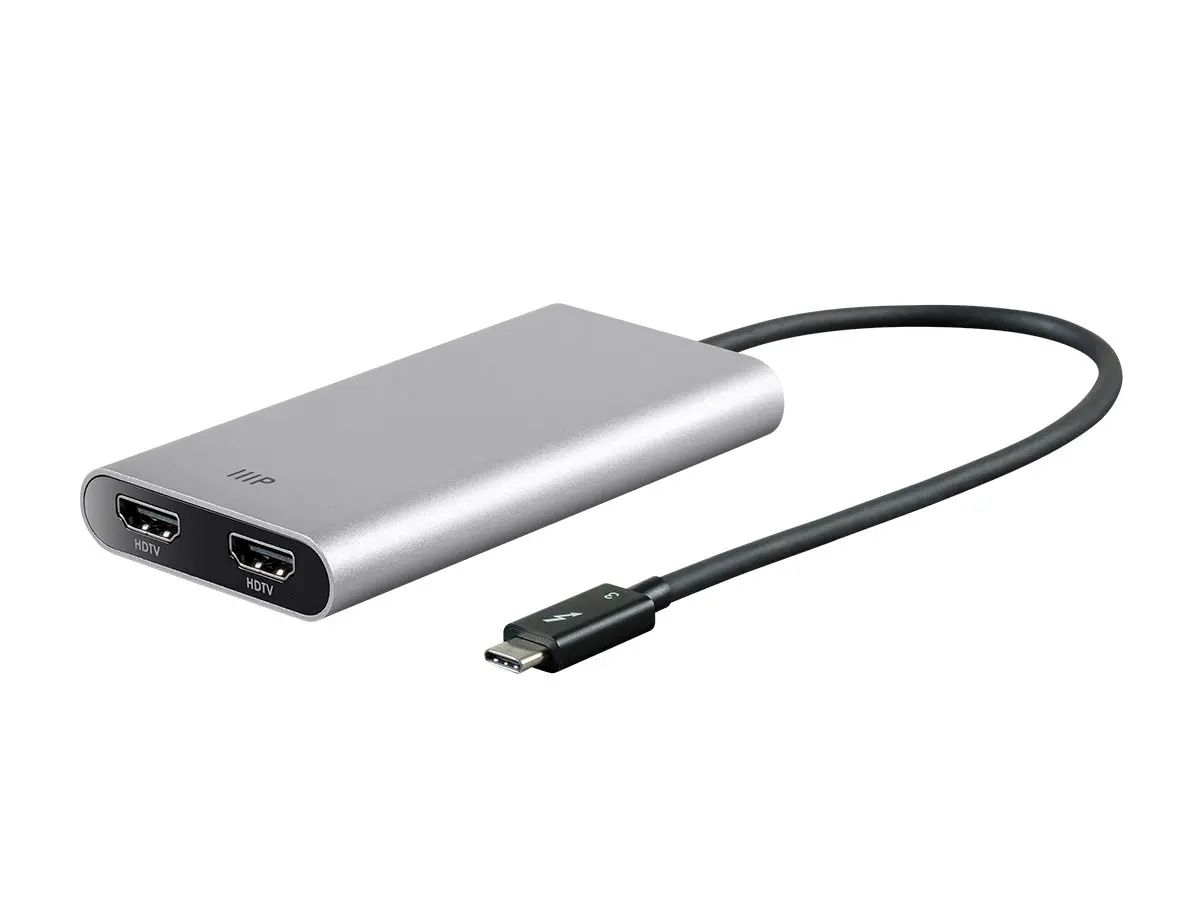
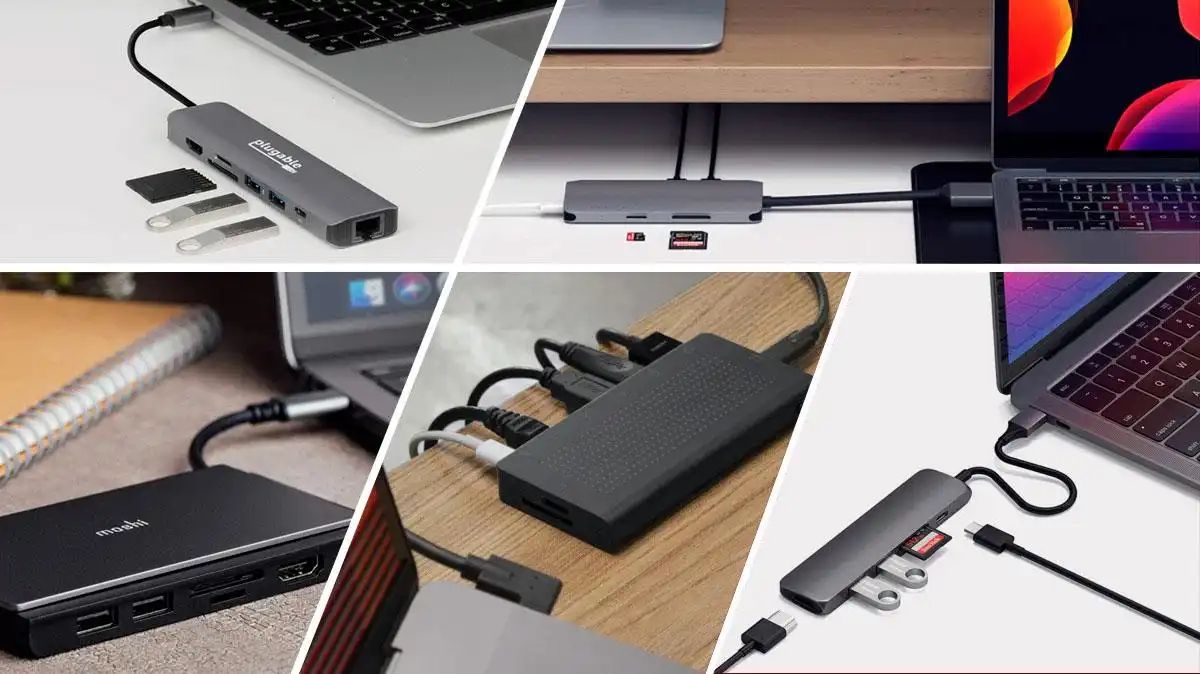
- If your Surface Pro has a USB-C port and the monitor has an HDMI or DisplayPort, you can use a USB-C to HDMI or USB-C to DisplayPort adapter or cable. These adapters or cables allow you to connect your Surface Pro to the monitor’s HDMI or DisplayPort input.
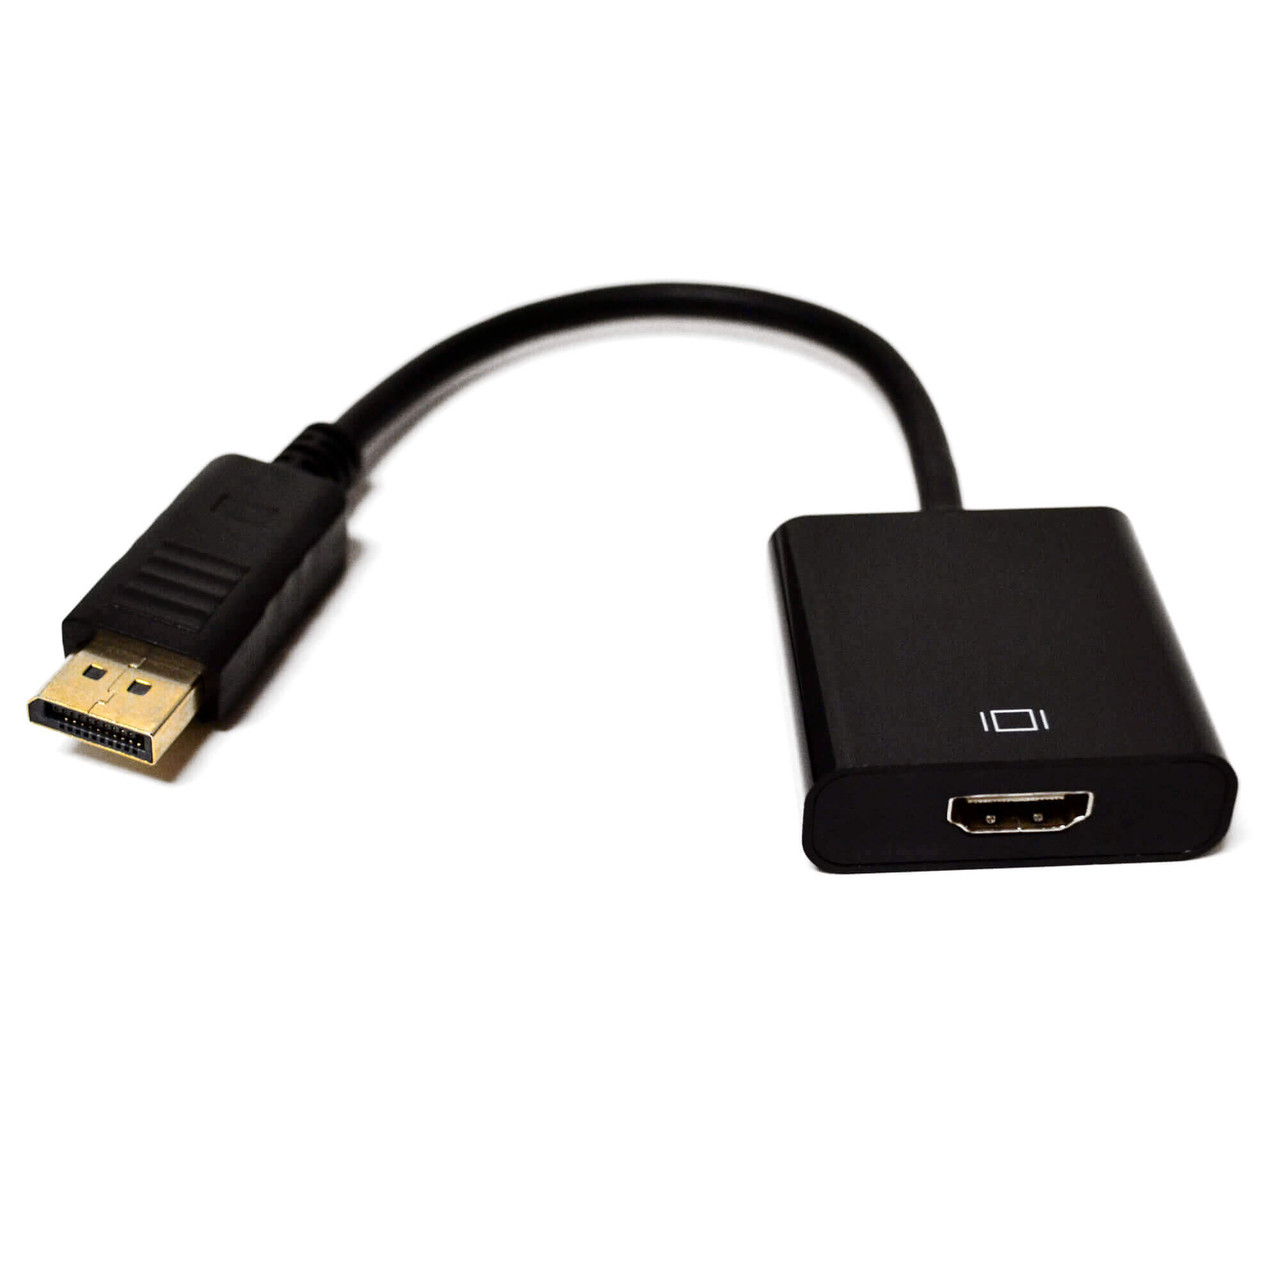
- If your monitor only has a VGA port and your Surface Pro lacks a VGA connection, you will need a VGA to Mini DisplayPort adapter or VGA to USB-C adapter. These adapters convert the VGA signal into a form that is compatible with your Surface Pro’s Mini DisplayPort or USB-C port.
Remember to consider the cable length based on your setup. Ensure that the cable is long enough to connect your Surface Pro to the monitor without causing any strain or limitations in terms of placement.
It’s worth mentioning that the market offers a wide range of cable brands and qualities. When choosing a cable or adapter, it is advisable to opt for reputable brands to ensure a reliable connection and optimal performance.
In the next step, we’ll guide you through the process of connecting the cable to your Surface Pro and the monitor.
Step 3: Connect the cable to your Surface Pro and the monitor
With the appropriate cable or adapter in hand, you are ready to connect your Surface Pro to the monitor. Follow these steps:
- Start by turning off both your Surface Pro and the monitor.
- Locate the correct port on your Surface Pro and the corresponding port on the monitor.
- Insert one end of the cable into the port on your Surface Pro. Apply gentle pressure to ensure a secure connection.
- Connect the other end of the cable to the port on the monitor, also ensuring a secure connection.
- Once the cable is connected, power on your Surface Pro first, and then turn on the monitor.
- If everything is properly connected, you should see the display from your Surface Pro on the external monitor. However, if the monitor does not detect the Surface Pro or the display appears distorted, move on to the next step to adjust the monitor settings.
It’s important to note that some monitors have multiple inputs, so make sure to select the correct input source on the monitor. This can usually be done by pressing the input/source button on the monitor and selecting the corresponding input option.
Congratulations! You have successfully connected your Surface Pro to the monitor. In the next step, we’ll guide you on how to adjust the monitor settings to optimize your viewing experience.
Step 4: Adjust the monitor settings
After connecting your Surface Pro to the monitor, it’s important to adjust the monitor settings to ensure optimal display quality and usability. Here are some key settings you may need to adjust:
- Brightness and Contrast: Use the monitor’s on-screen display (OSD) menu to adjust the brightness and contrast levels. This will help you achieve a comfortable viewing experience.
- Resolution: Depending on your monitor’s capabilities and your personal preferences, you may want to adjust the resolution. Higher resolutions offer sharper images, but keep in mind that higher resolutions may also require more processing power from your Surface Pro.
- Orientation: If you prefer a portrait mode rather than the default landscape mode, you can adjust the orientation settings. This can be done through the display settings on your Surface Pro or the monitor’s OSD menu.
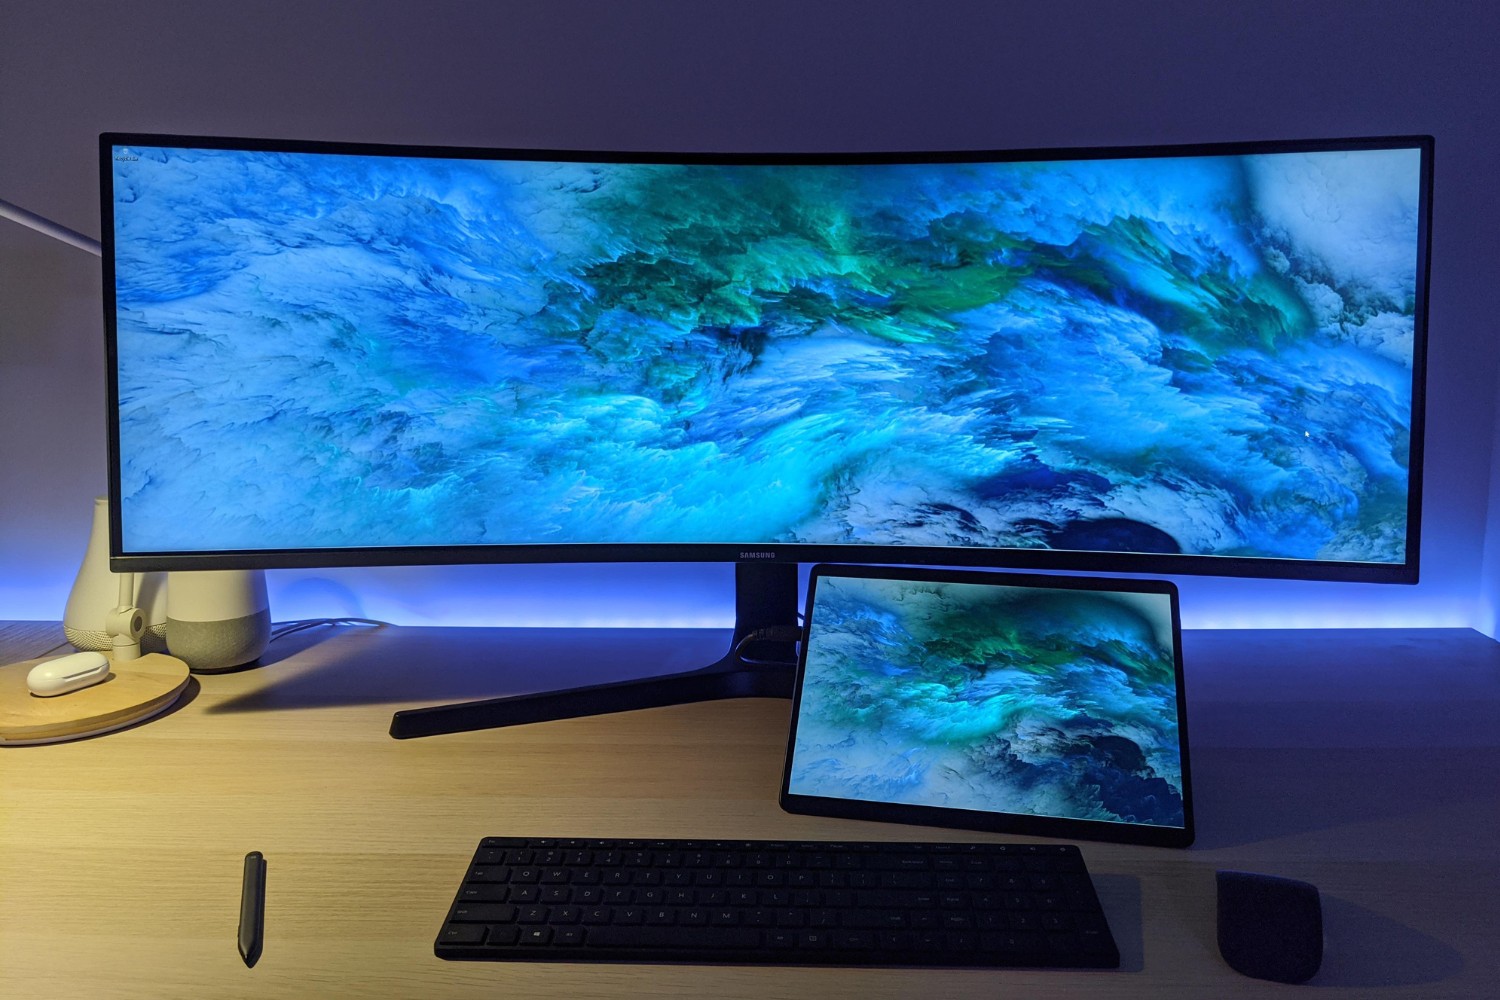
- Extended Display or Mirrored Display: By default, your Surface Pro may be set to extend the display, giving you a larger desktop space across both the Surface Pro and the monitor. If you prefer to mirror the Surface Pro’s display on the external monitor, you can change this setting in the display settings on your Surface Pro.
- Screen Position: In some cases, the image on the external monitor may not fit perfectly on the screen. Most monitors have settings to adjust the position and size of the displayed image. Use the monitor’s OSD menu to fine-tune the screen position.
These are the basic settings you may need to adjust, but keep in mind that your monitor’s settings menu might have additional options that you can explore based on your specific requirements.
Once you have made the necessary adjustments, take some time to test the display and ensure that everything is working properly. If you encounter any issues, refer to the next step for troubleshooting common problems.
Step 5: Troubleshooting common issues
While setting up your Surface Pro with an external monitor is usually a smooth process, you may encounter some common issues that can be easily resolved. Here are a few troubleshooting tips:
- No Display on the External Monitor: Ensure that the cable is securely connected to both your Surface Pro and the monitor. Try disconnecting and reconnecting the cable to establish a proper connection. If the issue persists, consider checking if the monitor is receiving power and if the correct input source is selected.
- Distorted or Flickering Display: This issue can sometimes occur due to incompatible or faulty cables or adapters. Verify that you are using a high-quality cable or adapter and try using a different one if available. Additionally, check the display settings on your Surface Pro and ensure that the resolution and refresh rate are properly configured.
- Audio Not Playing through the Monitor: If you want to route the audio from your Surface Pro to the monitor’s speakers, make sure that the audio output is set to the monitor in the sound settings of your Surface Pro. You may need to select the monitor as the default audio output device.
- Incompatible Resolutions: If the monitor’s resolution is set to a value that your Surface Pro does not support, you may encounter compatibility issues. Adjust the resolution settings on your Surface Pro or the monitor to find a compatible resolution for both devices.
- Limited or No Signal Detected: If your monitor is displaying a “limited or no signal” message, double-check the cable connections and ensure that the input source is correctly selected on the monitor. If necessary, try using a different cable or adapter to establish a stable connection.
If none of these troubleshooting steps resolve your issue, consult the user manual of your Surface Pro or the monitor, or seek assistance from the manufacturer’s support team for further guidance.
With these troubleshooting tips, you should be able to overcome most common issues that may arise when connecting your Surface Pro to an external monitor.
Now that you have successfully connected your Surface Pro to the monitor and resolved any issues, you’re ready to enjoy the expanded display and enhanced productivity offered by your dual-monitor setup!
Conclusion
Congratulations on successfully connecting your Surface Pro to an external monitor! By following the steps outlined in this guide, you have expanded your display and unlocked the potential for improved productivity and an enhanced computing experience.
We began by checking the ports on your Surface Pro and monitor, ensuring compatibility and identifying the necessary cables or adapters. Then, we guided you through the process of choosing the right cable to establish the connection. Once you had the cable in hand, we provided detailed instructions on how to connect it to your Surface Pro and the monitor.
After connecting the cable, we discussed the importance of adjusting the monitor settings to optimize display quality, including brightness, contrast, resolution, orientation, and display options. These adjustments allow for a personalized and comfortable viewing experience.
While connecting your devices, you may have encountered common issues. In the troubleshooting section, we provided tips and solutions for problems such as no display, distorted display, audio issues, incompatible resolutions, and limited signal detection.
Remember, the specific steps and options may vary depending on your Surface Pro model and the monitor you’re using. It’s always a good idea to consult the user manual for your devices or seek assistance from the manufacturer’s support team if you encounter any difficulties.
With your Surface Pro and monitor now successfully connected and any issues resolved, you can enjoy the benefits of a dual-monitor or extended display setup. Whether you’re working on multiple tasks simultaneously or immersing yourself in your favorite entertainment, the additional screen real estate will elevate your productivity and immersion.
We hope this guide has been helpful in assisting you in connecting your Surface Pro to a monitor. Embrace the expanded possibilities and make the most of your technology!