Introduction
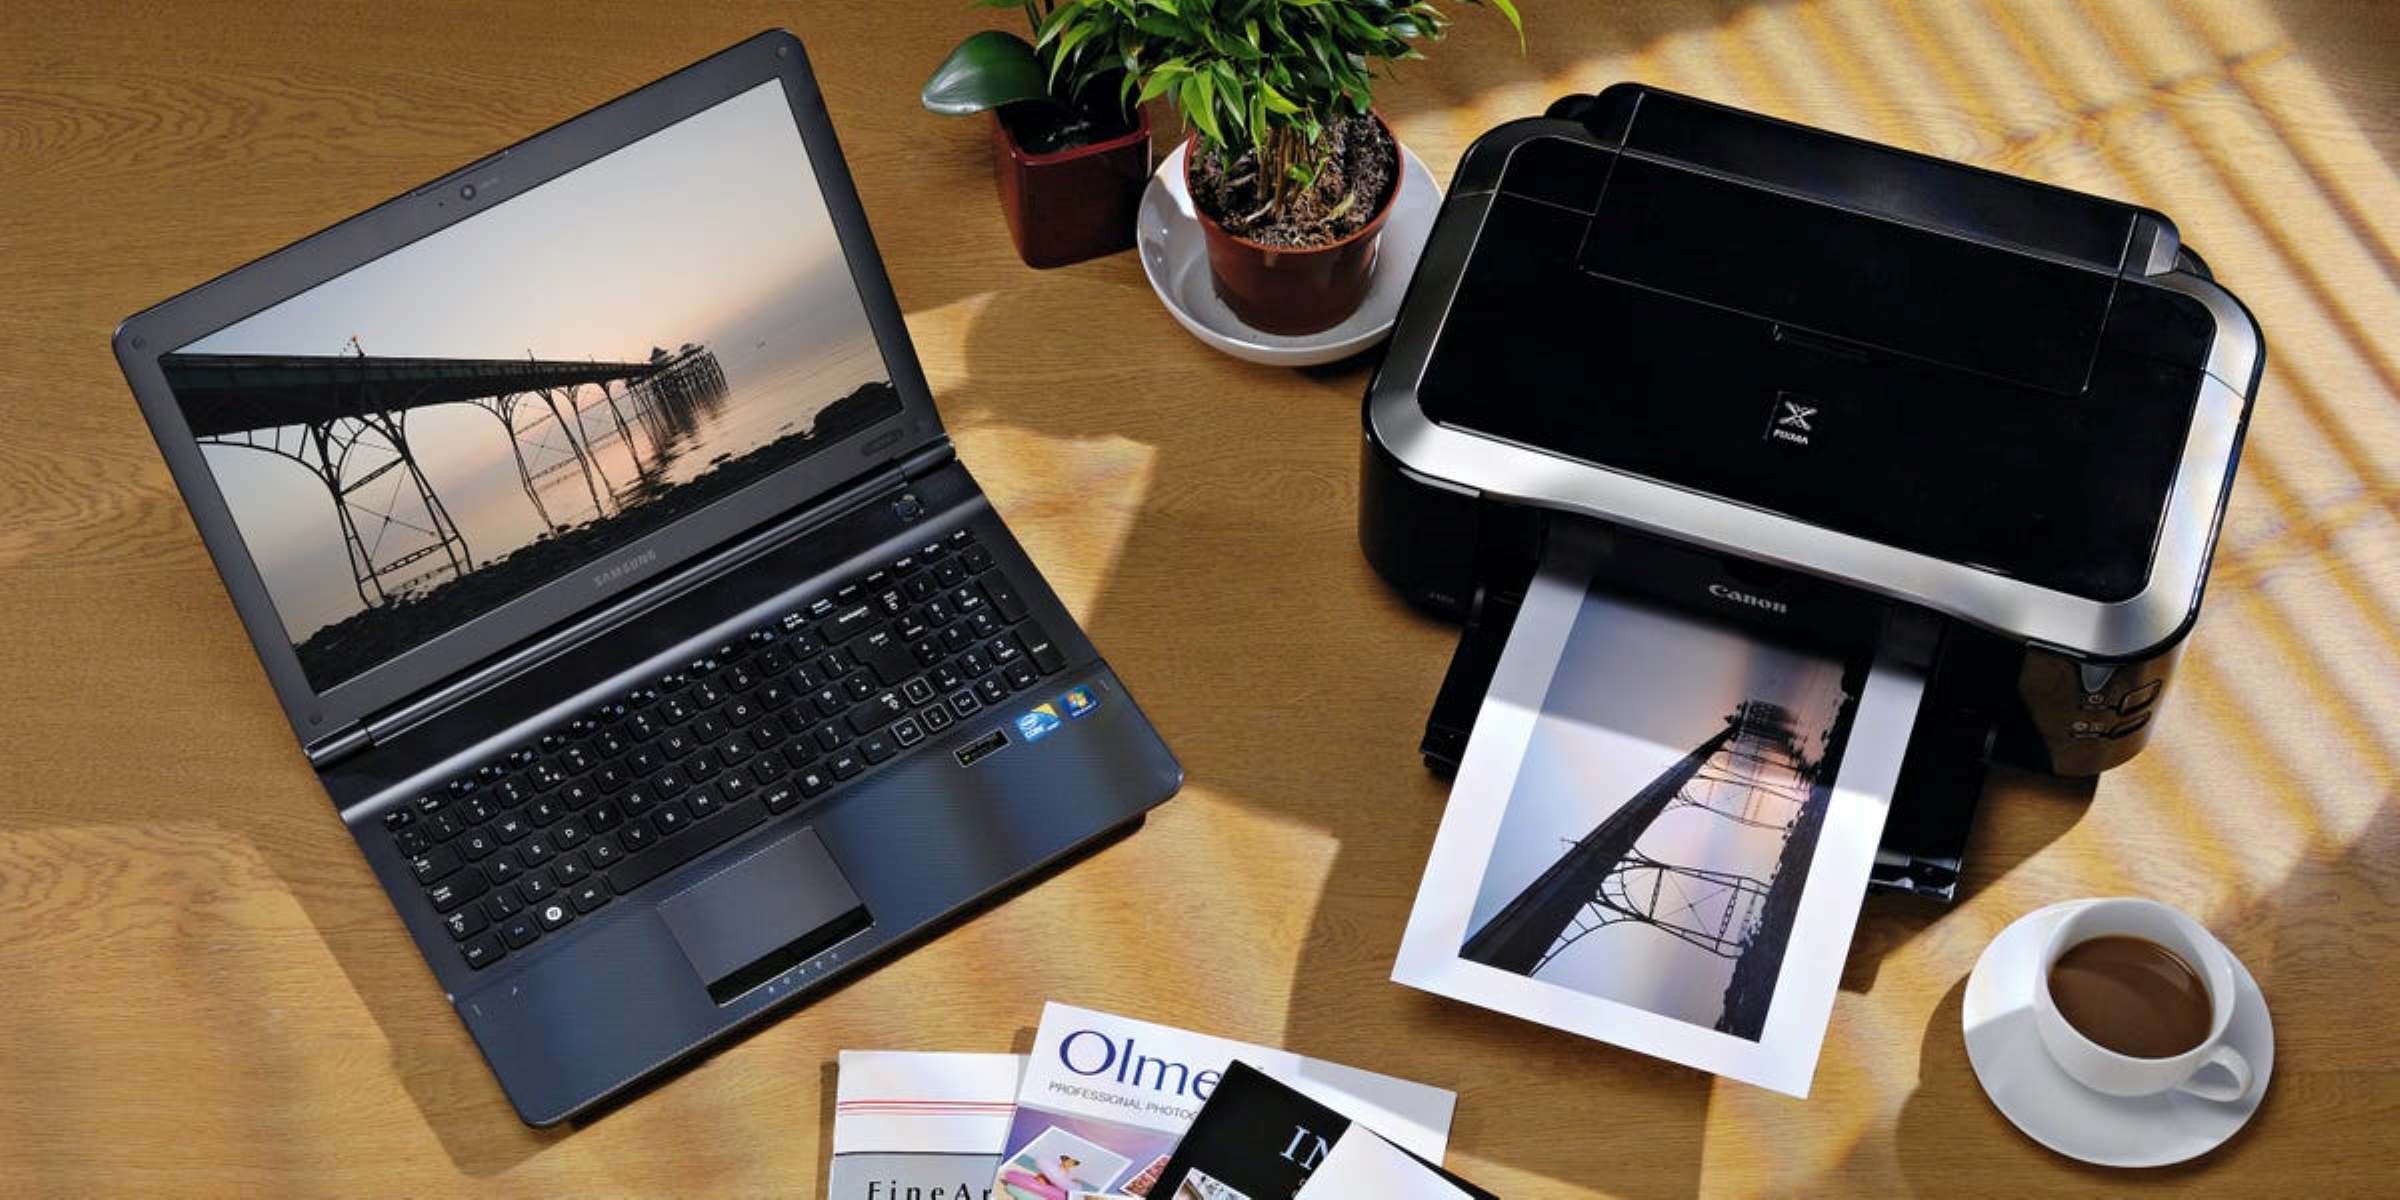
Connecting a wireless printer to your laptop can offer you the convenience and flexibility of printing documents without the hassle of tangled cables. Whether you need to print important documents for work or school, or simply want to print photos and other personal files, setting up a wireless connection between your printer and laptop is a straightforward process.
In this guide, we will walk you through the steps required to connect your printer to your laptop wirelessly. With just a few simple steps, you’ll be able to print wirelessly and enjoy the convenience of a seamless connection. Before we dive into the steps, it’s important to note that the specific instructions may vary depending on the make and model of your printer and laptop. Therefore, it’s always a good idea to refer to the user manual or online resources provided by the manufacturer for detailed instructions tailored to your specific devices.
Now, let’s get started with the process of connecting your printer to your laptop wirelessly. By following the steps outlined in this guide, you’ll be able to enjoy the freedom and convenience of hassle-free wireless printing.
Step 1: Check the compatibility of your printer and laptop
Before attempting to connect your printer to your laptop wirelessly, it’s crucial to ensure that both devices are compatible with each other. Compatibility issues can arise if the printer and laptop use different wireless technologies or if the drivers necessary for the connection are not available for your specific operating system.
To check the compatibility between your printer and laptop, start by reviewing the specifications of both devices. Look for information such as the type of wireless connection supported by your printer (e.g., Wi-Fi, Bluetooth) and the operating systems that are compatible with your printer’s drivers.
If your laptop’s operating system is not listed as compatible, you may need to upgrade your operating system or consider using a different printer that is compatible with your current setup. It’s important to note that not all printers are compatible with every operating system, so thorough research is essential to avoid any compatibility issues.
In addition to the operating system compatibility, consider the wireless technology used by your printer and laptop. Ideally, they should both support the same wireless technology, such as Wi-Fi, to establish a seamless connection. If your laptop does not have built-in Wi-Fi functionality, you may need to purchase a separate Wi-Fi adapter to connect to the printer wirelessly.
Before moving on to the next step, double-check the compatibility requirements of both your printer and laptop to ensure a successful wireless connection. Once you have confirmed compatibility, you can proceed to the next steps of setting up the wireless connection.
Step 2: Ensure the printer is connected to the same Wi-Fi network as your laptop
For successful wireless printing, it’s important to make sure that your printer is connected to the same Wi-Fi network as your laptop. This allows your devices to communicate with each other and establish a reliable connection.
To check if your printer is connected to the same Wi-Fi network as your laptop, start by accessing the printer’s control panel. Consult the user manual or manufacturer’s website for specific instructions on how to access the control panel for your printer model.
Once you have accessed the control panel, navigate to the network settings or wireless settings menu. Look for an option that allows you to view the current Wi-Fi network to which your printer is connected. If the network displayed matches the Wi-Fi network that your laptop is connected to, then your printer is already on the same network.
If your printer is not connected to the same Wi-Fi network as your laptop, you will need to connect it. In the network settings menu on the printer’s control panel, look for an option to search for available Wi-Fi networks. Select your desired network from the list of available networks and enter the Wi-Fi password if prompted.
Once you have successfully connected your printer to the Wi-Fi network, it should now be on the same network as your laptop. Now you can proceed to the next steps to complete the wireless connection between your printer and laptop.
It’s worth noting that some printers also offer the option to connect via Bluetooth, in addition to Wi-Fi. If your printer supports Bluetooth connectivity, you can follow the manufacturer’s instructions to connect your laptop to the printer using Bluetooth instead of Wi-Fi.
Step 3: Install the necessary printer drivers on your laptop
In order for your laptop to communicate with your wireless printer, you’ll need to install the necessary printer drivers. These drivers act as intermediaries, allowing your laptop’s operating system to understand and interact with your printer’s hardware.
The specific method for installing printer drivers may vary depending on your printer’s make and model. However, the general process typically involves the following steps:
- Visit the manufacturer’s website: Start by visiting the official website of your printer’s manufacturer. Look for a section dedicated to support or downloads, where you can find the appropriate drivers for your printer model.
- Select your printer model and operating system: Once you’re on the support or downloads page, select your printer model from the provided list. Then, choose the operating system that your laptop is running, such as Windows, macOS, or Linux.
- Download the driver software: After selecting your printer model and operating system, the website should provide you with a download link for the printer driver software. Click on the download link to start the download process.
- Install the driver software: Once the driver software has finished downloading, locate the file on your laptop and double-click on it to begin the installation process. Follow the on-screen instructions to complete the installation.
- Restart your laptop: After the driver installation is complete, it’s a good idea to restart your laptop. This ensures that any changes made during the driver installation are effectively applied and allows your laptop to recognize the newly installed printer drivers.
It’s important to note that some printer models may have installation CDs included in the packaging. If you have an installation CD, you can use it to install the necessary printer drivers instead of downloading them from the manufacturer’s website. Simply insert the CD into your laptop’s CD drive and follow the prompts to install the drivers.
By following these steps, you’ll be able to install the necessary printer drivers on your laptop, enabling it to communicate with your wireless printer and establish a connection for wireless printing.
Step 4: Add the printer to your laptop’s list of devices
After installing the printer drivers on your laptop, the next step is to add the printer to your laptop’s list of devices. By doing this, your laptop will recognize the printer and allow you to send print jobs wirelessly.
The process of adding a printer to your laptop may vary depending on your operating system. Here’s a general guide to help you through the process:
- Open the “Settings” or “Control Panel” on your laptop: Access the settings or control panel on your laptop by clicking on the corresponding icon in the Start Menu or by searching for it in the search bar.
- Navigate to “Devices” or “Printers & Scanners”: Look for the option in the settings or control panel that relates to devices or printers & scanners. Click on it to open the device settings.
- Select “Add a printer” or “Add a device”: Within the devices settings, you should find an option to add a printer or add a device. Click on this option to initiate the printer setup process.
- Wait for your laptop to detect the printer: Your laptop will start searching for available printers on the network. This may take a few moments. Once the printer is detected, it will appear in the list of available devices.
- Select the printer and follow the on-screen prompts: Locate your printer in the list of available devices and select it. Follow any additional on-screen prompts to complete the setup process, such as confirming the installation of the printer or entering a printer-specific code or authentication.
Once you have added the printer to your laptop’s list of devices, your laptop is now ready to send print jobs to the printer wirelessly. You can verify the successful connection by opening a document or photo on your laptop and selecting the print option. The printer should appear as an available printing device.
If you encounter any issues during the setup process or your printer is not detected by your laptop, refer to the printer’s user manual or consult the manufacturer’s website for troubleshooting guidance specific to your printer model.
Step 5: Test the wireless connection and print a document
Now that you have successfully added your printer to your laptop’s list of devices, it’s time to test the wireless connection and print a document. This final step will ensure that everything is set up correctly and that you can enjoy the convenience of wireless printing.
To test the wireless connection and print a document, follow these steps:
- Open a document or photo on your laptop: Choose a document or photo that you want to print. This could be a text document, a PDF, an image, or any other supported file type.
- Select the ‘Print’ option: With the document or photo open, click on the ‘File’ menu or select the print icon to access the print options. Alternatively, you can use the keyboard shortcut Ctrl+P (Windows) or Command+P (Mac) to open the print dialog.
- Choose the wireless printer: In the print dialog, select the wireless printer that you added in the previous step. Ensure that it is selected as the default printer, if desired.
- Configure print settings: Specify the desired print settings, such as the number of copies, page range, paper size, and orientation. These options may vary depending on the specific document you are printing and the capabilities of your printer.
- Click ‘Print’ and monitor the print queue: Once you have configured the print settings, click on the ‘Print’ button to send the document to the printer. Monitor the print queue to ensure that the print job is successfully processed and sent to the printer.
- Collect your printed document: Once the print job is complete, your wireless printer will begin printing the document. Wait for the printer to finish its task, and then collect your printed document from the printer’s output tray.
By following these steps, you can test the wireless connection and confirm that your printer is functioning correctly. If the document prints successfully, congratulations! You have successfully connected your printer to your laptop wirelessly. If the document does not print or there are any issues, refer to the troubleshooting section in your printer’s user manual or consult the manufacturer’s website for assistance.
Now that you have successfully tested the wireless connection, you can enjoy the convenience of printing wirelessly from your laptop. Whether it’s printing important documents, school assignments, or memorable photos, you can now easily send print jobs without the need for tangled cables or direct connections.
Conclusion
Connecting your printer to your laptop wirelessly provides a convenient and hassle-free way to print documents and photos. By following the steps outlined in this guide, you can successfully establish a wireless connection between your printer and laptop and enjoy the benefits of wireless printing.
Begin by checking the compatibility of your printer and laptop to ensure they can work together. Verify that they support the same wireless technology and operating system. If not, consider upgrading or finding an alternative solution.
Next, ensure that your printer is connected to the same Wi-Fi network as your laptop. This allows for seamless communication between the devices. If needed, connect your printer to the Wi-Fi network through the printer’s control panel.
Install the necessary printer drivers on your laptop to enable communication with the printer’s hardware. Visit the manufacturer’s website to download the appropriate drivers for your printer model and operating system. Follow the installation instructions and restart your laptop to complete the process.
Add the printer to your laptop’s list of devices to establish a recognized connection. Access the settings or control panel on your laptop, navigate to the devices or printers & scanners section, and select the option to add a printer or device. Follow the on-screen prompts to complete the setup.
Finally, test the wireless connection by printing a document. Open a document or photo on your laptop, select the print option, choose the wireless printer, configure the print settings, and send the document to the printer. Monitor the print queue and collect your printed document once the printing is complete.
By following these steps, you can successfully connect your printer to your laptop wirelessly and enjoy the convenience of wireless printing. Remember, if you encounter any issues during the setup process, consult the printer’s user manual or visit the manufacturer’s website for troubleshooting guidance specific to your printer model.
Now that you’ve set up your wireless connection, you can easily print documents, photos, and more without the hassle of cords and cables. Enjoy the freedom and convenience of wireless printing!


