Introduction
Connecting a non-smart TV to Wi-Fi opens up a world of possibilities for streaming your favorite shows, accessing online content, and enjoying a variety of entertainment options. While smart TVs come with built-in Wi-Fi capabilities, older or non-smart TVs may not have this feature. However, with the help of a Wi-Fi adapter, you can easily connect your non-smart TV to your Wi-Fi network and enjoy all the benefits of internet connectivity.
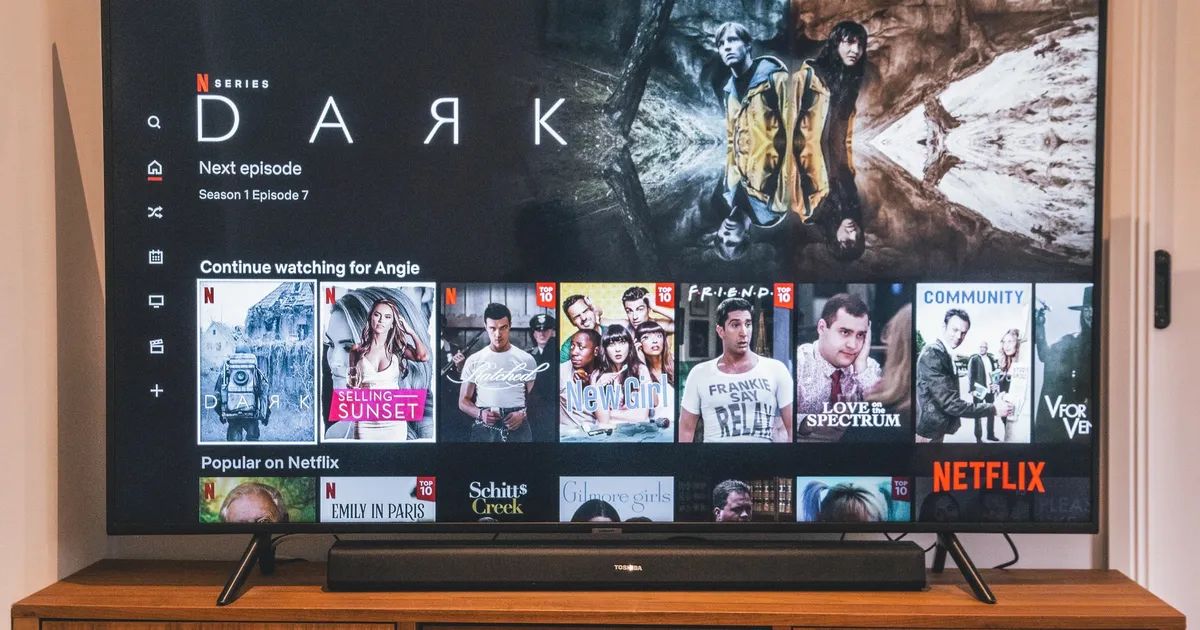
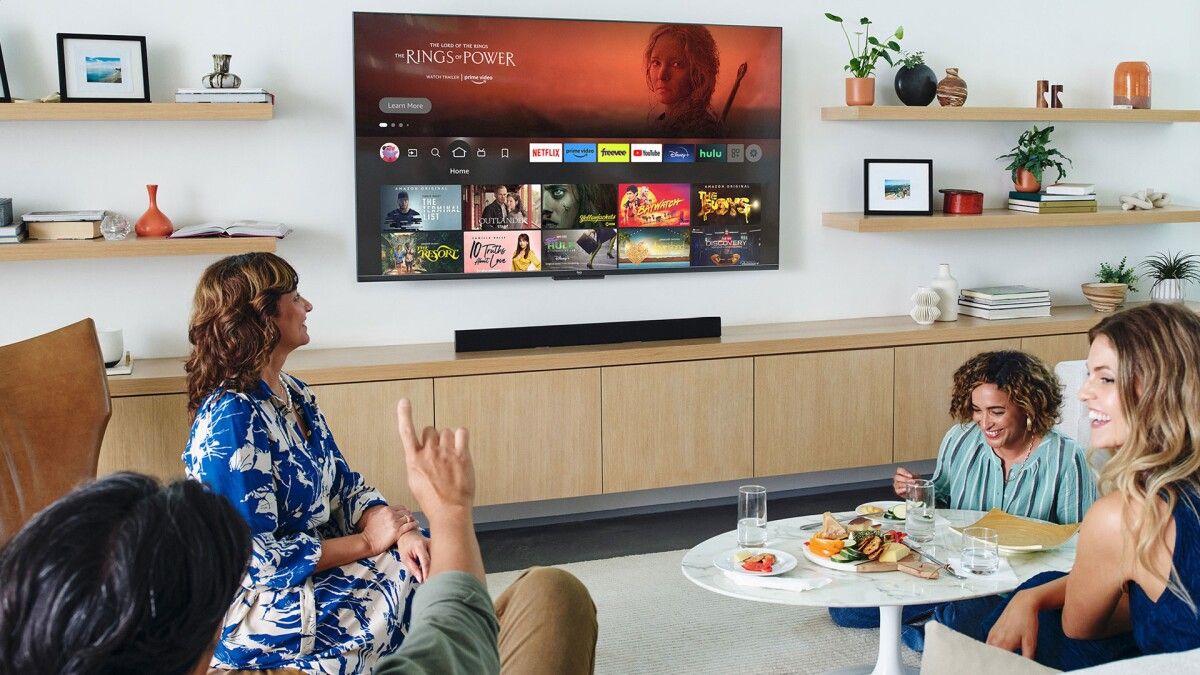
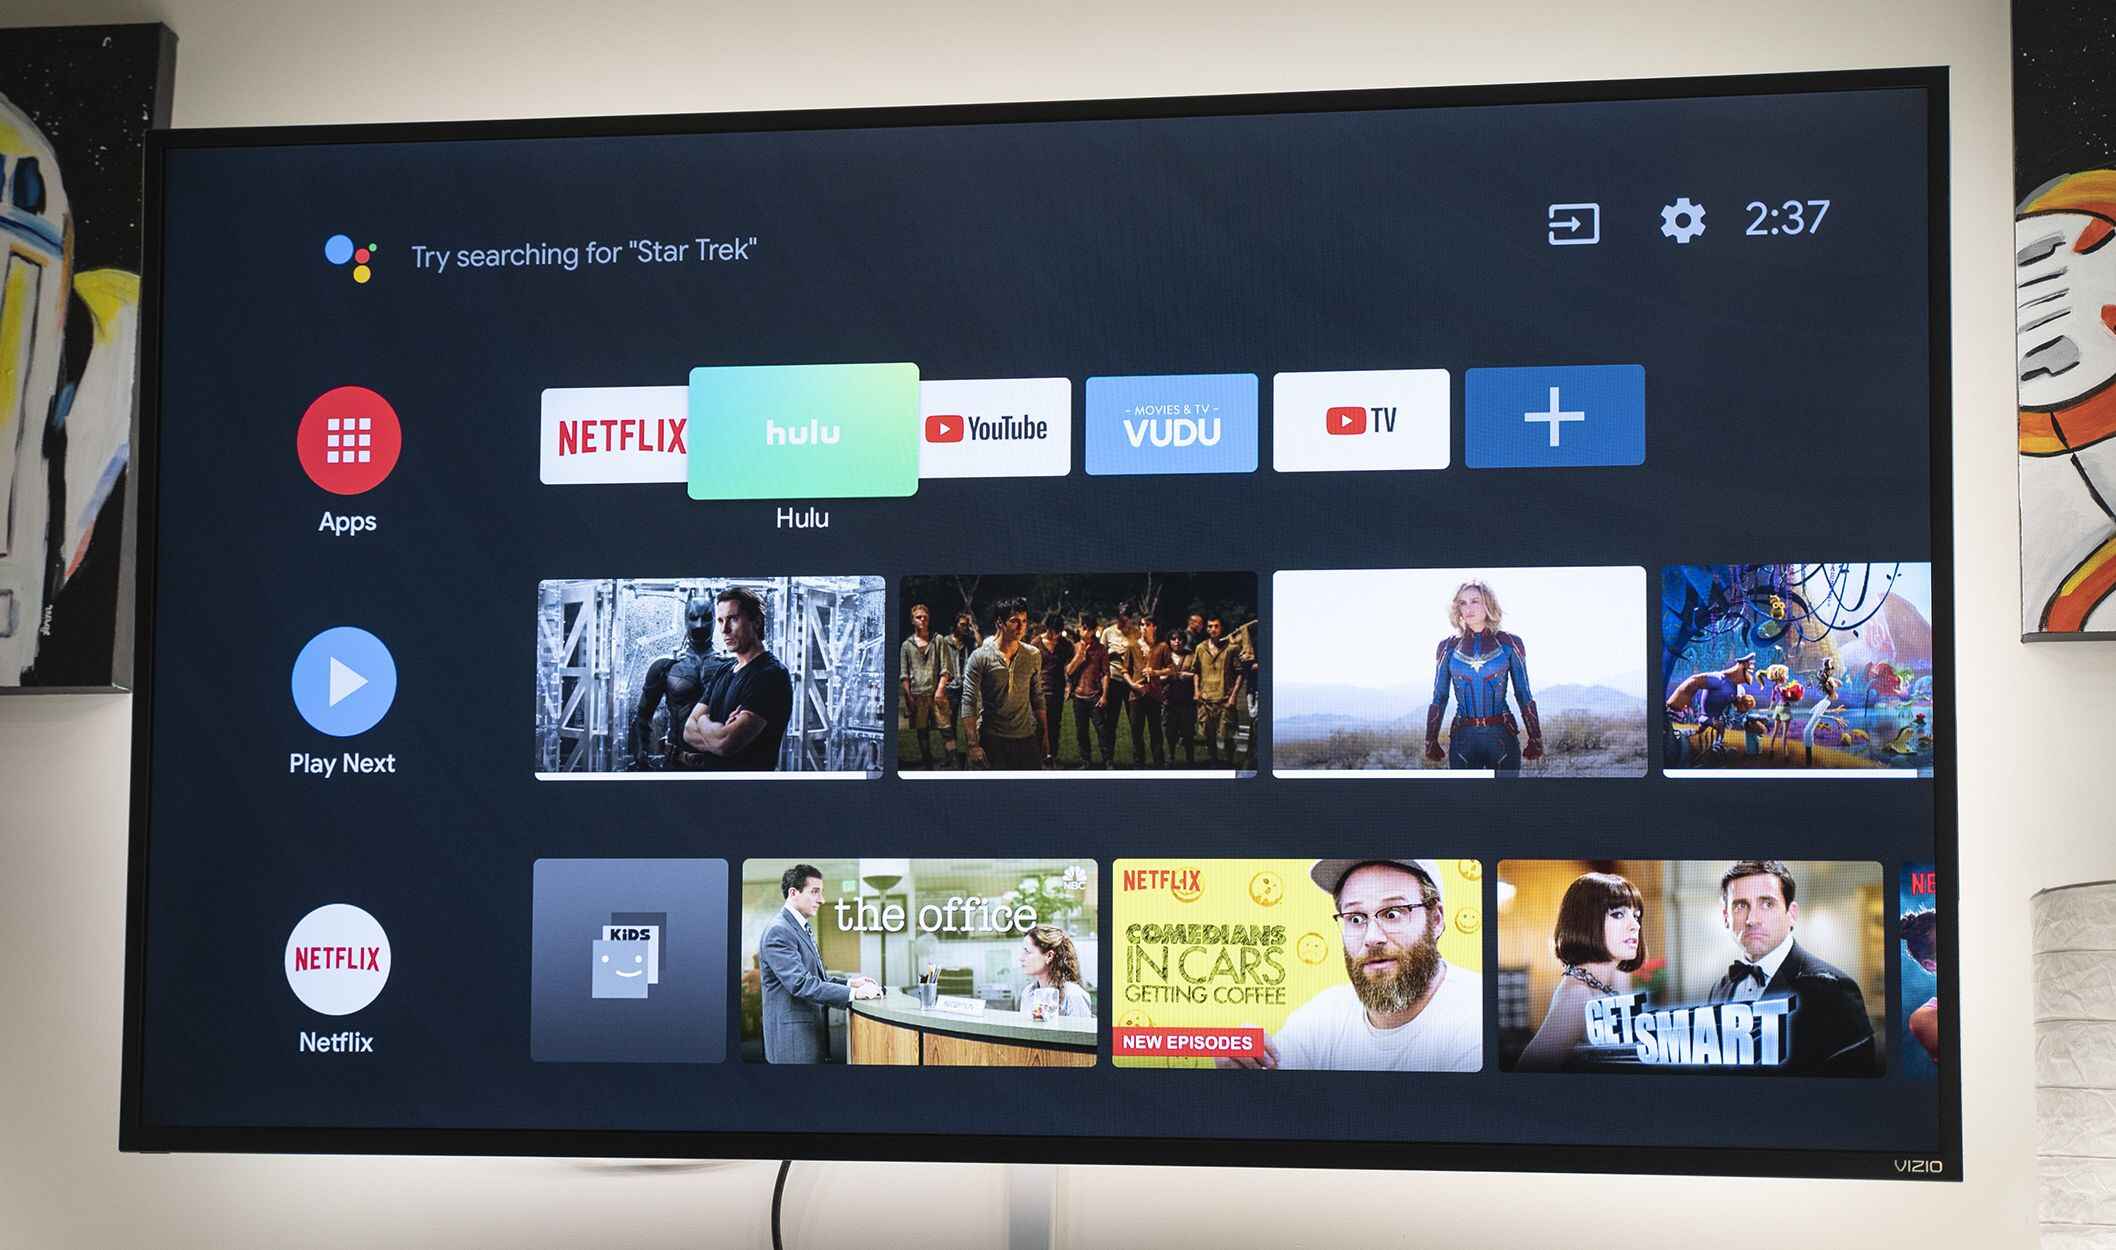
Streaming services like Netflix, Hulu, and Amazon Prime Video have revolutionized the way we consume entertainment. With a non-smart TV, you may feel limited in terms of accessing these streaming platforms. Fortunately, by following a few simple steps, you can transform your non-smart TV into a smart one, allowing you to stream your favorite shows and movies directly on the big screen.
In this guide, we will walk you through the process of connecting your non-smart TV to Wi-Fi. Whether you have an older TV model or a TV without Wi-Fi capabilities, you’ll find the information you need to get your TV connected to your Wi-Fi network and start enjoying the benefits of online streaming.
Before we delve into the steps involved in setting up your non-smart TV with Wi-Fi, it’s important to note that not all TVs are compatible with Wi-Fi adapters. We will first guide you on how to check for compatibility before proceeding with the setup process.
Step 1: Check for Wi-Fi compatibility
Before you begin the process of connecting your non-smart TV to Wi-Fi, it’s important to check if your TV is compatible with a Wi-Fi adapter. Not all TVs can support this feature, so it’s essential to verify the compatibility beforehand.
To check for Wi-Fi compatibility, start by examining the ports on your TV. Look for a USB or HDMI port, as these are the most common ports used to connect a Wi-Fi adapter. If your TV has either of these ports, it is likely compatible with a Wi-Fi adapter.
Once you have identified the appropriate port, you can search for a Wi-Fi adapter that is compatible with your TV model. There are numerous Wi-Fi adapters available in the market that are specifically designed for non-smart TVs. Ensure that the adapter you choose is compatible with your TV’s make and model to avoid any compatibility issues.
Additionally, it’s vital to consider the specifications of the Wi-Fi adapter. Look for an adapter that supports the Wi-Fi standards used by your router, such as 802.11n or 802.11ac. This ensures that you can achieve optimal Wi-Fi connectivity and speed when streaming content on your TV.
If you’re unsure about which Wi-Fi adapter to purchase or need assistance in determining compatibility, consider consulting the manufacturer’s website or reaching out to their customer support team. They can provide you with specific recommendations based on your TV model and answer any questions you may have.
By checking for Wi-Fi compatibility before proceeding, you can ensure that you select a suitable Wi-Fi adapter that will seamlessly connect your non-smart TV to your Wi-Fi network. Once you have confirmed compatibility, you can move on to the next step of purchasing a Wi-Fi adapter if necessary.
Step 2: Purchase a Wi-Fi adapter
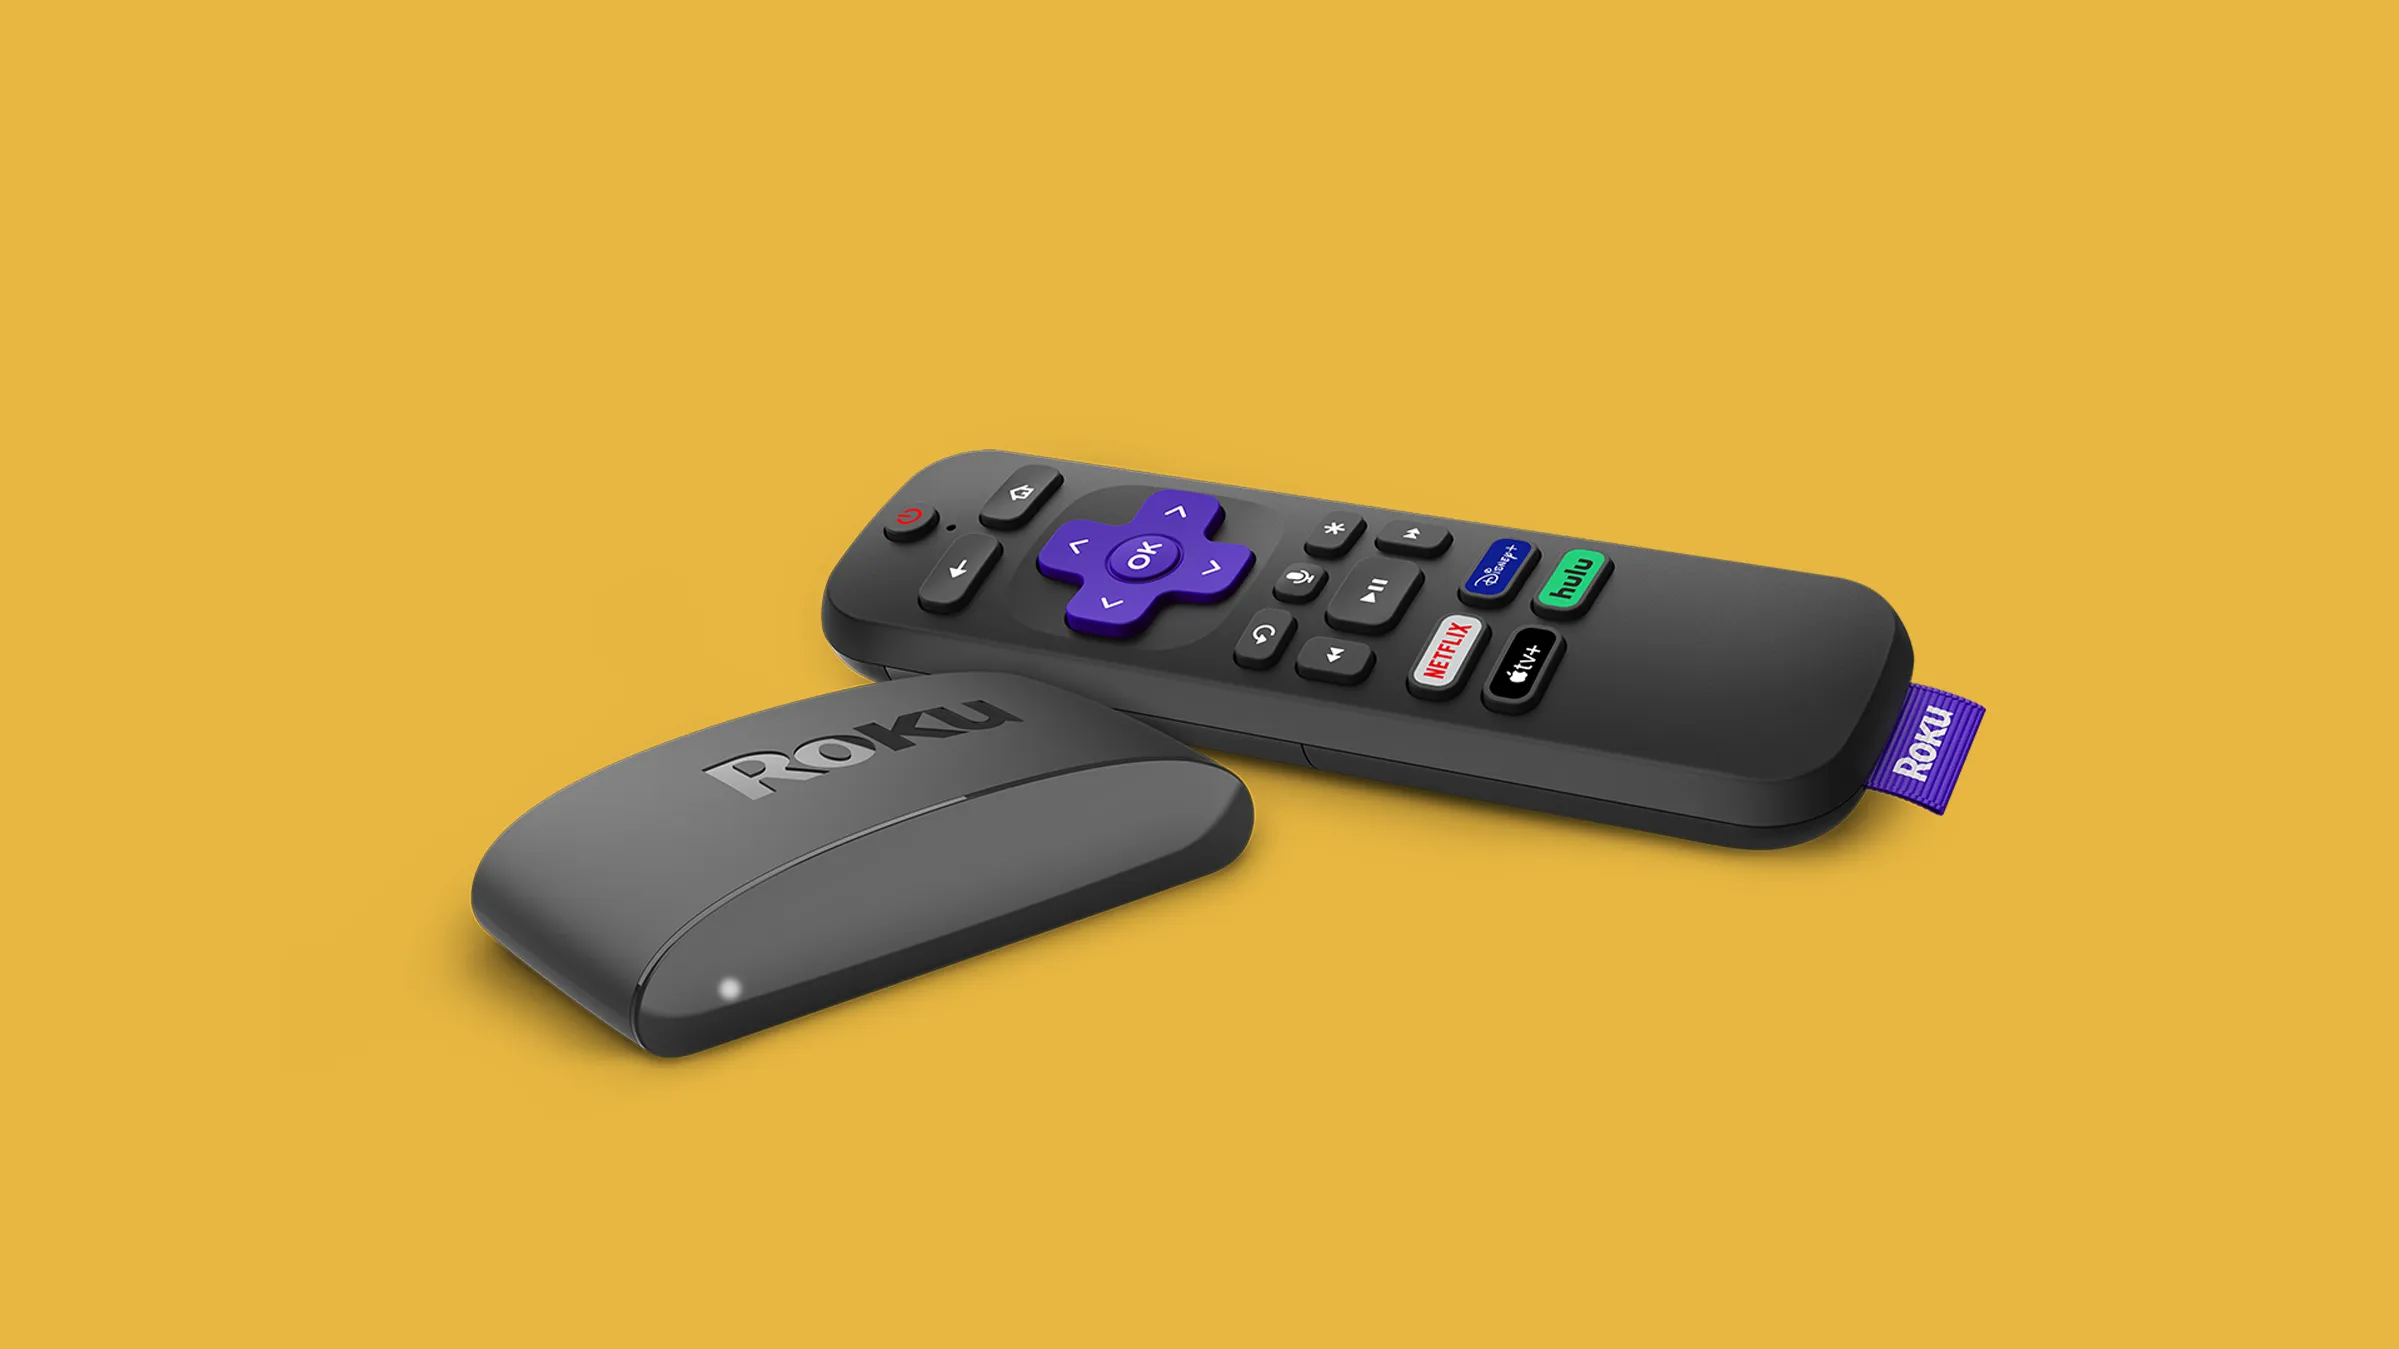
If your non-smart TV is not already equipped with built-in Wi-Fi capabilities, you will need to purchase a Wi-Fi adapter to establish a wireless connection. A Wi-Fi adapter is a device that connects to your TV’s USB or HDMI port and provides Wi-Fi connectivity.
When purchasing a Wi-Fi adapter, there are a few factors to consider. Firstly, ensure that the adapter is compatible with your TV model. You can find this information by referring to your TV’s manual or contacting the manufacturer. It’s important to choose an adapter that is specifically designed for your TV to ensure compatibility and optimal performance.
Next, consider the type of Wi-Fi adapter that best suits your needs. There are two primary types: USB adapters and HDMI adapters. USB adapters are small and plug into the USB port of your TV, while HDMI adapters connect to the HDMI port. Both options offer similar functionality, so choose the one that is compatible with your TV and fits your preferences.
Another important factor to consider is the range and signal strength of the Wi-Fi adapter. Look for an adapter that offers a strong signal and a range that can cover the distance between your TV and the Wi-Fi router. This ensures a stable and reliable connection, minimizing any interruptions during streaming.
Lastly, consider the budget for your Wi-Fi adapter. Prices can vary based on the brand, features, and specifications. Ensure that you choose an adapter that aligns with your budget while still meeting your requirements for compatibility and performance.
Once you have selected and purchased a Wi-Fi adapter that meets all the necessary criteria, you are ready to proceed to the next step of connecting it to your non-smart TV. With the adapter in hand, you’re one step closer to enjoying the benefits of Wi-Fi connectivity on your TV.
Step 3: Connect the Wi-Fi adapter to the TV
Now that you have purchased a Wi-Fi adapter compatible with your non-smart TV, it’s time to connect it to your TV and get ready for the setup process. Follow these steps to connect the Wi-Fi adapter to your TV:
- Turn off your TV and locate the USB or HDMI port where the Wi-Fi adapter will be connected. Refer to your TV’s manual if you’re unsure about the location of these ports.
- If you are using a USB adapter, simply plug it into the USB port on your TV. If you have an HDMI adapter, connect one end of the adapter to the HDMI port on your TV and the other end to the adapter’s HDMI input.
- Ensure that the connection is secure and that the adapter is firmly plugged in. Avoid applying excessive force or bending the connector while connecting the adapter.
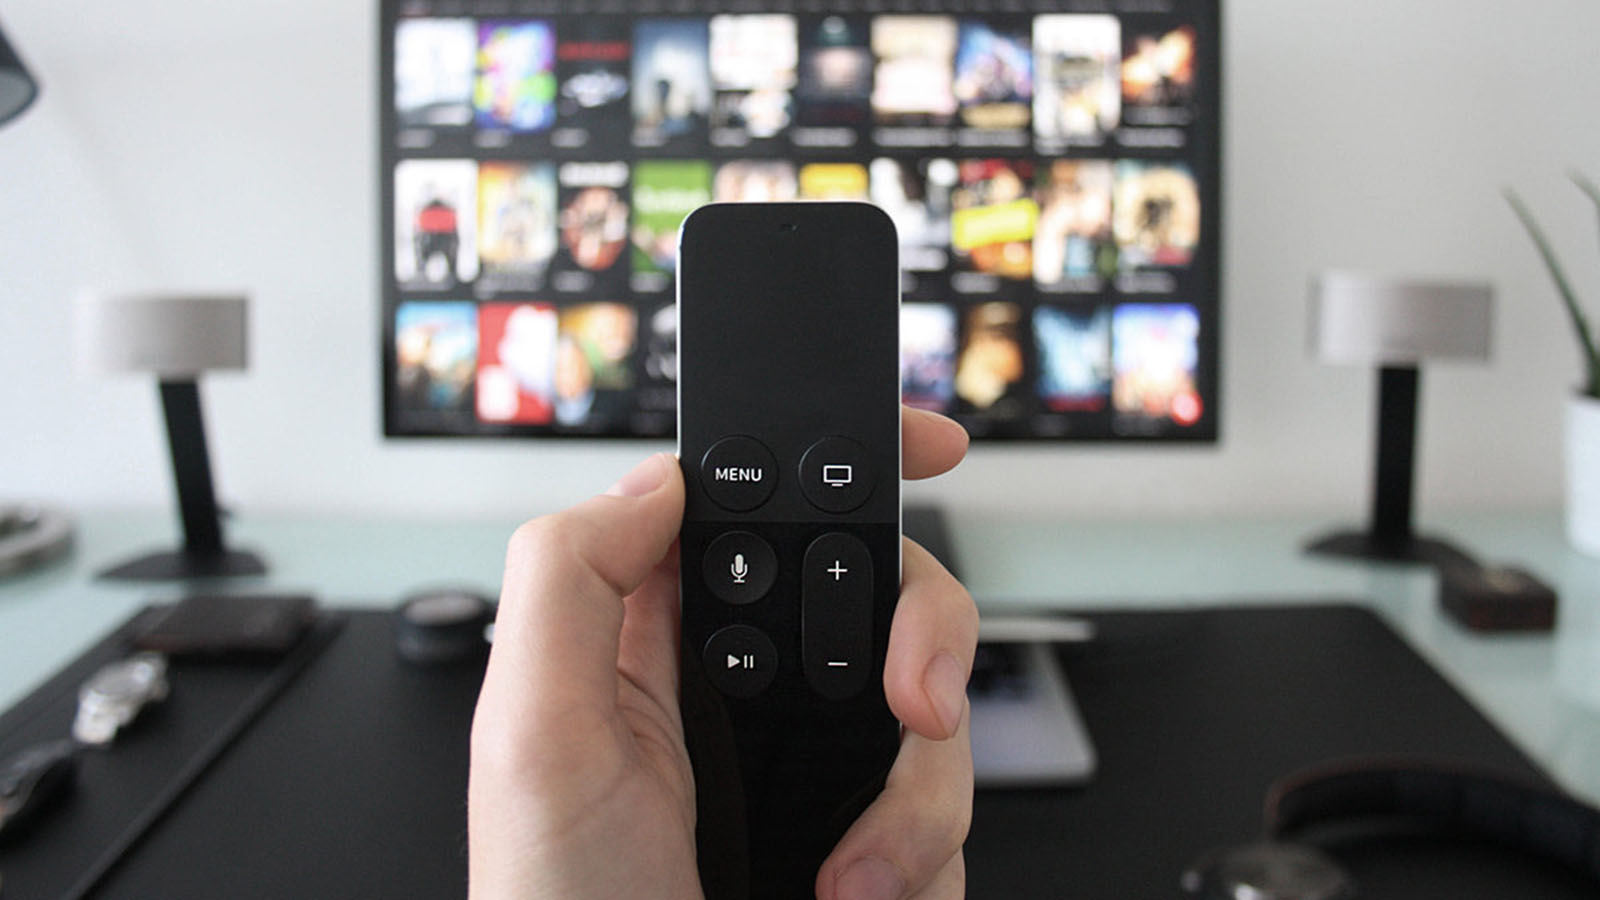
- Once the adapter is connected, turn on your TV and navigate to the input source where the adapter is connected. This can usually be done by using the TV’s remote control and selecting the corresponding input source.
After successfully connecting the Wi-Fi adapter to your TV, you are ready to proceed to the next step of setting up the adapter. This will involve configuring the Wi-Fi settings and connecting the adapter to your home Wi-Fi network. By following these steps, you will soon be enjoying all the benefits of online streaming and content access on your non-smart TV.
Step 4: Set up the Wi-Fi adapter
With the Wi-Fi adapter connected to your non-smart TV, it’s time to set it up for wireless connectivity. Follow these steps to configure the settings on the Wi-Fi adapter:
- Using your TV’s remote control, navigate to the settings or menu options on your TV. Look for the option that allows you to access the Wi-Fi adapter settings. This option may be listed as “network settings” or “internet settings”.
- Once you have accessed the Wi-Fi adapter settings, you will likely be prompted to select your Wi-Fi network. A list of available networks should appear on your TV screen. Select your home Wi-Fi network from the list.
- If prompted, enter your Wi-Fi network password. Use the remote control or the buttons on the TV to enter the password accurately. Be sure to double-check for any typing errors to ensure a successful connection.
- After entering the Wi-Fi network password, wait for the TV to establish a connection with the network. This may take a few moments as the adapter connects to the Wi-Fi and obtains an IP address.
- Once the Wi-Fi connection is established, you may be required to update the adapter’s firmware or complete any additional setup steps. Follow the on-screen instructions provided by the TV to complete the setup process.
- After completing the setup, exit the Wi-Fi adapter settings on your TV. You should now have a successfully configured Wi-Fi adapter connected to your non-smart TV.
It’s important to note that the specific steps and options may vary depending on the TV model and the Wi-Fi adapter you are using. Refer to the instructions provided with your adapter or consult the manufacturer’s website for any specific setup instructions or troubleshooting steps.
With the Wi-Fi adapter set up, you are now ready to connect your non-smart TV to your home Wi-Fi network and start enjoying the benefits of online streaming and content access. The next step will guide you on how to connect your TV to the Wi-Fi network you have configured.
Step 5: Connect to Wi-Fi network
Now that your Wi-Fi adapter is set up, it’s time to connect your non-smart TV to your Wi-Fi network. Follow these steps to establish a wireless connection:
- Using your TV’s remote control, navigate to the network settings or Wi-Fi settings on your TV. This is typically found in the settings or menu options.
- Once you have accessed the network settings, you should see a list of available Wi-Fi networks. Select your home Wi-Fi network from the list.
- If prompted, enter your Wi-Fi network password using the remote control or the buttons on the TV. Be careful to enter the password correctly, as even a small mistake can prevent a successful connection.
- After entering the password, wait for the TV to establish a connection with your Wi-Fi network. This may take a few moments as the TV communicates with the Wi-Fi adapter and connects to the network.
- Once the connection is established, you should see a confirmation message indicating that your TV is successfully connected to the Wi-Fi network.
- To ensure a stable and reliable connection, it is advisable to place your Wi-Fi router within a reasonable distance from your TV and avoid obstructions that may interfere with the signal.
After successfully connecting your non-smart TV to your Wi-Fi network, you can now enjoy the benefits of online streaming, access to a variety of apps, and a whole host of other internet-based content directly on your TV.
It’s worth noting that the process of connecting to a Wi-Fi network may vary slightly depending on your TV’s make and model. If you encounter any difficulties during the connection process, consult your TV’s manual or contact customer support for further assistance.
With your TV now connected to Wi-Fi, you can proceed to the final step to ensure a seamless connection and troubleshoot any potential issues that may arise.
Step 6: Test the connection
After connecting your non-smart TV to the Wi-Fi network, it’s important to test the connection to ensure that everything is working correctly. Follow these steps to test the Wi-Fi connection on your TV:
- Launch a streaming app or open a web browser on your TV that requires an internet connection, such as Netflix, YouTube, or your favorite streaming service.
- Navigate through the app or website and select a video or content to play.
- Wait for the content to buffer and start playing. Pay attention to the quality of the stream and any buffering or playback issues.
- If the video plays smoothly without any buffering or interruptions, it’s a good indication that your Wi-Fi connection is working properly.
- If you experience buffering or playback issues, try moving your Wi-Fi router closer to your TV or positioning your TV closer to the router to strengthen the Wi-Fi signal.
- If the issues persist, you may want to troubleshoot your Wi-Fi network by ensuring that your internet connection is stable, your Wi-Fi router is functioning properly, and there are no obstacles or interference affecting the signal.
- If necessary, you can also consult the troubleshooting guide provided with your Wi-Fi adapter or contact the manufacturer’s customer support for further assistance.
By testing the Wi-Fi connection on your non-smart TV, you can confirm that everything is working as expected and enjoy a seamless streaming experience. If you encounter any issues, it’s important to troubleshoot and address them to ensure optimal performance and uninterrupted content playback.
With the Wi-Fi connection successfully established and tested, you can now enjoy a wide range of online streaming services, access apps, and explore a variety of content options right from your non-smart TV.
Conclusion
Connecting a non-smart TV to Wi-Fi might seem like a daunting task, but with the help of a Wi-Fi adapter, it’s actually quite simple. By following the steps outlined in this guide, you can transform your non-smart TV into a smart one, enabling you to enjoy the benefits of online streaming, access to apps, and a wide range of entertainment options.
Remember to first check for Wi-Fi compatibility, ensuring that your TV has the necessary ports to connect the Wi-Fi adapter. Then, purchase a Wi-Fi adapter that is compatible with your TV model and meets your requirements. Connect the adapter to your TV, set it up using the TV’s menu options, and connect it to your home Wi-Fi network. Finally, test the connection by streaming content to ensure a smooth and uninterrupted experience.
If you encounter any issues during the setup process, refer to your TV’s manual or contact customer support for assistance. Keep in mind that different TV models and Wi-Fi adapters may have slightly different setup procedures, so it’s always best to follow the instructions specific to your devices.
Once your non-smart TV is connected to Wi-Fi, you can enjoy the convenience and versatility of online streaming, accessing a wide range of content at your fingertips. Stay up-to-date with the latest TV shows, movies, and videos without the need for additional devices or cables.
So, get ready to upgrade your non-smart TV with Wi-Fi connectivity and unlock a world of entertainment possibilities. Whether it’s binge-watching your favorite series or streaming the latest blockbuster movies, your non-smart TV will now be transformed into a hub of entertainment for your viewing pleasure.
Happy streaming!


