Introduction
Welcome to the world of classic gaming! If you’re a fan of retro video games, you’re probably excited about hooking up your NES (Nintendo Entertainment System) to your HDMI TV to experience the nostalgia all over again. The NES, although it was released decades ago, still holds a special place in the hearts of many gamers.
HDMI (High-Definition Multimedia Interface) is a standard for transmitting audio and video signals from your gaming console to your television, providing a high-quality viewing experience. By connecting your NES to your HDMI TV, you can enjoy your favorite NES games on the big screen with vibrant colors and improved picture and sound quality.
In this guide, we’ll walk you through the process of hooking up your NES to an HDMI TV. Whether you want to relive your childhood memories, introduce classic games to a new generation, or simply indulge in the timeless classics of the NES library, this guide will help you bring the pixelated magic to your modern entertainment setup.
Before we dive into the step-by-step instructions, let’s take a moment to understand why you should consider hooking up your NES to an HDMI TV.
Why Hook Up NES to HDMI TV?
The Nintendo Entertainment System (NES) revolutionized the gaming industry and brought joy to millions of gamers worldwide. With its iconic library of games and simple yet captivating gameplay, the NES holds a special place in gaming history. So, why would you want to connect your NES to an HDMI TV?
One of the main reasons is the enhanced visual experience. While the original NES was designed to be played on older CRT (cathode ray tube) televisions, connecting it to an HDMI TV allows you to enjoy your favorite NES games in high definition. The improved resolution brings out sharper graphics and vibrant colors, making the games look better than ever before.
Another reason is the enhanced audio experience. The NES games had memorable soundtracks that contributed to their immersive gameplay. By connecting your NES to an HDMI TV, you can ensure that you’re getting the best audio quality possible. HDMI provides a digital audio signal, resulting in cleaner and crisper sound compared to traditional AV connections.
Furthermore, connecting your NES to an HDMI TV allows for convenience and compatibility. Most modern TVs have HDMI ports, making it easy to connect your NES without the need for cumbersome adapters. In addition, HDMI connectivity ensures compatibility with newer TVs, eliminating the need for searching for older TVs that support AV connections.
By hooking up your NES to an HDMI TV, you can also take advantage of additional features provided by modern televisions. This includes image enhancement technologies and customizable display settings. Enhancements such as upscaling and filtering can further improve the visual quality of your NES games, ensuring a more immersive and enjoyable gaming experience.
Lastly, by connecting your NES to an HDMI TV, you can share the experience with friends and family. Gather around the big screen and relive the magic of classic NES games together. Whether it’s competitive multiplayer games or cooperative adventures, playing on a larger screen allows everyone to see and participate, creating lasting memories and bonding over shared gaming experiences.
Now that we’ve discussed the benefits of hooking up your NES to an HDMI TV, let’s move on to the equipment you’ll need to get started.
What You’ll Need
Before you can connect your NES to an HDMI TV, you’ll need to gather a few essential items. Here’s a list of what you’ll need:
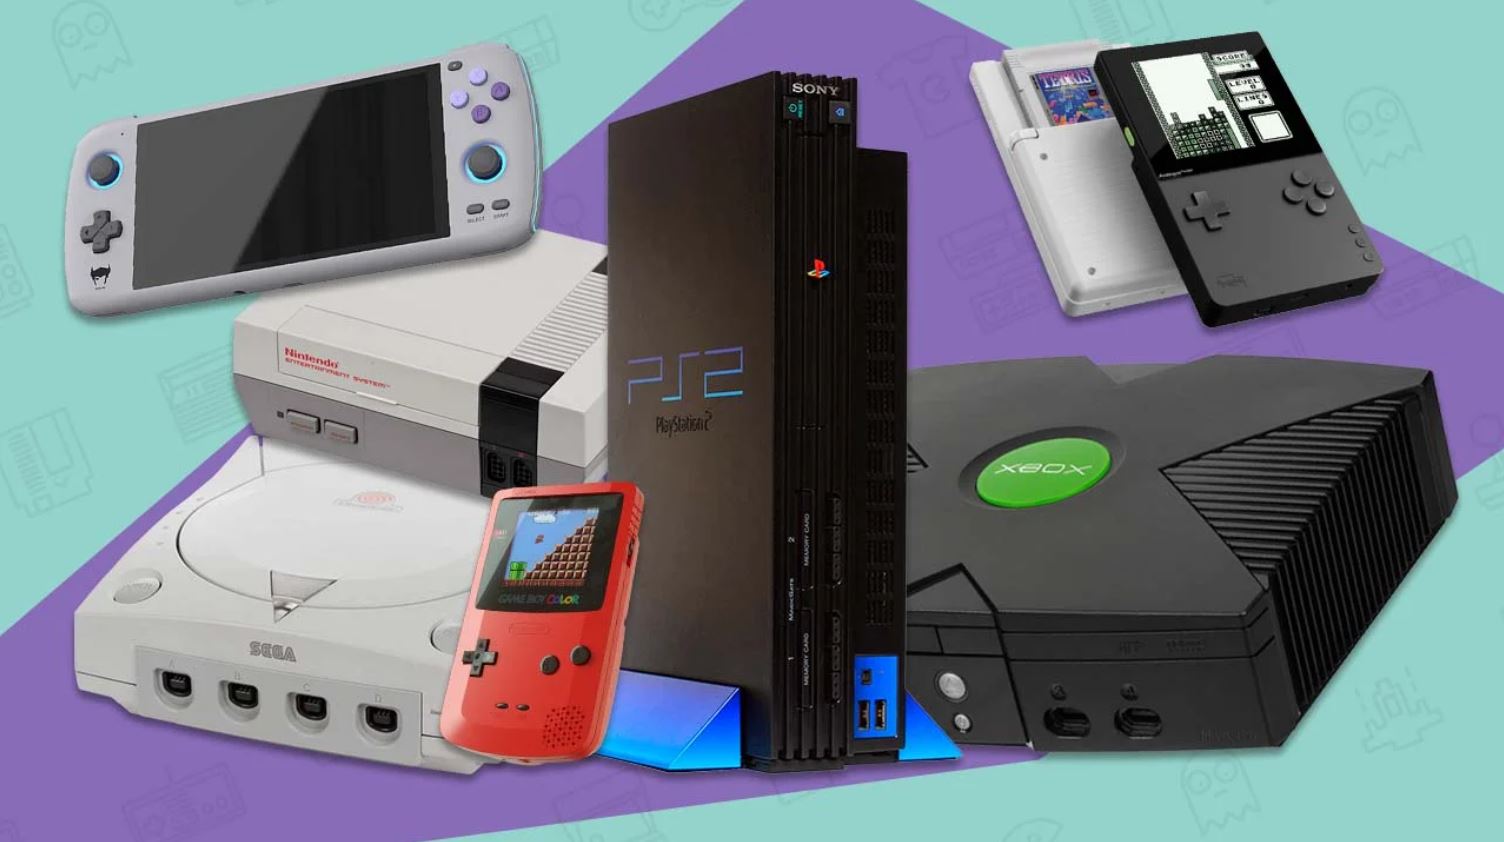
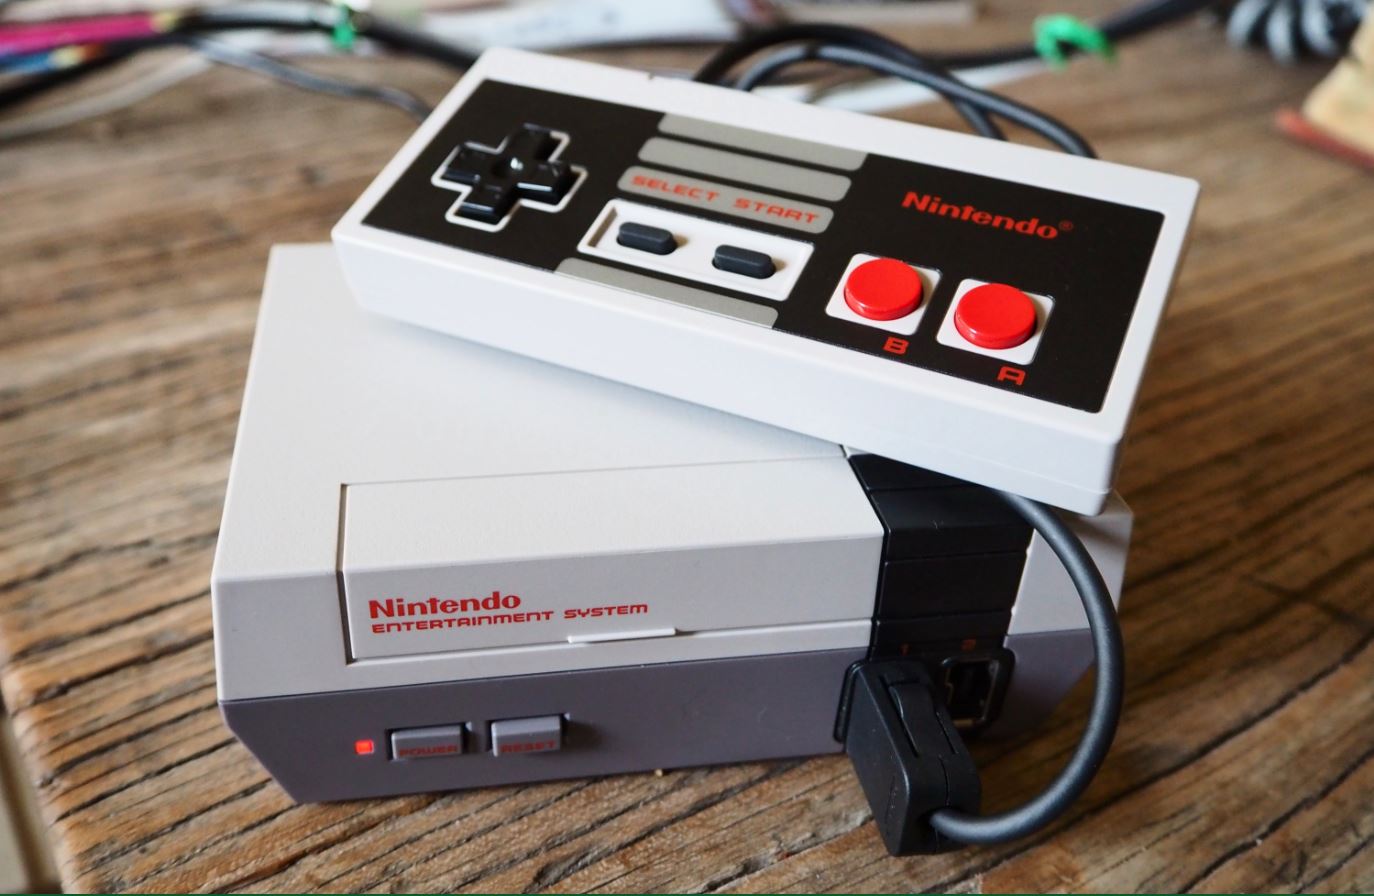
- Nintendo Entertainment System (NES): The heart and soul of this setup is, of course, the NES console itself. Make sure you have a working NES console to begin with.
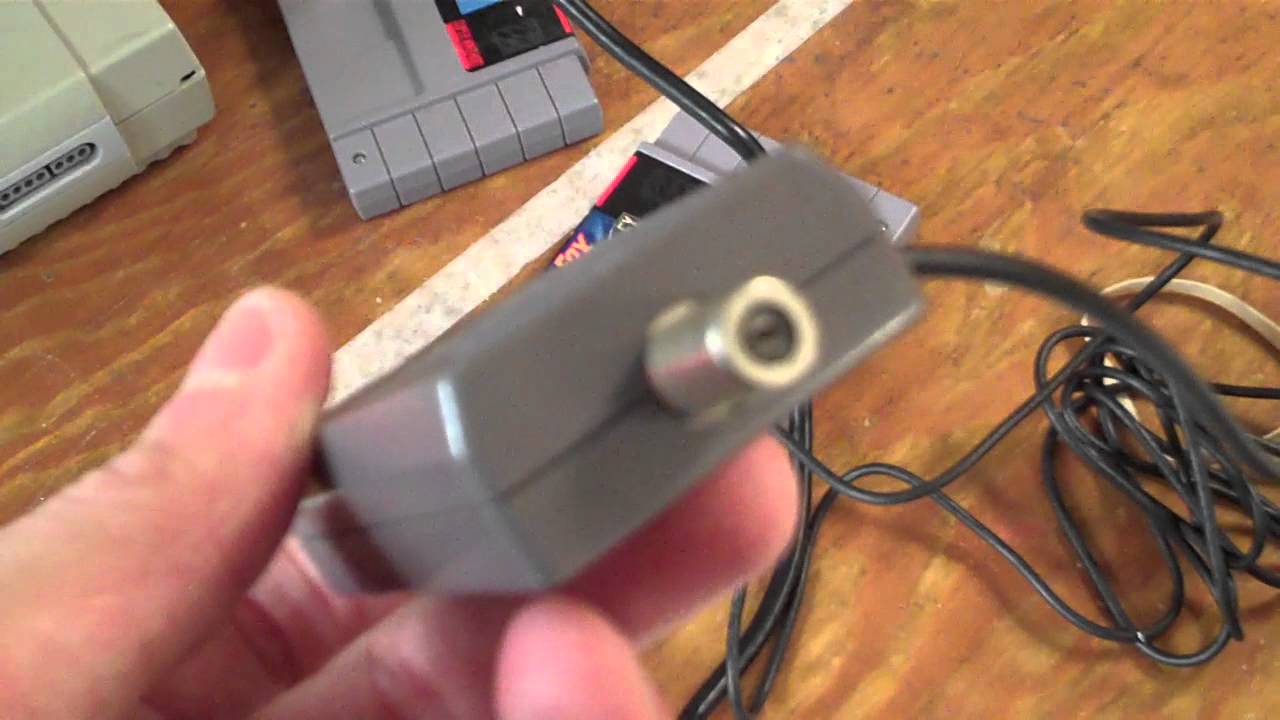
- AV Cables: The NES originally came with AV cables for connecting to older televisions. These are the cables that will transmit the audio and video signals from your NES to the RCA-to-HDMI converter.
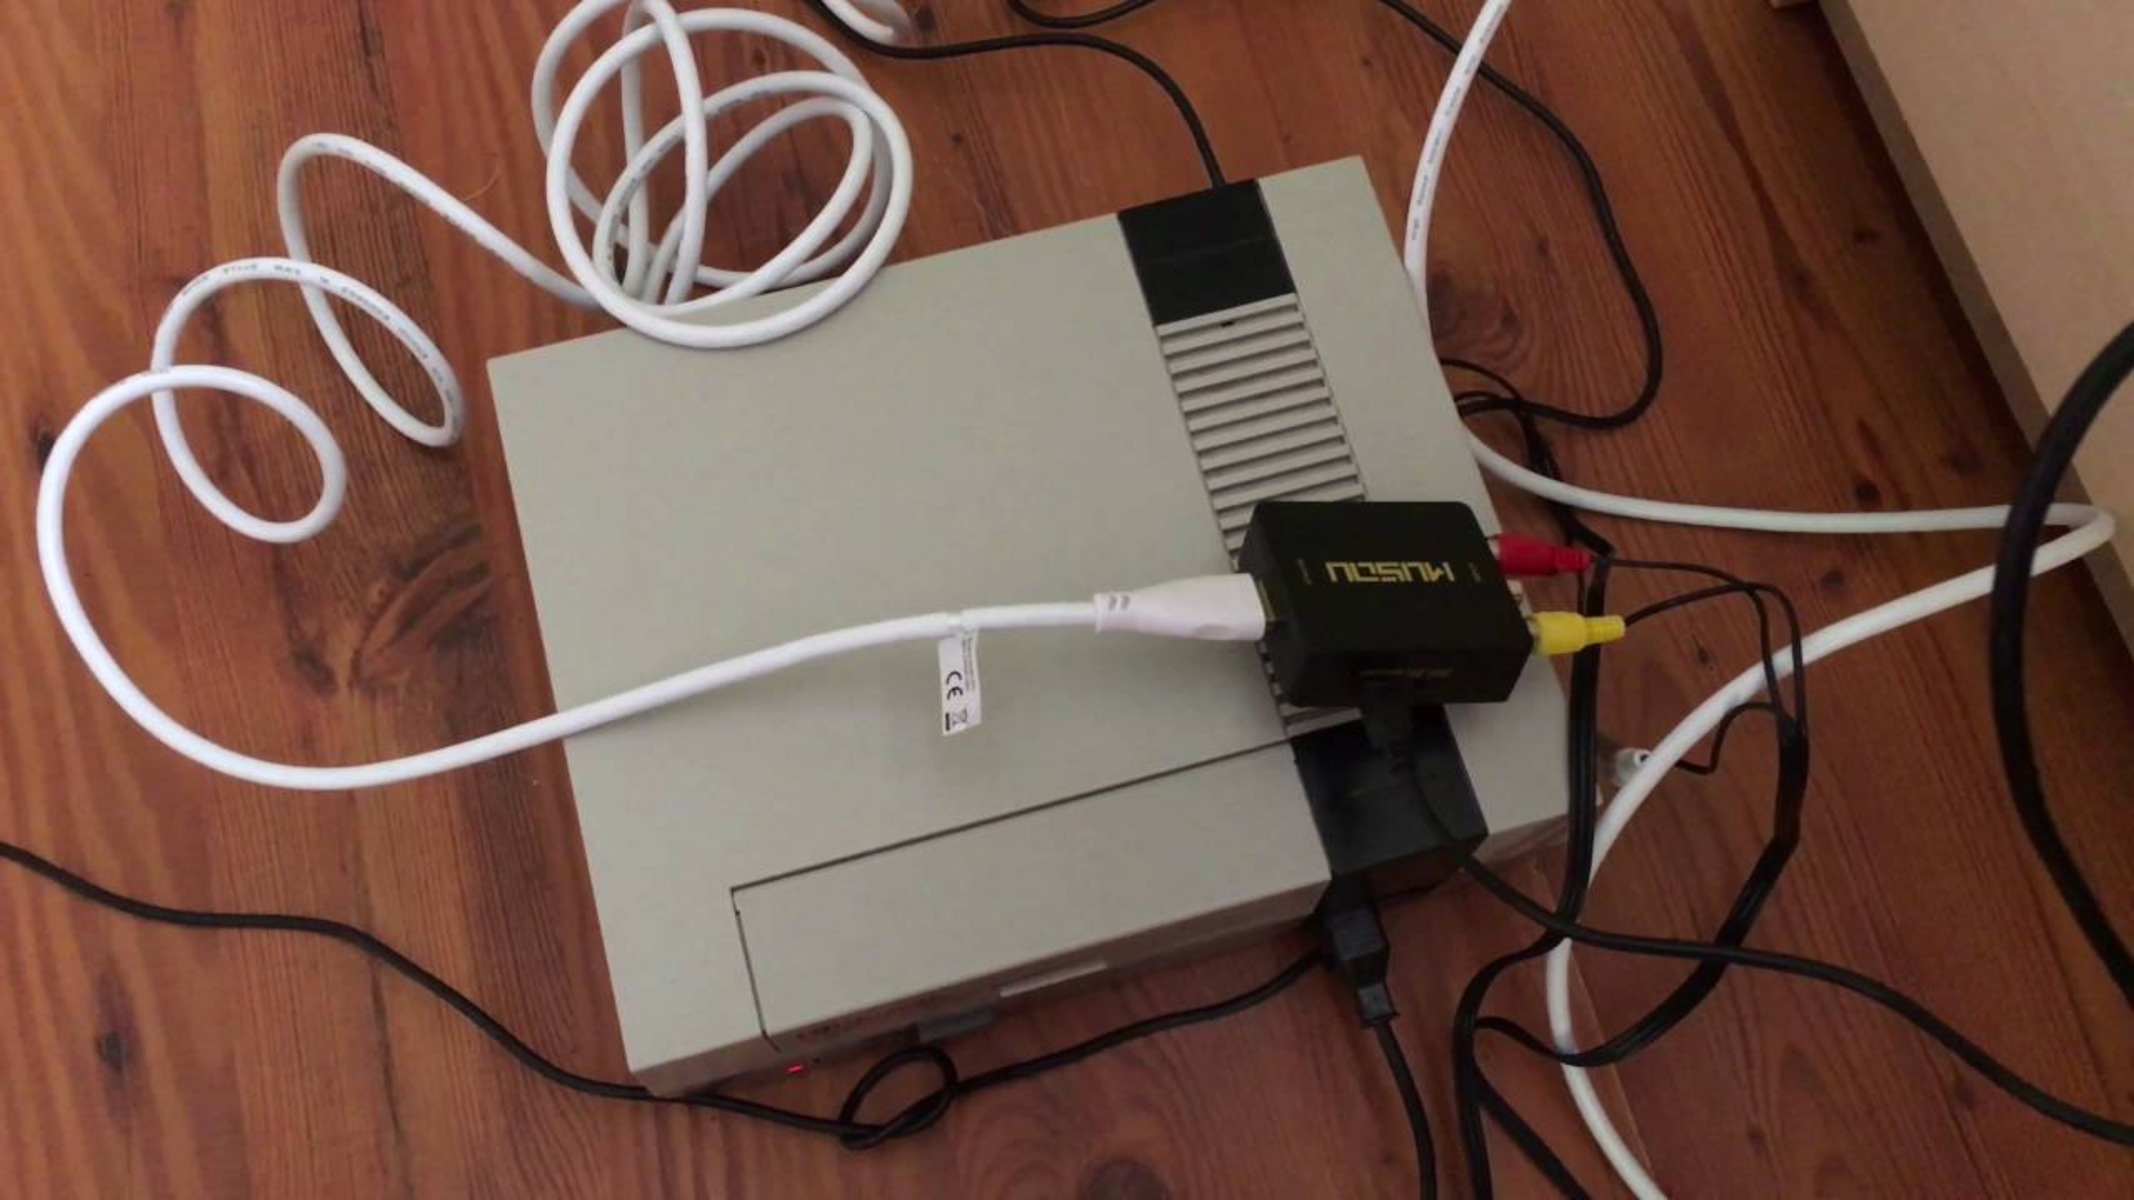
- RCA-to-HDMI Converter: To connect your NES to an HDMI TV, you’ll need an RCA-to-HDMI converter. This device converts the analog signal from the NES AV cables to a digital HDMI signal that your modern TV can process.
- HDMI Cable: You’ll need an HDMI cable to connect the RCA-to-HDMI converter to your HDMI TV. Ensure that you have a high-quality HDMI cable that is long enough to reach your TV from the converter.
- Power Supply: The RCA-to-HDMI converter will require power to function. Depending on the converter model, it may come with a power adapter or require batteries. Make sure you have the necessary power supply for your converter.
Once you have gathered all the necessary equipment, you’re ready to proceed to the next steps of connecting your NES to an HDMI TV. In the following sections, we will guide you through the process step-by-step, ensuring a smooth and hassle-free setup.
Now that you have the required items, let’s move on to the step-by-step instructions on how to connect your NES to an HDMI TV.
Step 1: Purchase the Necessary Equipment
Before you can start connecting your NES to an HDMI TV, you’ll need to ensure that you have all the necessary equipment. If you’re missing any of the items mentioned below, take the time to purchase them before proceeding.
Nintendo Entertainment System (NES): If you don’t already have an NES console, you can try searching for one at local gaming stores, online marketplaces, or even garage sales. Make sure the console is in good working condition and comes with the necessary cables.
AV Cables: The NES originally came with AV cables that are used to connect the console to a television. If you don’t have the original cables, you can look for compatible third-party cables that are designed specifically for the NES.
RCA-to-HDMI Converter: This is a crucial component that converts the analog signals from the AV cables into a digital HDMI signal that your TV can process. Look for a converter that is compatible with the NES and supports HDMI output.
HDMI Cable: You’ll need an HDMI cable to connect the converter to your HDMI TV. Make sure you choose a high-quality cable with the appropriate length to reach from the converter to your TV.
Power Supply: Most RCA-to-HDMI converters require a power source to function. Check the specifications of your converter to determine if it comes with a power adapter or requires batteries. Ensure you have the necessary power supply for your converter.
By acquiring these essential items, you’ll be fully equipped to proceed with connecting your NES to an HDMI TV. Having all the necessary equipment ready will make the setup process smoother and more efficient.
In the next step, we will guide you through connecting the AV cables to your NES console.
Step 2: Connect the AV Cables to Your NES
With all the necessary equipment ready, it’s time to connect the AV cables to your NES console. Follow these step-by-step instructions to ensure a proper connection:
- Locate the AV ports on your NES console. These are usually located at the back of the console.
- Take the AV cables and identify the corresponding connectors. The NES AV cables typically have two connectors: one yellow for video and two white and red for audio.
- Insert the yellow connector of the AV cable into the yellow video port on the NES console.
- Insert the white and red connectors of the AV cable into the respective audio ports on the NES console. Match the colors on the cables with the colors on the ports.
- Ensure that the connections are secure and snug. A loose connection may result in poor audio or video quality.
Once you’ve successfully connected the AV cables to your NES console, you’re ready to move on to the next step of connecting the AV cables to the RCA-to-HDMI converter. Remember to handle the cables gently and avoid any unnecessary tugging or pulling to prevent damage to the connectors or the console.
In the following step, we will guide you through connecting the AV cables to the RCA-to-HDMI converter, which will facilitate the conversion of analog signals to digital HDMI signals.
Step 3: Connect the AV Cables to the RCA-to-HDMI Converter
Now that you have connected the AV cables to your NES console, it’s time to connect them to the RCA-to-HDMI converter. Follow these step-by-step instructions to ensure a proper connection:
- Locate the AV input ports on the RCA-to-HDMI converter. These ports are usually color-coded, with yellow for video and white and red for audio.
- Take the other end of the AV cables connected to your NES console and identify the corresponding connectors.
- Insert the yellow connector into the yellow video input port on the RCA-to-HDMI converter.
- Insert the white and red connectors into the respective audio input ports on the converter. Match the colors on the cables with the colors on the ports.
- Ensure that the connections are secure and snug. A loose connection may result in poor audio or video quality.
Once you have successfully connected the AV cables to the RCA-to-HDMI converter, you have established the link between your NES console and the converter. This step is crucial as the converter will process the analog signals from the AV cables and convert them into digital HDMI signals that your HDMI TV can understand.
In the next step, we will guide you through connecting the HDMI cable to the RCA-to-HDMI converter and your HDMI TV, allowing you to view the NES games on the big screen.
Step 4: Connect the HDMI Cable to Your TV
Now that the AV cables are connected to the RCA-to-HDMI converter, it’s time to connect the HDMI cable to your TV. Follow these step-by-step instructions to ensure a proper connection:
- Locate the HDMI input port on your HDMI TV. These ports are typically labeled as HDMI and are located on the back or side of the TV.
- Take the HDMI cable and insert one end into the HDMI output port on the RCA-to-HDMI converter.
- Insert the other end of the HDMI cable into the HDMI input port on your TV.
- Ensure that the connection is secure by gently pushing the HDMI cable into the ports. You should feel a click when the cable is properly inserted.
Once you have successfully connected the HDMI cable to both the RCA-to-HDMI converter and your HDMI TV, you have completed the physical setup of your NES console to the TV. The HDMI cable will transmit both the audio and video signals from the converter to the TV, ensuring a high-quality gaming experience.
In the next step, we will guide you through powering up your console and testing the connection to ensure everything is working correctly.
Step 5: Power Up and Test
With all the connections made, it’s time to power up your NES console and test the connection to ensure everything is working correctly. Follow these step-by-step instructions:
- Plug in the power supply for your NES console and ensure it is properly connected.
- Turn on your HDMI TV and set it to the correct HDMI input that corresponds to the port where your NES is connected.
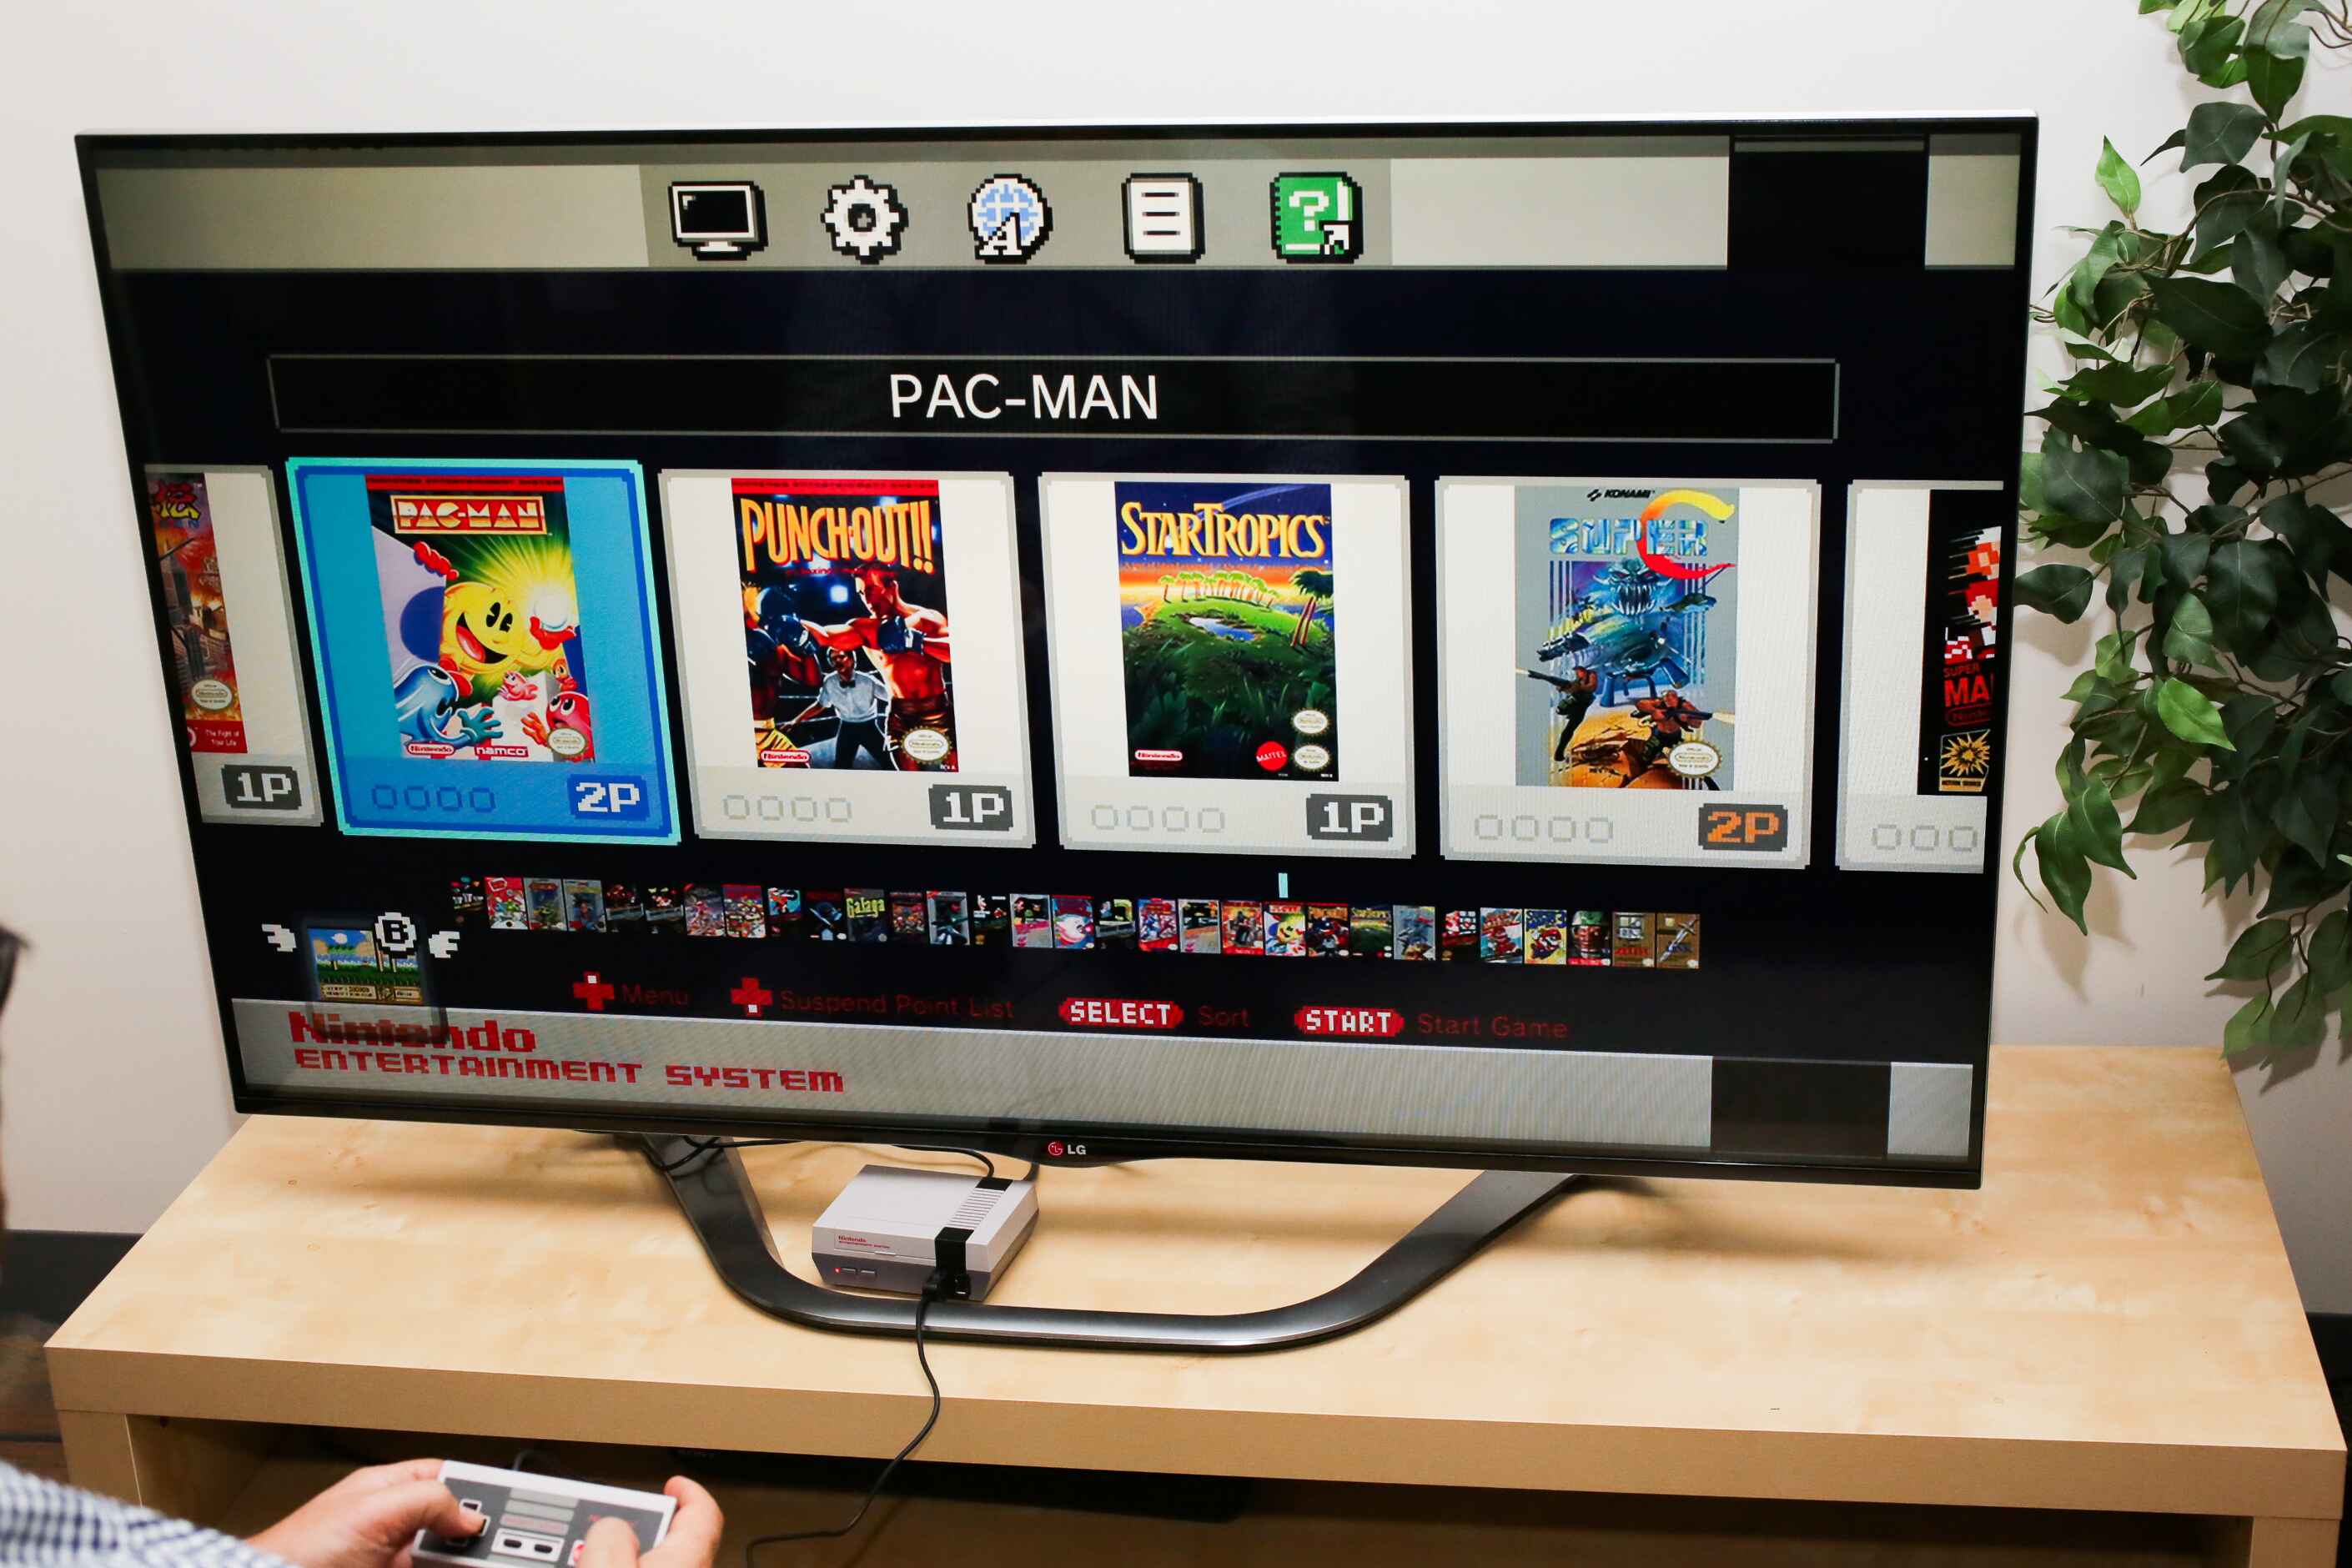
- Power on your NES console and wait for it to boot up. You should see the familiar NES startup screen on your TV.
- Select a game from your NES library and start playing. You should see the game displayed on your HDMI TV with improved graphics and enhanced audio.
- Test the audio by adjusting the volume on your TV and ensuring that the sound is coming through clearly and at the desired level.
If you encounter any issues, such as no display or audio problems, here are a few troubleshooting tips to try:
- Check that all the connections are secure and properly inserted.
- Try a different HDMI cable to rule out any issues with the cable itself.
- Ensure that your HDMI TV is set to the correct HDMI input source.
- Restart your NES console and TV.
- Verify that your RCA-to-HDMI converter is receiving power and functioning correctly.
By following these troubleshooting tips, you should be able to identify and resolve any issues that may arise during the testing process.
Congratulations! You have successfully connected your NES console to your HDMI TV. Take a moment to enjoy the nostalgia and immerse yourself in the world of classic gaming.
Now that you’re all set up, it’s time to embark on your retro gaming journey and relive the excitement of the NES era. Get ready to experience the timeless classics and enjoy the enhanced graphics and sound on your HDMI TV.
Troubleshooting Tips
While setting up your NES console to an HDMI TV, you might encounter some common issues. Here are a few troubleshooting tips to help you resolve them:
- No Display: If you don’t see anything on your TV screen, double-check that all the connections are secure. Ensure the power is correctly supplied to both the NES console and the RCA-to-HDMI converter. You can also try using a different HDMI cable or connecting to a different HDMI input on your TV.
- Audio Issues: If you’re experiencing problems with the audio, verify that the AV cables are properly connected to both the NES console and the RCA-to-HDMI converter. Ensure that the audio settings on your TV are adjusted correctly. If the issue persists, try using different AV cables or testing the setup on a different TV.
- Poor Picture Quality: If the picture quality is not as expected or appears distorted, check that all cables are securely connected and not damaged. Try adjusting the settings on your TV to see if there is any improvement. Additionally, some RCA-to-HDMI converters have settings for picture enhancements, so you may need to adjust those to optimize the display quality.
- Incompatibility: In rare cases, certain NES consoles or RCA-to-HDMI converters may not be fully compatible. If you experience compatibility issues, try using different converters or testing the setup with another NES console or TV. Keep in mind that some NES consoles may require modifications or additional adapters to work with modern equipment.
- Interference: If you notice interference, such as lines or flickering on the screen, ensure that the cables are not running near any other electronic devices that may cause interference. Try repositioning the cables to avoid interference or using shielded cables for better signal quality.
Remember to read the user manuals for both your NES console and the RCA-to-HDMI converter for specific troubleshooting steps and support. Sometimes, a simple restart of the console and the TV can also resolve minor issues.
By following these troubleshooting tips, you’ll be able to overcome common challenges and enjoy a smooth gaming experience with your NES console connected to an HDMI TV.
Conclusion
Congratulations! You have successfully connected your NES console to your HDMI TV, opening up a world of classic gaming on the big screen. By following the step-by-step instructions and troubleshooting tips provided in this guide, you have ensured a seamless setup process and an enhanced gaming experience.
By hooking up your NES to an HDMI TV, you have unlocked the full potential of your favorite retro games. The improved visual quality, enhanced audio, and compatibility with modern TVs make playing NES games a truly immersive and enjoyable experience.
Remember to take care of your NES console, AV cables, and RCA-to-HDMI converter to ensure their longevity and proper functionality. Keep them stored safely when not in use and avoid any rough handling that may damage the connectors or cables.
Now that you’re all set up, it’s time to dive into the vast library of NES games and embark on nostalgic gaming adventures. Revisit the classics, challenge your friends in multiplayer games, or introduce a new generation to the wonders of retro gaming.
Enjoy the pixelated magic, relish in the iconic soundtracks, and embrace the nostalgia that the NES brings. Let the memories of childhood gaming flood back as you rediscover the joy of playing timeless classics. Happy gaming!