Introduction
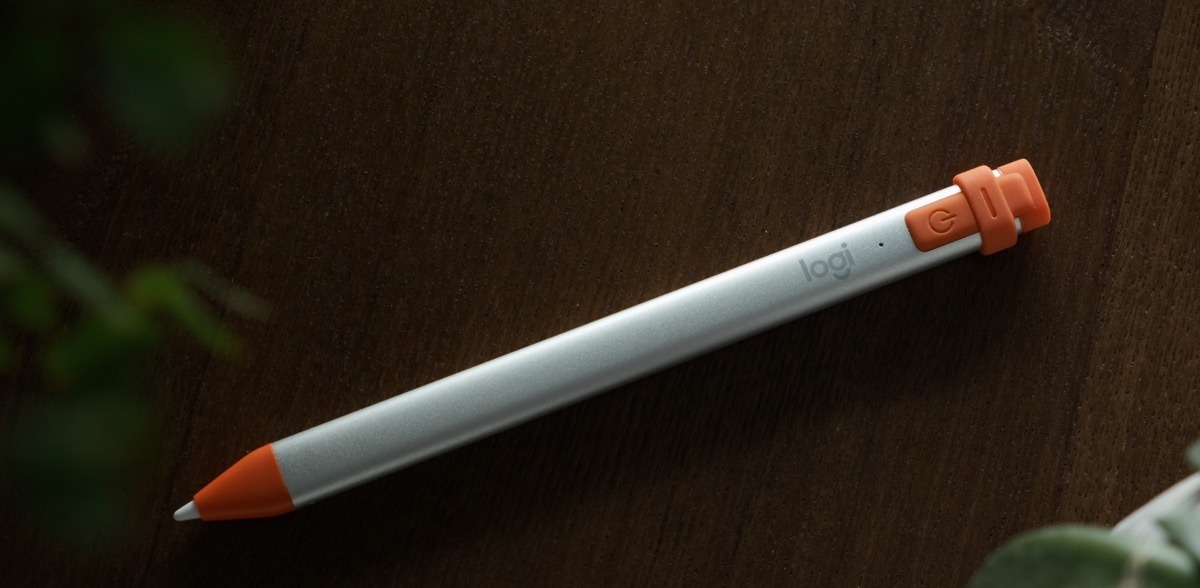
Welcome to this guide on how to connect your Logitech Crayon to an iPad. The Logitech Crayon is a versatile stylus designed specifically for the iPad, offering an enhanced digital writing and drawing experience. Whether you’re an artist, student, or professional, connecting the Logitech Crayon to your iPad can unlock a new level of creativity and productivity.
Connecting the Logitech Crayon to your iPad is a straightforward process that only requires a few simple steps. By following these instructions, you’ll be able to pair your Crayon with your iPad and start using it in no time.
Before we begin, it’s important to note that not all iPads are compatible with the Logitech Crayon. The Crayon is primarily designed for use with the 6th generation iPad, 3rd generation iPad Air, and 5th generation iPad mini. So, make sure you have one of these iPad models before proceeding with the connection process.
Now that we have the compatibility aspect covered, let’s move on to the steps required to connect your Logitech Crayon to your iPad. By the end of this guide, you’ll be able to seamlessly pair the Crayon with your iPad and enjoy its full functionality.
Step 1: Check Compatibility
Before connecting your Logitech Crayon to your iPad, it’s essential to ensure that they are compatible with each other. The Logitech Crayon is specifically designed to work with certain iPad models, so checking compatibility is crucial to ensure a successful connection.
To check if your iPad is compatible with the Logitech Crayon, you need to determine the model of your iPad. You can do this by going to the “Settings” app on your iPad and selecting “General.” From there, tap on “About,” and you will see the model number listed.
The Logitech Crayon is compatible with the 6th generation iPad, 3rd generation iPad Air, and 5th generation iPad mini. These iPad models support the necessary features and technologies required for seamless integration with the Crayon.
If your iPad matches one of these models, congratulations! You can proceed to the next step. However, if your iPad is not one of the compatible models, unfortunately, the Logitech Crayon may not work with your device.
It’s important to note that compatibility is not limited to the model of the iPad alone. You should also ensure that your iPad is running the latest version of iOS, as older versions might not offer full compatibility with the Logitech Crayon. To update your iOS, go to the “Settings” app, select “General,” and then tap on “Software Update.”
By taking a moment to check the compatibility of your iPad with the Logitech Crayon, you can save yourself from any frustrations or disappointments down the line. Once you’ve confirmed compatibility, you can confidently move on to the next step and prepare your Logitech Crayon for connection.
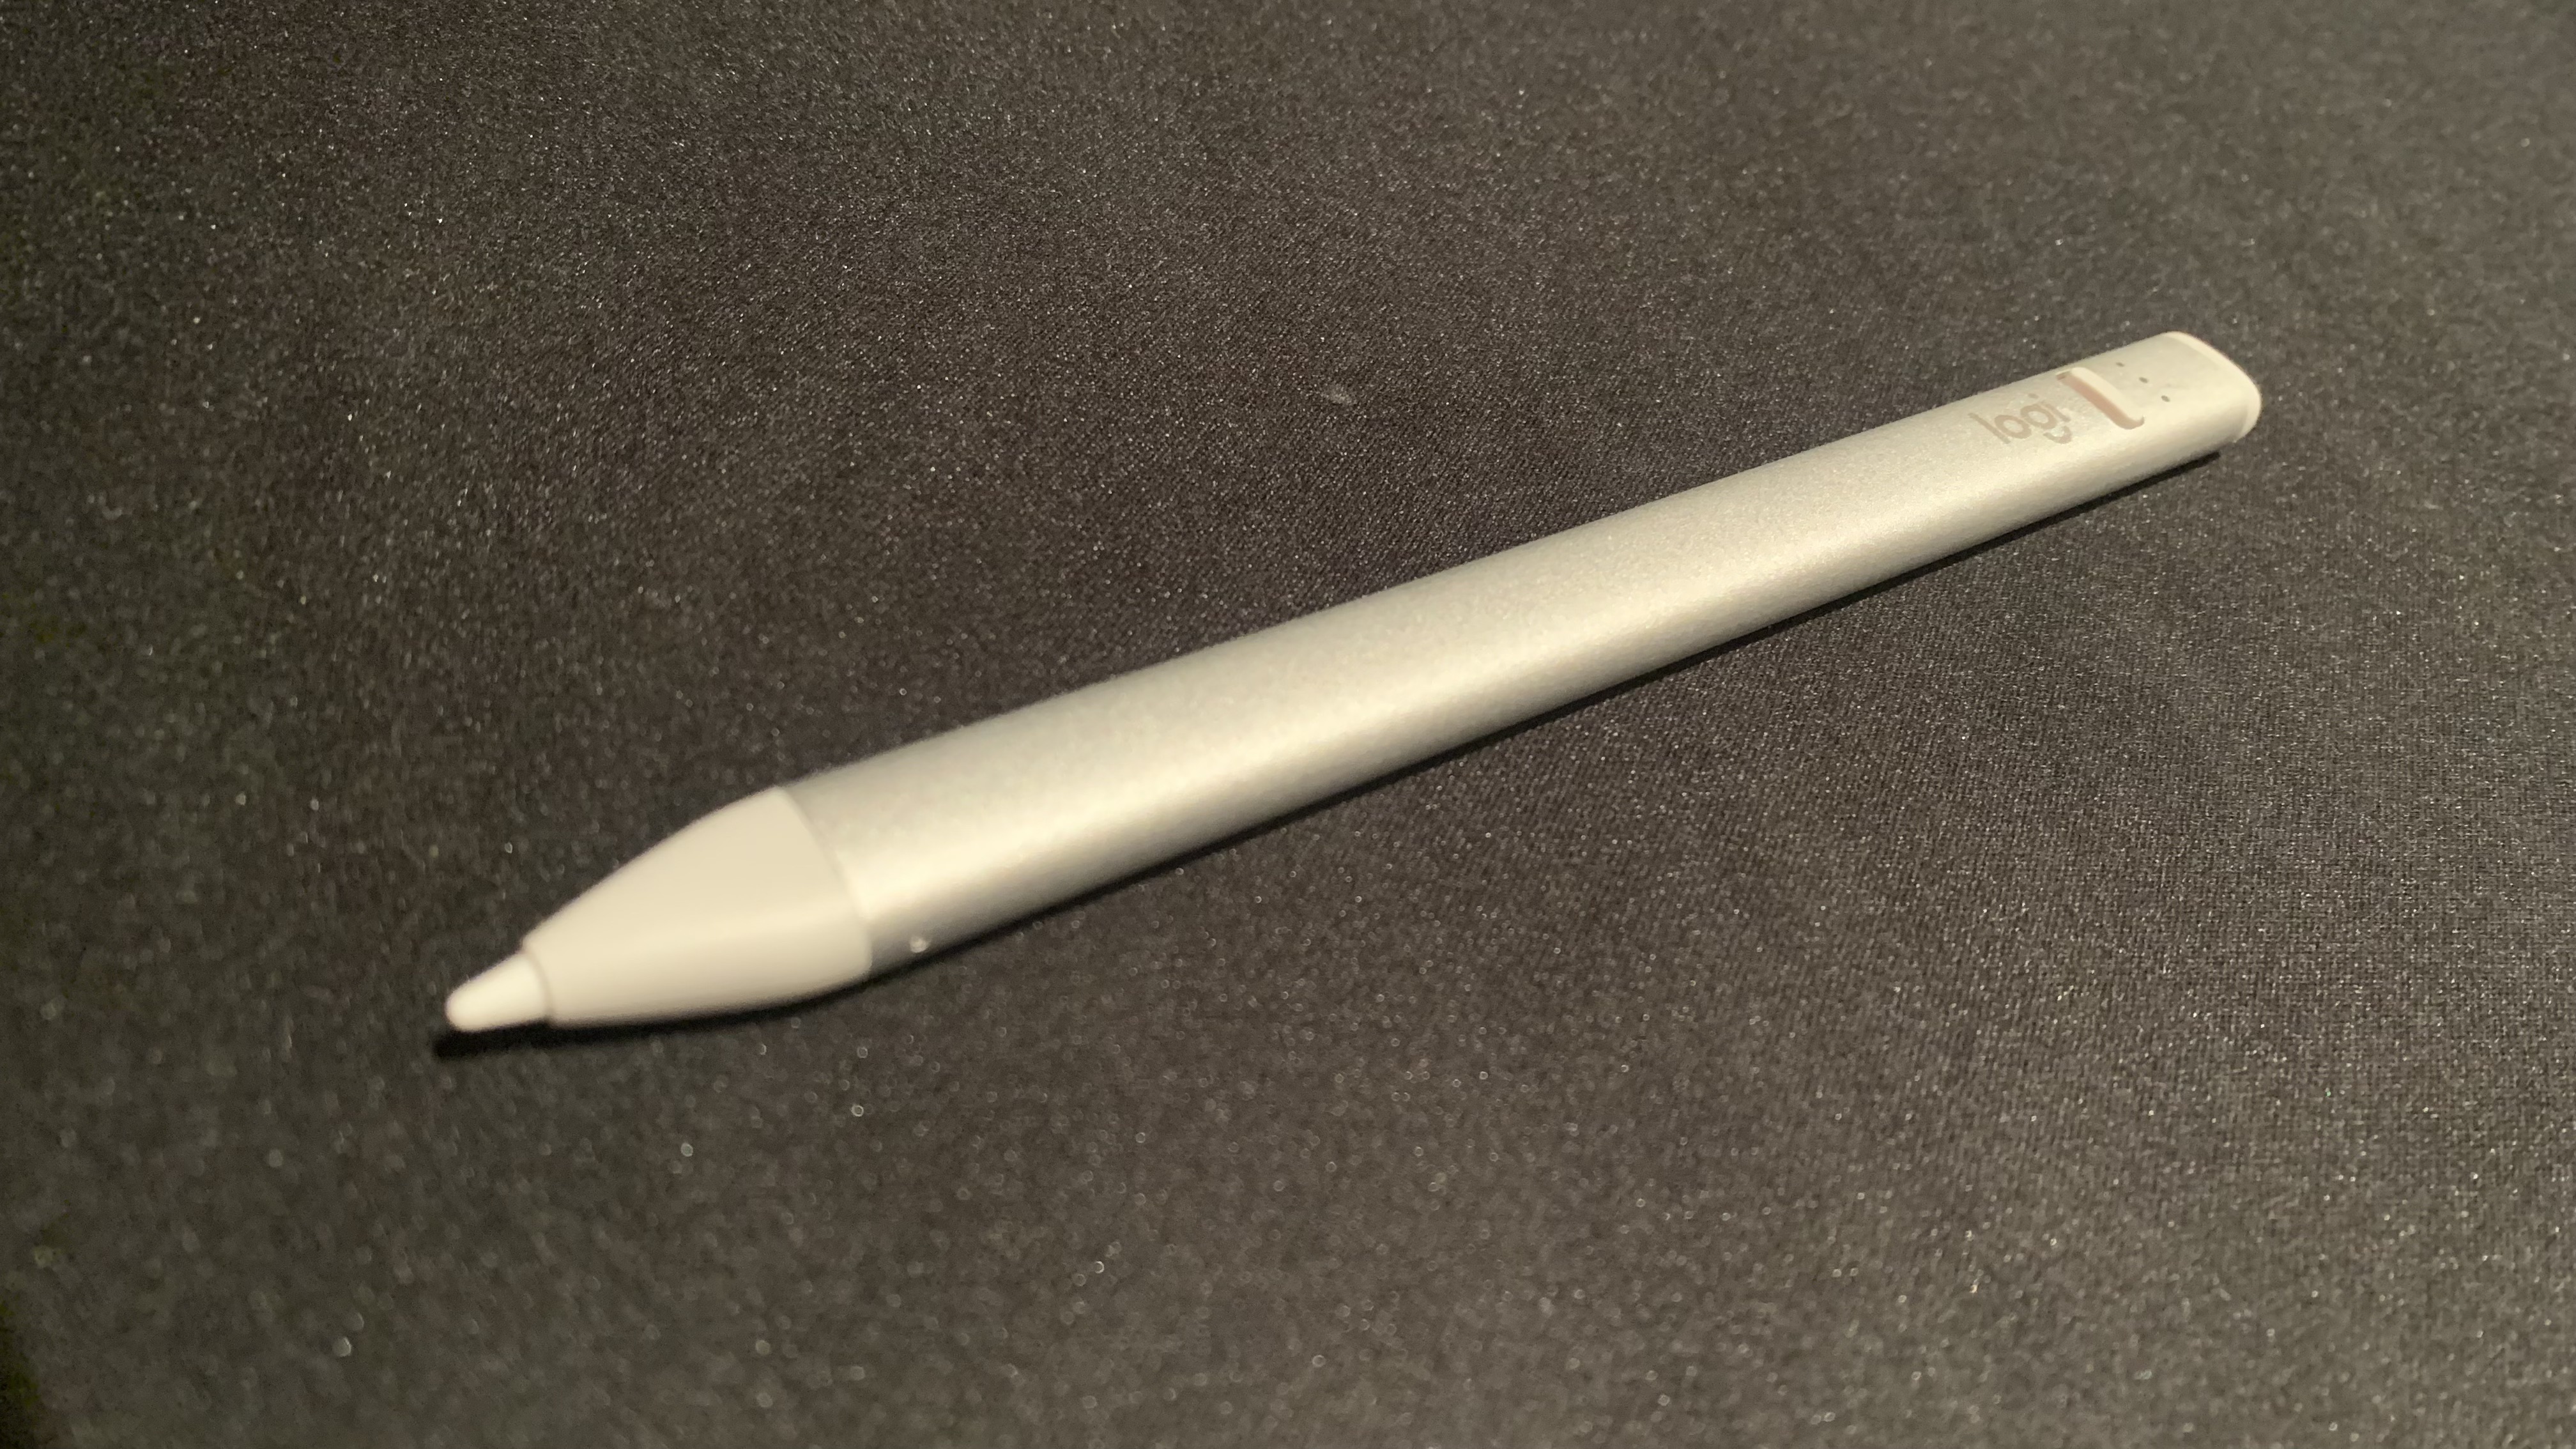
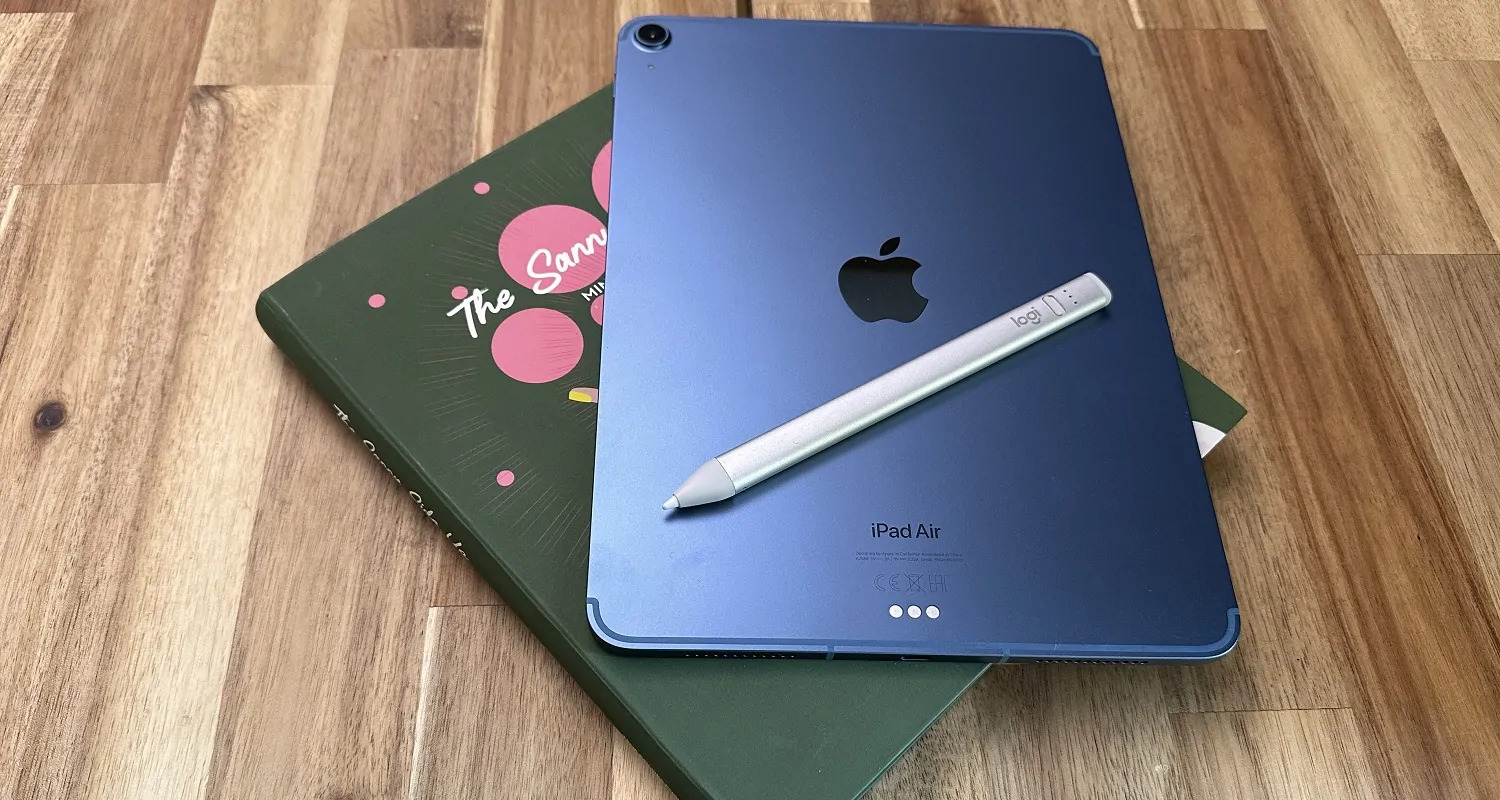
Step 2: Prepare the Logitech Crayon
Before connecting your Logitech Crayon to your iPad, it’s important to ensure that the stylus is ready for pairing. Preparation involves a few simple steps to ensure optimal functionality and a smooth connection process.
First, check the battery level of your Logitech Crayon. To do this, remove the cap at the top of the Crayon to reveal the charging port. Connect the Crayon to a power source using the included USB charging cable. The LED indicator on the Crayon will turn red while charging and green when it’s fully charged.
It’s essential to have a sufficiently charged Crayon to ensure uninterrupted usage and a stable connection with your iPad. Therefore, it’s recommended to charge the Crayon fully before initiating the pairing process.
Once the Logitech Crayon is fully charged, replace the cap and ensure it is securely in place. The cap not only protects the tip but also serves as an automatic power-saving feature. The Crayon will enter a sleep mode when the cap is in place, helping to conserve its battery life.
Next, it’s essential to check if there are any physical obstructions on the tip of the Crayon. If there is any dirt, debris, or residue on the tip, gently wipe it clean using a soft, lint-free cloth. This will ensure smooth and precise interaction with your iPad’s screen.
Additionally, if you have been using any other Bluetooth devices nearby, such as headphones or speakers, it’s recommended to turn them off or move away from them. This step helps in reducing any potential interference during the pairing process.
By following these preparatory steps, you’re ensuring that your Logitech Crayon is in optimal condition for connecting to your iPad. With a fully charged Crayon and a clean tip, you’re now ready to move on to the next step and turn on Bluetooth on your iPad.
Step 3: Turn on Bluetooth on the iPad
In order to connect your Logitech Crayon to your iPad, you need to ensure that Bluetooth is enabled on your iPad. Bluetooth is the wireless technology that allows devices to communicate and establish a connection, making it essential for pairing your Logitech Crayon.
To turn on Bluetooth on your iPad, start by opening the Settings app. Look for the “Bluetooth” option in the left-hand menu and tap on it to access the Bluetooth settings.
Once you’re on the Bluetooth settings page, you’ll see a switch at the top that says “Bluetooth.” Make sure the switch is turned on and appears green. This indicates that Bluetooth is enabled and ready for pairing with your Logitech Crayon.
If the switch is already turned on, you don’t need to do anything more in this step, and you can proceed to the next step. However, if the switch is turned off, tap on it to enable Bluetooth. You’ll see the switch turn green, indicating that Bluetooth is now active on your iPad.
It’s important to note that your iPad needs to remain within a reasonable distance of the Logitech Crayon for the pairing process to work. Ideally, the devices should be within a few feet of each other to ensure a stable and reliable connection.
By ensuring that Bluetooth is enabled on your iPad, you’re taking a crucial step toward connecting your Logitech Crayon. With Bluetooth turned on, you’re now ready to put the Crayon into pairing mode in the next step.
Step 4: Put the Crayon into Pairing Mode
To connect your Logitech Crayon to your iPad, you need to put the Crayon into pairing mode. Pairing mode allows your iPad to detect and establish a connection with the Crayon. Putting the Crayon into pairing mode is a simple process that can be done in a few quick steps.
Start by removing the cap at the top of the Logitech Crayon to expose the power button. Press and hold the power button for a few seconds until you see a white LED light start to blink. This blinking light indicates that the Crayon is now in pairing mode and ready to be connected.
It’s important to note that the exact steps to put the Crayon into pairing mode may vary slightly depending on the specific model of the Crayon. However, most Logitech Crayon models use a similar process involving the power button.
While the Crayon is in pairing mode, make sure to keep it within range of your iPad. This will allow your iPad to detect the Crayon’s Bluetooth signal and establish a connection.
If the Crayon is in pairing mode for an extended period of time without being connected to an iPad, it will automatically exit pairing mode and enter sleep mode to conserve battery life. If this happens, simply repeat the steps to put the Crayon back into pairing mode.
With the Logitech Crayon in pairing mode, you’re now ready to move on to the next step and establish a connection between the Crayon and your iPad.
Step 5: Connect the Crayon to the iPad
With the Logitech Crayon in pairing mode and Bluetooth enabled on your iPad, you’re now ready to connect the Crayon to your iPad. Follow these simple steps to establish a connection between the two devices:
- On your iPad, go to the Settings app and tap on “Bluetooth.”
- You will see a list of available devices under the “My Devices” section. Look for the entry that corresponds to your Logitech Crayon.
- Tap on the Crayon’s entry in the list to initiate the connection process.
- Your iPad will now attempt to establish a connection with the Crayon. You may see a message or prompt asking you to confirm the pairing. Follow the instructions on your iPad’s screen to proceed.
- Once the connection is established, you will see a confirmation message, and the LED light on the Crayon will stop blinking and remain solid.
It’s important to note that the connection process may take a few seconds to complete. Ensure that the Crayon remains within range of your iPad during this time.
If the connection is unsuccessful, make sure that the Crayon is still in pairing mode and that Bluetooth is enabled on your iPad. Additionally, you may try restarting both the Crayon and your iPad before attempting the connection again.
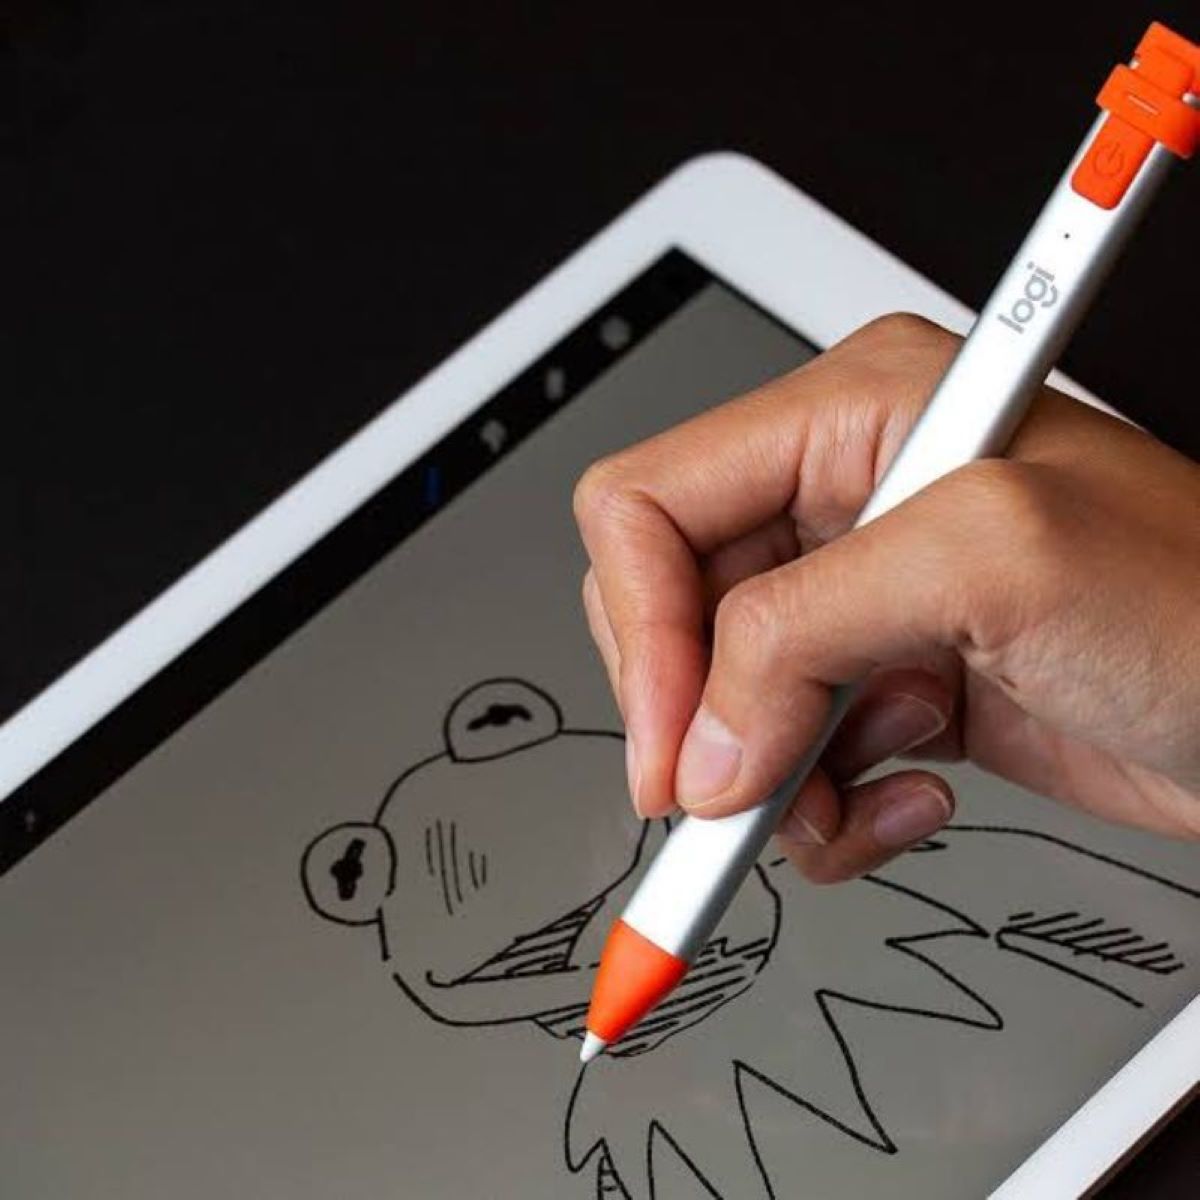
Once the Logitech Crayon is successfully connected to your iPad, you can start using it to write, draw, and interact with compatible apps. Enjoy the enhanced digital experience that the Crayon offers, whether you’re taking notes, sketching, or unleashing your creativity.
Now that you’ve connected the Logitech Crayon to your iPad, it’s time to move on to the final step and test the functionality of the Crayon.
Step 6: Test the Crayon’s Functionality
After successfully connecting your Logitech Crayon to your iPad, it’s important to test its functionality to ensure that it’s working as expected. By testing the Crayon, you can verify that the connection is stable and that the stylus responds accurately to your input on the iPad’s screen.
To test the Crayon’s functionality, launch an app that supports stylus input, such as a note-taking or drawing app. Select a blank canvas or a new note to begin testing.
Start by using the Crayon to write or draw on the iPad’s screen. Pay attention to the Crayon’s responsiveness and accuracy. It should feel smooth and natural, mimicking the experience of using pen or pencil on paper.
Try different types of strokes, varying pressure, and different angles to see how the Crayon responds. The Crayon’s pressure-sensitive characteristics should allow for thicker and thinner lines based on your input.
Additionally, test any extra features or functionalities that the Logitech Crayon may have, such as the ability to tilt the stylus for shading or accessing specific functions within certain apps.
If you encounter any issues during the testing phase, such as lag or unresponsiveness, try disconnecting and reconnecting the Crayon from your iPad. You can also try restarting your iPad or updating the Crayon’s firmware if an update is available.
Remember to refer to the user manual or consult Logitech’s support resources for further troubleshooting steps or assistance if needed.
By thoroughly testing the Logitech Crayon’s functionality, you can ensure that it meets your expectations and that it’s ready to be used for your creative or productivity needs.
Congratulations! You have successfully connected and tested your Logitech Crayon with your iPad. Enjoy using the Crayon to unleash your creativity, take detailed notes, or navigate the iPad’s interface with precision and ease.
Conclusion
Connecting your Logitech Crayon to your iPad opens up a world of possibilities for digital creativity and productivity. By following the simple steps outlined in this guide, you can seamlessly pair the Crayon with your iPad and enjoy its enhanced stylus experience.
Before beginning the connection process, it’s crucial to check the compatibility of your iPad with the Logitech Crayon. Ensure that you have one of the compatible iPad models and that your iOS is up-to-date.
Next, prepare the Logitech Crayon by charging it fully, cleaning the tip, and ensuring that the cap is securely in place. These simple preparations ensure optimal functionality and a longer battery life for your Crayon.
With Bluetooth enabled on your iPad, put the Crayon into pairing mode by pressing and holding the power button. Make sure to keep your Crayon within range of your iPad during the pairing process.
Once the Crayon is in pairing mode, you can connect it to your iPad by going to the Bluetooth settings and selecting the Crayon from the list of available devices. Follow any prompted instructions to complete the connection.
After successfully connecting the Crayon, take the time to test its functionality. Use compatible apps to write, draw, and explore the Crayon’s features. Ensure that it responds accurately to your input and provides a smooth and natural experience.
If you encounter any issues during the connection or testing process, refer to the user manual or seek assistance from Logitech’s support resources for troubleshooting steps.
By following these steps, you can connect and enjoy the Logitech Crayon’s enhanced stylus experience on your iPad. Unleash your creativity, take detailed notes, and interact with your iPad’s screen with precision and ease.
Now that you’re ready, grab your Logitech Crayon and start exploring the endless possibilities that it offers. Elevate your digital experience and make the most out of your iPad with this versatile and innovative stylus.