Introduction
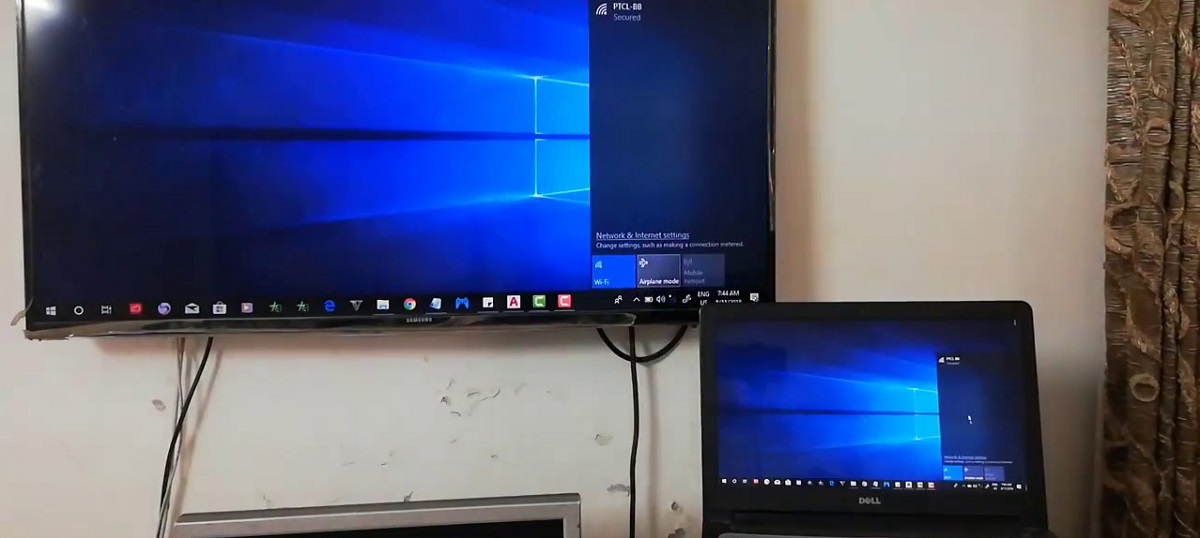
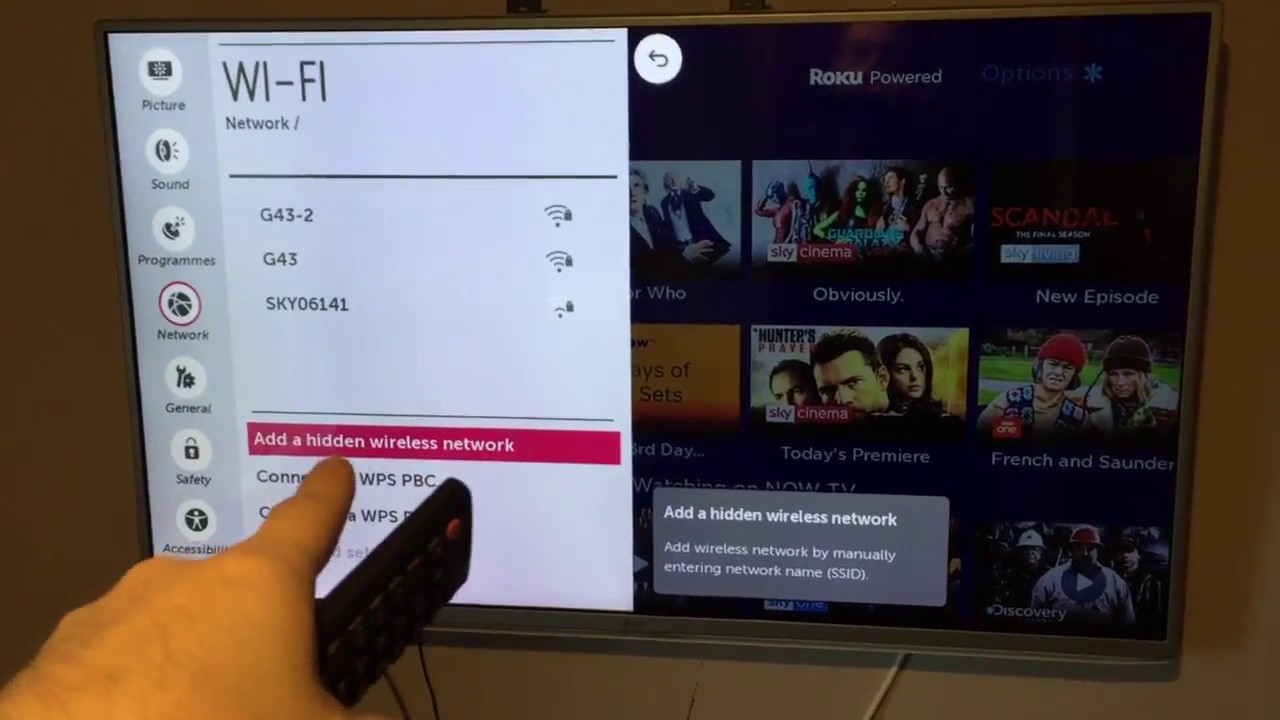
Are you looking to connect your LG LED TV to your computer for an immersive multimedia experience? With the advances in technology, it has become easier than ever to connect your TV and computer, allowing you to enjoy your favorite content on a larger screen.
Whether you want to stream movies, play games, or showcase your work presentations, connecting your LG LED TV to your computer can open up a whole new world of possibilities. Plus, it eliminates the need for additional cables and clutter, making it a convenient solution for your entertainment or work setup.
In this article, we will guide you through the step-by-step process of connecting your LG LED TV to your computer. From checking compatibility to configuring the settings, we have got you covered. So, let’s get started!
Please note that the methods described here are applicable for LG LED TVs and computers running on Windows or Mac operating systems. Additionally, the connectivity options may vary depending on the model of your TV and computer, so it’s always a good idea to consult the user manuals for specific instructions.
Step 1: Check the Compatibility
Before diving into the process of connecting your LG LED TV to your computer, it is important to ensure that both devices are compatible with each other. Check the specifications of your TV and computer to avoid any compatibility issues.
First, make sure that your LG LED TV has the necessary ports for connecting to a computer. Most recent LG LED TVs come equipped with HDMI ports, which are the standard for high-definition multimedia transfer. However, older models may have VGA or DVI ports instead.
Next, check the output ports available on your computer. Most modern computers have HDMI ports that are compatible with almost all HD televisions. If your computer does not have an HDMI port, you may need to use a VGA or DVI port and an appropriate adapter.
Additionally, check the specifications of your computer’s graphics card. Some older or low-end graphics cards may not support high-resolution output or audio over HDMI. Ensure that your graphics card meets the requirements for connecting to an HD TV.
If your LG LED TV and computer are compatible in terms of ports and graphics capabilities, you are ready to move on to the next step. Otherwise, you may need to consider alternative methods such as using a media streaming device or upgrading your computer’s hardware to achieve the desired connection.
Step 2: Connect the HDMI Cable
Now that you have confirmed the compatibility between your LG LED TV and computer, it’s time to connect them using an HDMI cable. HDMI (High-Definition Multimedia Interface) provides both high-quality video and audio transmission, making it the preferred choice for connecting devices.
Start by locating the HDMI ports on both your LG LED TV and computer. These ports are usually labeled “HDMI” and may be located on the sides, back, or bottom of the devices. Once you have located the ports, plug one end of the HDMI cable into the HDMI output port on your computer.
Next, connect the other end of the HDMI cable to one of the HDMI input ports on your LG LED TV. It’s important to remember the HDMI input port number you have connected to, as you will need to switch to that input source later on your TV.
Once the HDMI cable is securely connected, power on your TV and computer. In most cases, your LG LED TV should automatically detect the HDMI connection and switch to the appropriate input. However, if it does not, you may need to manually switch the input source on your TV using the remote control or the TV’s menu options.
It’s worth noting that HDMI cables are capable of transmitting both video and audio signals. Therefore, once the HDMI connection is established, your LG LED TV should automatically play the audio from your computer through its built-in speakers. If the audio is not playing through the TV speakers, you may need to adjust the audio settings on your computer.
With the HDMI cable successfully connected, you are now ready to configure the settings on your computer for the optimal viewing experience. This will be covered in the next step.
Step 3: Configure the Settings on Your Computer
After connecting your LG LED TV to your computer using an HDMI cable, it’s important to configure the settings on your computer to ensure an optimal display on the TV screen.
Start by accessing the display settings on your computer. On a Windows PC, right-click on the desktop and select the “Display settings” option from the context menu. On a Mac, go to the Apple menu, select “System Preferences,” and then click on “Displays.”
In the display settings, you will see a list of available display options. Look for the option that corresponds to your LG LED TV. It might be labeled as the TV model number or “LG LED TV.” Select the TV as the desired display output.
Once you have selected the LG LED TV as the display output, you may be prompted to customize the resolution and refresh rate settings. It is recommended to choose the highest supported resolution and the appropriate refresh rate for your TV. Refer to your TV’s user manual for the recommended settings.
Additionally, if your computer has multiple display options, such as an external monitor or a laptop screen, you can choose whether to duplicate the display or extend it across multiple screens. This can be configured in the display settings as well.
Furthermore, if you want to play audio through the TV speakers, ensure that the audio output is set to the LG LED TV. On a Windows PC, you can access the sound settings by right-clicking on the volume icon in the taskbar and selecting “Open Sound settings.” On a Mac, go to the Apple menu, select “System Preferences,” and then click on “Sound.”
Once you have completed the necessary configuration changes, apply the settings and your computer should now be properly configured to display on your LG LED TV.
Next, you’ll need to adjust the display settings on your TV to ensure the best visual experience. This will be covered in the following step.
Step 4: Adjust the Display Settings on Your TV
Now that you have configured the settings on your computer, it’s time to fine-tune the display settings on your LG LED TV for the best viewing experience.
Start by accessing the menu or settings on your TV. Use the remote control or the buttons on the TV itself to navigate to the settings menu.
In the settings menu, look for the picture or display settings. The options may vary depending on the model of your LG LED TV, but common settings include brightness, contrast, color temperature, and picture mode.
Adjust the brightness and contrast settings to your preference, ensuring that the picture is neither too dim nor too bright. You can refer to the instructions or user manual for recommended values or experiment with different settings to find what looks best to you.
Color temperature settings allow you to adjust the overall color balance of the picture. You can choose between presets like “Warm,” “Cool,” or “Neutral,” or manually adjust the color temperature to your liking.
Additionally, most LG LED TVs offer different picture modes such as “Standard,” “Cinema,” or “Game.” These modes optimize the picture settings for specific viewing scenarios. If you are using your TV primarily for movies or gaming, you can experiment with different picture modes to find the one that suits your content the best.
Once you have made the necessary adjustments, take some time to observe the picture quality and make any further tweaks if needed. It’s a good idea to test different types of content, such as movies, photos, or games, to ensure that the display settings are well-calibrated for each.
Remember, the optimal picture settings may vary depending on your personal preferences, lighting conditions in your viewing area, and the specific content you are watching. Take your time to find the settings that provide the most enjoyable and accurate visual experience for you.
With the display settings on your LG LED TV adjusted to your liking, you are now ready to test the connection and enjoy your computer’s content on the big screen!
Step 5: Test the Connection
Now that you have completed the setup process, it’s time to test the connection between your LG LED TV and computer. Testing the connection will ensure that everything is working properly and that you can enjoy your computer’s content on the big screen.
Start by turning on your computer and LG LED TV if they are not already powered on. Make sure that both devices are connected via the HDMI cable and that the correct input source is selected on your TV.
On your computer, open a video file, play a game, or navigate to a website with multimedia content. This will help you verify that the audio and video signals are being transmitted correctly from your computer to the LG LED TV.
Observe the display on your TV screen. The content from your computer should now be visible, and the audio should be playing through the TV speakers (if you have selected this option). Check the quality of the picture and the sound to ensure a satisfactory viewing experience.
If you encounter any issues, such as no signal on the TV screen or audio not playing, double-check the connections and settings on both your computer and TV. Ensure that the HDMI cable is securely plugged in, the correct input source is selected on the TV, and the audio and display settings are properly configured on your computer.
If you are still experiencing issues, try using a different HDMI cable or connecting to a different HDMI input port on your TV. Sometimes, faulty cables or certain ports may cause connectivity problems.
Once you have confirmed that the connection is working correctly, you can start enjoying your computer’s content on the larger screen of your LG LED TV. Whether you want to stream videos, play games, or give presentations, the connection between your computer and TV opens up a world of possibilities for entertainment and productivity.
Remember that you can always refer to the user manuals of your LG LED TV and computer for more specific instructions or troubleshooting tips. Additionally, don’t hesitate to reach out to customer support if you require further assistance.
Now sit back, relax, and enjoy the seamless connectivity between your LG LED TV and computer!
Conclusion
Connecting your LG LED TV to your computer can greatly enhance your multimedia experience, allowing you to enjoy movies, games, and presentations on a larger screen with better visual and audio quality.
In this article, we discussed the step-by-step process of connecting your LG LED TV to your computer. Starting with checking compatibility, we then moved on to connecting the HDMI cable, configuring the settings on your computer, adjusting the display settings on your TV, and finally testing the connection.
By following these steps, you can ensure that the connection between your LG LED TV and computer is established correctly, providing you with a seamless viewing experience. It’s important to pay attention to compatibility, use the proper HDMI cable, and configure the settings on both your computer and TV for optimal display quality.
Remember, if you encounter any issues during the setup process, consult the user manuals of your devices for specific instructions or reach out to customer support for assistance.
Now that you have successfully connected your LG LED TV to your computer, you can immerse yourself in your favorite movies, games, and multimedia content on the big screen. Enjoy the enhanced visual experience and the convenience of having your computer’s content easily accessible on your TV.
So, grab some popcorn, sit back, and enjoy the entertainment possibilities that await you with the connection between your LG LED TV and computer!


