Introduction
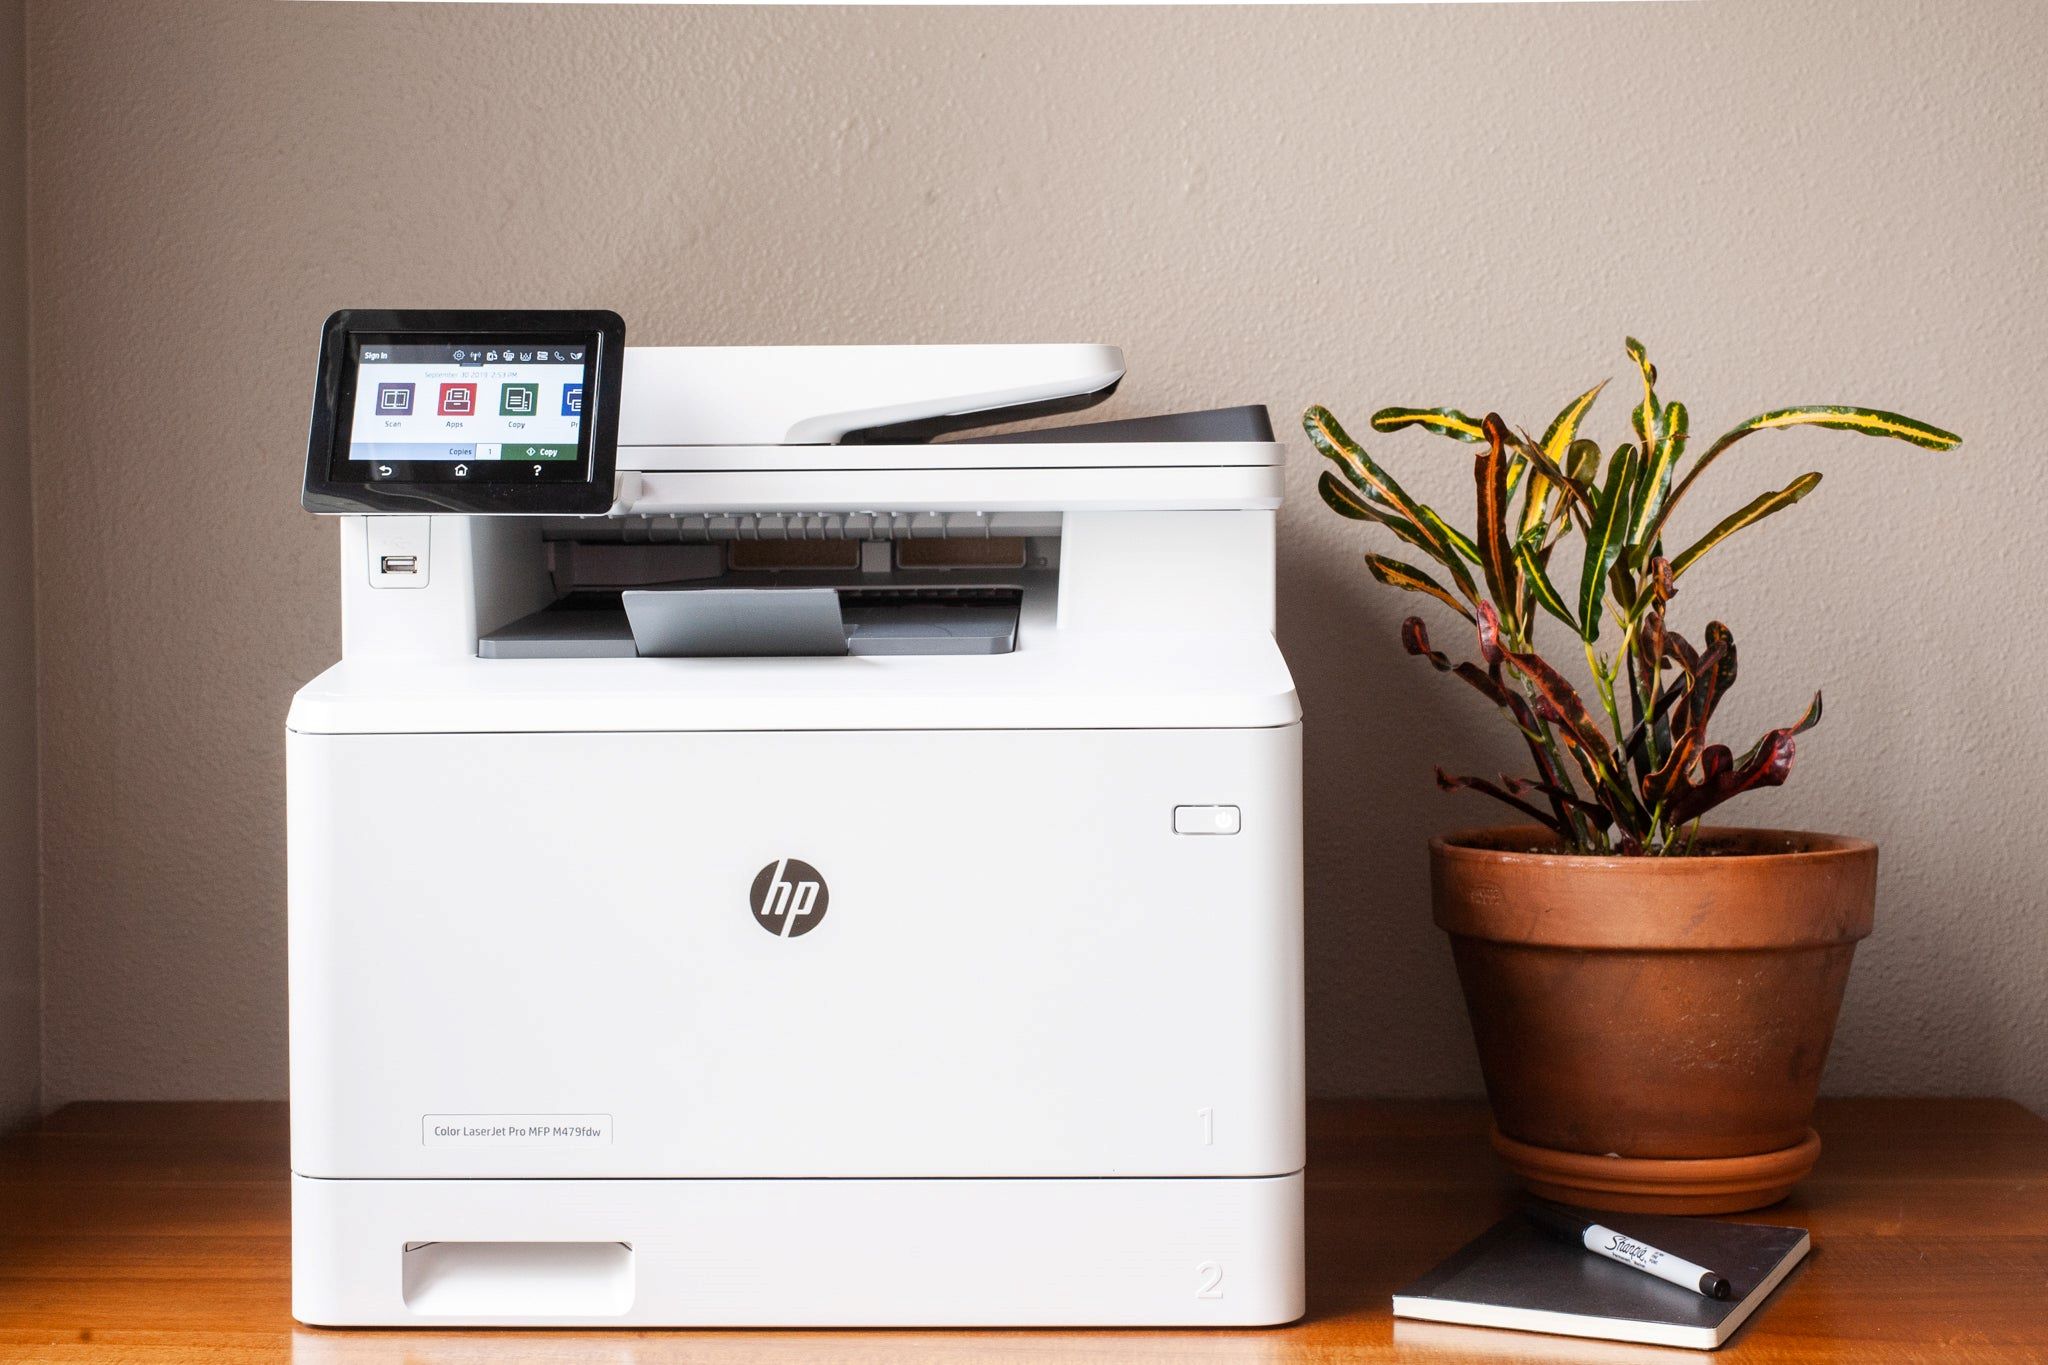
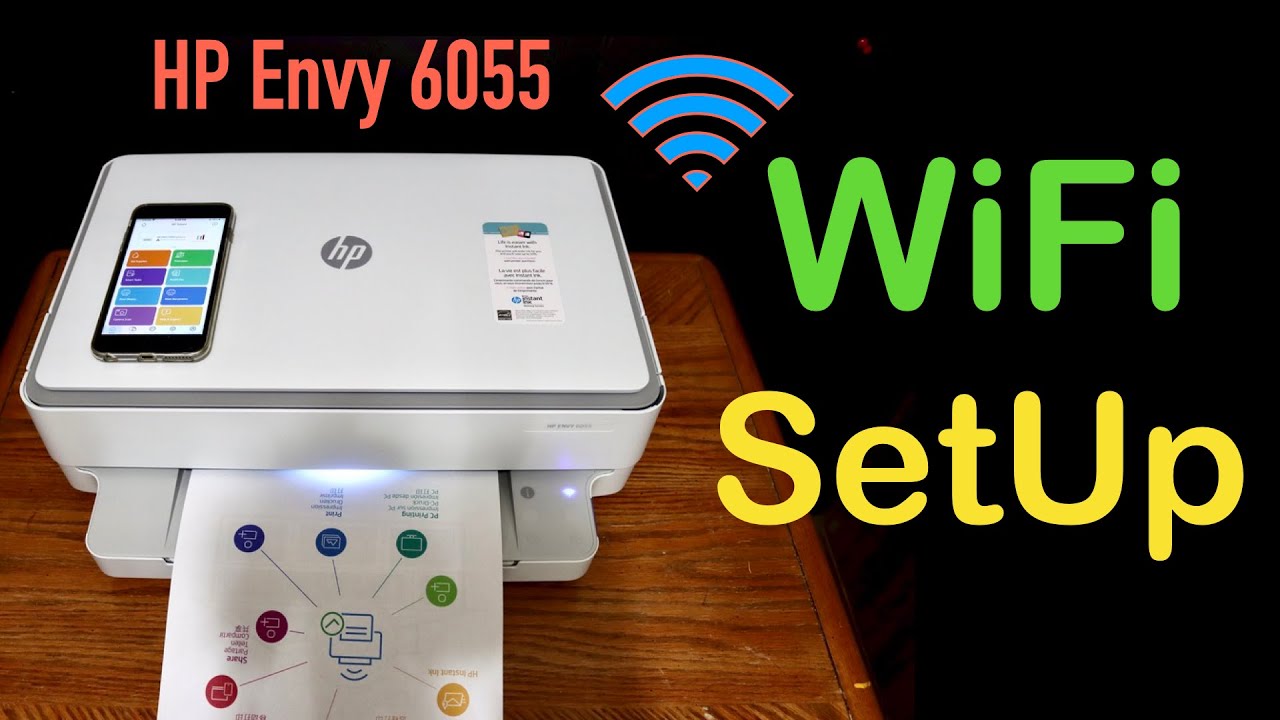
In today’s digital age, the convenience of wireless connectivity is something we’ve come to rely on in many aspects of our lives. This includes our printers, which have also evolved to support wireless connectivity. The HP Envy 6055E is a versatile printer that allows you to easily print documents and photos from your computer or mobile device without the need for messy cables.
Connecting the HP Envy 6055E to your Wi-Fi network is a straightforward process that can be done quickly and efficiently. Once your printer is connected, you can enjoy the freedom of printing from any device connected to the same network. Whether you’re working from your laptop, sending a document from your smartphone, or even printing directly from the cloud, the HP Envy 6055E ensures a seamless wireless printing experience.
In this guide, we will provide you with a step-by-step walkthrough of how to connect your HP Envy 6055E printer to your Wi-Fi network. From gathering the necessary information to downloading the required app, we will cover everything you need to know to get your printer up and running wirelessly.
So, if you’re ready to enjoy hassle-free printing and the convenience of wireless connectivity, let’s dive into the steps required to connect your HP Envy 6055E printer to Wi-Fi.
Step 1: Gather Required Information
Before you start the process of connecting your HP Envy 6055E printer to your Wi-Fi network, it’s important to gather some essential information. This information will ensure a smooth and successful setup. Here’s what you need to do:
- Check your Wi-Fi Network: Make sure that your Wi-Fi network is up and running. Verify that your router is functioning properly and that you have the necessary credentials to connect your printer.
- Network Name (SSID): Take note of the network name or SSID (Service Set Identifier). This is the name of your Wi-Fi network that is broadcasted to connect devices.
- Wi-Fi Password: You will also need the security key or Wi-Fi password to authenticate your printer to the network. Ensure that you have the correct password handy.
- Positioning: Consider the location of your printer in relation to your Wi-Fi router. It’s best to place your printer within the range of the router’s signal for optimal connectivity.
Taking the time to gather this information before you begin will prevent any unnecessary delays during the setup process. Once you have everything you need, you’re ready to move on to the next step.
Step 2: Connect the Printer to Power Supply
Now that you have gathered the necessary information, it’s time to connect your HP Envy 6055E printer to the power supply. Follow these simple steps:
- Locate the Power Cord: Find the power cord that came with your printer. It usually has a two-pronged plug at one end and a connection for the printer at the other end.
- Connect the Power Cord: Plug one end of the power cord into the corresponding power socket on the back of your printer. Make sure it is securely inserted.
- Plug into Power Outlet: Plug the other end of the power cord into a nearby power outlet. Ensure that the outlet is functioning and has electricity.
- Turn on the Printer: Press the power button on the control panel of your printer to turn it on. Wait for the printer to power up fully.
Once your printer is connected to the power supply and turned on, you are ready to proceed to the next step of the setup process. Keep in mind that it’s important to connect your printer to a stable power source to avoid any interruptions during the setup or printing process.
Step 3: Install Ink Cartridges
After connecting your HP Envy 6055E printer to the power supply, the next step is to install the ink cartridges. Follow these instructions carefully:
- Open the Printer Cover: Lift open the printer cover to access the ink cartridge slots. It is usually located on the front or top of the printer.
- Prepare the Ink Cartridges: Remove the new ink cartridges from their packaging. Be sure to handle them carefully and avoid touching the copper-colored contacts or ink nozzles.
- Insert the Ink Cartridges: Slide each ink cartridge into its designated slot. Ensure that each cartridge is inserted at the correct angle and firmly seated in place.
- Secure the Cartridges: Close the printer cover to secure the ink cartridges in place. The printer will usually prompt you to align the cartridges for optimum print quality. Follow the on-screen instructions if necessary.
It’s important to use genuine HP ink cartridges to ensure the best printing results and the longevity of your printer. The printer may not function properly or produce high-quality prints with non-HP ink cartridges.
Once the ink cartridges are installed, you can move on to the next step and prepare your printer for wireless connectivity.
Step 4: Load Paper
With the ink cartridges installed, the next step is to load paper into your HP Envy 6055E printer. Follow these simple instructions:
- Open the Paper Tray: Locate the paper tray or input tray on your printer. It is usually at the bottom or front of the printer.
- Adjust the Paper Guides: Slide the paper guides to the edges of the paper tray so that they are snug against the paper but not too tight. This helps to hold the paper in place during printing.
- Load the Paper: Take a stack of plain, white paper and align it against the paper guides. Make sure the paper is inserted neatly into the tray and not exceeding the maximum capacity.
- Adjust the Paper Type: If necessary, adjust the paper type settings on the printer’s control panel or in the print settings on your computer. This ensures that the printer optimizes its printing process for the type of paper you’re using.
Make sure to use the appropriate paper type and size that is compatible with your printer. Using the wrong type of paper can lead to printing issues and potentially damage the printer.
Once the paper is loaded, you are ready to move on to the next step and connect your HP Envy 6055E printer to your Wi-Fi network. Properly loaded paper ensures that your printer is ready to produce high-quality prints wirelessly.
Step 5: Turn on the Printer
Now that your ink cartridges are installed and the paper is loaded, it’s time to turn on your HP Envy 6055E printer. Follow these steps:
- Locate the Power Button: Find the power button on the printer’s control panel. It is usually indicated by a power icon or the word “Power”.
- Press the Power Button: Press and hold the power button for a few seconds until the printer powers on. You may see lights or indicators on the control panel, indicating that the printer is initializing.
- Wait for Initialization: Give the printer some time to initialize and prepare for operation. This may take a few moments, so be patient.
- Confirm Printer Status: Check the control panel or LCD screen on the printer for any error messages or prompts. Ensure that the printer is in a ready state and not displaying any issues.
Once your HP Envy 6055E printer is powered on and ready to go, you can proceed to the next step and connect it to your Wi-Fi network for wireless printing convenience.
Ensure that the printer is powered on whenever you want to use it. Leaving the printer turned off for extended periods may cause delays and interruptions when you need to print.
Step 6: Connect the Printer to Wi-Fi Network
With your HP Envy 6055E printer turned on, it’s time to connect it to your Wi-Fi network. Follow these steps to establish a wireless connection:
- Access the Control Panel: On the printer’s control panel, touch the Wi-Fi icon or navigate to the network settings.
- Select Wi-Fi Setup Wizard: Choose the option that allows you to set up a new Wi-Fi connection. The exact wording may vary depending on your printer model.
- Select Your Network: From the list of available Wi-Fi networks, select your network name (SSID). If your network name isn’t listed, choose the option to manually enter the network name.
- Enter Wi-Fi Password: If prompted, enter the Wi-Fi password for your network. Use the on-screen keyboard to input the password accurately.
- Confirm Connection: After entering the password, confirm your selection and wait for the printer to establish a connection to the Wi-Fi network. This process may take a few moments.
- Confirm Connection Status: Once the connection is successfully established, you should see a confirmation message or an indicator showing that the printer is connected to your Wi-Fi network.
Ensure that you have entered the correct network name and password to connect to the desired Wi-Fi network. Double-check for any typos or errors in the input.
Once your HP Envy 6055E printer is successfully connected to your Wi-Fi network, you can move on to the next step of setting up wireless printing convenience.
Step 7: Download and Install HP Smart App
To fully utilize the wireless capabilities of your HP Envy 6055E printer and enjoy seamless printing from your mobile devices, you need to download and install the HP Smart App. Follow these steps to get started:
- Open App Store or Play Store: Depending on your mobile device, open the App Store (iOS) or Play Store (Android) on your smartphone or tablet.
- Search for HP Smart: In the search bar of the app store, enter “HP Smart” and look for the official HP Smart App.
- Select and Install: Tap on the HP Smart App from the search results and select “Install” or “Get” to download and install the app on your device.
- Open HP Smart: Once the installation is complete, locate the HP Smart App icon on your device’s home screen or app drawer, then tap on it to open the app.
- Accept Permissions: When prompted, grant the necessary permissions for the app to access your device’s storage, camera, and network settings. These permissions enable the app to communicate with your printer and provide a seamless printing experience.
- Sign in or Create an Account: If you have an existing HP account, sign in using your credentials. Otherwise, follow the on-screen instructions to create a new account.
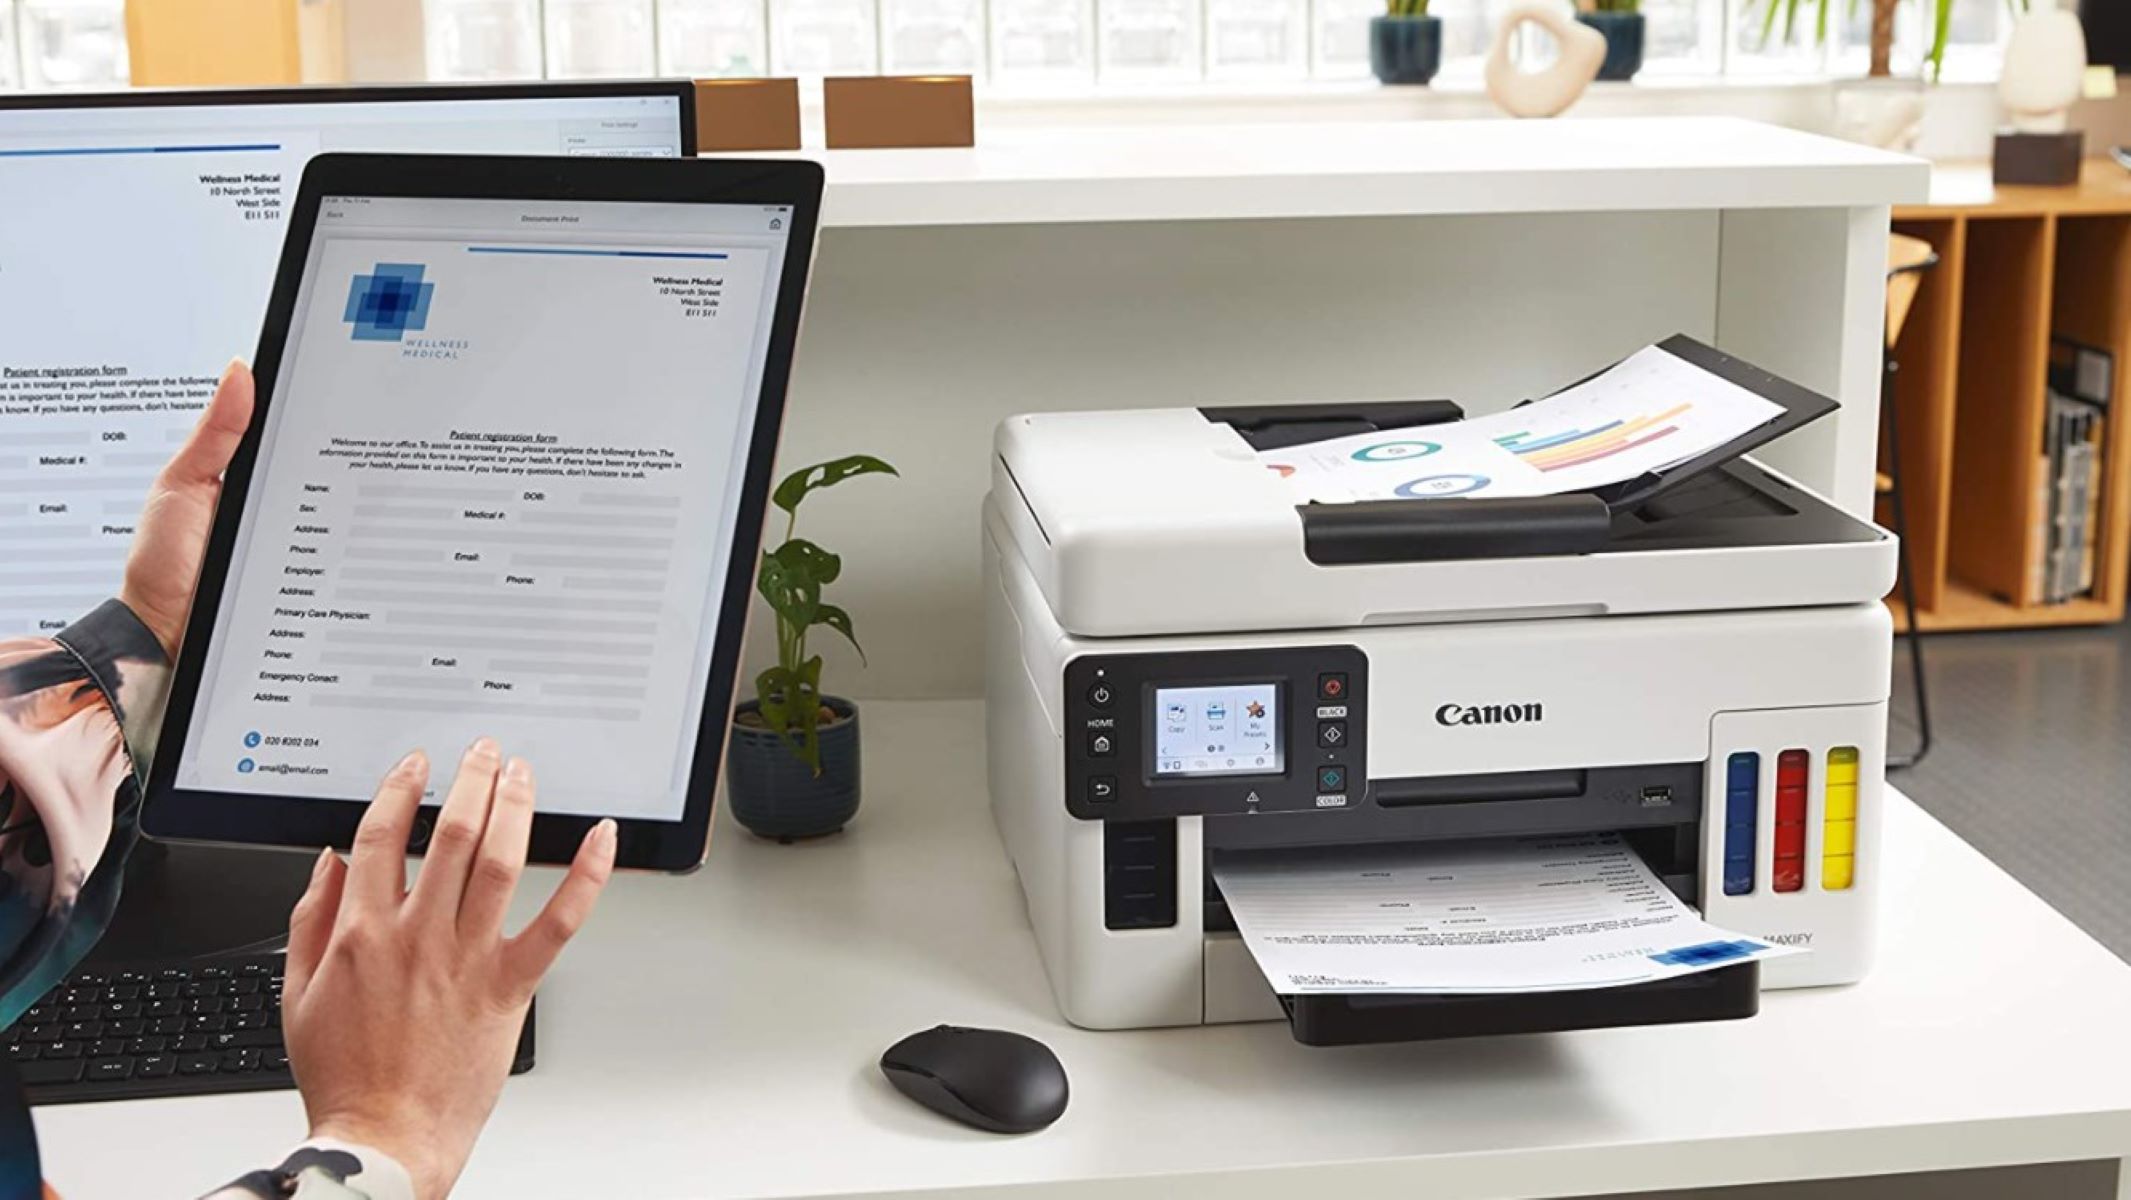
The HP Smart App allows you to print, scan, and manage your printer remotely. It also provides additional features like ink and paper ordering, printer status notifications, and more.
With the HP Smart App installed on your device, you are now ready to add your HP Envy 6055E printer and start printing wirelessly.
Step 8: Add Printer to HP Smart App
With the HP Smart App installed on your mobile device, it’s time to add your HP Envy 6055E printer to the app. Follow these steps to connect your printer and enable wireless printing:
- Open the HP Smart App: Locate the HP Smart App icon on your device’s home screen or app drawer, then tap on it to launch the app.
- Sign in to your Account: If you haven’t already signed in, enter your HP account credentials to access the app’s features.
- Add a Printer: Once you’re signed in, tap on the “+” or “Add Printer” button to start the process of adding your printer to the app.
- Auto-Detect Printer: The app will automatically search for available printers on your Wi-Fi network. Wait for the app to identify your HP Envy 6055E printer.
- Select Your Printer: From the list of detected printers, select your HP Envy 6055E printer. Ensure that it is the correct model and matches the printer you want to connect.
- Confirm Connection: Follow the on-screen instructions to confirm the connection between the app and your printer. This usually involves verifying a code displayed on the printer’s control panel.
- Printer Added: Once the connection is established, the app will notify you that your printer has been successfully added. You can now access all the printing and scanning features from within the HP Smart App.
Adding your HP Envy 6055E printer to the HP Smart App allows you to conveniently print, scan, and manage your printer directly from your mobile device. You can also access additional features like printer settings, ink levels, and maintenance tasks.
With your printer successfully added to the app, you are now ready to test print a document to ensure that everything is working correctly.
Step 9: Test Print a Document
Now that your HP Envy 6055E printer is connected to the HP Smart App and your Wi-Fi network, it’s time to test print a document to ensure that everything is set up correctly. Follow these steps:
- Open the HP Smart App: Locate the HP Smart App icon on your device’s home screen or app drawer, then tap on it to open the app.
- Select Print: From the app’s main screen or navigation menu, choose the “Print” option to access the printing features.
- Select Document: Browse through your device’s files or select a document from a supported cloud storage platform or email attachments.
- Select Printer: Choose your HP Envy 6055E printer from the available printers listed in the app. Ensure that it is selected as the printing destination.
- Adjust Print Settings: If necessary, adjust the print settings such as page orientation, paper size, print quality, and color options to match your preferences.
- Start Printing: Once you have selected the document and set the desired print settings, tap on the “Print” button to start the printing process.
- Check Print Output: Monitor the printer for any error messages or issues while the document is being printed. Ensure that the printed document matches your expectations in terms of quality and content.
Testing the print function using a document allows you to verify that your printer is functioning correctly and that the wireless connection between your device, the HP Smart App, and your HP Envy 6055E printer is established and working well.
If you encounter any issues during the test print, double-check the printer’s settings, the app’s configuration, and the network connection. Ensure that all components are properly set up and that you have a stable Wi-Fi connection.
With a successful test print, you can now enjoy the convenience of wireless printing with your HP Envy 6055E printer through the HP Smart App and continue to print documents and photos with ease.
Conclusion
Congratulations! You have successfully connected your HP Envy 6055E printer to your Wi-Fi network and set up wireless printing using the HP Smart App. Now, you can enjoy the convenience and flexibility of printing wirelessly from your computer or mobile devices.
Throughout this guide, we walked you through the step-by-step process of setting up your printer, from gathering the required information to downloading the app and adding your printer. By following these instructions, you have established a seamless connection between your printer and devices, eliminating the need for cumbersome cables and allowing for convenient printing from anywhere within the network range.
Remember, it’s essential to ensure that your printer is connected to a stable Wi-Fi network and that you have installed genuine HP ink cartridges to ensure optimal performance and print quality. Regularly check for software updates for both the printer and the HP Smart App to benefit from new features and improvements.
Should you encounter any issues or have further questions, refer to the HP Envy 6055E printer’s user manual or visit the HP support website for troubleshooting assistance. The HP Smart App also provides troubleshooting resources and guides to help you overcome common hurdles.
Now, sit back, relax, and enjoy the convenience of wireless printing with your HP Envy 6055E printer. Whether you need to print important documents for work, school assignments, or personal projects, you can accomplish it effortlessly with your connected printer and the HP Smart App.