Introduction
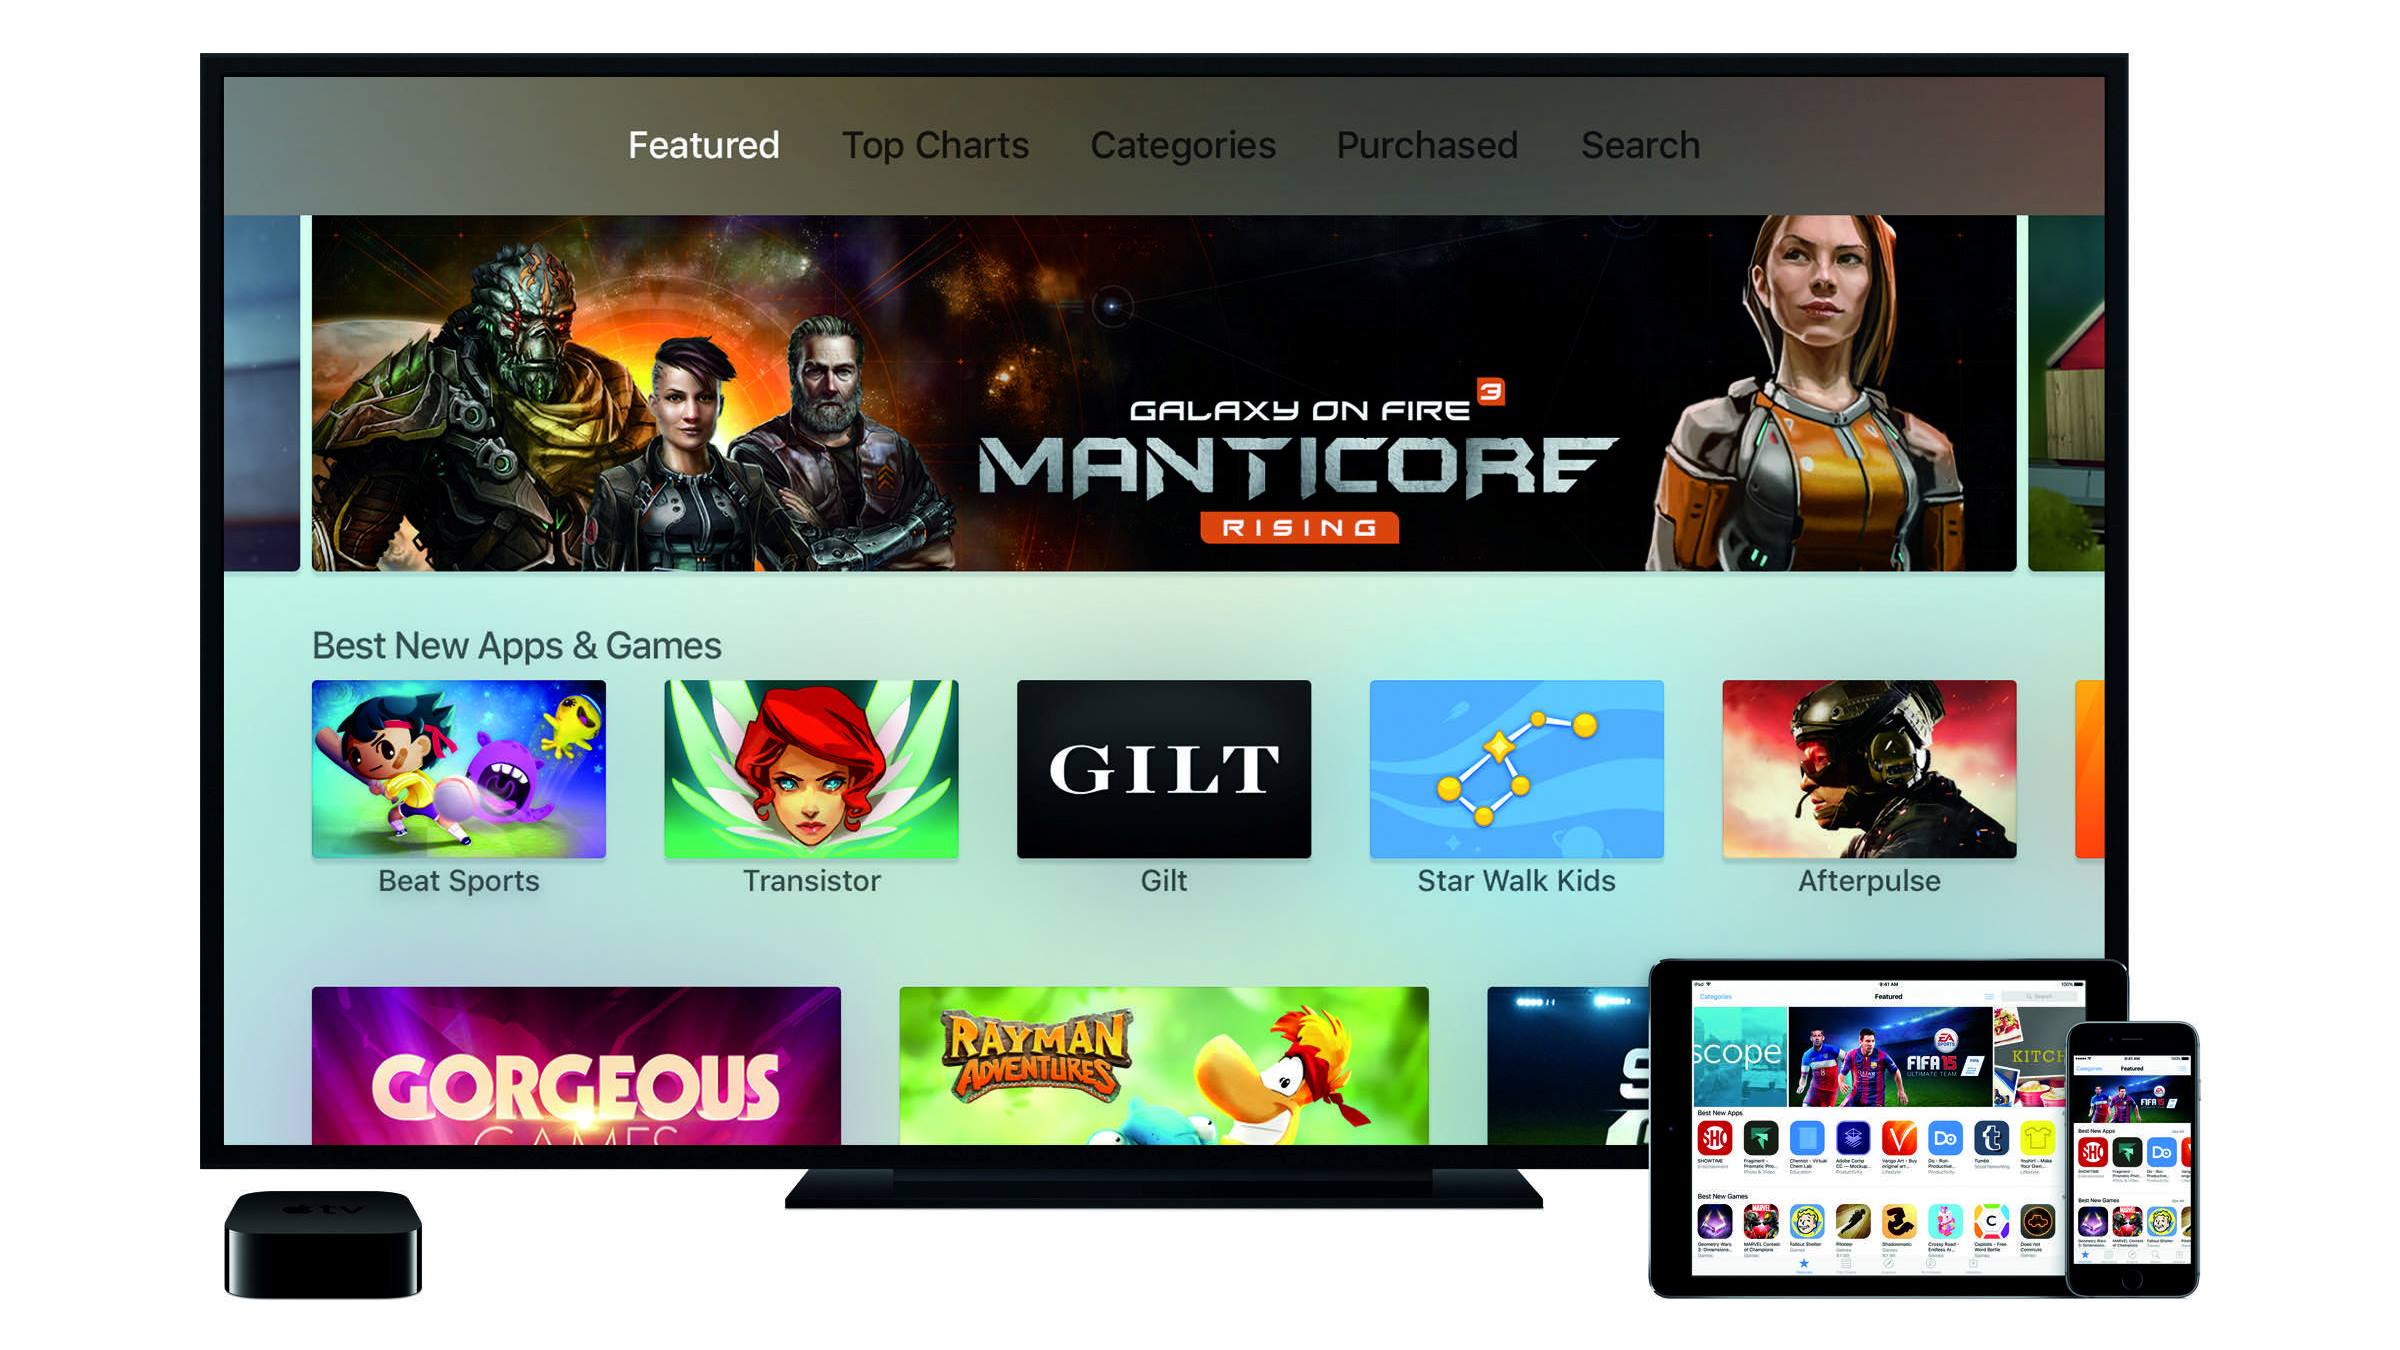
Welcome to our guide on how to connect a controller to your Apple TV! Gaming on Apple TV has become increasingly popular, and using a controller can greatly enhance your gaming experience. Whether you prefer racing games, sports games, or adventure games, connecting a controller will give you better control and precision while playing.
In this article, we will walk you through the step-by-step process of connecting a controller to your Apple TV. We will cover the requirements, how to check controller compatibility, turning on the controller, pairing it with your Apple TV, and testing it to ensure everything is working correctly.
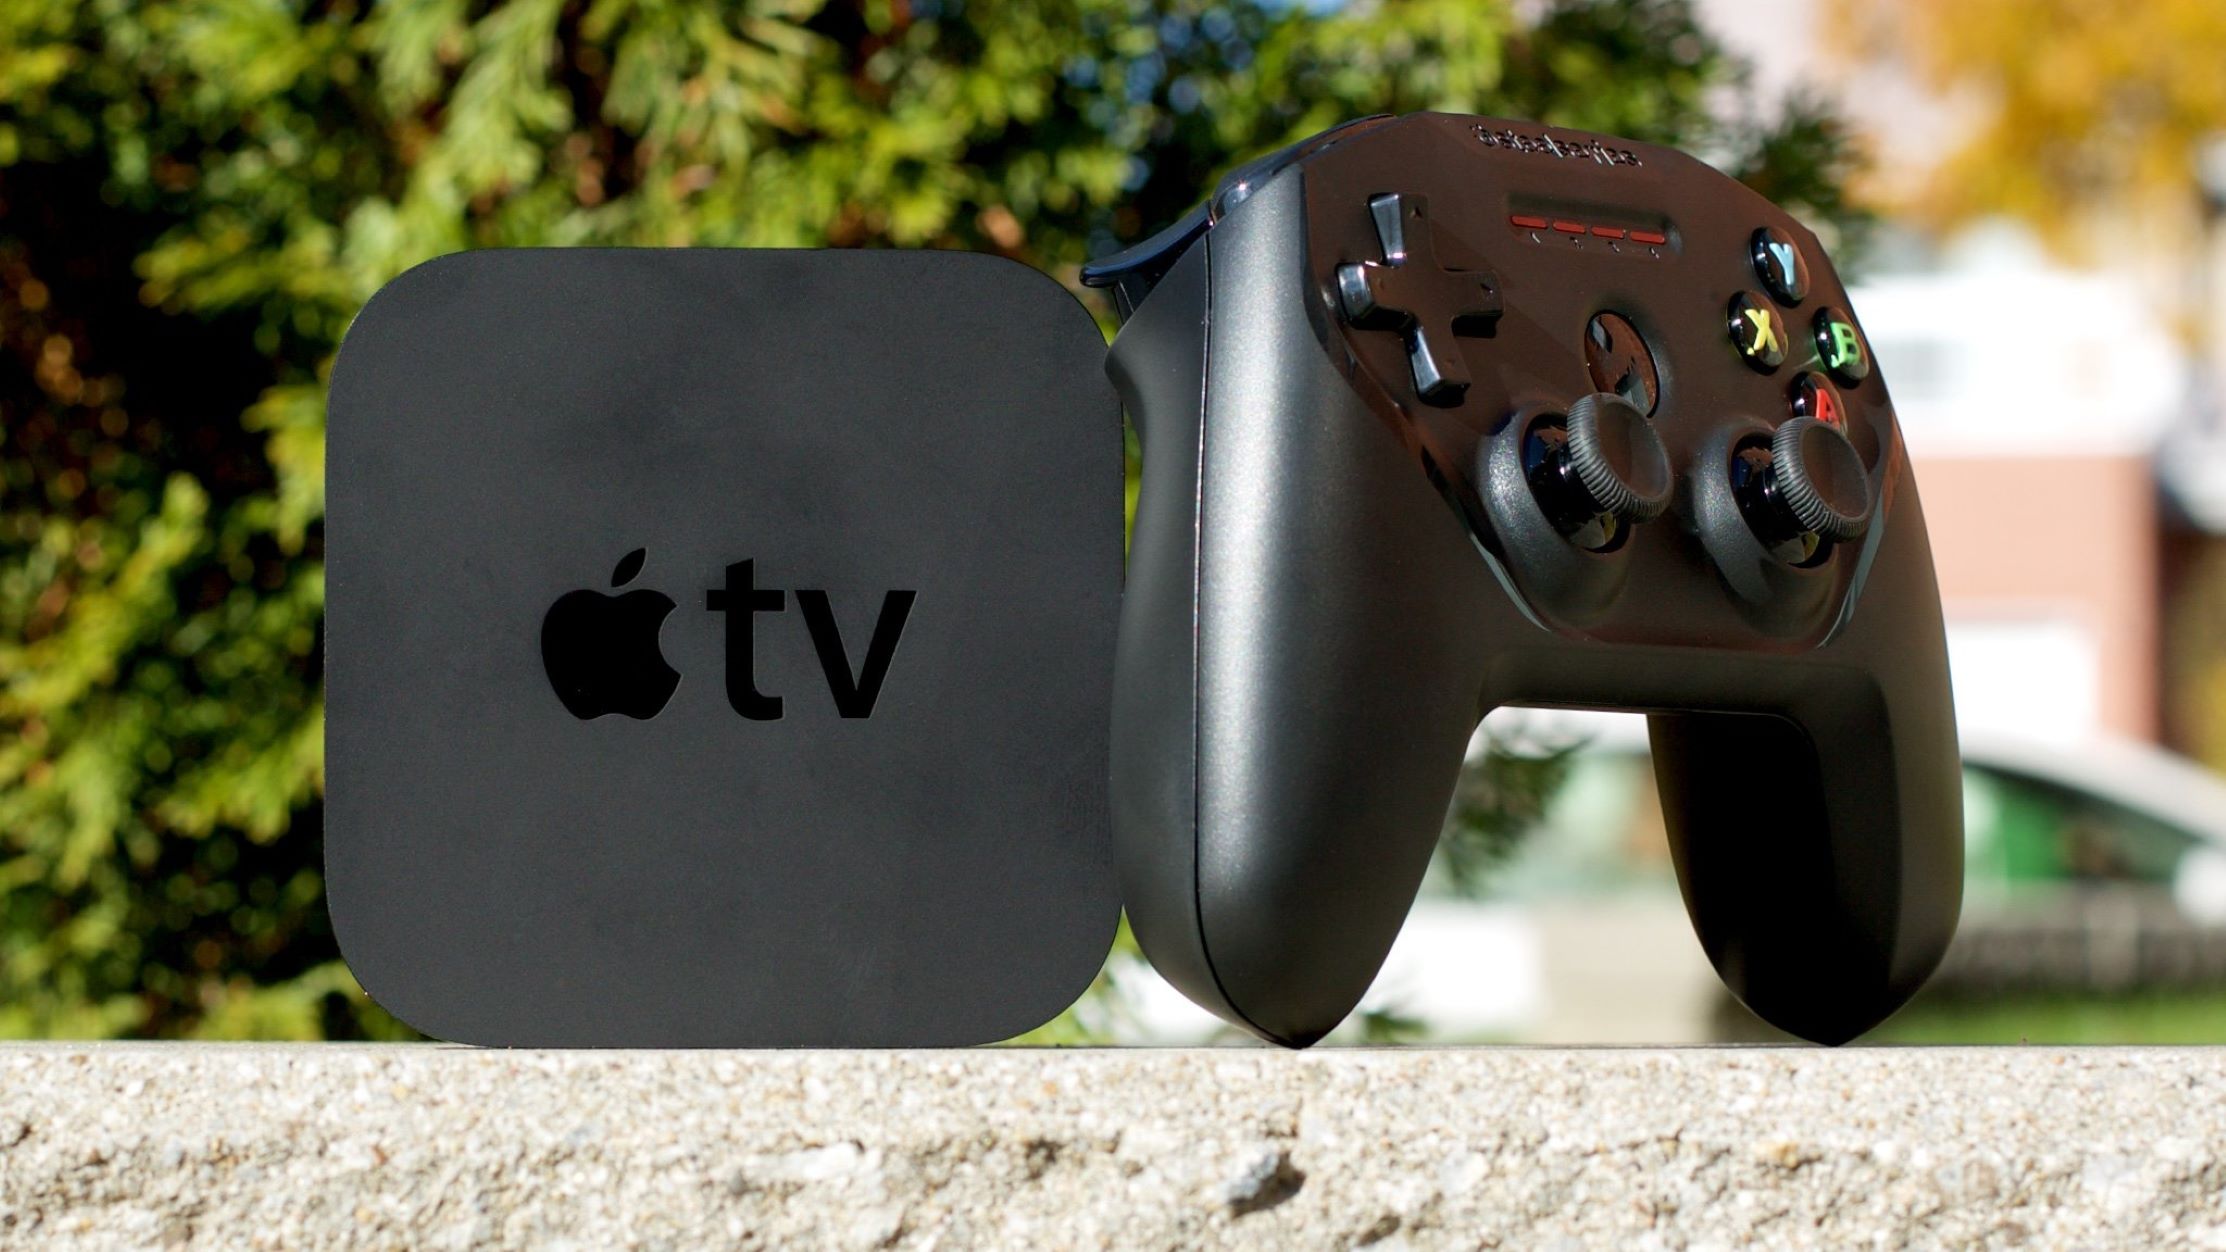
Before we get started, it’s important to note that not all controllers are compatible with Apple TV. Apple has specific compatibility requirements, so it’s necessary to check whether your controller is supported. A compatible controller will give you the best gaming experience and ensure smooth operation with your Apple TV.
So, if you’re ready to take your gaming experience on Apple TV to the next level, let’s dive into the requirements and steps for connecting a controller!
Requirements
Before you start connecting a controller to your Apple TV, make sure you have the following requirements met:
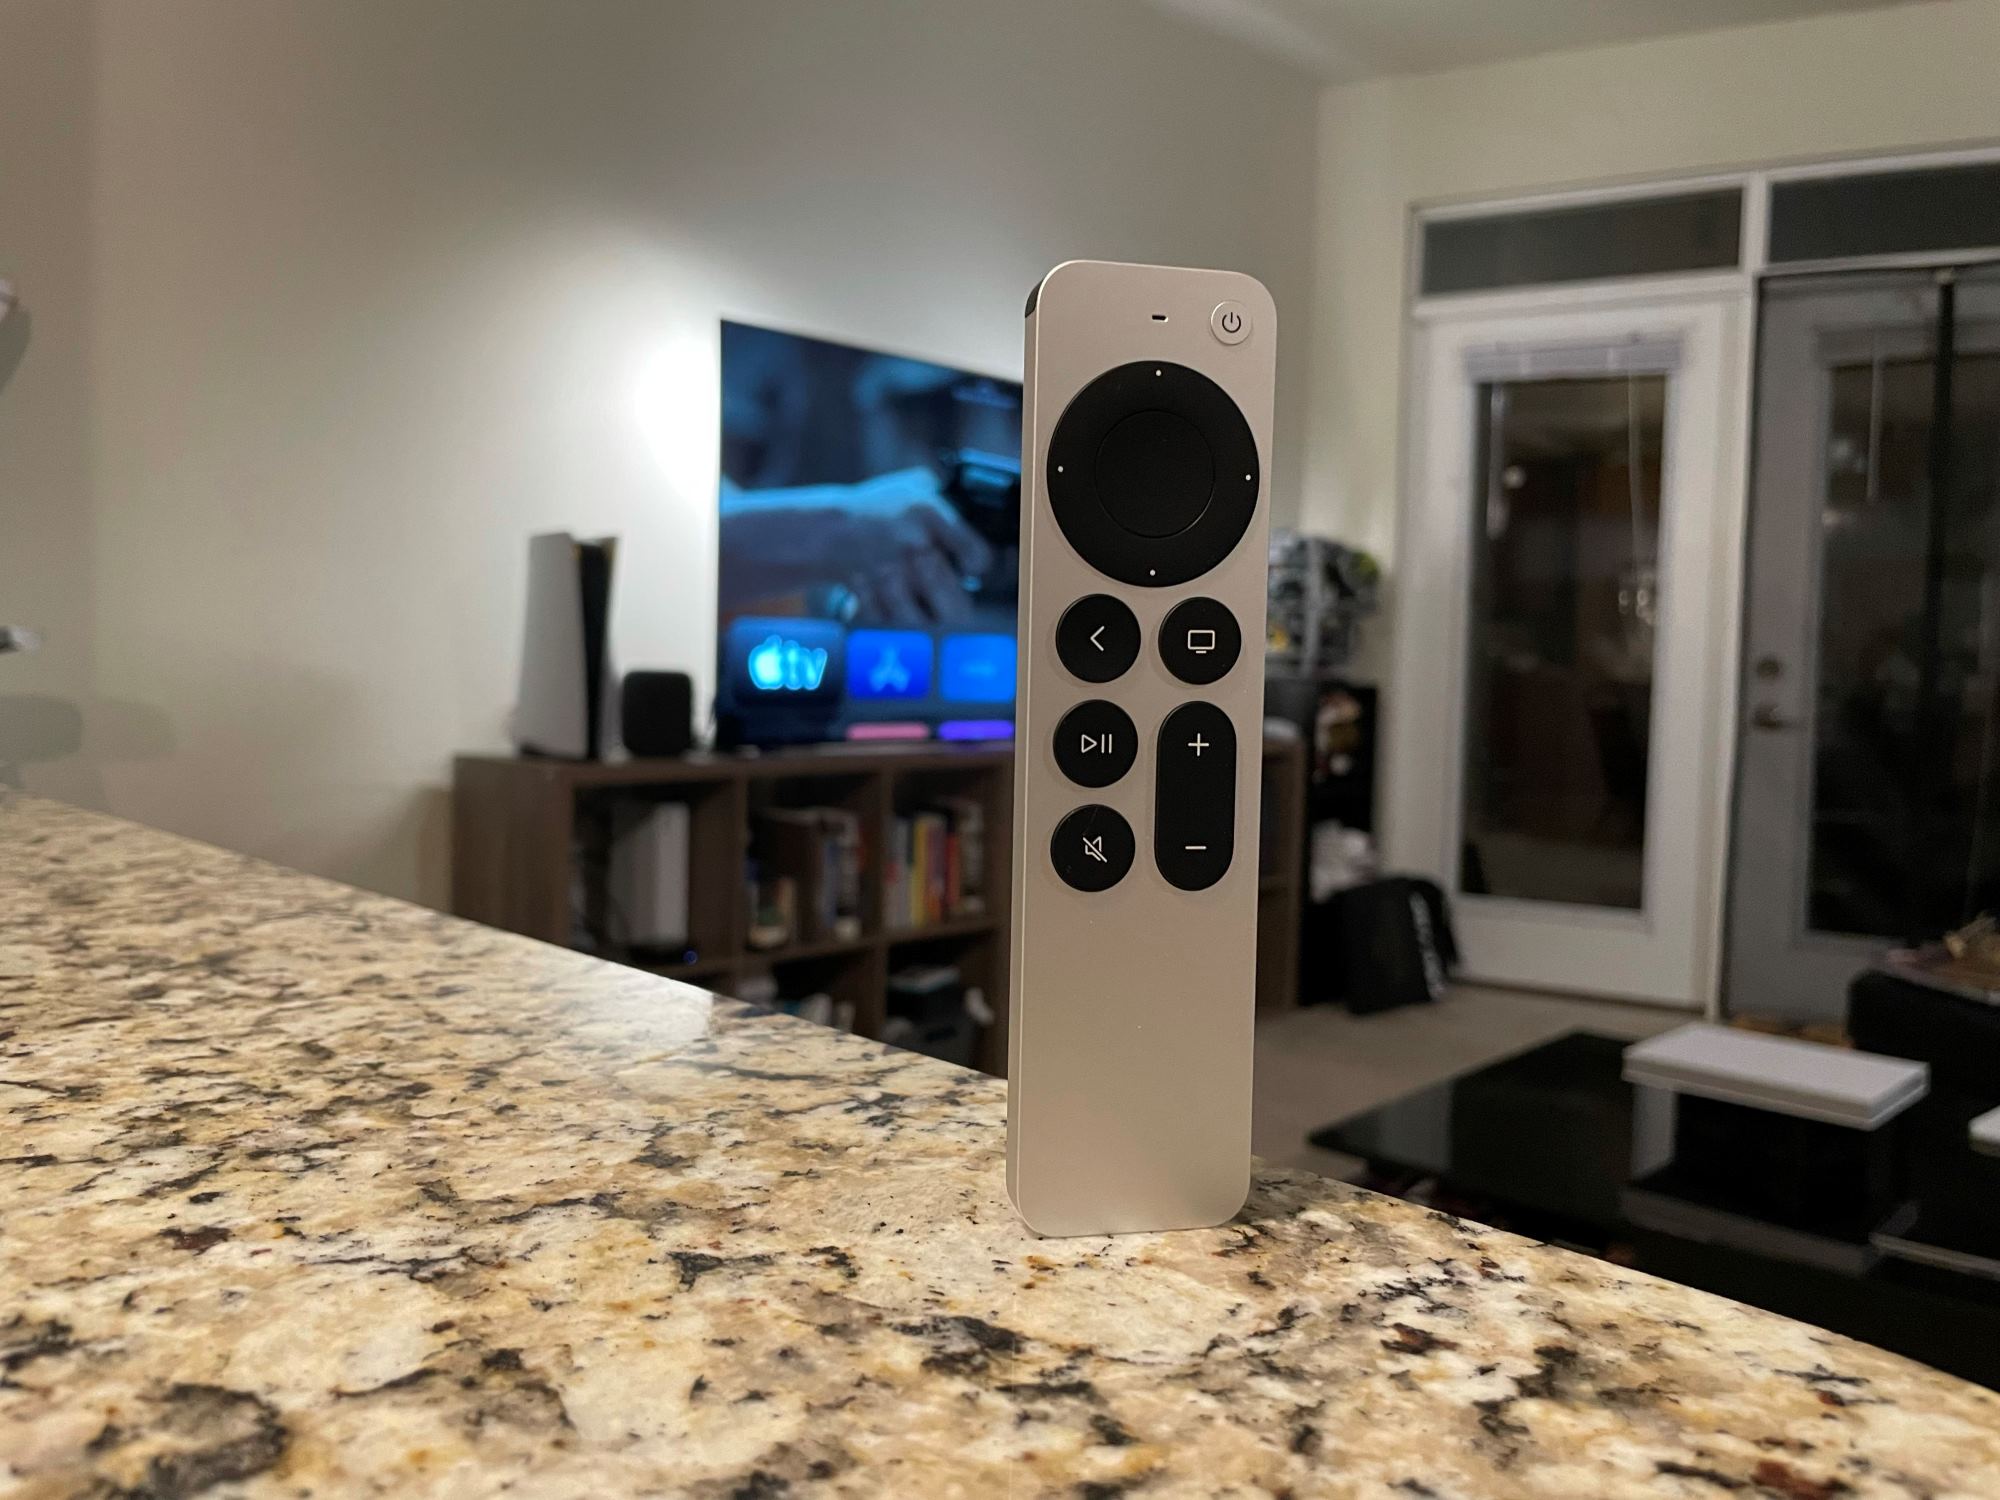
- Apple TV: You will need an Apple TV device, such as Apple TV 4K or Apple TV HD. Ensure that your Apple TV is updated to the latest software version.
- Controller Compatibility: Check if your specific controller is compatible with Apple TV. Apple supports a range of controllers, including Xbox Wireless Controllers (Xbox Series X/S, Xbox One), PlayStation DualShock 4, and MFi (Made for iOS) controllers. Refer to the controller’s manufacturer or Apple’s official website for compatibility information.
- Bluetooth Connectivity: Both your Apple TV and the controller need to have Bluetooth capabilities. Make sure the controller is unpaired from any other device and ready to be connected.
- Power Source: Ensure that your controller has sufficient battery life or is connected to a power source. This will prevent any interruptions during the pairing process or while gaming.
Having these requirements fulfilled will ensure a smooth and successful connection process between your controller and Apple TV. Now that you’re aware of what you need, let’s move on to checking the compatibility of your controller in the next step.
Step 1: Check Controller Compatibility
Before connecting a controller to your Apple TV, it’s crucial to verify its compatibility. Apple has specific guidelines for the controllers that work with their devices. To check if your controller is compatible, follow these steps:
- Consult the Manufacturer: Refer to the controller’s user manual or visit the manufacturer’s website to check if it supports Apple TV connectivity. They should provide information regarding compatibility with Apple devices.
- Check Apple’s Official Compatibility List: Apple maintains an official list of supported controllers on their website. Open your web browser and search for “Apple TV controller compatibility list.” Look for the most recent and up-to-date information.
- Consider MFi (Made for iOS) Controllers: If your controller is not on Apple’s list but is labeled as MFi compatible, it stands a good chance of working with your Apple TV. MFi controllers are specifically designed to work with Apple devices, including Apple TV.
By checking the compatibility of your controller beforehand, you can ensure that it will work seamlessly with your Apple TV. If your controller is confirmed to be compatible, proceed to the next steps. If not, consider investing in a supported controller to have the best gaming experience on your Apple TV.
Step 2: Turn on the Controller
Once you have confirmed that your controller is compatible with your Apple TV, the next step is to turn on the controller. The process may vary depending on the type of controller, but here are some general steps to follow:
- For Xbox Wireless Controllers: Press and hold the Xbox button located at the center of the controller. The Xbox button will light up, indicating that the controller is on.
- For PlayStation DualShock 4 Controllers: Press and hold the PlayStation button in the center of the controller. The light bar on the top of the controller will illuminate, signaling that the controller is powered on.
- For MFi Controllers: The power button is usually located on the face or back of the controller. Press and hold the power button until the controller turns on, and any indicator lights indicate it is ready for use.
Ensure that your controller has sufficient battery life or is connected to a power source. This will prevent any unexpected power loss during the pairing process or while gaming.
Remember, different controllers may have specific instructions for turning them on, so consult the user manual provided by the manufacturer if you encounter any difficulties or variations in the process.
Once you have turned on the controller, it’s time to move on to the next step: pairing it with your Apple TV.
Step 3: Pair the Controller with Apple TV
Now that your controller is turned on, it’s time to pair it with your Apple TV. Follow these steps to establish the connection:
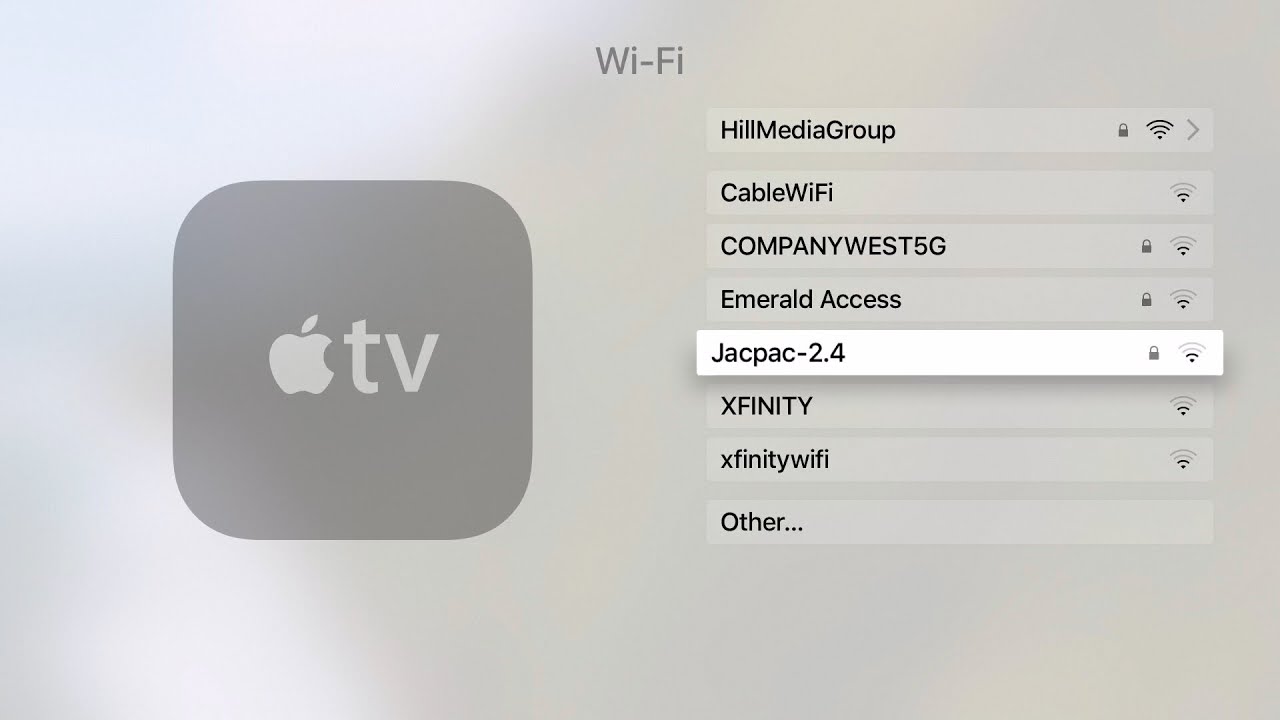
- On your Apple TV, navigate to the main menu and go to “Settings.”
- Select “Remotes and Devices” or “Bluetooth” depending on your Apple TV model.
- Make sure Bluetooth is enabled on your Apple TV. If it’s not, toggle the Bluetooth option to turn it on.
- On your controller, there is usually a dedicated button for pairing or a combination of buttons you need to press. Refer to your controller’s user manual for the exact instructions. Common buttons for pairing are “Pair” or “Connect.”
- While in the “Remotes and Devices” or “Bluetooth” settings on your Apple TV, it will start searching for nearby Bluetooth devices. Once your controller appears in the list, select it to initiate the pairing process.
- Follow any additional on-screen instructions that may appear to complete the pairing process.
After successfully pairing your controller with your Apple TV, you should see a confirmation message or an indication that the connection has been established. If the pairing fails, try restarting both your Apple TV and the controller and repeat the steps.
Keep in mind that some controllers can only pair with one device at a time. If you encounter any issues connecting your controller to your Apple TV, make sure it is not connected to any other devices via Bluetooth.
Now that your controller is successfully paired, let’s move on to the final step: testing the controller to ensure it functions correctly.
Step 4: Test the Controller
After pairing your controller with your Apple TV, it’s important to test it to ensure that all the buttons and functions are working correctly. Here’s how you can test your controller:
- Navigate to the main menu on your Apple TV.
- Select a game or app that supports the use of a controller.
- Start playing the game or using the app to test the controller’s functionality. Use the buttons, joysticks, triggers, and any other controls specific to your controller.
- Verify that the inputs from the controller are being registered correctly and correspond to the actions in the game or app.
- If you encounter any issues, such as unresponsive buttons or incorrect mappings, you may need to troubleshoot the controller. Refer to the controller’s user manual or the manufacturer’s website for troubleshooting steps specific to your controller model.
- Continue testing the controller in different games or apps to ensure its compatibility and functionality.
During the testing phase, pay close attention to any input lag or delays between pressing a button on the controller and the corresponding action on the screen. If you notice any substantial lag, it may be worth checking your controller’s firmware for updates or examining your Bluetooth signal strength.
If the controller functions correctly during testing, congratulations! You have successfully connected and tested your controller on your Apple TV. You are now ready to enjoy gaming with improved control and precision.
If you encounter any persistent issues with the controller’s performance or compatibility, reach out to the controller manufacturer’s customer support for further assistance.
Now that you have completed the controller connection process, you are all set to immerse yourself in the exciting world of gaming and entertainment on your Apple TV!
Conclusion
Connecting a controller to your Apple TV can significantly enhance your gaming experience and give you better control while playing your favorite games. In this guide, we have walked you through the step-by-step process of connecting a controller to your Apple TV.
We started by emphasizing the importance of checking controller compatibility and ensuring you have met the necessary requirements, such as having a compatible controller, a Bluetooth-enabled Apple TV, and sufficient battery life or power source for the controller.
We then proceeded to guide you through the steps of turning on the controller and pairing it with your Apple TV. We highlighted the need to follow the controller’s specific instructions for turning it on and provided general steps for pairing it with your Apple TV via Bluetooth.
Lastly, we emphasized the importance of testing the controller to ensure all buttons and functions are working correctly. We encouraged you to navigate to the main menu, select a game or app, and thoroughly test the controller’s functionality to ensure a seamless gaming experience.
By following these steps, you are now equipped with the knowledge to successfully connect a controller to your Apple TV and enjoy immersive gaming on the big screen. If you encounter any issues during the process, don’t hesitate to refer to the controller’s user manual or reach out to the manufacturer’s customer support for assistance.
Now, it’s time to take control and start gaming on your Apple TV like never before!