Introduction
Welcome to our guide on how to connect a Bluetooth keyboard to your iPad. With advancements in technology, Bluetooth keyboards have become a popular choice for iPad users who want to enhance their typing experience. Whether you’re a student, a professional, or simply someone who enjoys using your iPad for productivity or entertainment purposes, a Bluetooth keyboard can greatly improve your efficiency and make typing a breeze.
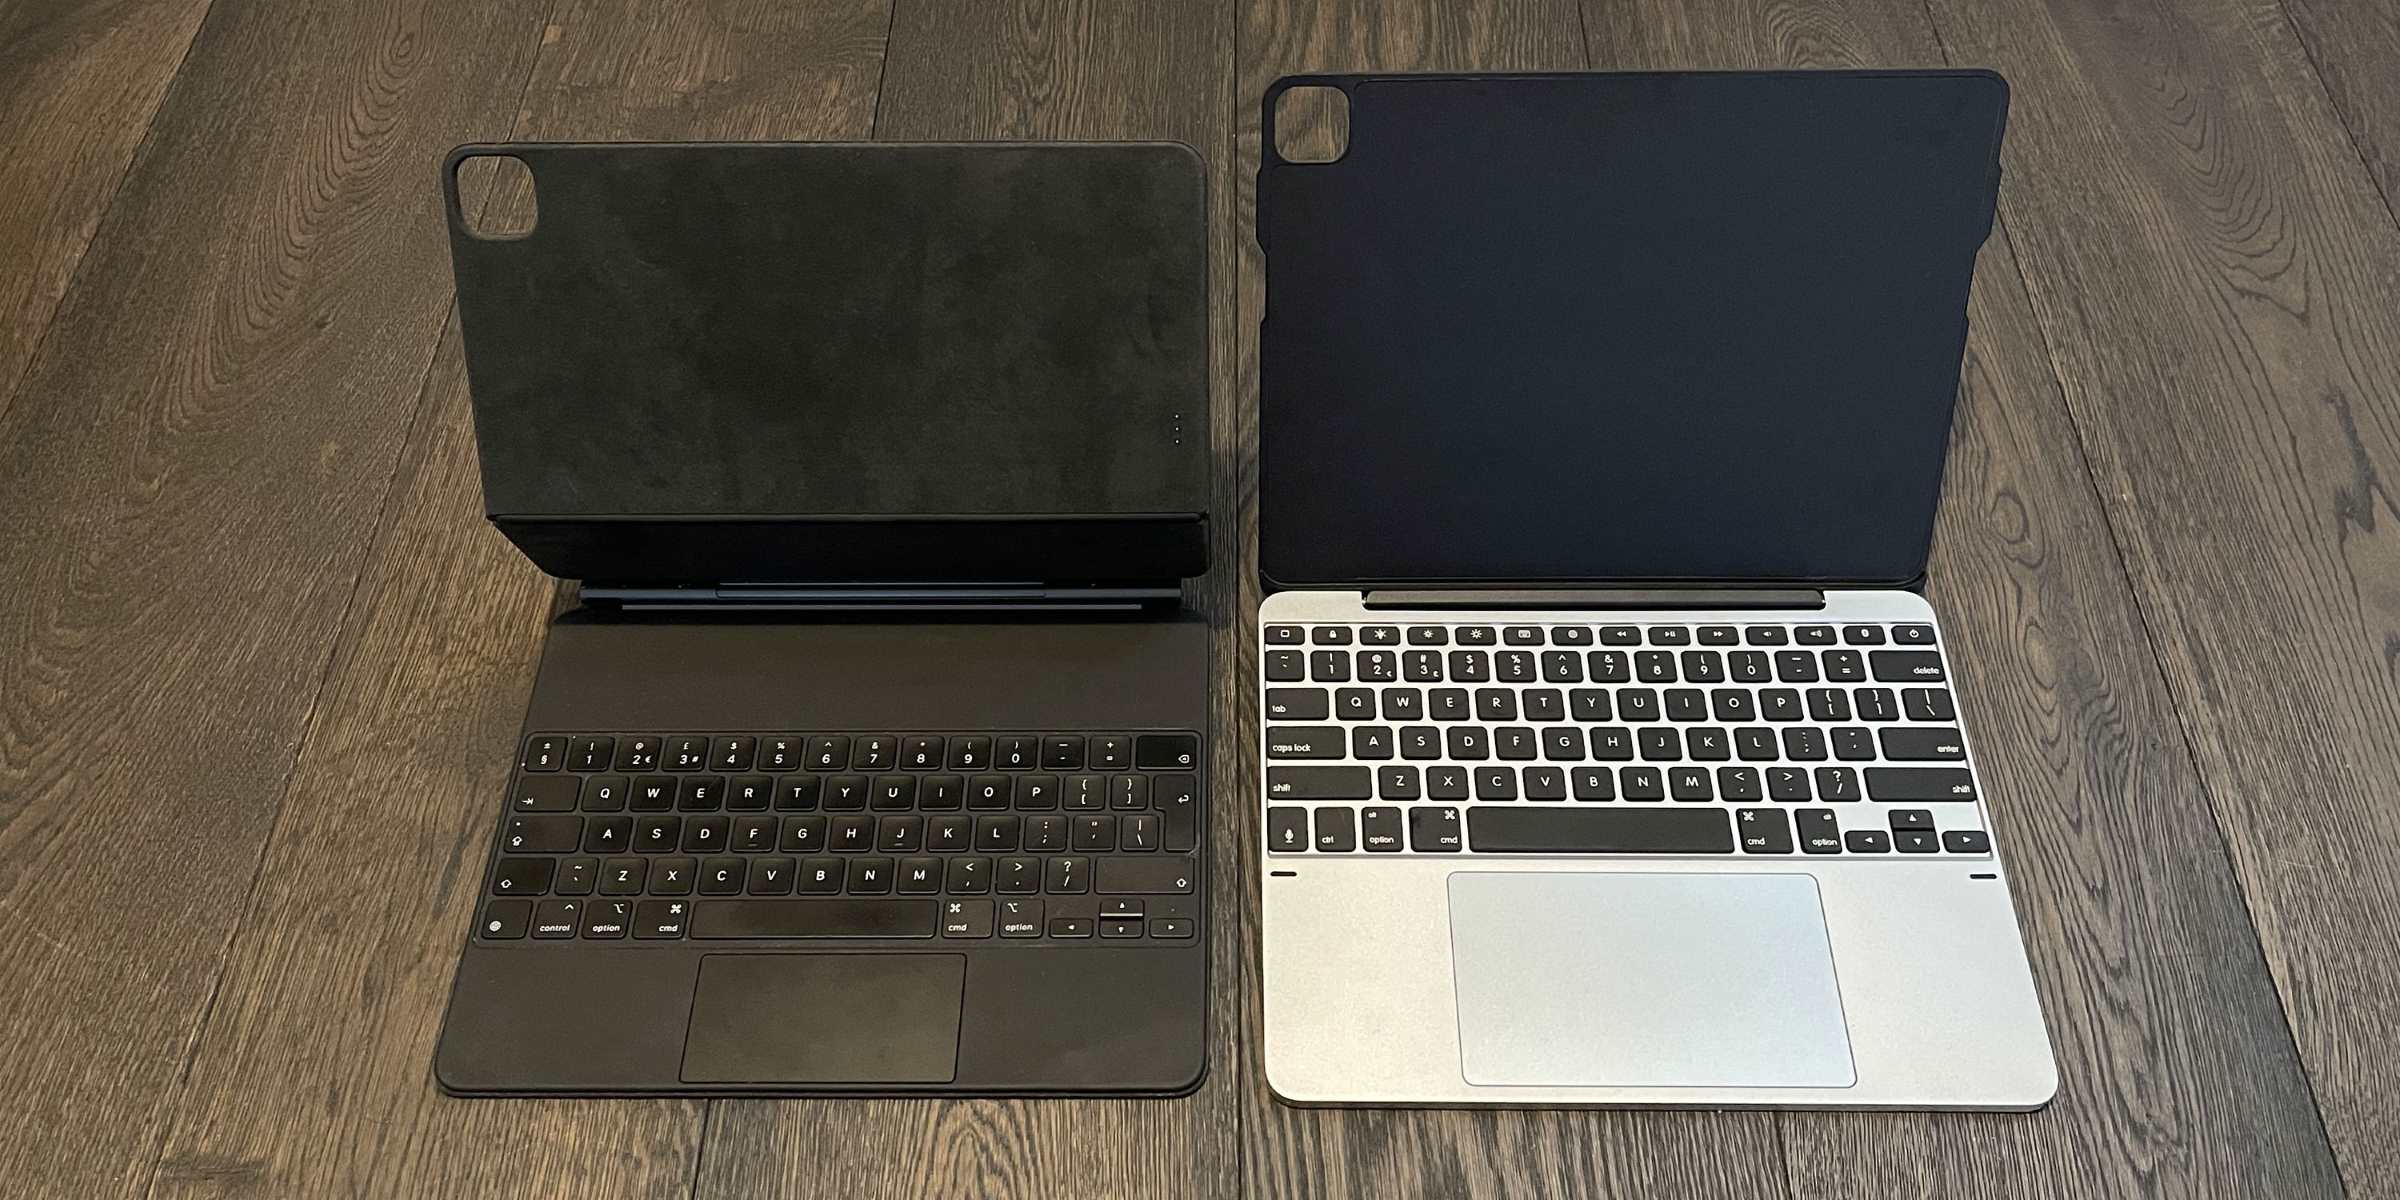
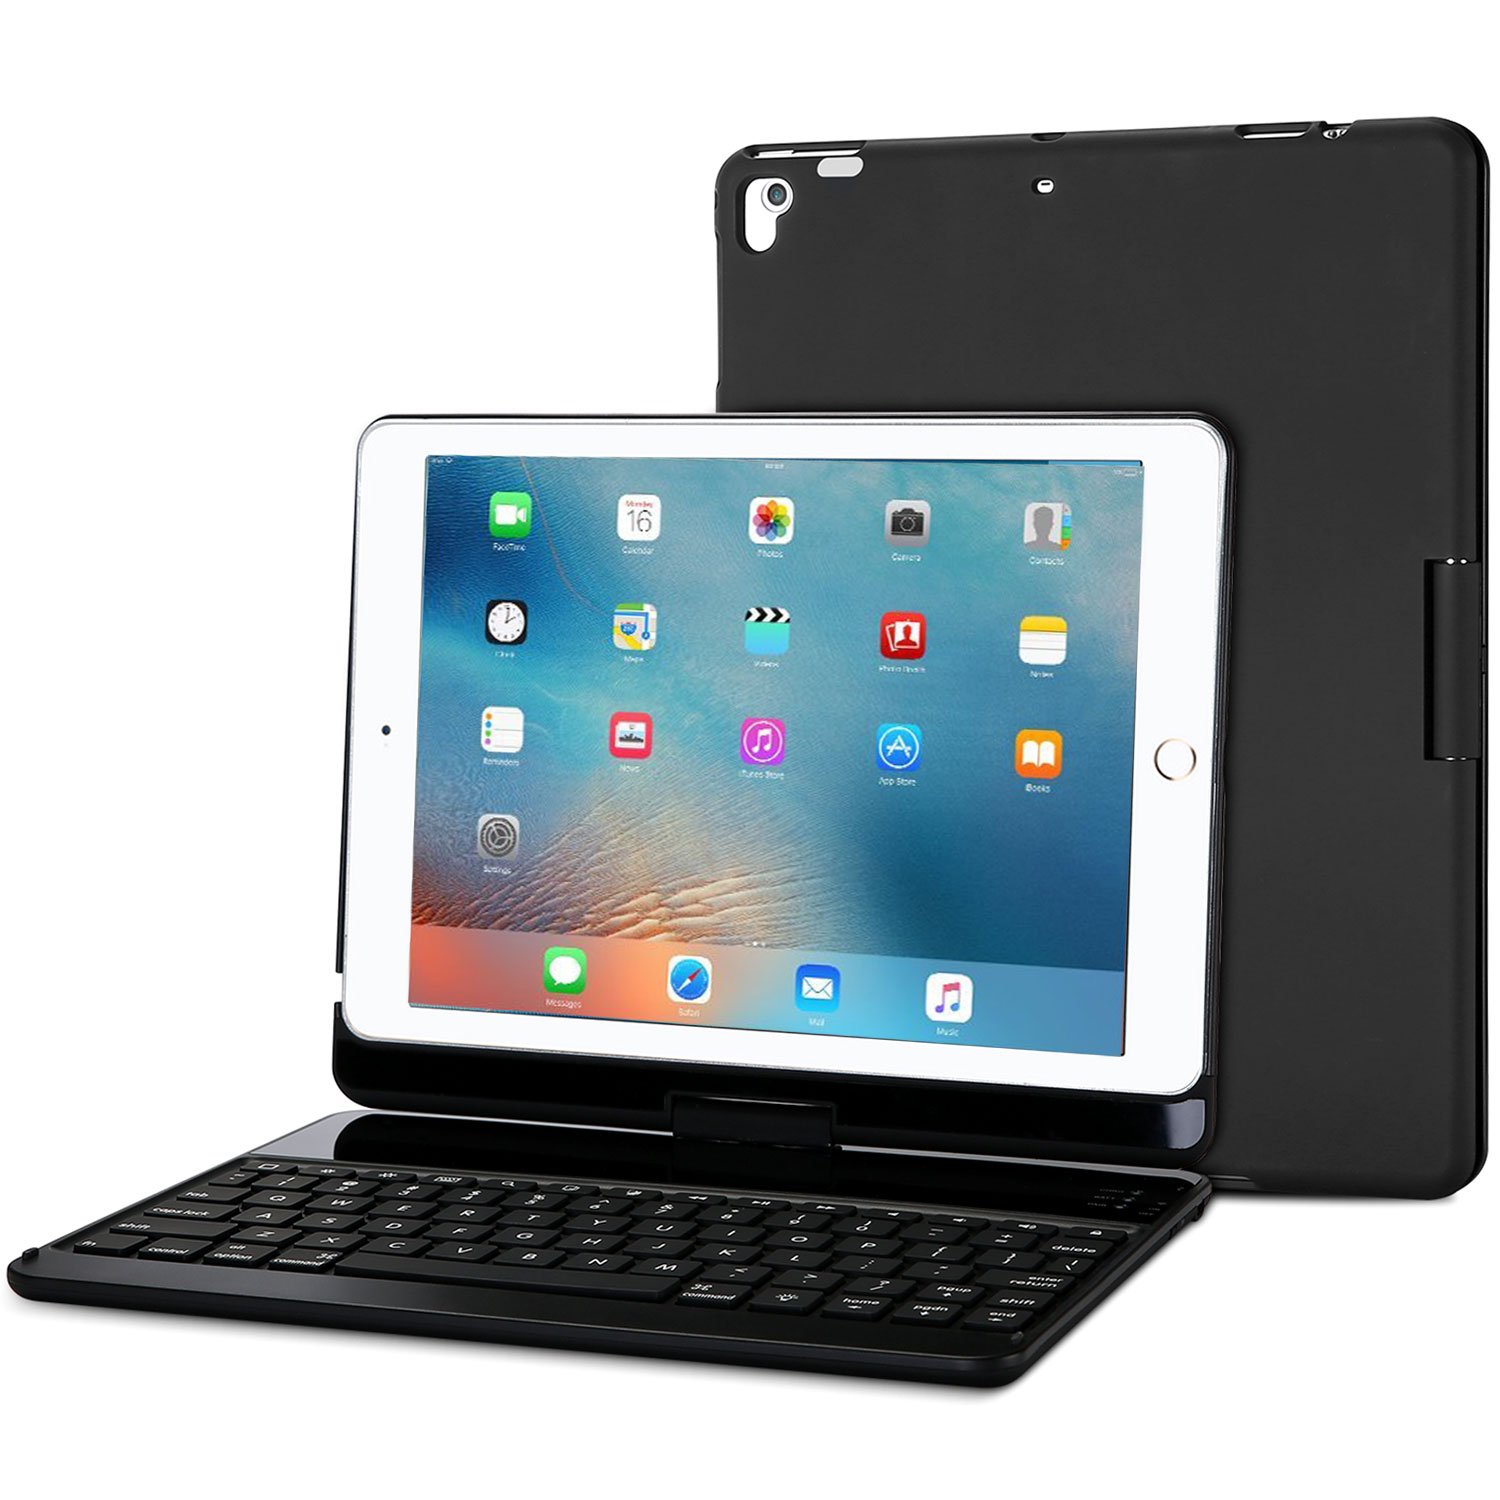
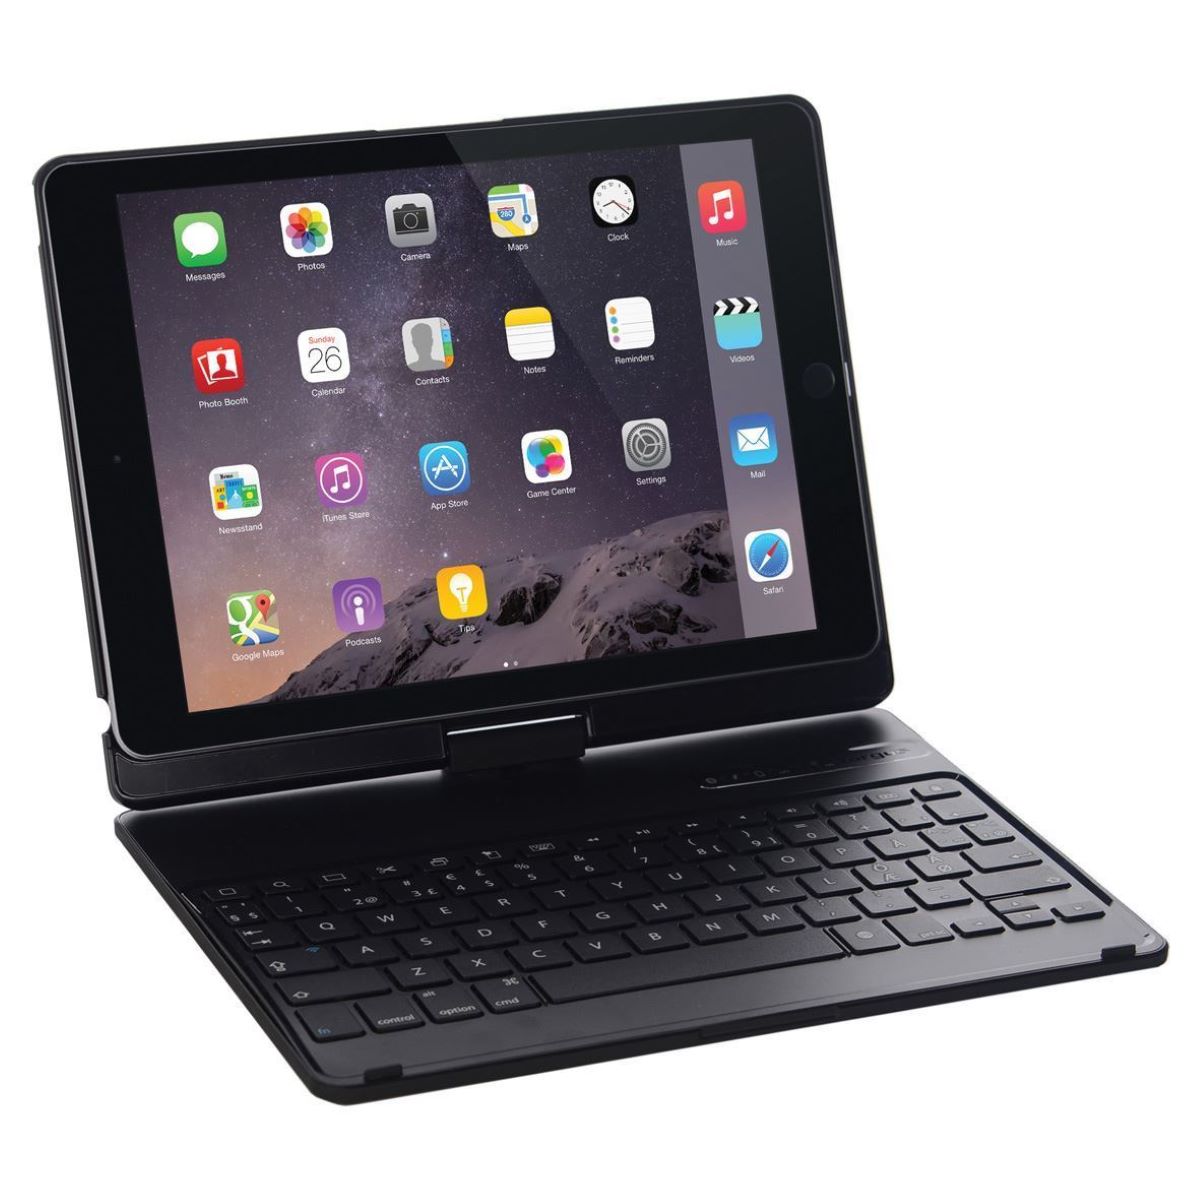
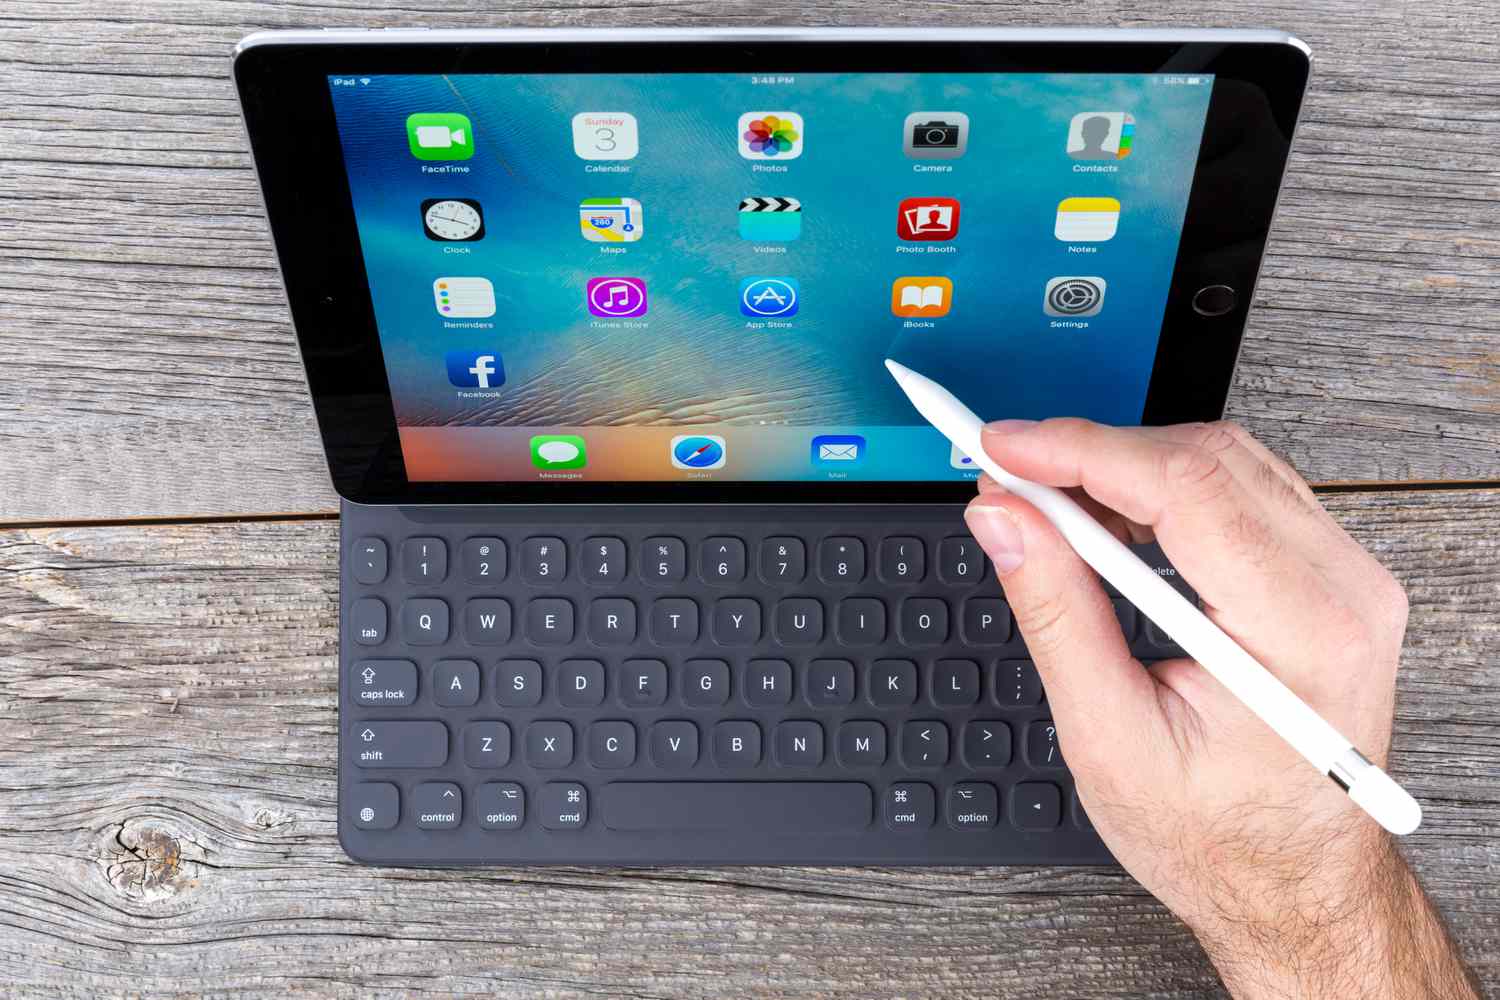
By connecting a Bluetooth keyboard to your iPad, you can enjoy the convenience of a physical keyboard, allowing you to type more comfortably and quickly. Whether you’re drafting an important document, responding to emails, or chatting with friends, a Bluetooth keyboard provides a tactile typing experience and frees up valuable screen space.
In this comprehensive guide, we will walk you through the step-by-step process of connecting a Bluetooth keyboard to your iPad. Whether you have the latest iPad model or an older version, the steps remain the same.
Before we dive into the process, it’s important to note that not all Bluetooth keyboards are compatible with the iPad. Therefore, make sure to check the compatibility of your keyboard with your specific iPad model.
We understand how frustrating it can be to wrestle with technology, so we have simplified the process for you. By following the steps outlined in this guide, you’ll be able to connect your Bluetooth keyboard to your iPad in no time.
Step 1: Enable Bluetooth on iPad
Before you can connect your Bluetooth keyboard to your iPad, you need to ensure that Bluetooth is enabled on your device. Follow these simple steps to turn on Bluetooth:
- Unlock your iPad and go to the home screen.
- Swipe down from the top-right corner of the screen to open the Control Center.
- Make sure the Bluetooth icon is highlighted and appears blue. If it’s grayed out, that means Bluetooth is currently disabled.
- If Bluetooth is disabled, tap the Bluetooth icon to turn it on. The icon should now turn blue, indicating that Bluetooth is enabled.
Once Bluetooth is enabled on your iPad, you’re ready to proceed to the next step of the process.
It’s important to note that some older iPad models may have a slightly different method for enabling Bluetooth. On these devices, you can go to “Settings” from the home screen, select “Bluetooth,” and toggle the switch to turn it on.
With Bluetooth enabled on your iPad, you’re now ready to pair your Bluetooth keyboard. Follow the next steps carefully to ensure a successful connection.
Step 2: Turn on the Bluetooth Keyboard
Now that Bluetooth is enabled on your iPad, it’s time to turn on your Bluetooth keyboard. Follow these steps:
- Locate the power button on your Bluetooth keyboard. It is usually located on the top or the side of the keyboard.
- Press and hold the power button until the keyboard turns on. You may see a light indicator or a message on the keyboard confirming that it is powered on.
Make sure your Bluetooth keyboard is within range of your iPad to ensure a smooth connection. Typically, the range is around 30 feet, but it may vary depending on your specific keyboard model.
Once your Bluetooth keyboard is powered on, you’re ready to move on to the next step.
Note that each Bluetooth keyboard may have slightly different power buttons or activation methods. If you’re unsure about how to turn on your specific keyboard model, refer to the manufacturer’s instructions or user manual.
With your Bluetooth keyboard powered on, let’s move on to the next step of putting the keyboard in discovery mode so that it can be recognized by your iPad.
Step 3: Put the Keyboard in Discovery Mode
To connect your Bluetooth keyboard to your iPad, you need to put the keyboard in discovery mode. Discovery mode allows your keyboard to be recognized and paired with your iPad. Follow these steps to put your keyboard in discovery mode:
- Refer to your keyboard’s user manual to determine the specific method to activate discovery mode.
- Typically, you will need to press and hold the “Bluetooth” or “Connect” button on your keyboard until the indicator light starts flashing. This indicates that the keyboard is now in discovery mode.
Make sure you initiate the discovery mode within a reasonable distance from your iPad to ensure a successful connection. Keep in mind that the specific steps to activate discovery mode may vary depending on your keyboard model.
Once your keyboard is in discovery mode, move on to the next step to pair it with your iPad.
If you’re unable to put your keyboard in discovery mode or encounter any issues, consult the manufacturer’s instructions or support resources for further assistance. They will be able to provide specific guidance for your keyboard model.
With your keyboard in discovery mode, your Bluetooth keyboard is now ready to be paired with your iPad. Let’s move on to the next step to complete the pairing process.
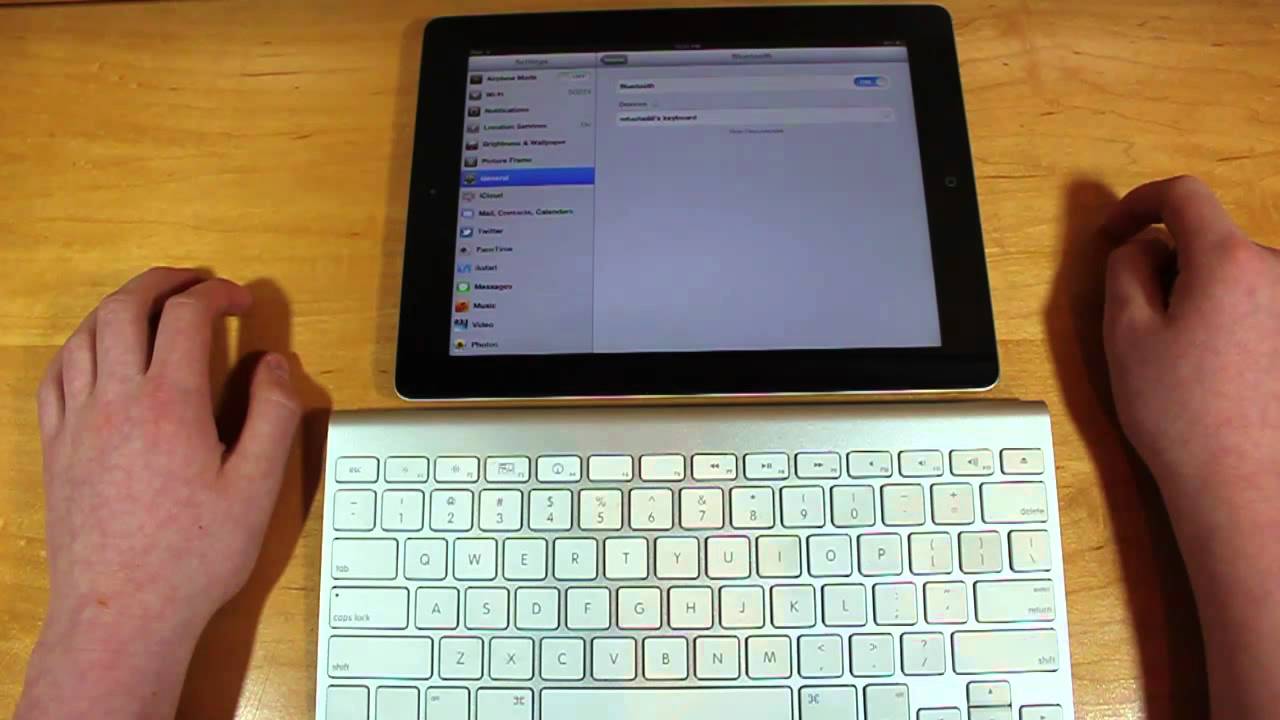
Step 4: Pair the Keyboard with iPad
Now that your Bluetooth keyboard is in discovery mode, it’s time to pair it with your iPad. Follow these steps to complete the pairing process:
- On your iPad, go to the home screen and open the “Settings” app.
- Select “Bluetooth” from the list of settings options.
- Your iPad will start searching for available Bluetooth devices. Wait for your keyboard’s name to appear in the list of discovered devices.
- Once your keyboard’s name appears, tap on it to initiate the pairing process.
- Your iPad will display a pairing code on the screen. Usually, you will need to enter this code on your Bluetooth keyboard to establish the connection. Follow the instructions on your keyboard’s user manual to enter the pairing code.
- Once the correct pairing code is entered, your iPad and keyboard will establish a connection. You will receive a notification on your iPad, indicating that the pairing is successful.
It’s important to note that the pairing process may vary slightly depending on your keyboard model and iPad version. Some keyboards may require you to enter a specific key combination or follow additional steps to complete the pairing. Check the user manual provided with your keyboard for any specific instructions.
With your Bluetooth keyboard successfully paired with your iPad, it’s time to move on to the next step to ensure the connection is working properly.
Step 5: Enter the Passcode (if required)
After pairing your Bluetooth keyboard with your iPad, you may be prompted to enter a passcode to establish a secure connection. This step ensures that only authorized devices can connect to your iPad. Follow these steps to enter the passcode:
- On your iPad, a passcode will be displayed on the screen. Check your Bluetooth keyboard’s user manual to find out how to enter the passcode.
- Enter the passcode using your Bluetooth keyboard. Each keyboard may have a different method for inputting the passcode, so refer to the manufacturer’s instructions for specific guidance.
- Once the passcode is entered correctly, your iPad and keyboard will authenticate the connection.
- You will then receive a notification on your iPad, confirming that the connection is secure and established.
It’s important to note that not all Bluetooth keyboards require a passcode for pairing. Some keyboards may automatically connect without the need for a passcode, while others may have a default passcode that you need to enter. Check your keyboard’s user manual for specific instructions.
If you encounter any issues during this step or if the passcode is not being accepted, refer to the manufacturer’s instructions or support resources for troubleshooting guidance.
With the passcode entered (if required) and the connection established, it’s time to move on to the next step to ensure that your keyboard is functioning properly.
Step 6: Test the Keyboard Connection
Now that your Bluetooth keyboard is paired and the connection is established, it’s time to test if the keyboard is working properly with your iPad. Follow these steps to ensure that everything is functioning as expected:
- Open any app or document on your iPad that allows text input.
- Tap on a text field to activate the keyboard.
- Start typing on your Bluetooth keyboard to see if the input is registered on your iPad’s screen. You should see the characters appearing as you type.
- Try out various keys, such as the function keys, special characters, and modifiers, to ensure that all the keyboard functions are working correctly.
- If the keyboard is not functioning as expected, double-check the connection and ensure that both the iPad and keyboard have sufficient battery levels.
If you encounter any issues during the testing phase or if the keyboard is not responding, try the following troubleshooting steps:
- Restart your iPad and keyboard to refresh the connection.
- Ensure that your Bluetooth keyboard is within the recommended range of your iPad.
- Check if the keyboard requires any software updates or firmware upgrades.
- If possible, try pairing the keyboard with another device to determine if the issue is specific to your iPad.
If the problem persists, consult the manufacturer’s support resources for further assistance. They may be able to provide specific troubleshooting steps or warranty coverage if the keyboard is defective.
With the keyboard connection successfully tested and confirmed to be working properly, you can now enjoy the improved typing experience on your iPad.
Conclusion
Congratulations! You have successfully connected your Bluetooth keyboard to your iPad. By following the step-by-step instructions outlined in this guide, you can now enjoy the convenience of a physical keyboard for a more comfortable and efficient typing experience.
Remember, before starting the process, ensure that Bluetooth is enabled on your iPad and that your keyboard is powered on. Put your keyboard in discovery mode and pair it with your iPad, following any required passcode entry. Finally, test the keyboard connection to confirm everything is working as expected.
Keep in mind that the process may vary slightly depending on your specific iPad model and Bluetooth keyboard. Consult the user manual provided with your keyboard for any specific instructions or troubleshooting steps.
We hope this guide has been helpful in assisting you in connecting your Bluetooth keyboard to your iPad. Now, you can enjoy the comfort and efficiency of a physical keyboard for all your typing needs, whether it’s writing documents, composing emails, or chatting with friends.
Thank you for using our guide, and happy typing!