Introduction
A smart TV is a great addition to any home, providing access to a wide range of streaming services, online content, and apps. However, in order to enjoy these features, you need to connect your smart TV to Wi-Fi. While connecting to a typical Wi-Fi network is fairly straightforward, connecting to a network that requires a login can be a bit more complex.
In this article, we will guide you through the process of connecting a smart TV to Wi-Fi that requires a login. Whether you are setting up a new smart TV or need to reconnect to your Wi-Fi network after a password change, this step-by-step guide will help you get connected in no time.
We will cover how to check your Wi-Fi network settings, locate your smart TV’s Wi-Fi settings, connect to the Wi-Fi network, and access the login page. We will also walk you through entering the required login credentials and accepting any terms and conditions that may be necessary. By following these steps, you will be able to connect your smart TV to Wi-Fi and start enjoying a world of entertainment from the comfort of your own home.
So, whether you are a movie buff, a sports enthusiast, or a binge-watcher of your favorite shows, let’s dive into the process of connecting your smart TV to a Wi-Fi network that requires a login.
Step 1: Check your Wi-Fi network settings
Before connecting your smart TV to a Wi-Fi network that requires a login, it’s essential to check your Wi-Fi network settings. This will ensure that you have the correct network information and are ready to proceed with the connection process.
Here are a few simple steps to follow:
- Make sure you are within range of your Wi-Fi router. Smart TVs typically require a strong and stable Wi-Fi signal to establish a connection.
- Ensure that your Wi-Fi network is functioning properly. Try connecting other devices, such as your smartphone or laptop, to the Wi-Fi network to verify its stability and internet connectivity.
- If you have recently changed your Wi-Fi password, make sure to update it on any devices that were previously connected to the network. This includes your smart TV, as it will need the updated password to connect successfully.
- Double-check the Wi-Fi name (SSID) and password. You can find this information on your Wi-Fi router or by accessing your router’s settings through a web browser on another device.
- Ensure that your Wi-Fi network is not hidden. Some routers offer the option to hide the Wi-Fi network from being visible to devices. If this feature is enabled, you will need to disable it temporarily to allow your smart TV to discover and connect to the network.
By going through these steps and confirming the status of your Wi-Fi network, you will have a solid foundation for connecting your smart TV to Wi-Fi.
Step 2: Locate your smart TV’s Wi-Fi settings
Once you have checked your Wi-Fi network settings, the next step is to locate the Wi-Fi settings on your smart TV. The exact steps may vary slightly depending on the make and model of your TV, but the general process remains the same.
Here is how you can find the Wi-Fi settings on most smart TVs:
- Turn on your smart TV and use the TV’s remote to navigate to the home screen.
- Look for the settings or gear icon on the home screen. This is usually located in the upper-right or lower-right corner of the screen.
- Select the settings or gear icon to access the settings menu.
- In the settings menu, look for the Network or Wi-Fi option. It may be listed under a different name, such as Internet or Connectivity.
- Select the Network or Wi-Fi option to enter the Wi-Fi settings.
Once you are in the Wi-Fi settings, you may see a list of available networks. However, if your TV is already connected to a different Wi-Fi network, you may need to disconnect from it first in order to connect to a new network. Look for an option to forget or disconnect from the current network and confirm your choice.
Now that you have located the Wi-Fi settings on your smart TV, you are ready to proceed to the next step of connecting to the Wi-Fi network that requires a login.
Step 3: Connect to the Wi-Fi network
Now that you have located the Wi-Fi settings on your smart TV, it’s time to connect to the Wi-Fi network that requires a login. Follow these steps to establish a connection:
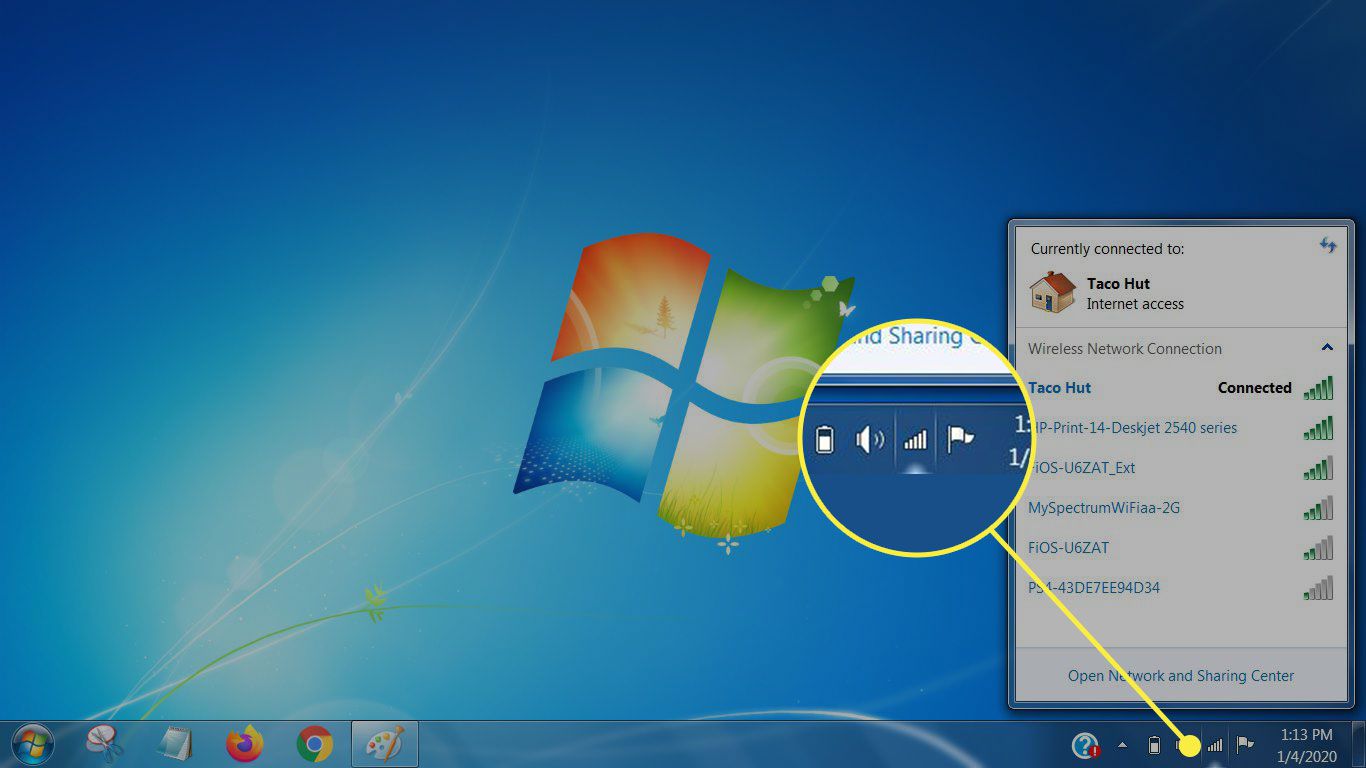
- In the Wi-Fi settings menu on your smart TV, you should see a list of available networks. Look for your Wi-Fi network in the list.
- Select your Wi-Fi network from the list and choose the “Connect” or “Join” option.
- If prompted, enter the Wi-Fi network password. This is the password you previously checked in your Wi-Fi network settings.
- Depending on your smart TV, you may have the option to choose the security type for your Wi-Fi network. If this option is available, select the appropriate security type (e.g., WEP, WPA, WPA2).
Once you have entered the Wi-Fi network password and any other required information, your smart TV will attempt to connect to the Wi-Fi network. The process may take a few moments as the TV establishes a secure connection with the network.
If the connection is successful, you will see a confirmation message or an icon indicating a successful connection to the Wi-Fi network. At this point, you are one step closer to enjoying all the streaming and online content on your smart TV.
If the connection fails, double-check that you have entered the correct Wi-Fi network password. Also, check your Wi-Fi network settings to ensure that the security type matches the configuration of your Wi-Fi network. If you continue to experience issues, you may need to troubleshoot your Wi-Fi network or seek assistance from your Internet Service Provider.
Once you have successfully connected to the Wi-Fi network, you are ready to proceed to the next step of accessing the login page.
Step 4: Open the web browser on your smart TV
After connecting your smart TV to the Wi-Fi network, the next step is to open the web browser on your TV. This will allow you to access the login page and complete the necessary steps to connect to the Wi-Fi network that requires a login.
Here’s how to open the web browser on most smart TVs:
- Return to the home screen of your smart TV by pressing the home or menu button on your TV remote.
- Look for a browser icon or app on the home screen. This may be labeled as “Internet,” “Browser,” or a specific browser name such as “Chrome” or “Firefox.”
- Select the browser icon or app to launch the web browser on your smart TV.
Once the web browser is open, you will see a search bar or address bar where you can enter a web address. Depending on your TV and browser, this may be located at the top or bottom of the screen.
It’s important to note that the web browsing experience on smart TVs can differ from that on traditional computers or smartphones. Smart TV browsers may have limitations in terms of supported websites, plugins, or advanced features. However, for accessing the login page on your Wi-Fi network, the built-in web browser on your smart TV should be sufficient.
With the web browser open on your smart TV, you are now ready to proceed to the next step of accessing the login page for the Wi-Fi network.
Step 5: Access the login page
With the web browser open on your smart TV, it’s time to access the login page for the Wi-Fi network. This page typically appears when connecting to Wi-Fi networks that require authentication, such as hotels, airports, or public hotspots.
Follow these steps to access the login page:
- In the address bar of the web browser on your smart TV, enter the default gateway IP address for your Wi-Fi network. This is the IP address of your router, and it usually looks something like “192.168.0.1” or “192.168.1.1”.
- Press the Enter or OK button on your TV remote to navigate to the entered IP address.
- If the entered IP address is correct, you will be redirected to the login page for the Wi-Fi network. This page may require you to enter additional information, such as a username and password, or agree to terms and conditions.
On the login page, carefully follow the instructions provided. Enter the necessary login credentials or accept any terms and conditions to gain access to the Wi-Fi network.
If you are unsure about the default gateway IP address or if it doesn’t work, you can try searching for the specific instructions or support documentation for your Wi-Fi network. The details on accessing the login page may vary depending on the network provider or location.
Once you have successfully accessed the login page and completed any required steps, you are ready to proceed to the next step of entering the required login credentials.
Step 6: Enter the required login credentials
After accessing the login page for the Wi-Fi network, the next step is to enter the required login credentials. These credentials may include a username, password, or both, depending on the network’s authentication requirements.
Here’s how to enter the login credentials on most Wi-Fi network login pages:
- Look for the fields on the login page where you can enter your login credentials. These fields may be labeled as “Username,” “Email,” “Password,” or something similar.
- Using your TV’s remote or an on-screen keyboard, enter the correct login credentials into the respective fields.
- Take care while entering the credentials to avoid any typing errors. Pay attention to uppercase and lowercase letters as passwords are case-sensitive.
- If applicable, ensure that the “Remember Me” or “Remember Credentials” option is unchecked, especially if you are using a shared or public Wi-Fi network.
Once you have entered the required login credentials, verify that the information is correct before proceeding. Incorrect credentials may result in login failures and prevent you from connecting to the Wi-Fi network.
If you are unsure about your login credentials, try referring to any documentation provided by the network provider or contacting their customer support for assistance.
Once you have successfully entered the login credentials, you are ready to proceed to the next step of accepting any terms and conditions that may be applicable.
Step 7: Accept terms and conditions (if applicable)
After entering the required login credentials on the Wi-Fi login page, it’s time to review and accept any terms and conditions that may be applicable to the network. Some Wi-Fi networks require users to agree to certain terms and conditions before granting access to the internet.
Follow these steps to accept the terms and conditions:
- On the login page, scroll down or navigate to the section where the terms and conditions are presented.
- Read through the terms and conditions carefully to understand the network provider’s policies and any usage restrictions.
- If you agree to the terms and conditions, look for a checkbox or button that allows you to indicate your consent.
- Select the checkbox or click the button to accept the terms and conditions.
It’s important to be aware of any limitations or restrictions outlined in the terms and conditions. Pay attention to things like bandwidth limits, acceptable use policies, and any potential charges or fees associated with using the Wi-Fi network.
If you have any concerns about the terms and conditions or if you are unsure about certain provisions, consider reaching out to the network provider or seeking clarification to ensure compliance and a smooth user experience.
Once you have accepted the terms and conditions, you are ready to proceed to the final step of connecting your smart TV to the Wi-Fi network.
Step 8: Connect your smart TV to the Wi-Fi network
After successfully entering the login credentials and accepting any terms and conditions, it’s time to connect your smart TV to the Wi-Fi network. This final step enables your TV to establish a secure connection and access the internet.
Follow these steps to connect your smart TV to the Wi-Fi network:
- Review the details on the login page to ensure that your credentials and acceptance of terms and conditions are in order.
- Look for a button or option on the login page that allows you to connect to the Wi-Fi network. Depending on the network setup, this may be referred to as “Connect,” “Join,” or “Log In.”
- Select the appropriate button or option to initiate the connection process.
- Your smart TV will attempt to connect to the Wi-Fi network using the provided credentials and network settings.
- If the connection is successful, you will see a confirmation message or an indication that your smart TV is now connected to the Wi-Fi network.
Once your smart TV is connected to the Wi-Fi network, you can start enjoying all the benefits of a connected TV, such as streaming your favorite shows, accessing online content, and using various apps and services.
If the connection fails, ensure that you have entered the correct credentials and that your smart TV is within range of the Wi-Fi router. Consider troubleshooting your Wi-Fi network or seeking technical support if the issue persists.
With your smart TV successfully connected to the Wi-Fi network, you are now ready to explore and make the most out of your entertainment options right from the comfort of your own home.
Conclusion
Connecting a smart TV to a Wi-Fi network that requires a login can initially seem like a complex process, but by following the step-by-step guide outlined in this article, you can easily get connected and enjoy the full range of features and entertainment options on your smart TV.
We started by checking the Wi-Fi network settings to ensure that everything is in order. Then, we located the Wi-Fi settings on the smart TV and successfully connected to the network. After that, we opened the web browser on the TV and accessed the login page for the Wi-Fi network. We entered the required login credentials and accepted any terms and conditions that were applicable. Finally, we connected the smart TV to the Wi-Fi network.
By following these steps, you can seamlessly connect your smart TV to a Wi-Fi network that requires a login, allowing you to stream your favorite movies and shows, access online content, and enjoy various apps and services. Remember to double-check the credentials and terms to ensure a smooth connection process.
If you encounter any difficulties during the connection process, it is recommended to consult your network provider’s documentation or seek assistance from their customer support team. They will be able to provide specific guidance tailored to your network’s setup.
Now that you’re connected, sit back, relax, and enjoy the endless entertainment possibilities available on your smart TV!


