Introduction
In the world of computer hardware, ensuring a proper connection between the power supply unit (PSU) and the motherboard is crucial. However, there may be instances where you find yourself with a 4-pin PSU and an 8-pin motherboard. This situation might leave you wondering how to bridge the gap and make the necessary connection.
While it is ideal to have a matching PSU and motherboard in terms of pin configuration, there are times when you need to make do with what you have. Thankfully, connecting a 4-pin PSU to an 8-pin motherboard is possible with a simple adapter.
In this guide, we will walk you through the steps required to connect a 4-pin PSU to an 8-pin motherboard. With our easy-to-follow instructions, you will be able to establish a reliable connection between these two vital components of your computer system.
Before we dive into the process, it is important to note that while this solution will ensure a functional connection, the power delivery may be limited compared to a full 8-pin connection. However, for most systems, this setup should provide adequate power for smooth operation.
Now that you have a clear understanding of the situation at hand, let’s move on to the next section, where we will discuss why you might need to connect a 4-pin PSU to an 8-pin motherboard. Understanding the reasons behind this connection will help you make the best decision for your specific setup.
Why might you need to connect a 4-pin PSU to an 8-pin motherboard?
There are a few reasons why you might find yourself needing to connect a 4-pin PSU to an 8-pin motherboard. Let’s explore some of the common scenarios:
1. Compatibility: Sometimes, when upgrading or building a computer system, you may discover that the PSU you have on hand only has a 4-pin connector, while the motherboard requires an 8-pin connection. This can be a result of using an older PSU with a newer motherboard or simply a mismatch in specifications. In such cases, you will need to make the necessary adjustments to establish a connection.
2. Replacement PSU: If your existing PSU fails and you are unable to find a suitable replacement with an 8-pin connector, connecting a 4-pin PSU may become necessary to ensure your computer remains functional. This can be a temporary solution until you can acquire a compatible PSU.
3. Custom builds: Building a computer from scratch allows for customization, but it also presents the challenge of ensuring compatibility between components. In some situations, you might opt for a 4-pin PSU due to its availability, cost, or specific features, while your chosen motherboard requires an 8-pin connection.
4. Budget constraints: Upgrading a computer system can be costly, and sometimes, budget constraints force users to make compromises. In such cases, connecting a 4-pin PSU to an 8-pin motherboard can be a viable option to minimize expenses.
Regardless of the reason, being able to connect a 4-pin PSU to an 8-pin motherboard provides a practical solution when faced with compatibility issues. Now that you understand the scenarios in which this connection might be necessary, let’s move on to the next section, where we will discuss the items you will need to make this connection possible.
What you will need for the connection
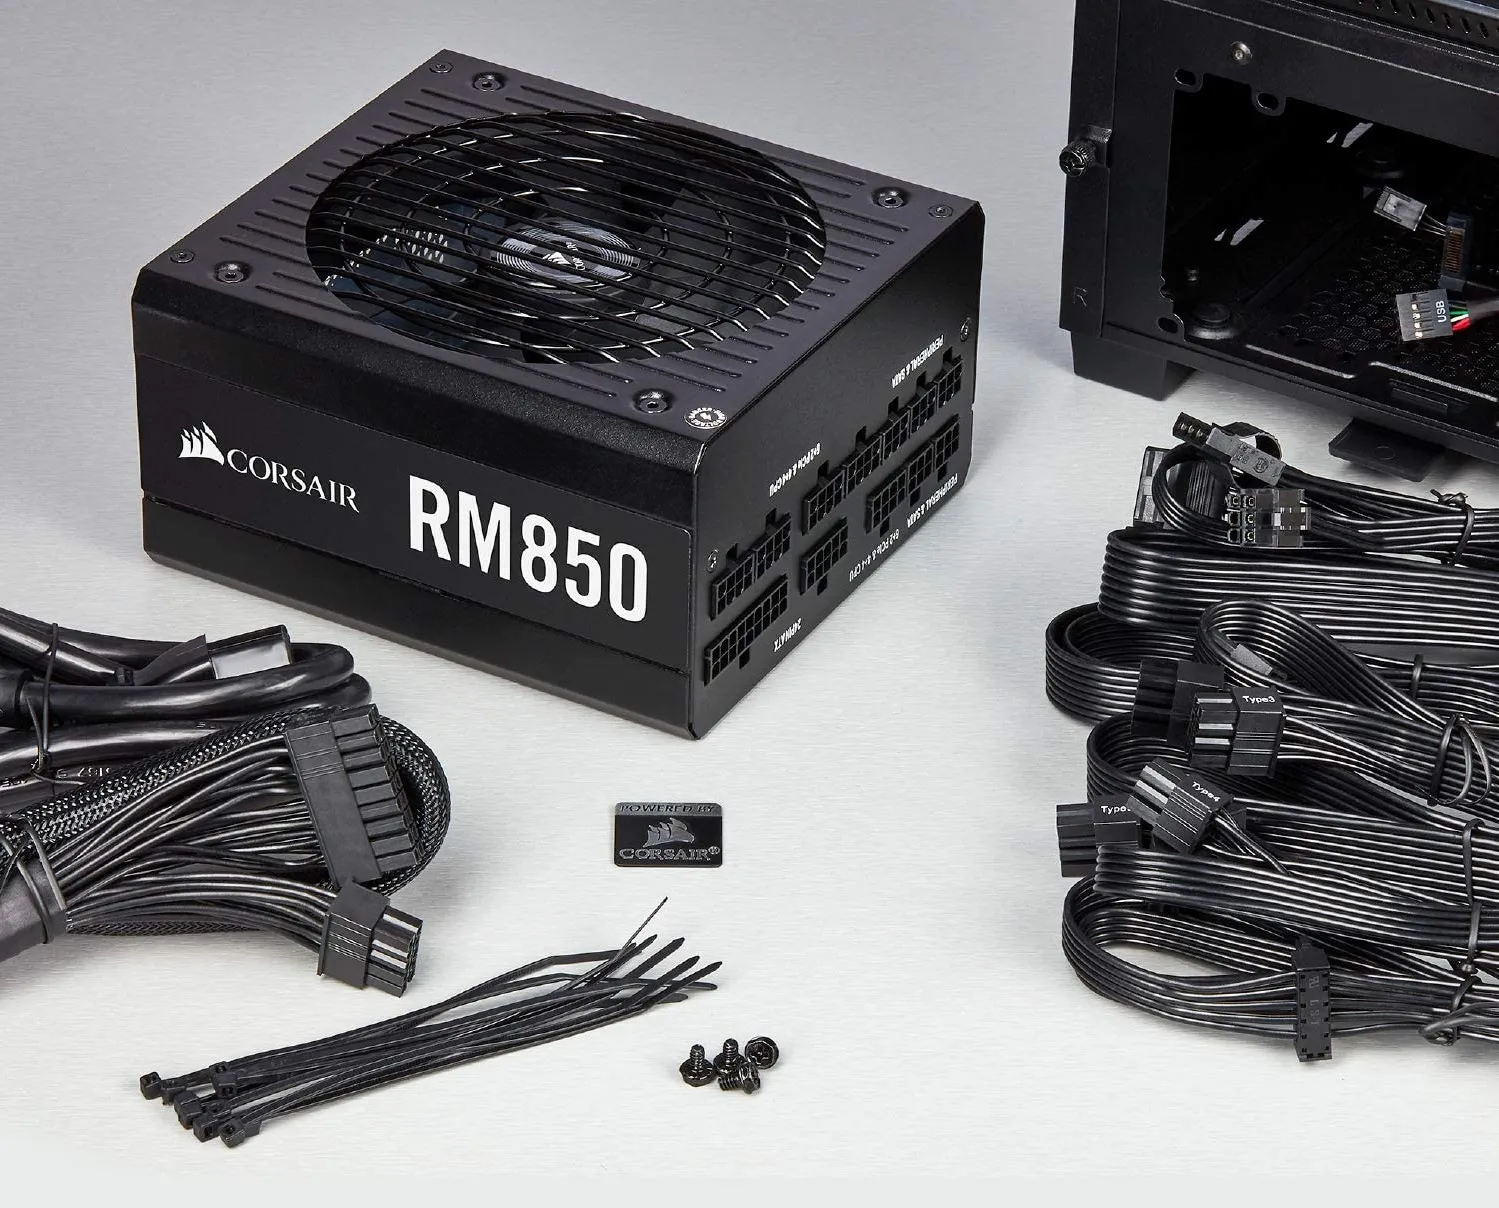
Before you proceed with connecting a 4-pin PSU to an 8-pin motherboard, there are a few items that you will need. Ensure you have the following supplies on hand:
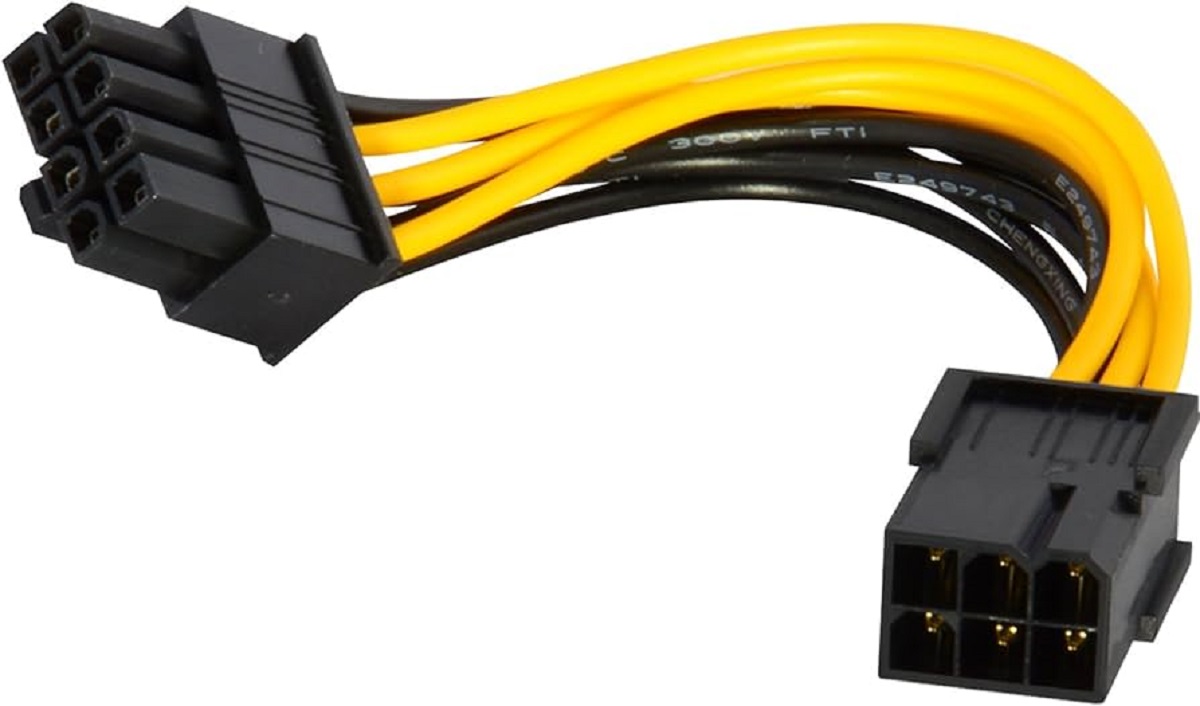
1. 4-pin to 8-pin adapter: This is the key component needed for the connection. The adapter converts the 4-pin connector on your PSU to an 8-pin connector, allowing it to fit into the motherboard slot.
2. PSU and motherboard manuals: It’s always a good idea to have the manuals for both your PSU and motherboard handy. These manuals provide valuable information about the connectors, pin configurations, and any specific instructions or recommendations for connecting the components.
3. Anti-static wristband (optional): While not essential, wearing an anti-static wristband can help prevent damage to sensitive computer components from static electricity. This is especially important if you are working in an environment with low humidity.
4. Screwdriver: Depending on your specific setup, you may need a screwdriver to secure the adapter or access certain components.
5. A well-lit workspace: Having a well-lit and spacious workspace will make it easier to identify and connect the necessary components. This will help minimize the chances of making any mistakes during the process.
By ensuring that you have all the required supplies before you begin, you can proceed with confidence knowing that you have everything you need to connect a 4-pin PSU to an 8-pin motherboard. In the next section, we will discuss the step-by-step process for making the connection.
Step 1: Identify the 4-pin connector
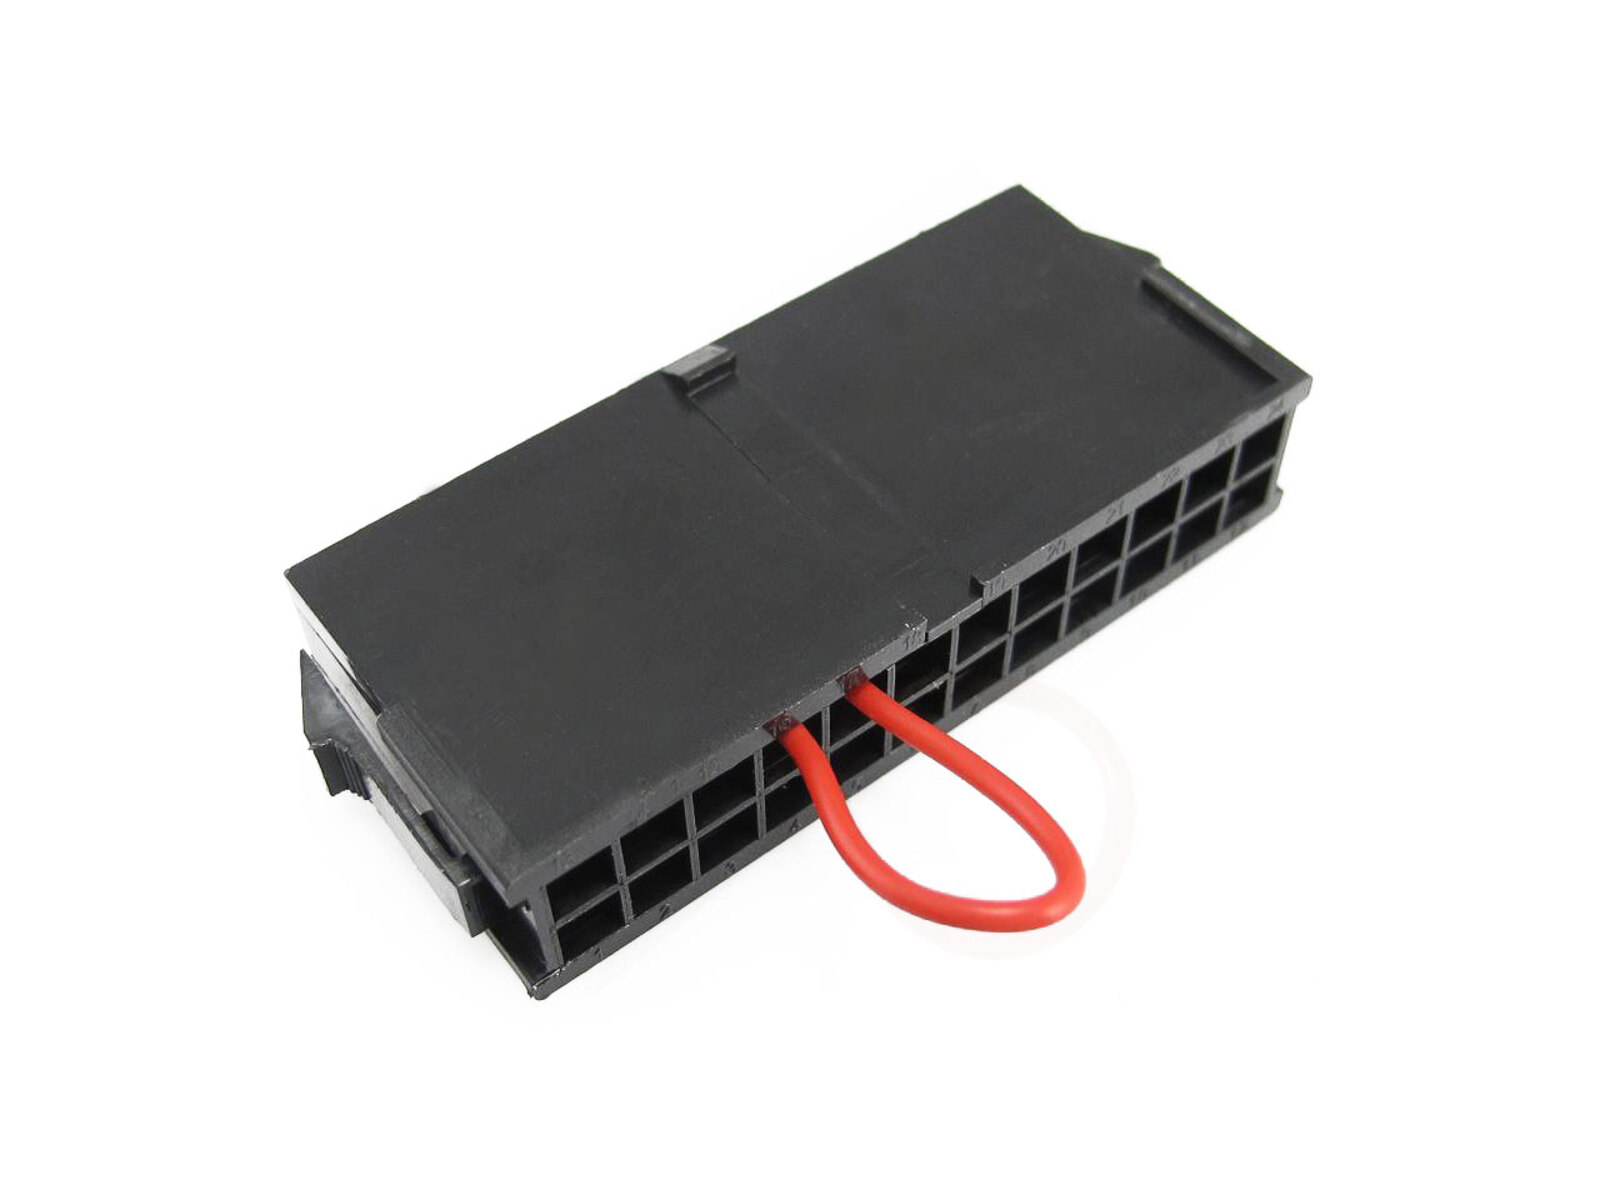
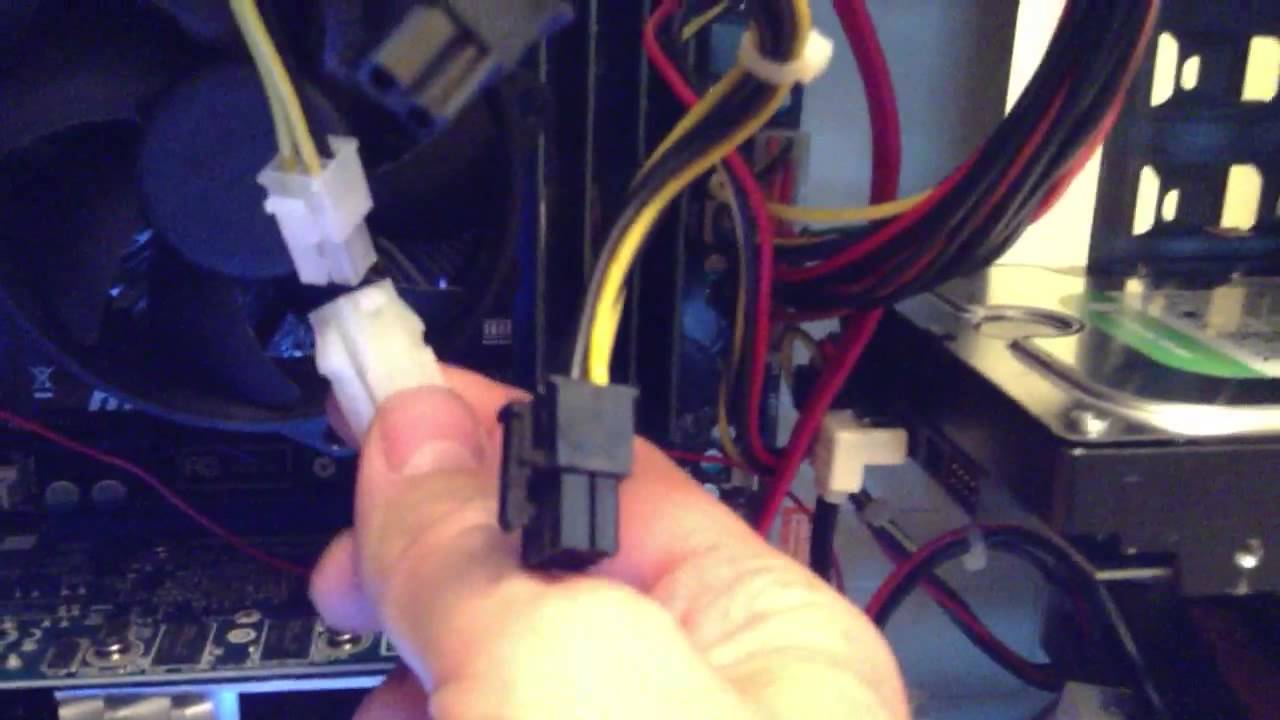
The first step in connecting a 4-pin PSU to an 8-pin motherboard is to locate the 4-pin connector on your PSU. This connector is often labeled as the CPU power connector or ATX12V connector.
Take a close look at the cables coming from your PSU and locate the connector that matches the shape and size of the 4-pin connection on your motherboard. It will typically have four evenly spaced pins, arranged in a square pattern.
If you’re having trouble identifying the correct connector, refer to your PSU’s manual or the manufacturer’s website for detailed diagrams or instructions. These resources will help you pinpoint the specific connector you need.
Once you have identified the 4-pin connector, you can move on to the next step, which is to locate the corresponding 8-pin slot on your motherboard.
Note: If your PSU does not have a 4-pin connector, it may have an 8-pin connector that can be split into two 4-pin connectors. In such cases, you can use only one of the 4-pin connectors and leave the other unused.
Now that you know how to identify the 4-pin connector, let’s proceed to step 2, where we will locate the 8-pin motherboard slot and ensure a proper connection.
Step 2: Locate the 8-pin motherboard slot
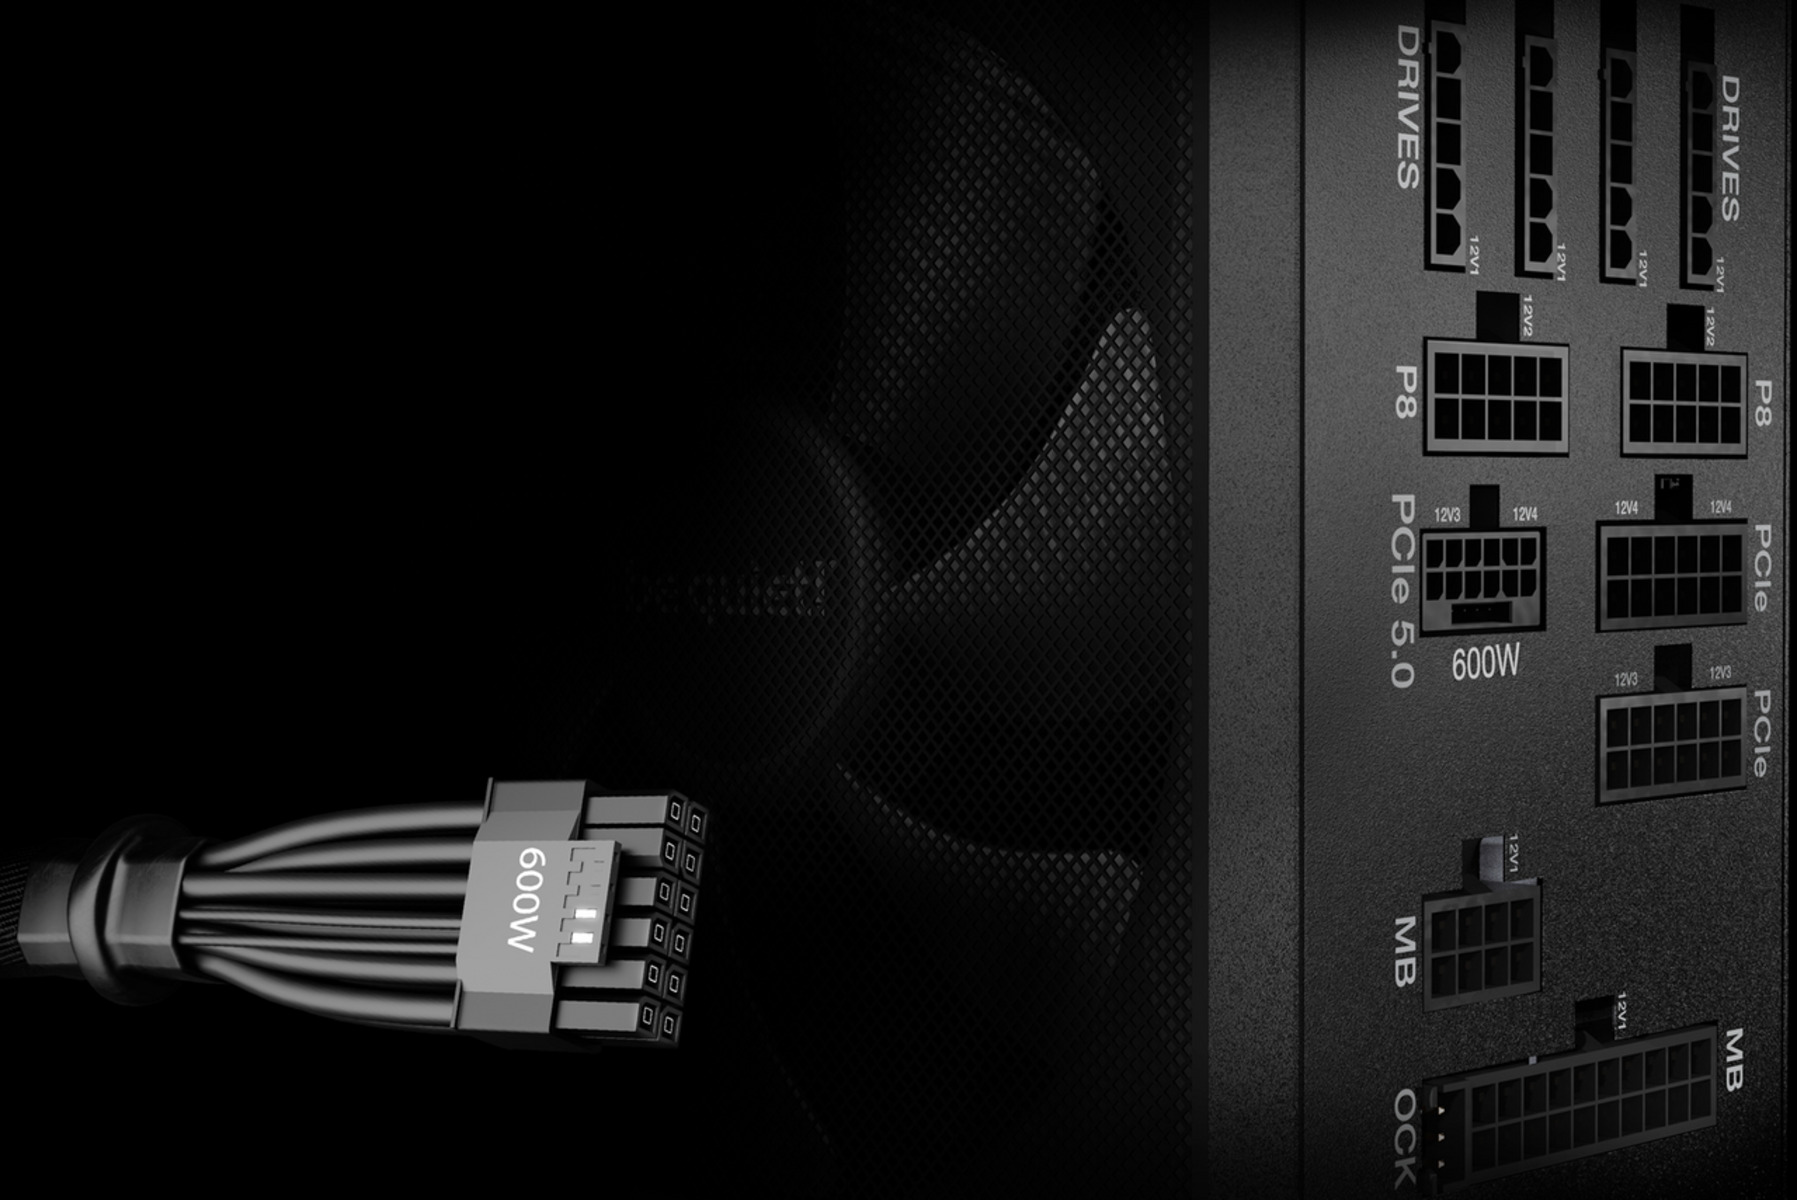
After identifying the 4-pin connector on your PSU, the next step is to locate the corresponding 8-pin motherboard slot. This slot is usually labeled as either “CPU_PWR” or “ATX12V” and is specifically designed to accommodate the 8-pin connector.
Take a careful look at your motherboard and locate the slot near the CPU socket. It will typically be located toward the top left corner or top right corner of the motherboard, but the exact placement can vary depending on the motherboard model.
Inspect the slot, and you’ll notice that it has eight evenly spaced holes, arranged in a rectangular shape. These holes are designed to match the pins on the 8-pin connector and ensure a secure connection.
If you are having trouble finding the 8-pin slot, refer to your motherboard’s manual or the manufacturer’s website for detailed diagrams or instructions. These resources will provide you with the necessary guidance to locate the correct slot.
Once you have successfully located the 8-pin motherboard slot, you are ready to move on to the next step and connect the pins between the PSU and the motherboard.
Now that you have located the 8-pin motherboard slot, let’s proceed to step 3, where we will align and connect the pins between the PSU and the motherboard.
Step 3: Align and connect the pins
With the 4-pin PSU connector and the 8-pin motherboard slot identified, it’s time to align and connect the pins. Follow these steps to ensure a proper connection:
- Hold the 4-pin connector in your hand, ensuring that the pins are facing upward.
- Align the connector with the 8-pin motherboard slot, making sure that the pins match the corresponding holes on the motherboard.
- Apply gentle pressure while pushing the connector into the slot. The pins should slide smoothly into the holes, creating a secure connection.
- Double-check the alignment and make sure that all pins are fully inserted into the corresponding holes. This is important for a reliable and stable connection.
It’s worth noting that the 4-pin connector will only occupy half of the 8-pin slot, leaving the other half empty. This is normal and does not affect the functionality of the connection.
If you encounter any resistance or difficulty when inserting the connector, do not force it. Take a step back, reassess the alignment and try again. It’s crucial to ensure that the pins are properly aligned to avoid any damage to the connectors or motherboard.
Once the pins are securely connected, you can proceed to the next step, where we will ensure a secure connection between the PSU and motherboard.
Step 4: Ensure a secure connection
After aligning and connecting the pins between the 4-pin PSU connector and the 8-pin motherboard slot, it’s important to ensure a secure connection. Follow these steps to verify the stability of the connection:
- Gently tug on the connector to check if it is firmly attached to the motherboard. It should not come loose or disconnect easily. If it does, remove the connector and reinsert it, ensuring a snug fit.
- Inspect the connector and slot to ensure that all pins are properly seated. There should be no visible gaps or misalignment. If you notice any issues, correct the alignment and reinsert the connector.
- If your motherboard includes clips or locks near the 8-pin slot, engage these mechanisms to further secure the connection. Follow the manufacturer’s instructions to properly engage the clips or locks without applying excessive force.
- Ensure that the cables connected to your PSU are not putting any strain on the connector. Arrange and route the cables in a way that allows for easy airflow and does not cause tension on the connection.
By following these steps, you can ensure that the connection between the 4-pin PSU connector and the 8-pin motherboard slot is secure. A stable connection is essential for proper power delivery and the overall performance of your computer system.
Once you have verified the security of the connection, it’s time for the final step: double-checking the connection to ensure everything is in order. We’ll cover this step in the next section.
Step 5: Double-check the connection
Before finalizing the setup, it’s crucial to double-check the connection between the 4-pin PSU connector and the 8-pin motherboard slot. Following these steps will help ensure that everything is properly in place:
- Visually inspect the connection to verify that the 4-pin connector is fully inserted into the 8-pin slot. Ensure that all pins are aligned and engaged properly.
- Gently wiggle the connector to check for any signs of looseness or movement. If the connection feels secure and there are no noticeable gaps or disconnections, you can proceed.
- Check the surrounding area for any loose cables or obstructions that could interfere with the connection. Make sure that the PSU cables are organized and properly routed, allowing for adequate airflow.
- Refer to your motherboard and PSU manuals to confirm that the pin configuration and connection method align with the specifications provided by the manufacturers.
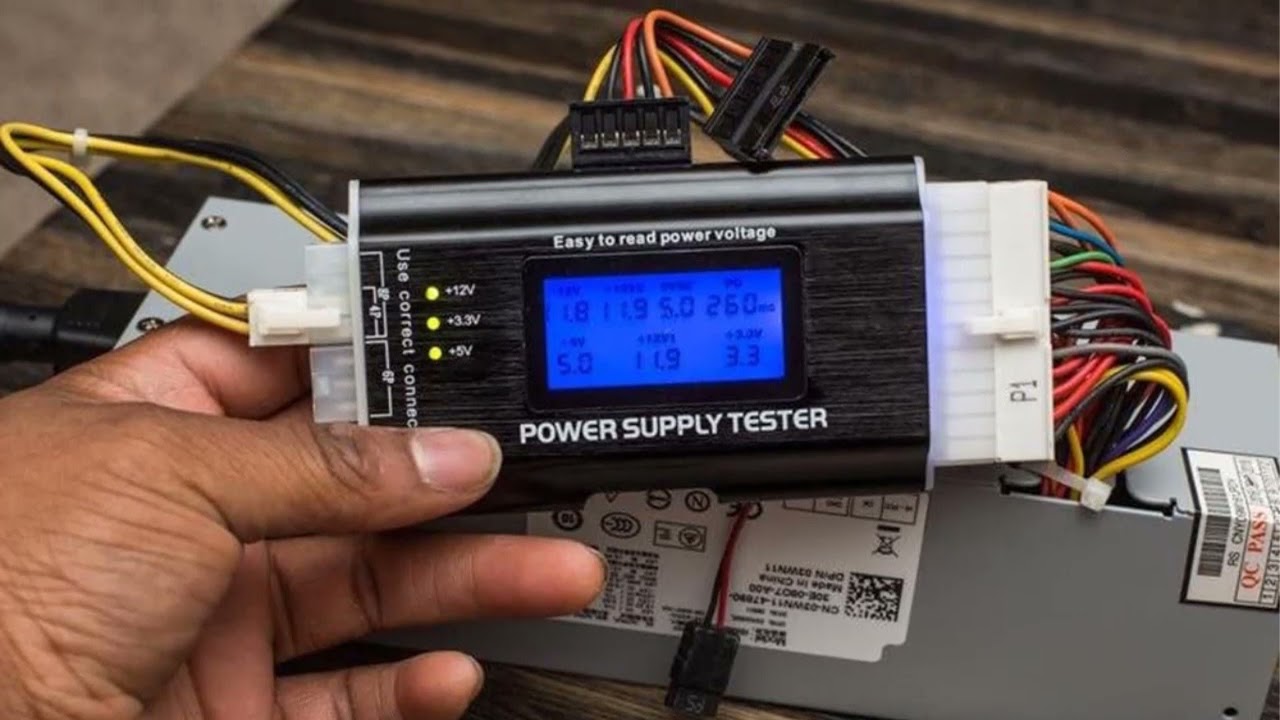
- If possible, power on your computer and check if the system recognizes the PSU and motherboard connection. Verify that the system is receiving the appropriate power supply without any issues or error messages.
By double-checking the connection, you can ensure that all components are properly aligned and securely connected. This step is essential to avoid potential power supply issues, system instability, or damage to your hardware.
If everything looks good and the connection is secure, you can proceed with powering on your computer and testing its functionality. Congratulations, you have successfully connected a 4-pin PSU to an 8-pin motherboard!
Now that you understand the step-by-step process for connecting the PSU and motherboard, you can confidently tackle this task. However, keep in mind that if you encounter any difficulties or uncertainties, it’s always a good idea to consult the manuals or seek assistance from a professional.
Conclusion
Connecting a 4-pin PSU to an 8-pin motherboard may seem challenging at first, but with the right adapter and careful steps, it can be achieved effectively. By following the step-by-step process outlined in this guide, you can ensure a secure and functional connection between these two vital components of your computer system.
We discussed the reasons why you might need to connect a 4-pin PSU to an 8-pin motherboard, such as compatibility issues, replacement PSU limitations, custom builds, or budget constraints. Understanding these scenarios can help you determine the most suitable solution for your specific situation.
Additionally, we covered the items you will need for the connection, including a 4-pin to 8-pin adapter, PSU and motherboard manuals, an anti-static wristband (optional), a screwdriver, and a well-lit workspace. Gathering these supplies beforehand will ensure a smooth and organized process.
We also provided step-by-step instructions, starting with identifying the 4-pin connector, locating the 8-pin motherboard slot, aligning and connecting the pins, ensuring a secure connection, and finally double-checking the setup to ensure everything is in order.
Remember, maintaining a secure and stable connection is essential for the proper function of your computer system. Take the necessary precautions, refer to the manuals, and seek assistance if needed.
Now that you have successfully connected a 4-pin PSU to an 8-pin motherboard, you can power on your computer and start enjoying the benefits of your upgraded or custom-built system. Cheers to a job well done!